Axial Deadbolt Mega Truck Conversion: Part 2
Note – To see Part 1 of this build CLICK HERE
Last week I started converting our stock Axial Deadbolt to a full blown mega/monster truck with help from a CPE Barbarian chassis. In part 2 I’m detailing what parts I changed from the stock setup, offering initial testing impressions, and showing off what body I’m going to top the truck with. Let’s get to it. Click ‘Read More’
Chassis
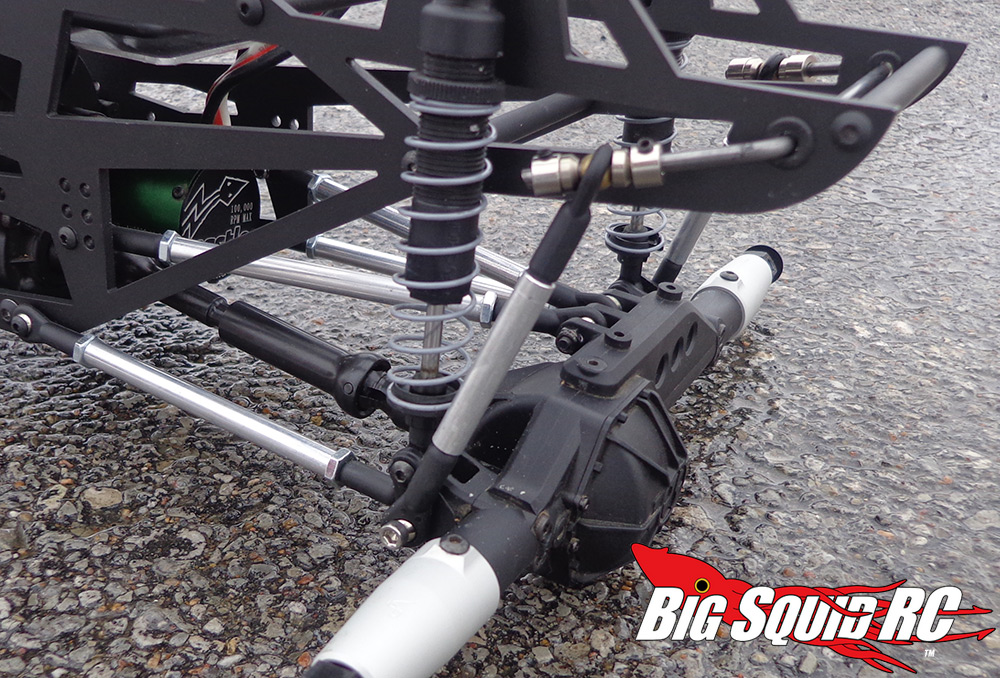
The Barbarian is designed to accept an Axial Wraith/Deadbolt drivetrain and it went together really smooth. One general thing to note is that while it uses the stock Axial hardware for the most part, you are going to need to use machine screws (I picked up a few bags of Traxxas 3x12mm, 3x18mm, and 3mm locknuts from my LHS) where the stock Deadbolt/Wraith uses self tapping screws. The links and sway bars are also pretty trick. I took the sway bar out of the front to leave some articulation but left it in the rear to keep it planted.
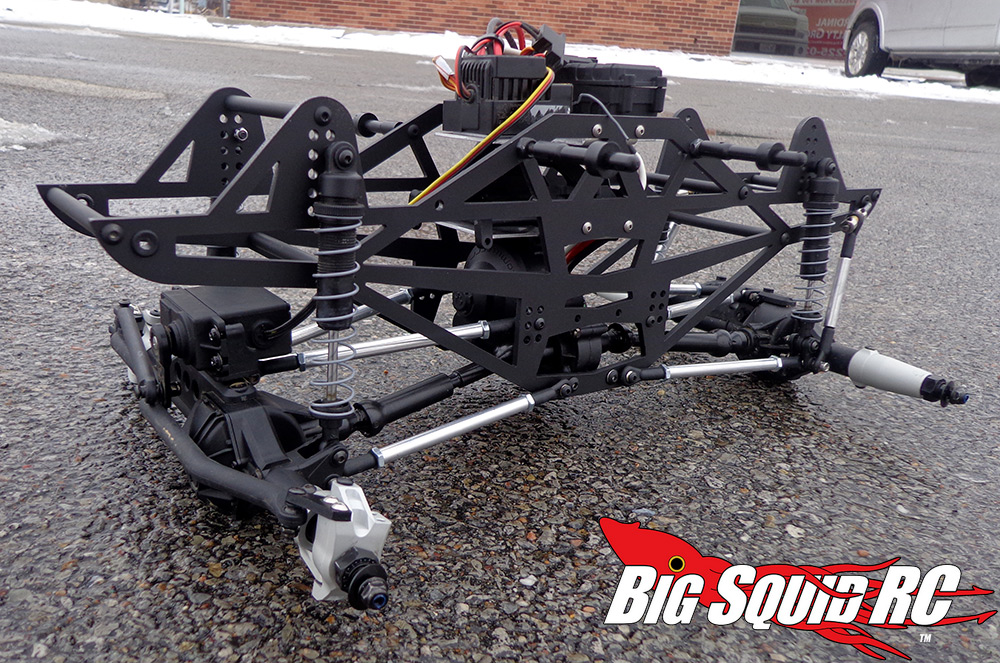
All that aluminum has turned this into a heavy rig and I don’t even have the big clod/tractor tires on it yet! I knew I needed to go heavy duty with the knuckles/chubs so I ordered some Vanquish goodies. The axles should now be able to withstand a heavy beating. After checking the components for proper fit (and a quick test) I took it all apart and shot the chassis in flat black. I left the links and Vanquish parts in their polished state to create a 2 tone matte/polished look that I think looks boss.
Drivetrain
I decided pretty early on that for this truck to be controllable I needed to unlock my front differential. The Castle 6900 kv system made a fully locked truck pretty uncontrollable if it wasn’t just going straight. The beauty of the Axial AR60 axles are that they are so easy to work on. A few screws and you can pop the diff out. I took the stock locker out and installed Axial Part #’s AX30390 (spider gears) and AX30170 (idler shafts) and viola, an open differential! I made sure to grease it very heavily. What a huge difference this made! The truck now turned much tighter and overall handling was greatly improved. You may ask why I’m not running a locker in both axles if it’s a mud truck, but you have to remember this is a mega truck (and will also see monster truck race duty) which won’t just be going straight! It’s going to have to jump and turn as well. The big power and locker in the rear should hopefully get me through most holes.
Speaking of big power, I decided I didn’t want the stock driveshafts to pretzel so I upgraded to a heavy duty set of MIP’s (#11116 for a Wraith). Thus far the stock transmission gears have held up fine so I want to see how long they last before replacing them with a steel setup.
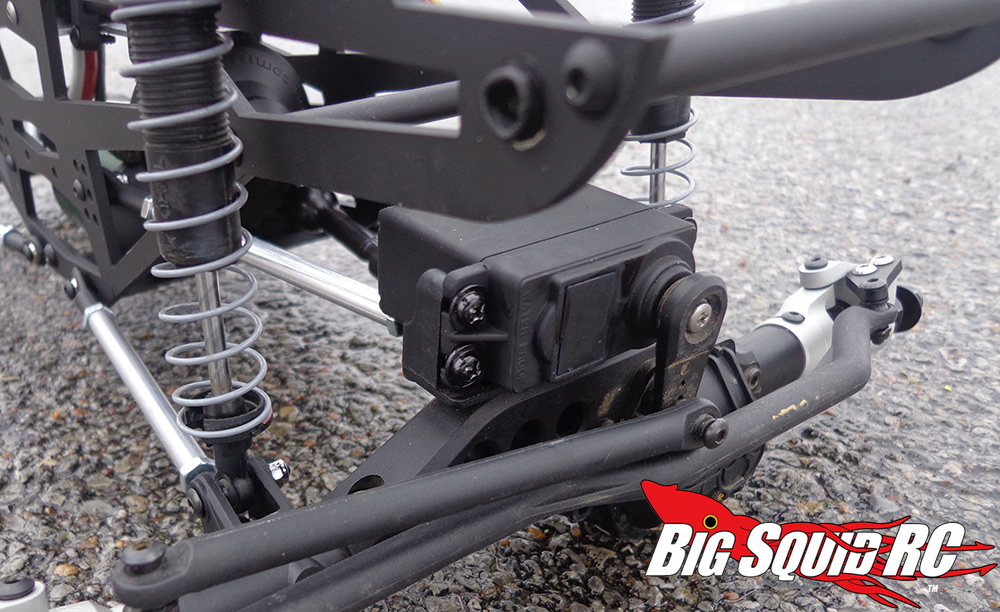
For steering I went with what I use on all my trucks, a Hitec 5646wp waterproof servo. It has plenty of torque for the application and I’ve drowned these suckers before and never had one go poof. There was one issue I had to fix though…that light blue color. That just wasn’t going to work with the black/polished color scheme. I disassembled the servo and shot it in flat black. The result looked cool and blended right in to the chassis:
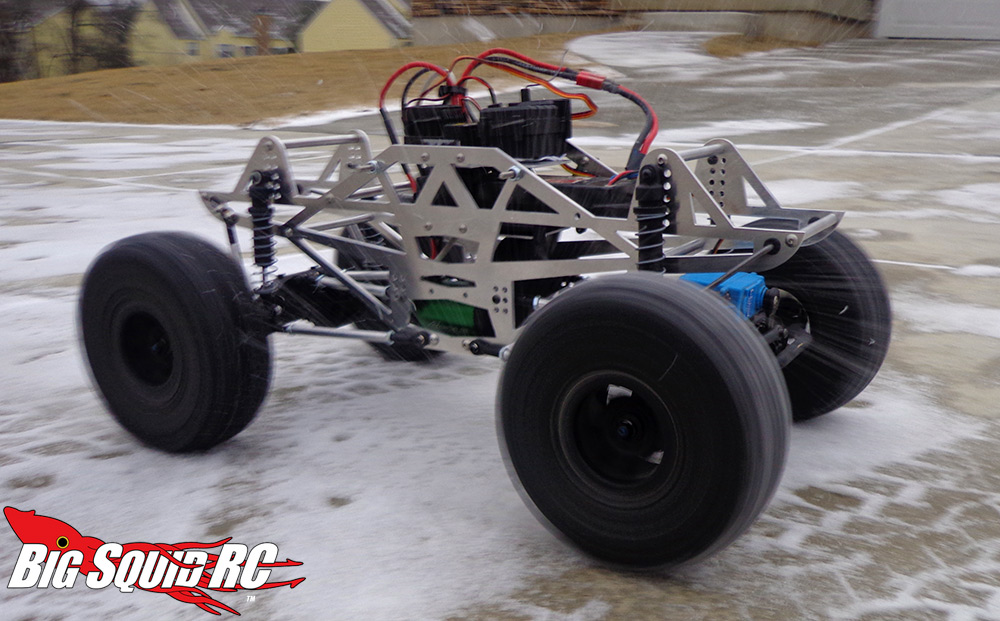
The truck is now ready to rock minus the body and tires! As you can see from the top picture, I did a little bit of initial testing before removing the front sway bar and painting everything. The truck handled very well! It launched like a rocket off the line and the open differential drastically helped the handling characteristics. With exposed electronics I didn’t do much jumping so I’ll have to wait until it gets a body mounted to do extreme testing.
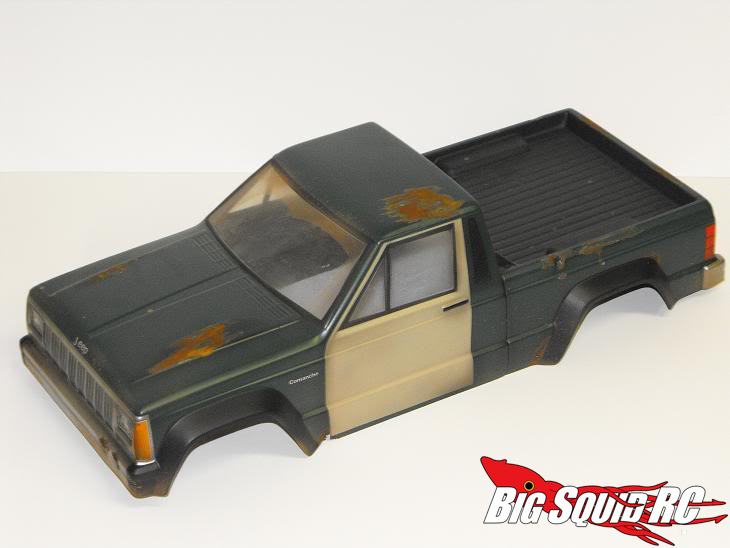
In Part 3 I’m gonna bring this thing home and add the body and narrowed mud tires. As a teaser for what body I’m using, check out the shot below. It’s a heavily fatigued Pro-Line Jeep Comanche that painter extraordinaire Terry Plum of The Monster Factory did for me about two years ago. I’ve used the body sparingly on various Axial SCX10’s I’ve owned, but for the most part it’s just sat around. With a few modifications (like exhaust through the hood) it’s going to be the perfect fit for this machine.
Thank you for reading and look for Part 3 of this build coming very soon!
If you have any questions, want to show off a build, or have a deeply held grievance please e-mail me at showmescalers at gmail dot com.