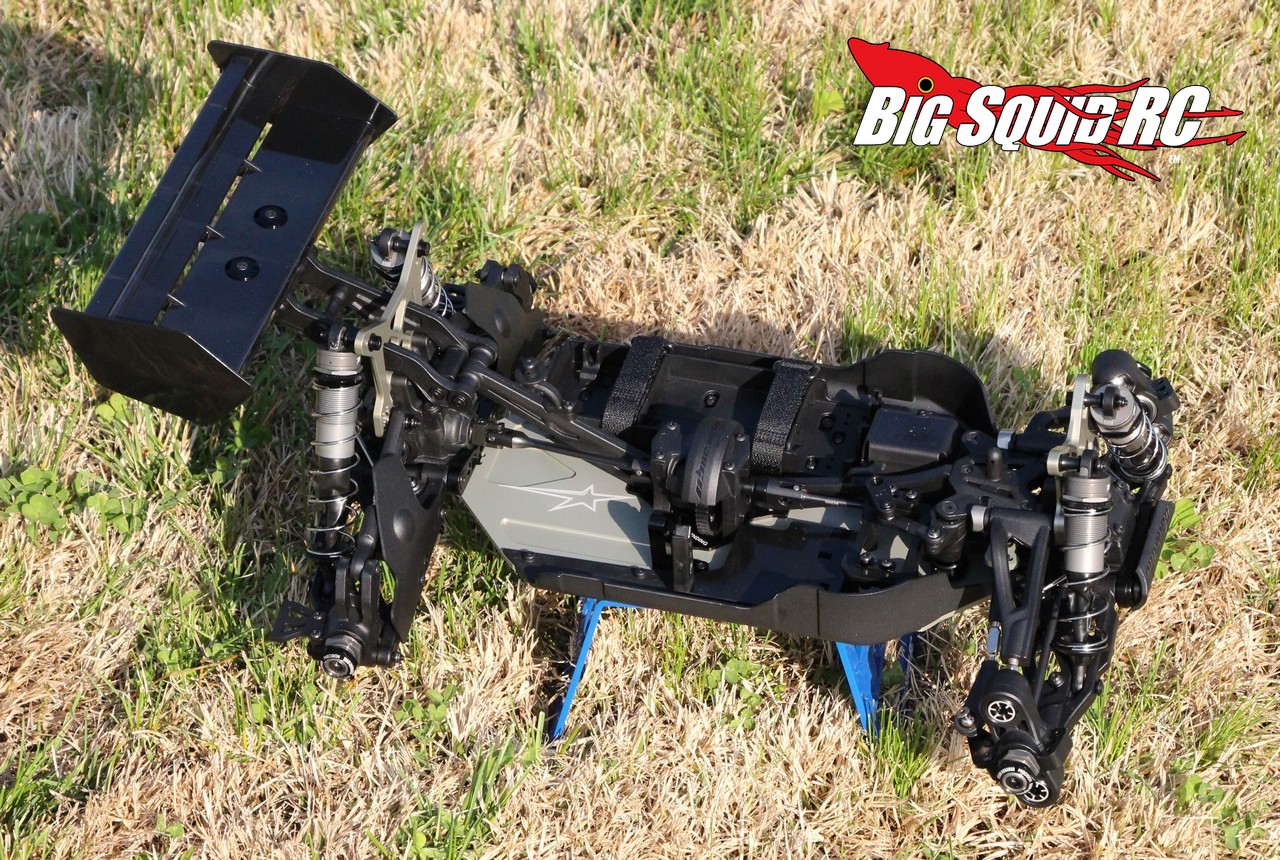
What is the hottest new 8th Scale Buggy to hit the market? That would be the DEX8 from Team Durango. We recently got a chance to put the DEX8 kit together, while doing so we took plenty of pictures and took a whole bunch of notes.
How did our build go? Overall, it went exceptionally well. Our kit wasn’t missing any parts, the manual was fairly well done, and everything went together without having to do any trimming/modification. Thanks to many of the sub-sets being pre-built, our total build time on the buggy was right at 5 hours (which included time taking pictures, answering phone calls, etc). You will have to add about another hour to install electronics, another hour (or more) to paint up the body, and roughly another hour to glue up some tires and make final set-up adjustments like camber and toe.
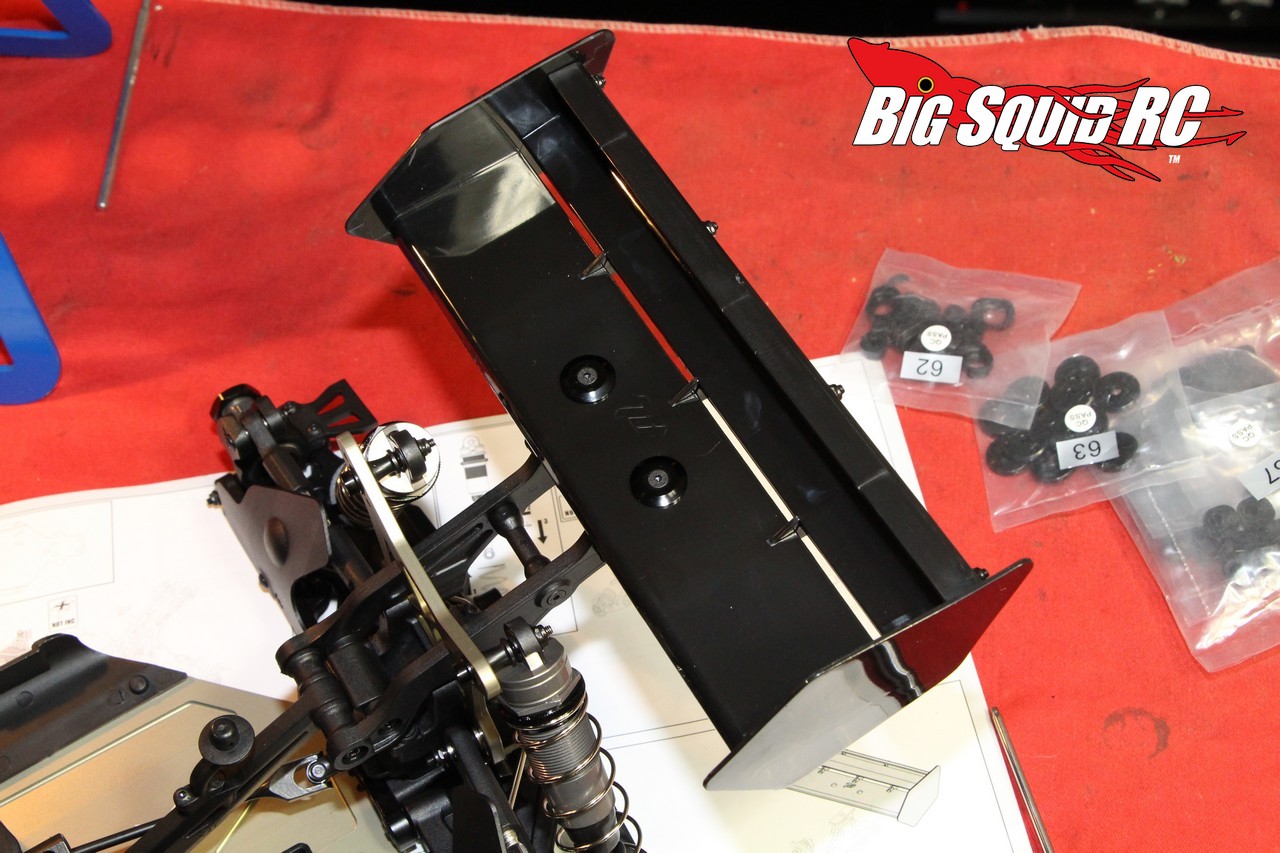
Here are a few notes that we took down while building the DEX8-
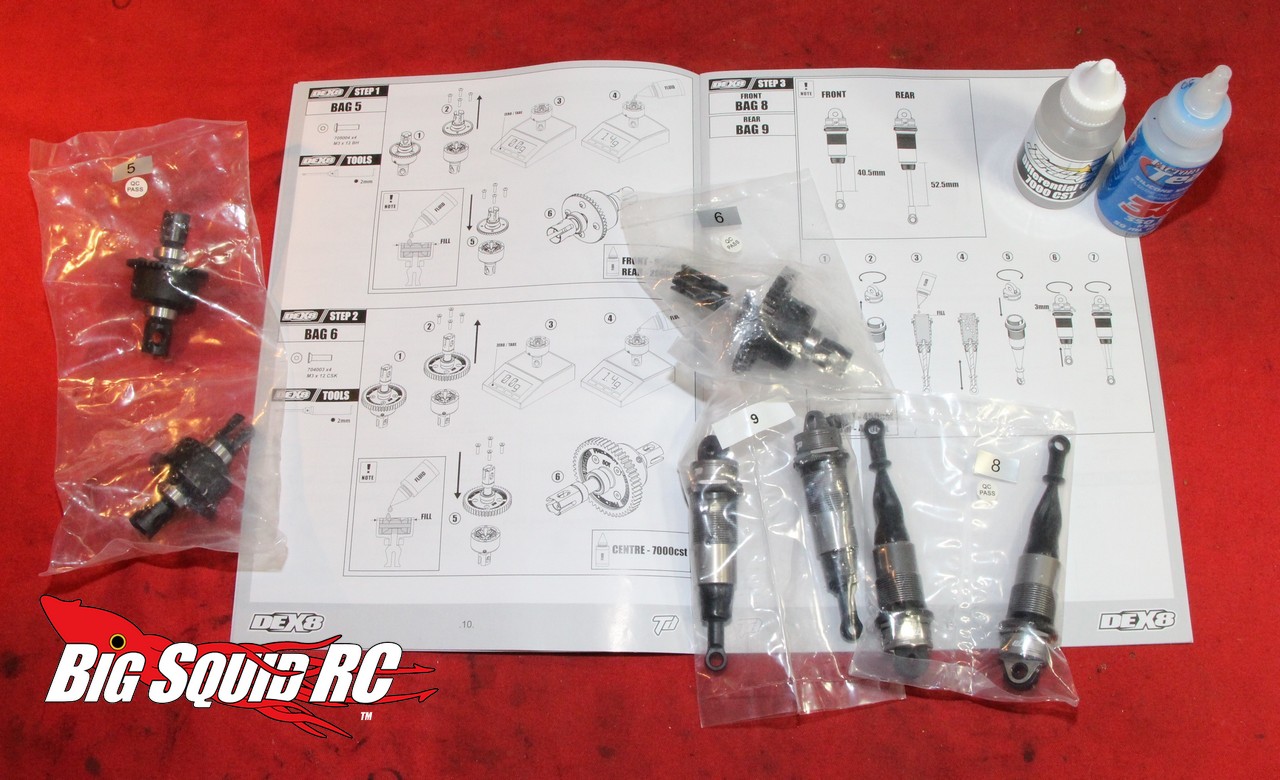
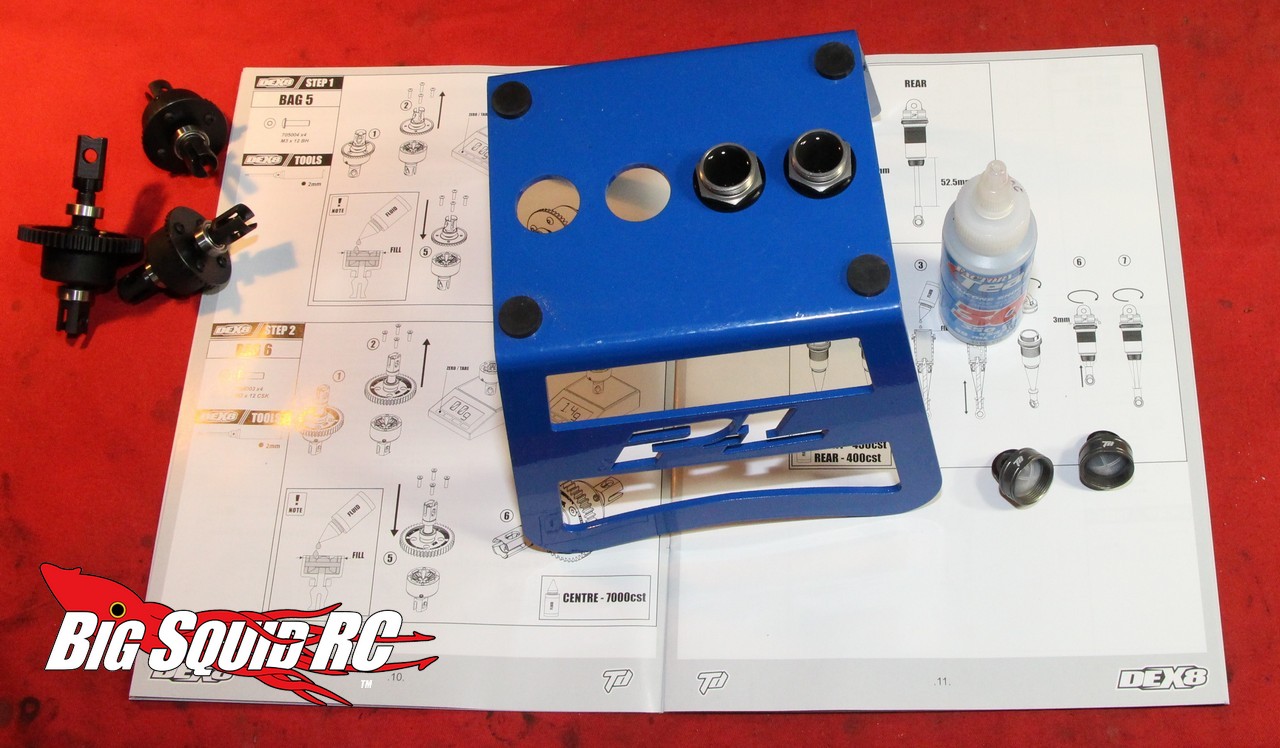
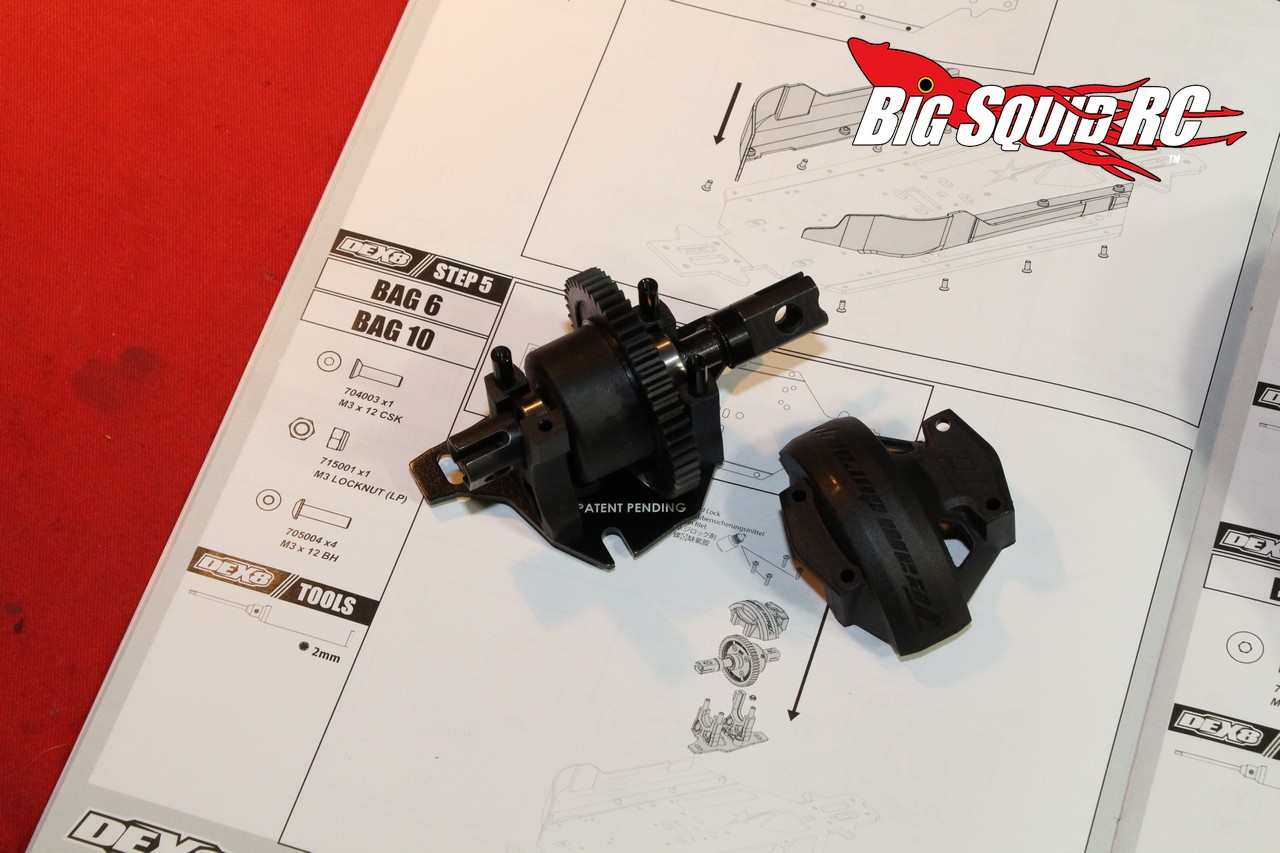
* All three of the diffs on the DEX8 come pre-built, but the very first step in the kit is to add diff oil. This requires removing 4 screws from each diff before oil can be added. This was no big deal of course, but it seemed weird that the first step in building a new kit actually required dis-assembly.
* Step 3 is the addition of shock oil. The shocks come pre-built as well, so it just takes removal of the shock caps to add oil. However, the tiny shock cap vent screws were not pre-assembled on the shocks, and the manual makes no mention of where they might be found. The shock cap screws (along with four pieces of foam to go under the shock cap bladders) are located in a separate and non-tagged bag. They are easy enough to find if you know what you are looking for, if you are a first time kit builder, you might cut open a whole lot of bags looking for them.
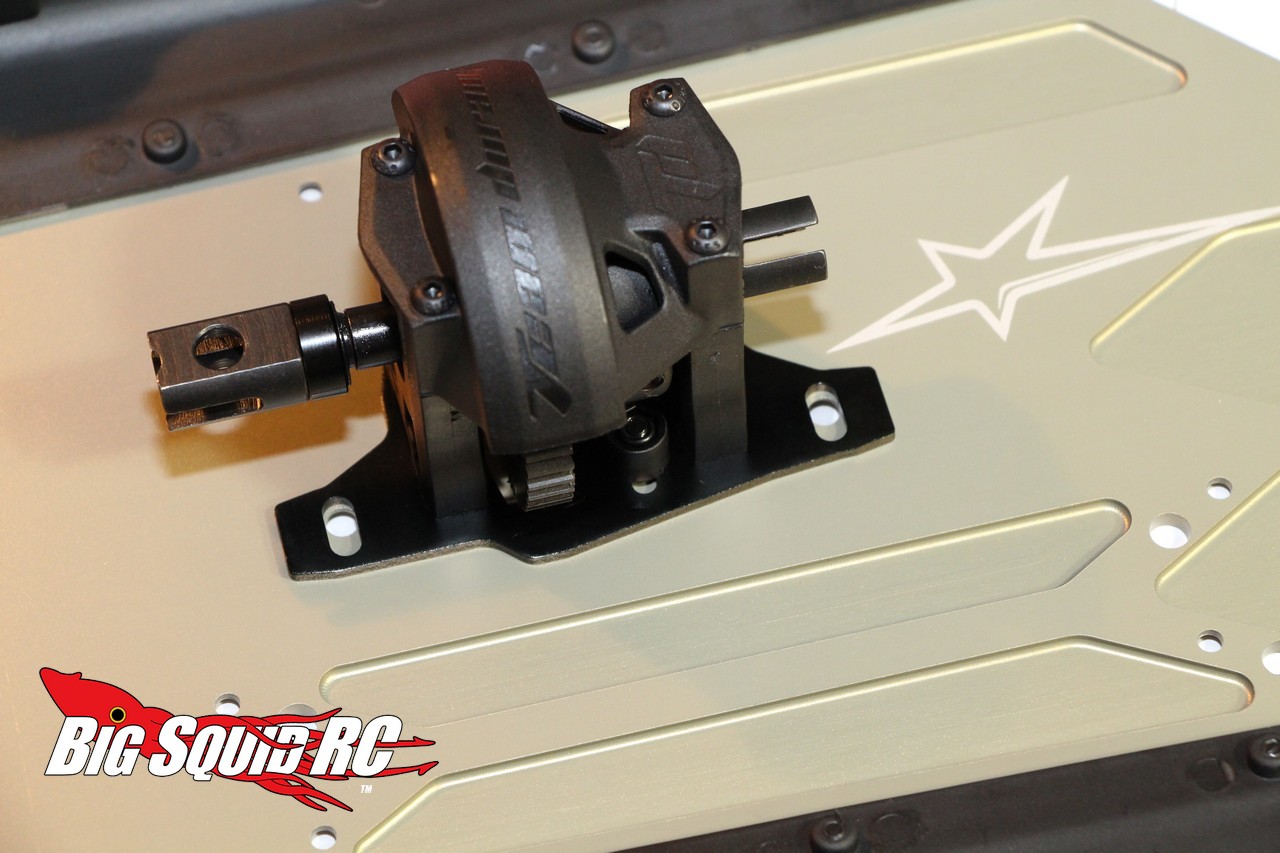
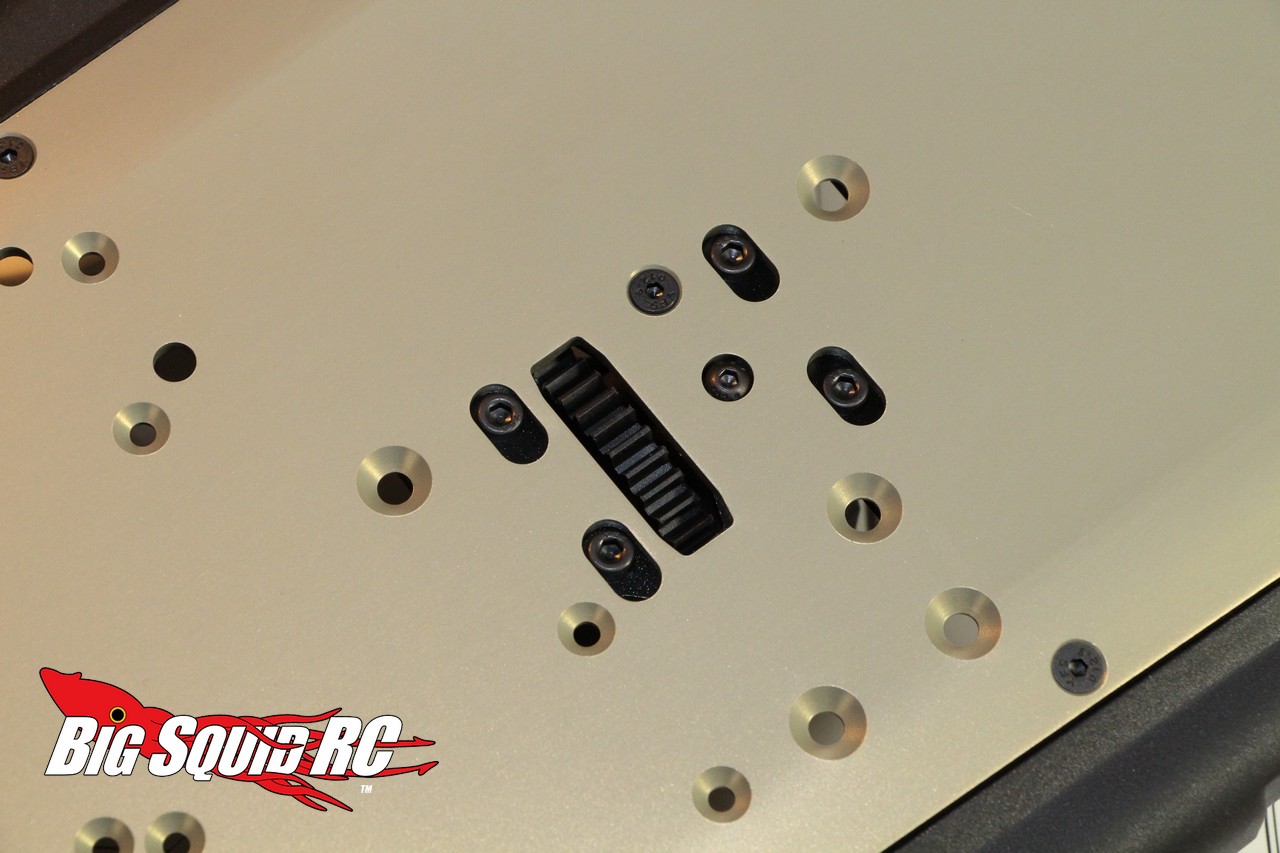
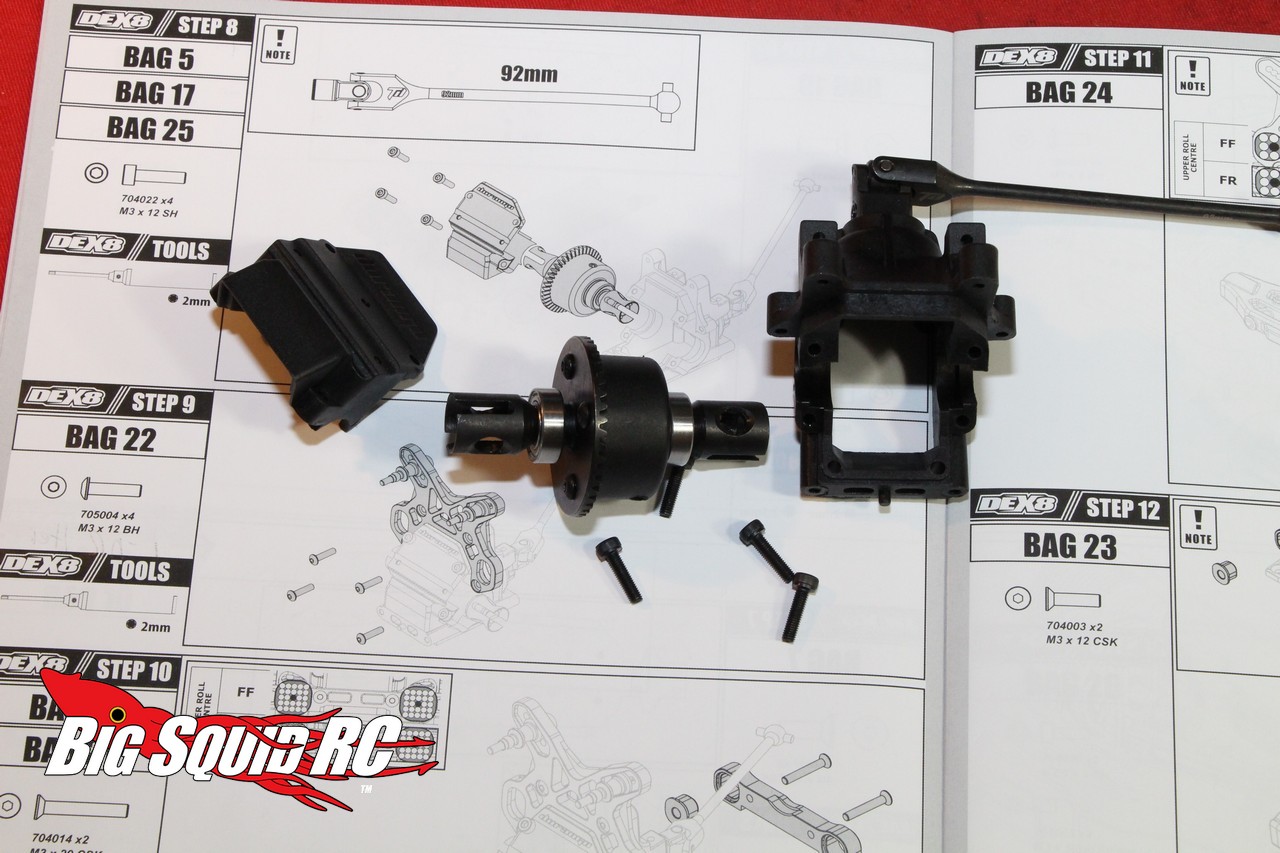
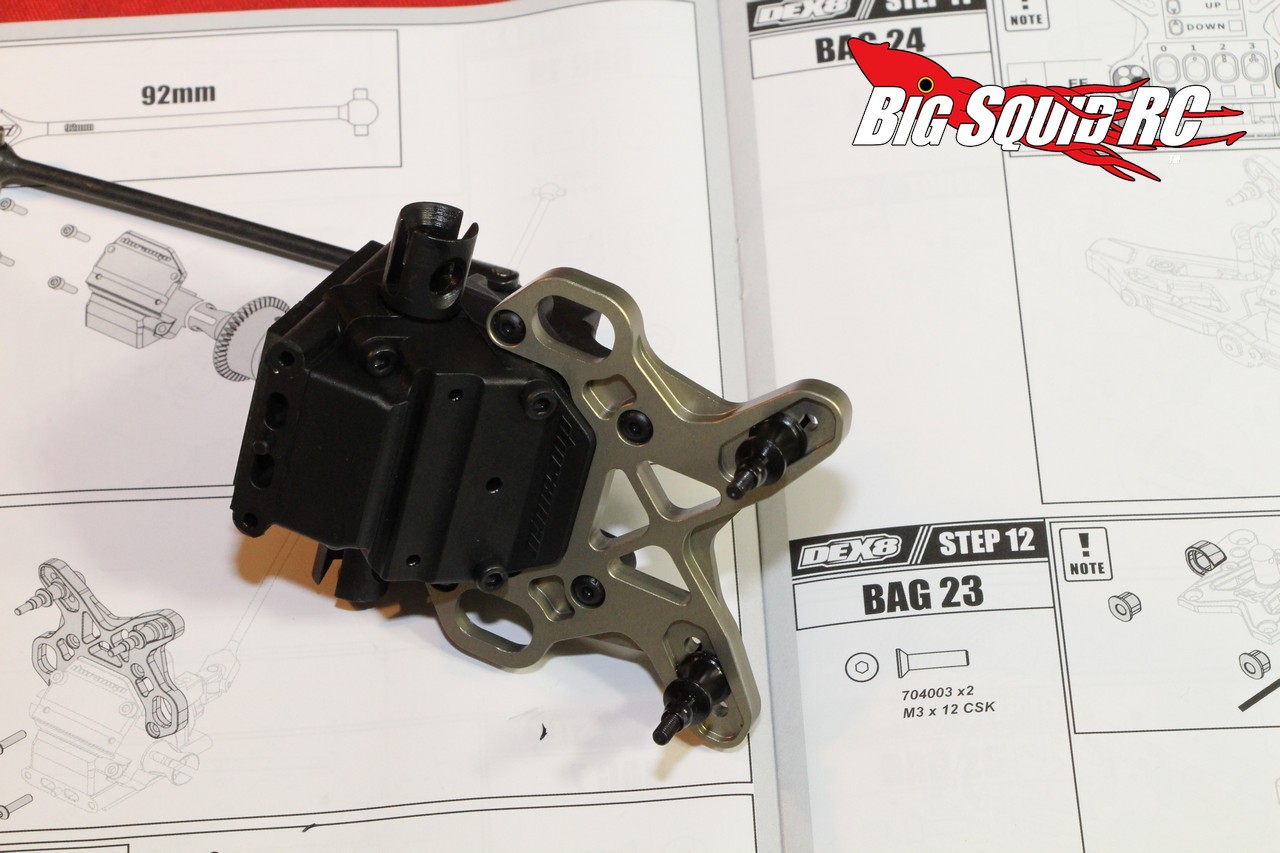
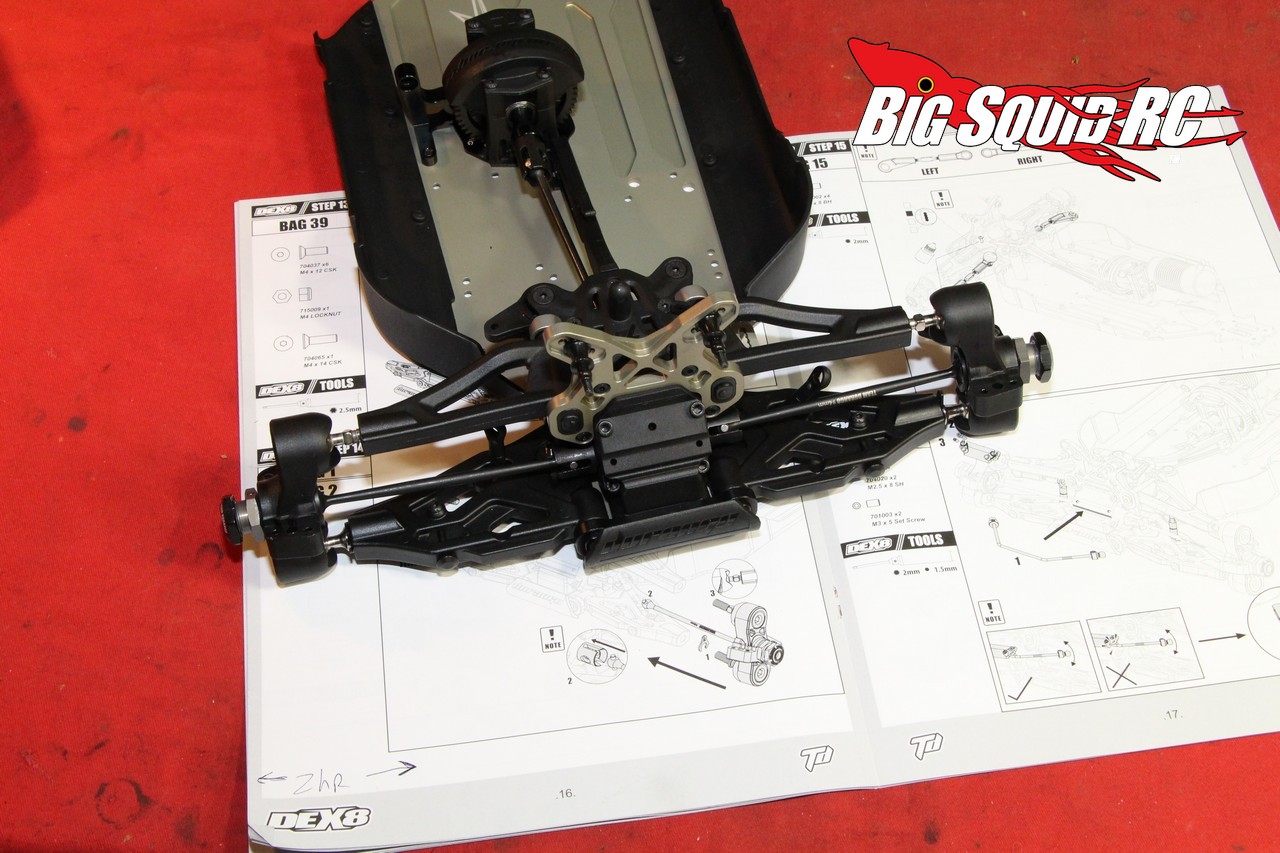
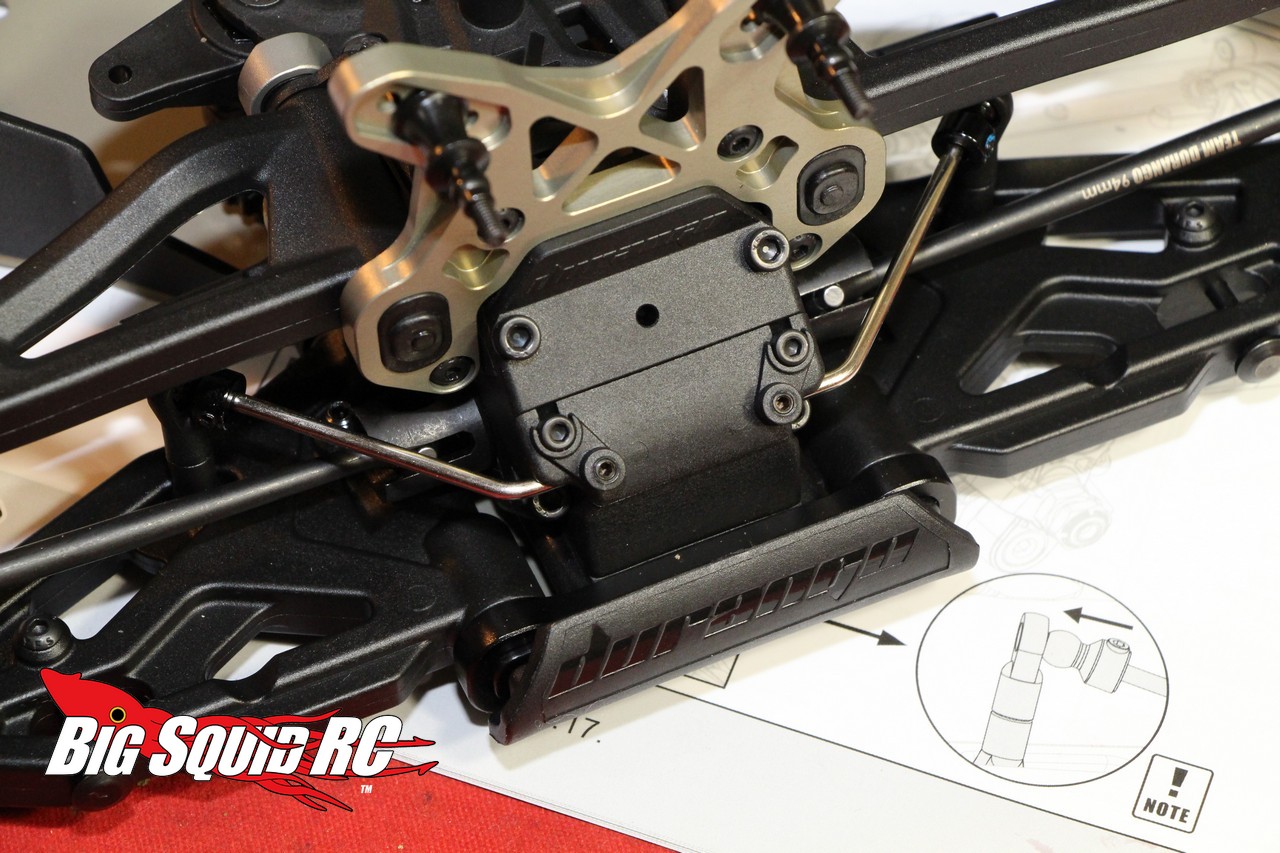
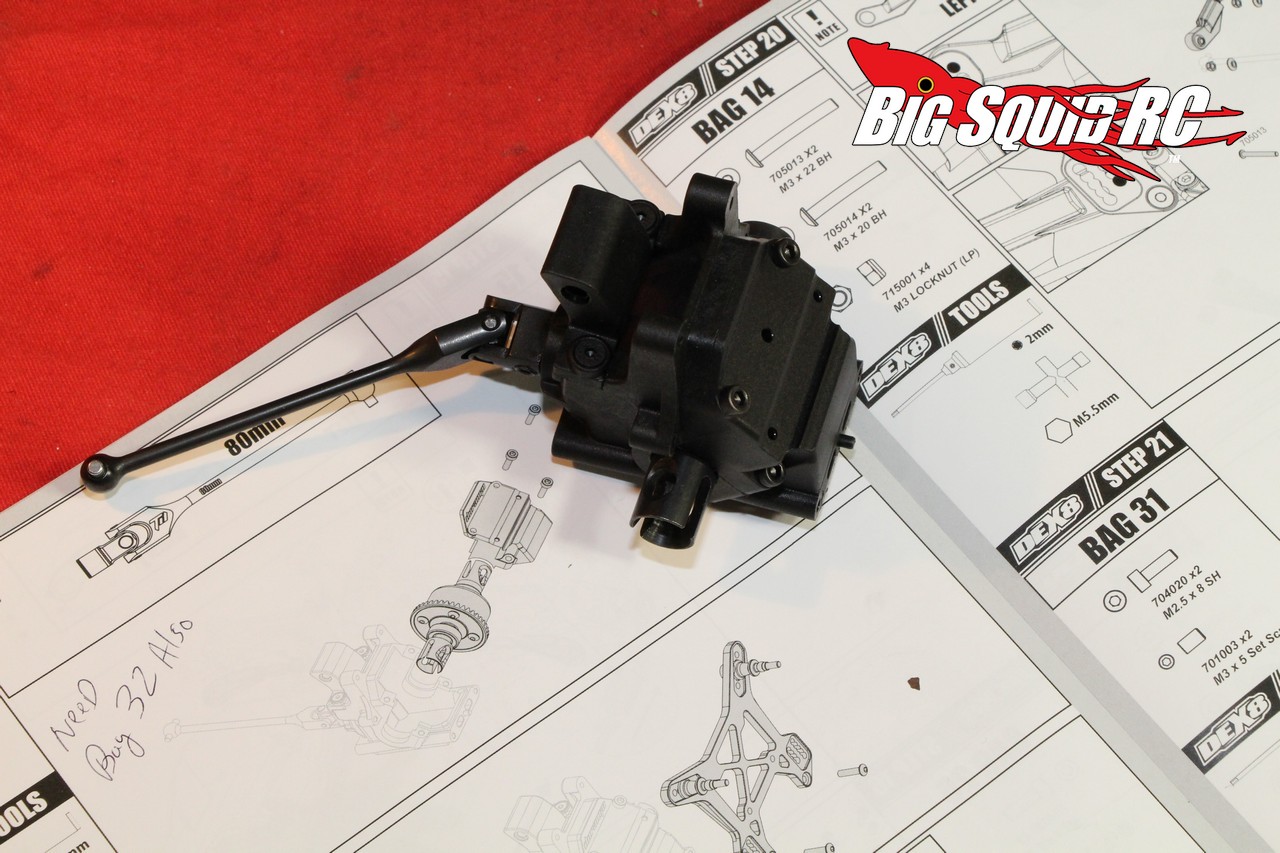
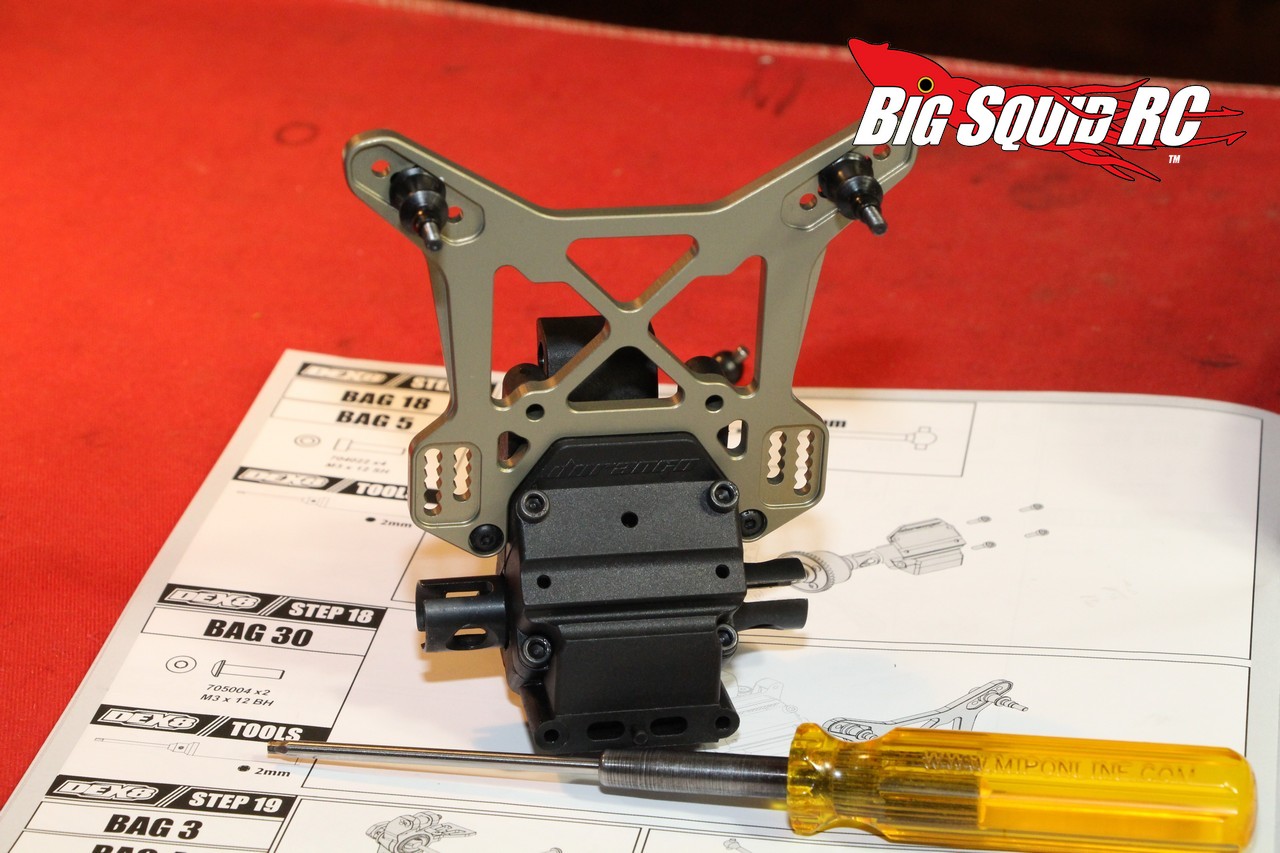
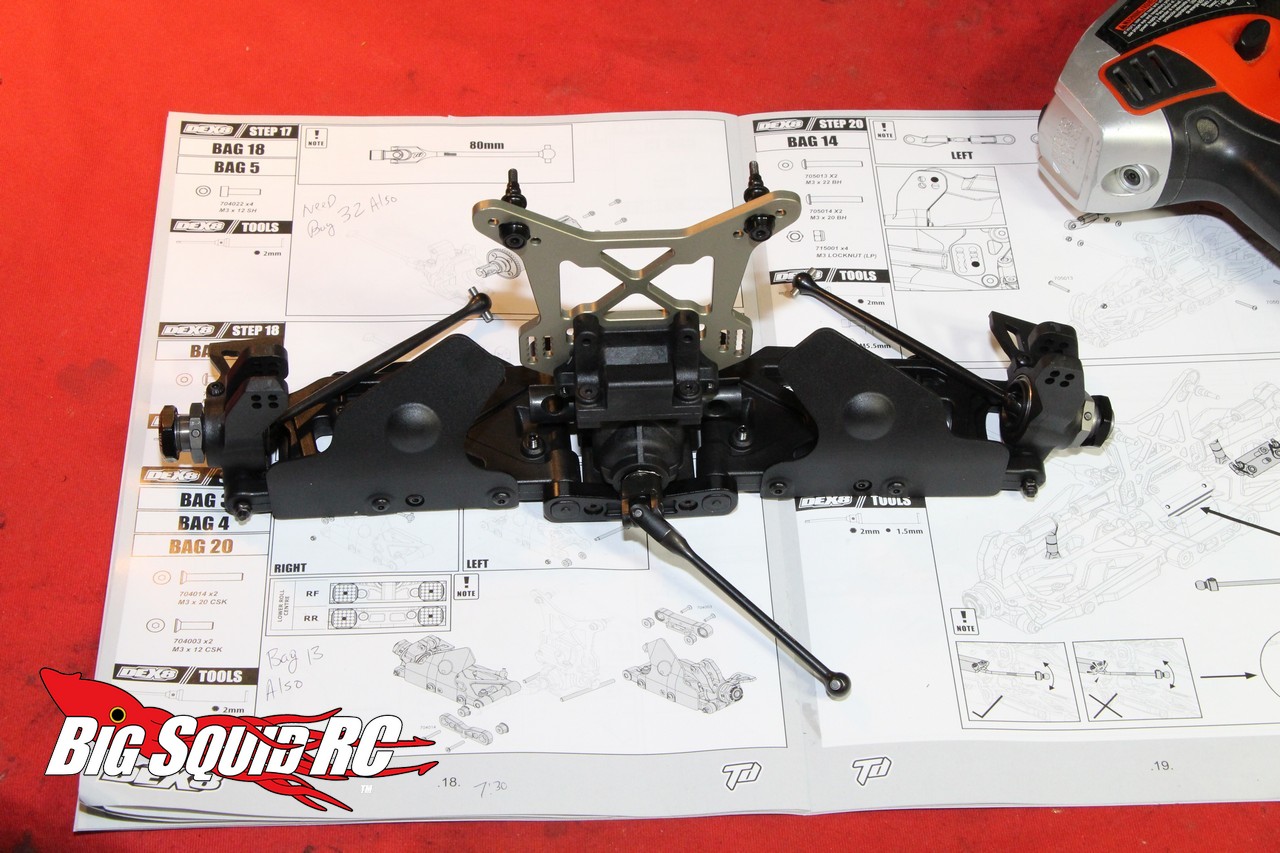
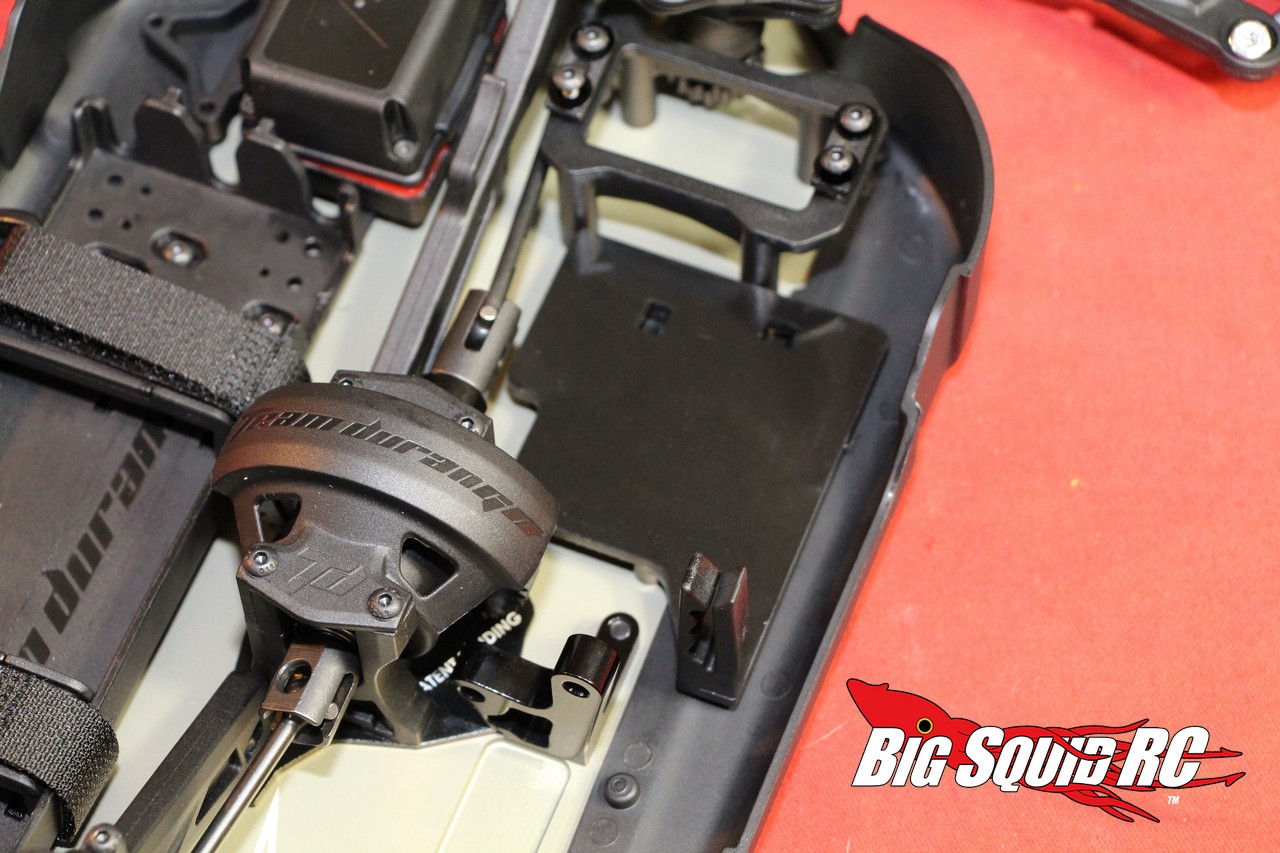
* Step 17 (installing the rear diff) says you need to open up bags 18 and 5. What it doesn’t say is that you’ll also need bag 32 to complete the step.
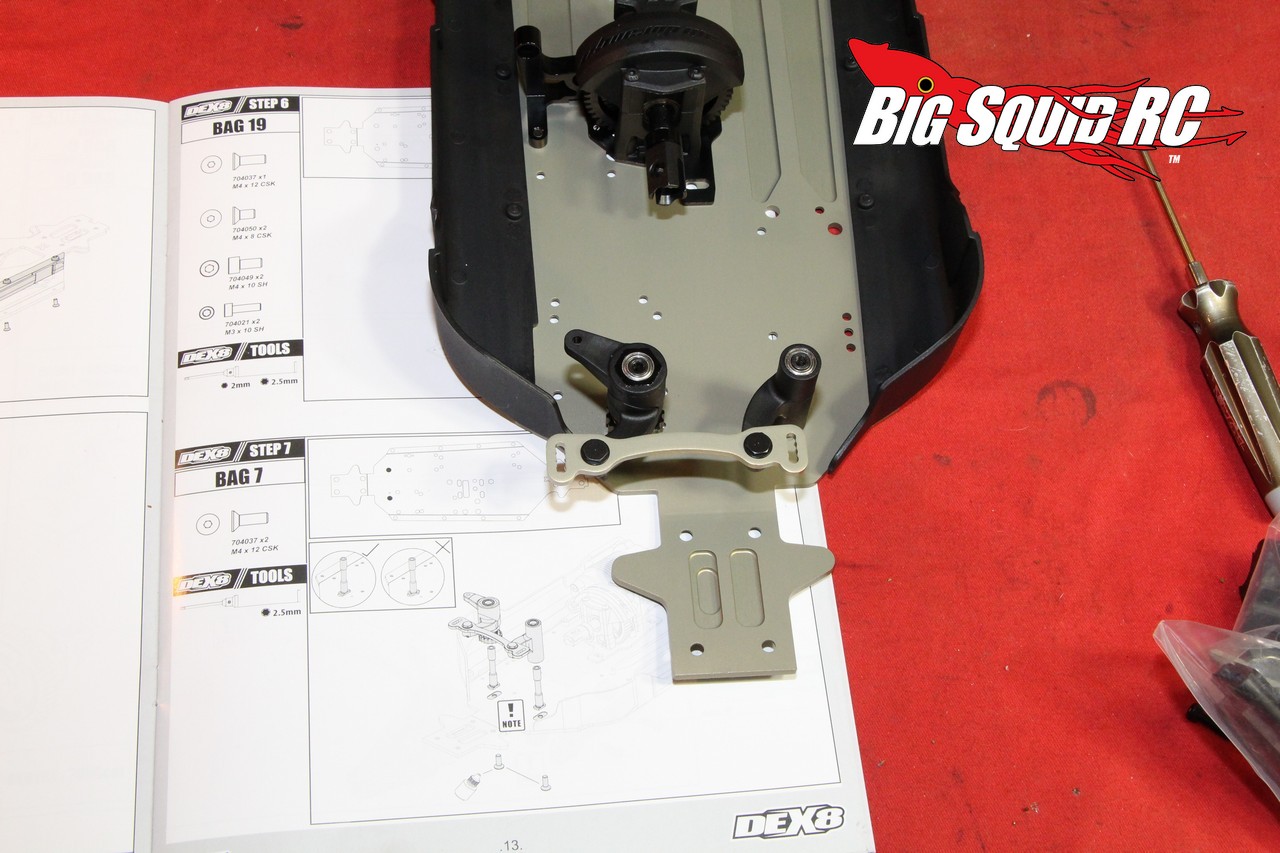
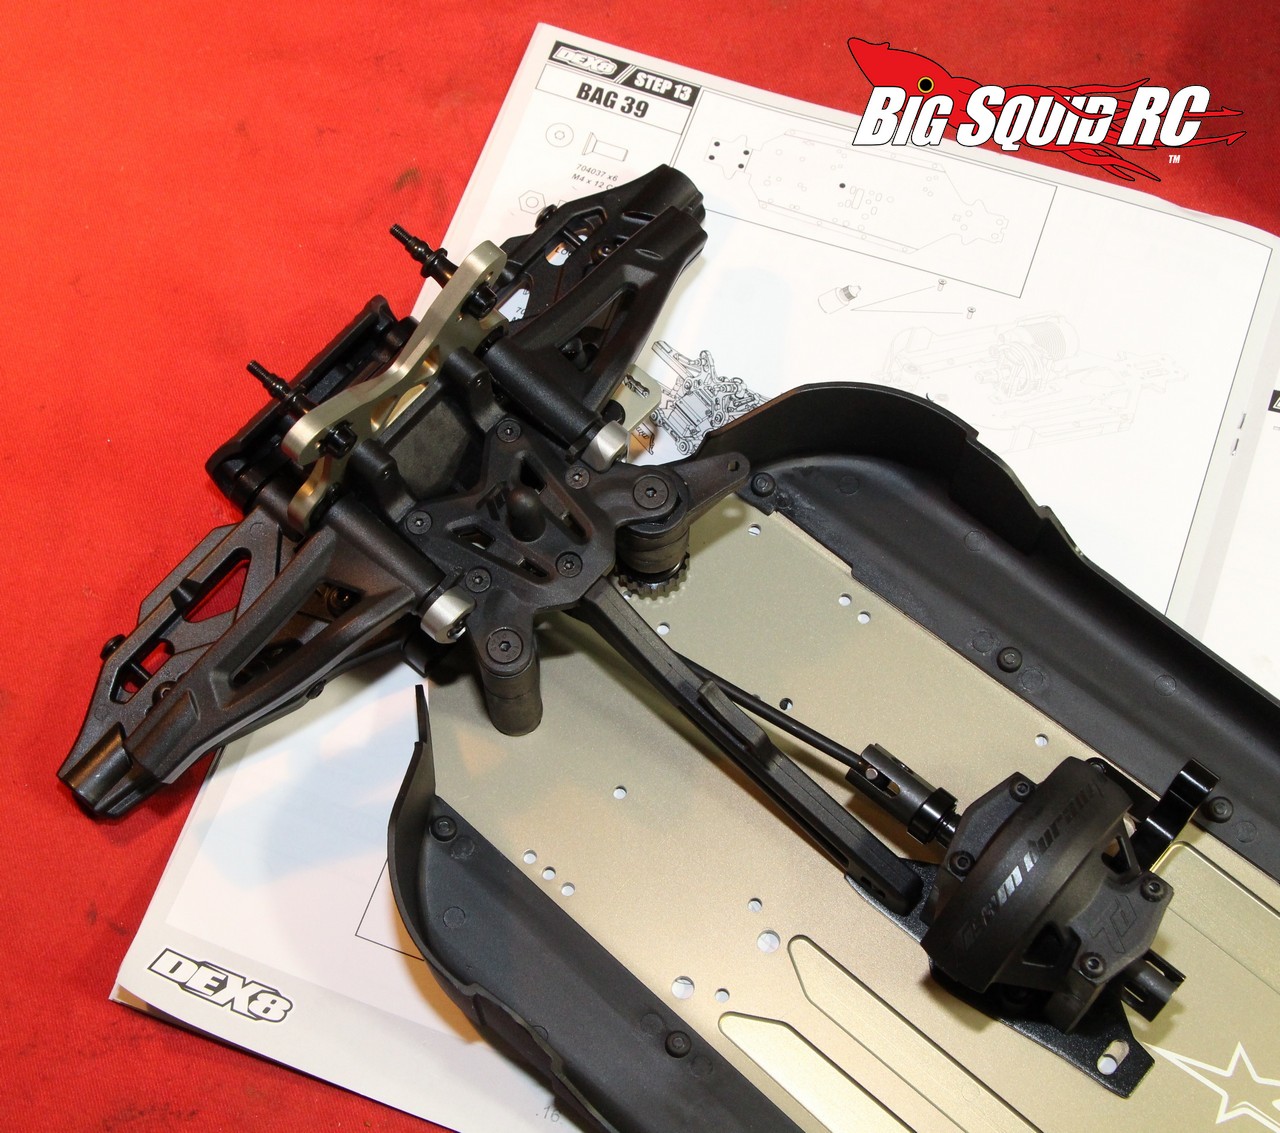
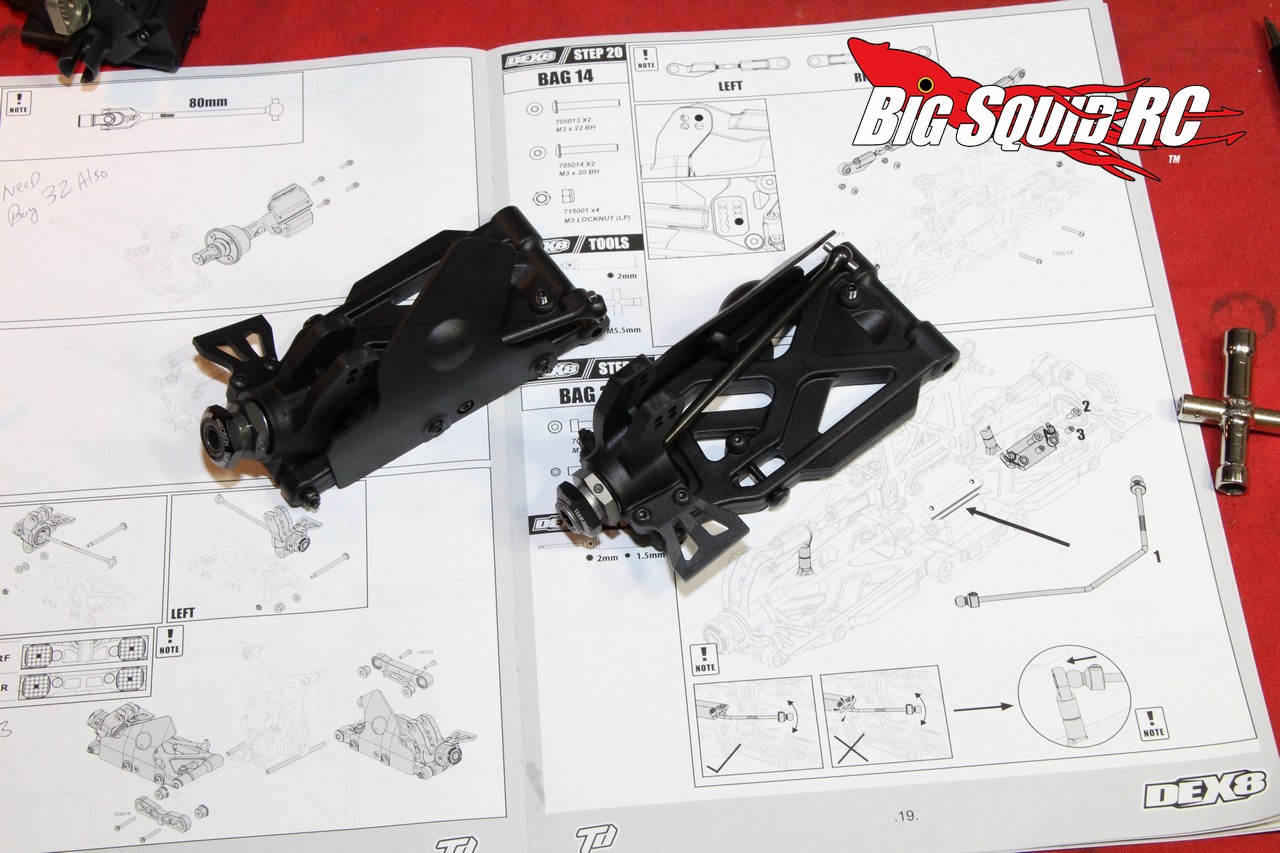
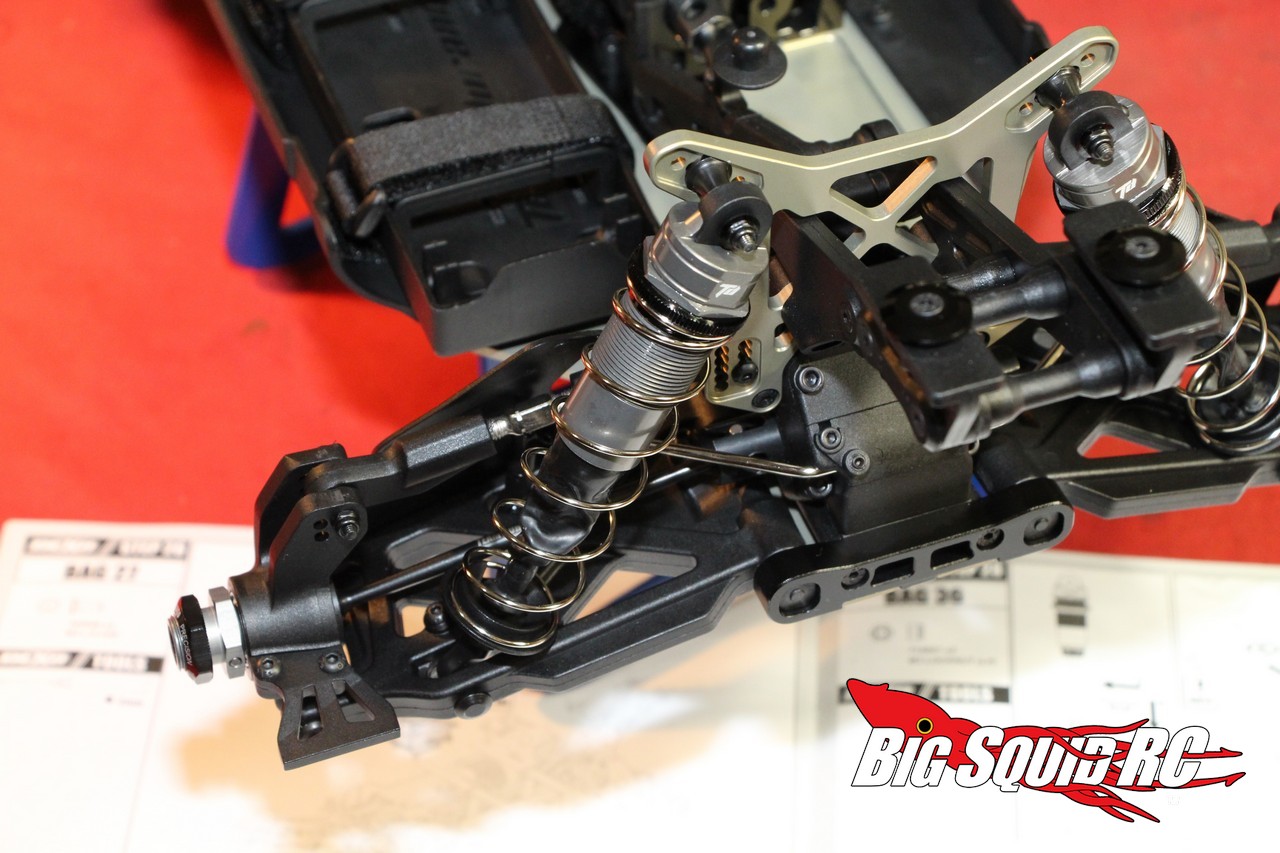
* In step 19 (installing the rear arms) the manual states that you need bag 3, 4, and 20. You’ll also need bag 13, trust us on this one.
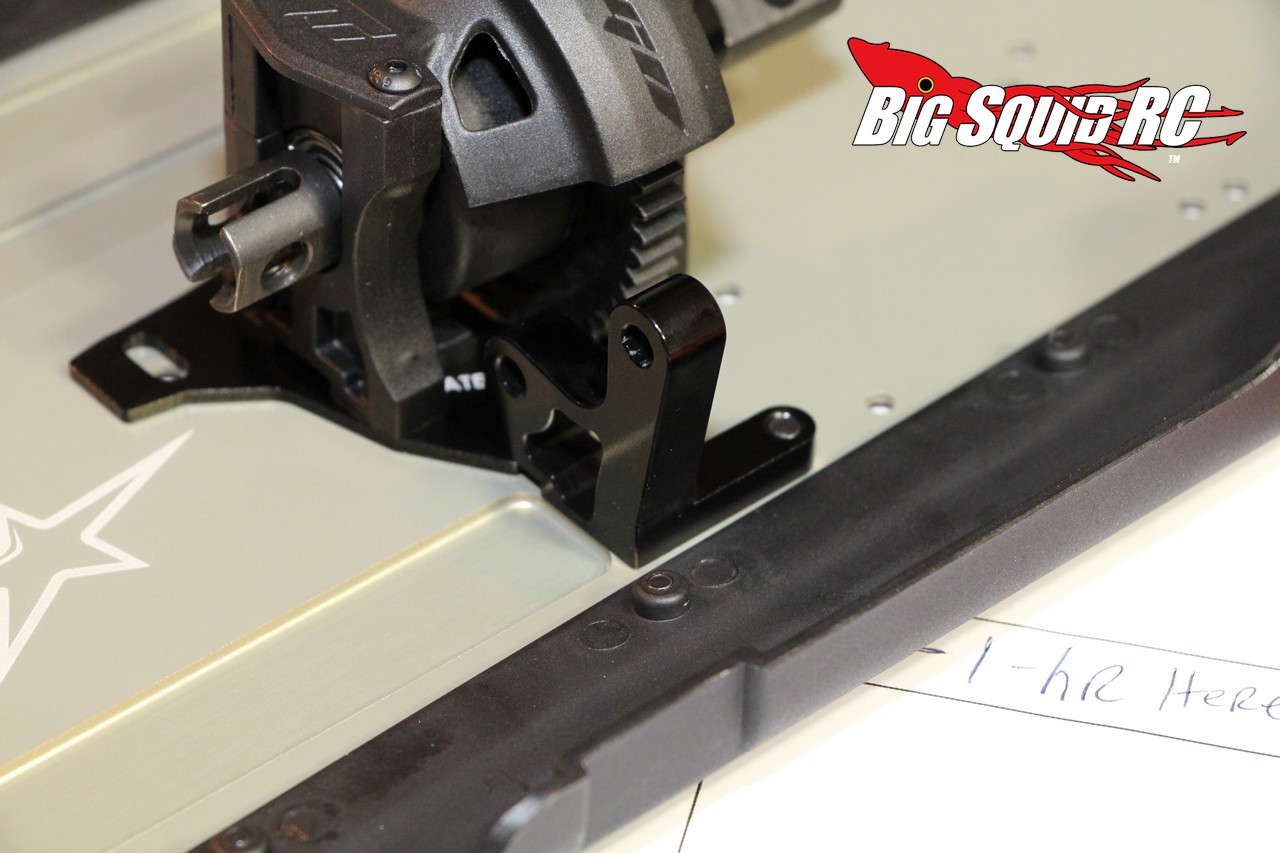
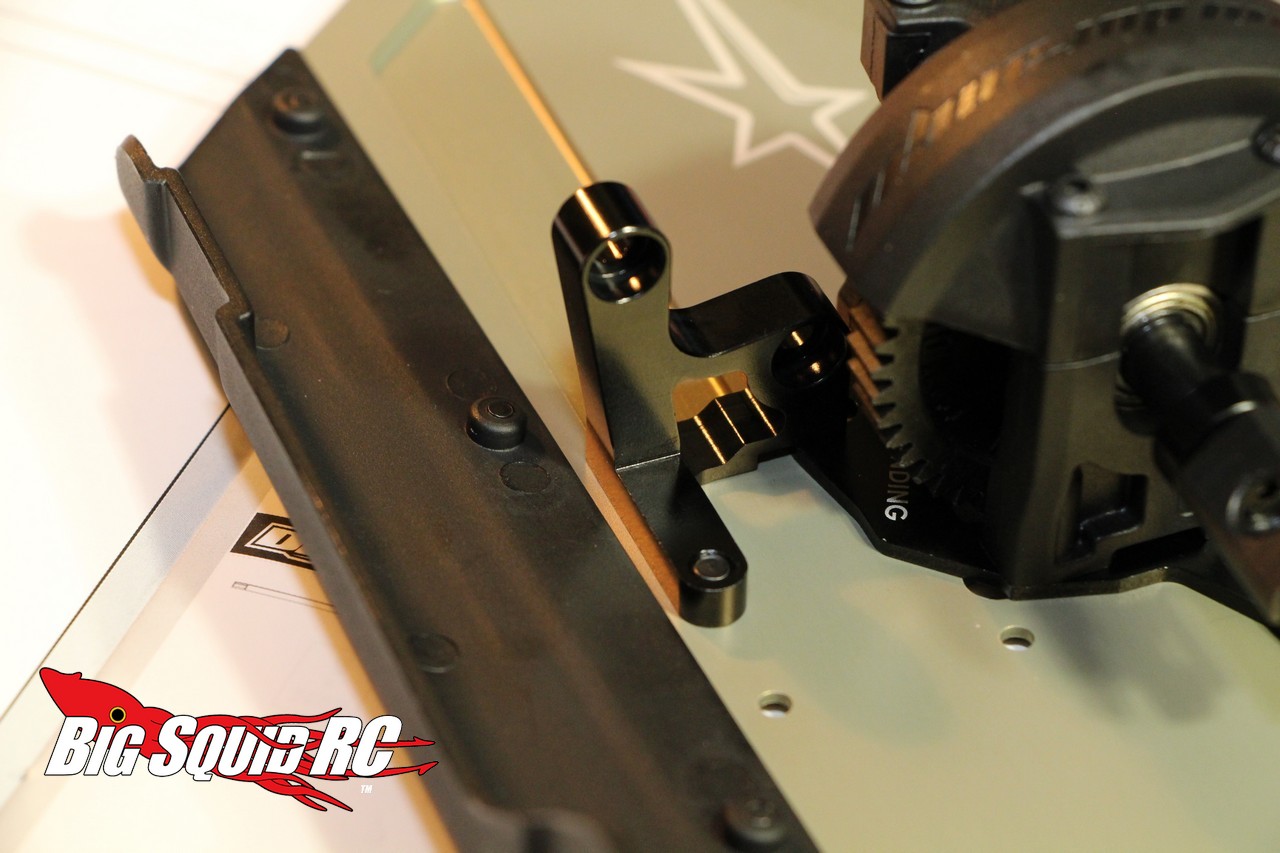
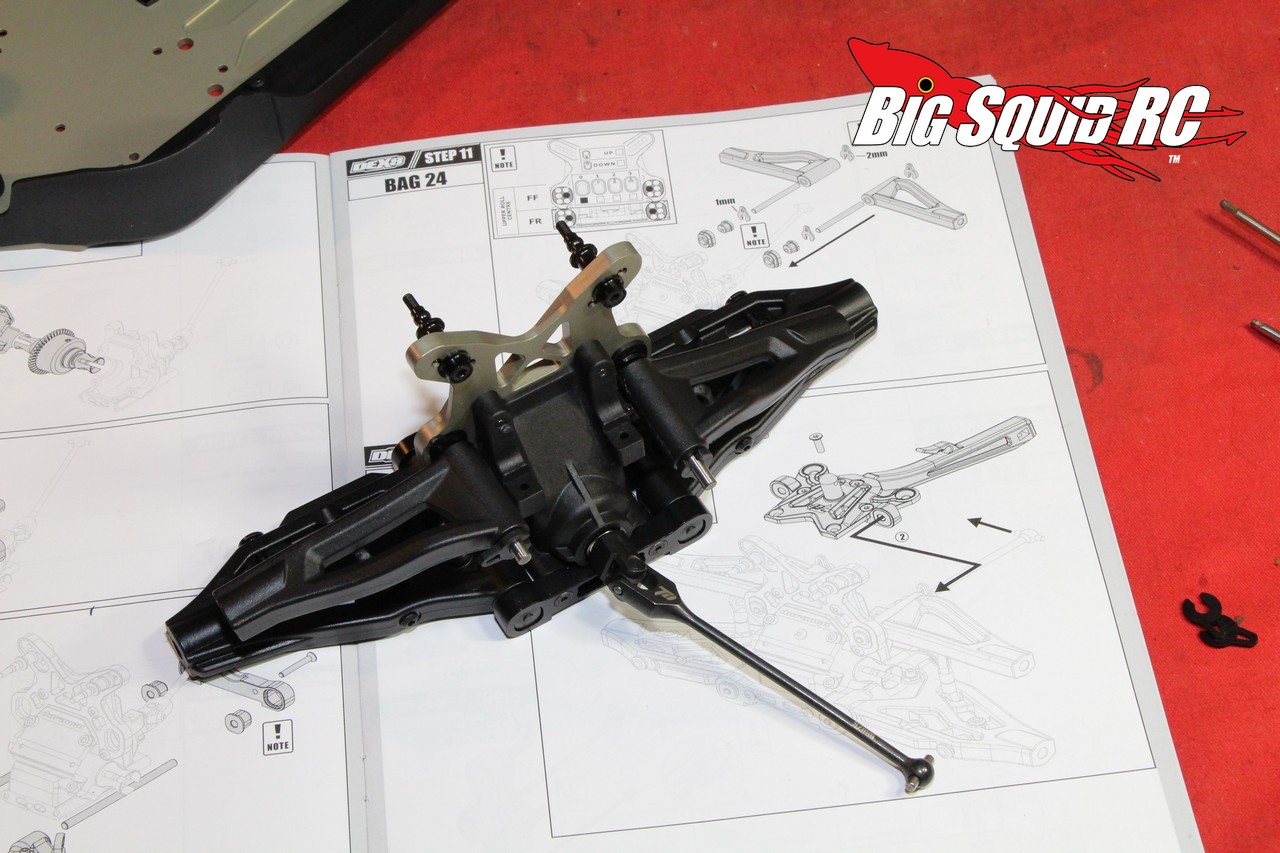
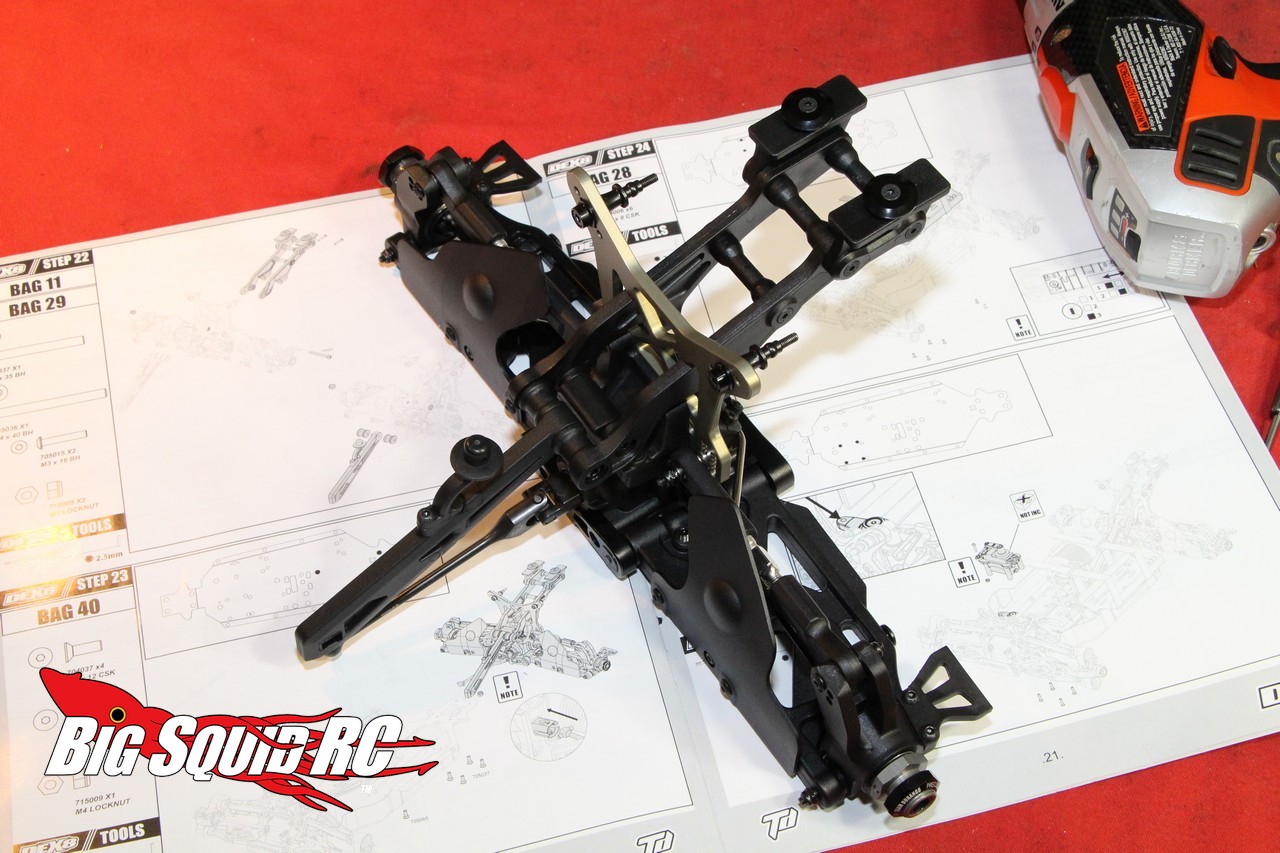
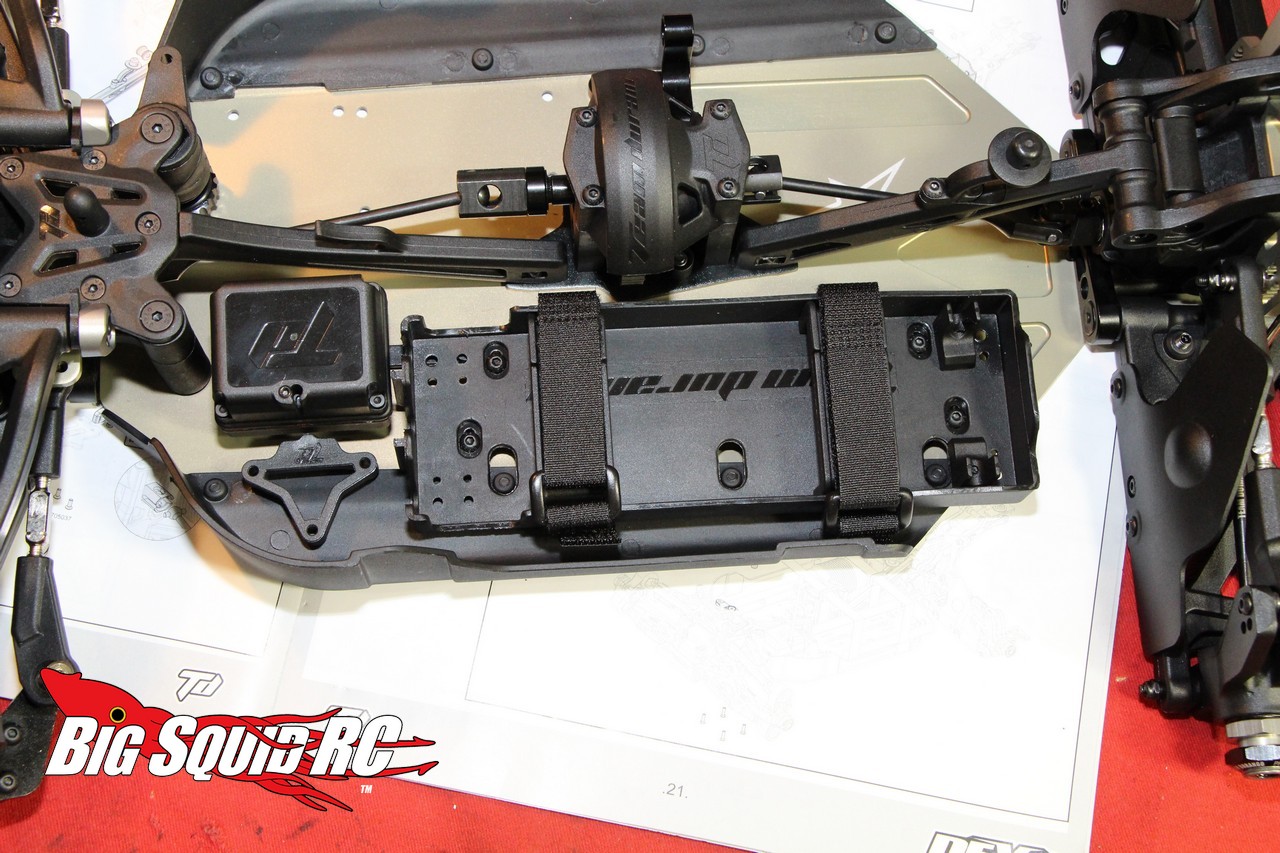
* Step 24 fails to show the install of the transponder mount. While it is fairly obvious to a seasoned builder, a noob may be left scratching their head.
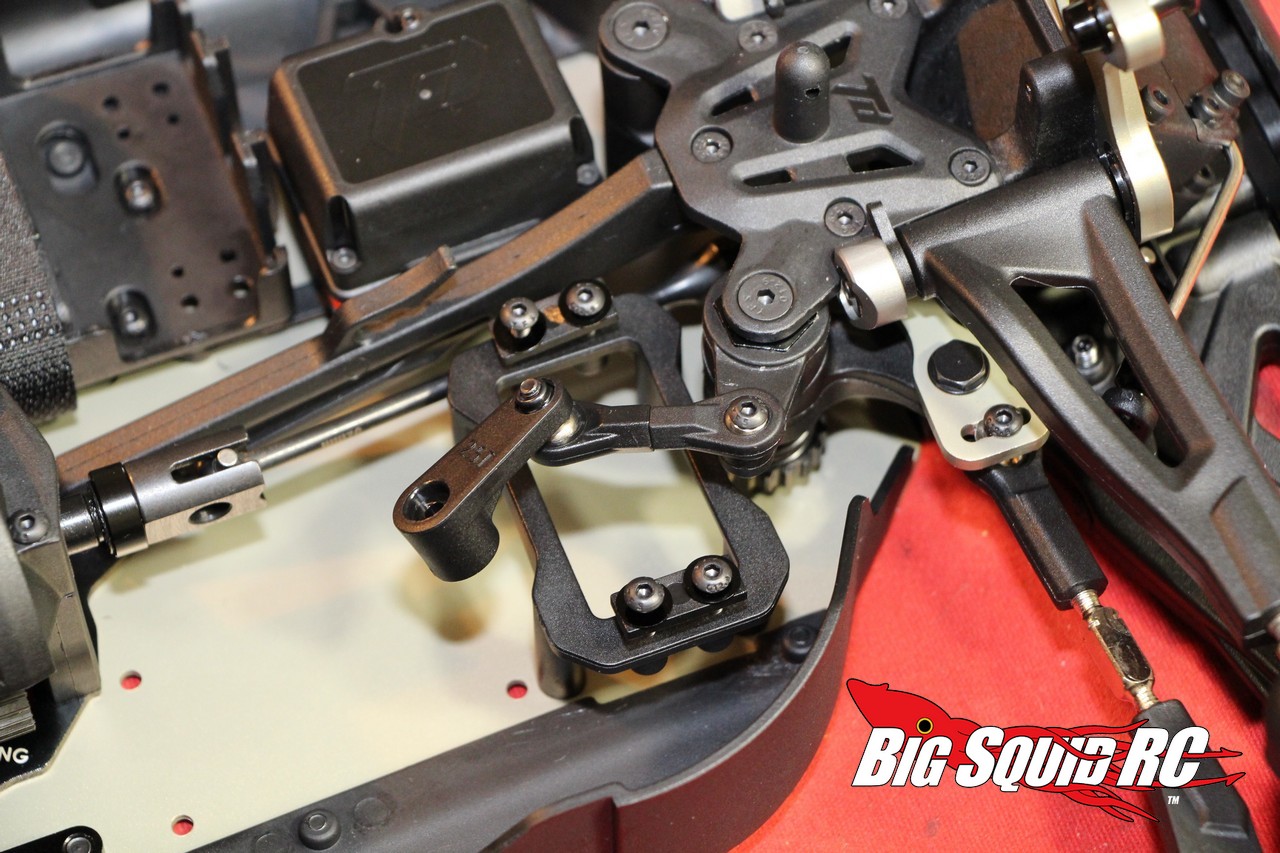
* Step 25 is a bit vague on the assembly and install of the tie-rod that runs from the servo horn to the steering rack. Once again, if you’ve built a few kits before it is easy enough to figure out, but if you are noob it would probably raise a few questions in your head.
* In Step 26 the manual shows the ESC wire holder installed, but does not show the screw that is used to install it.
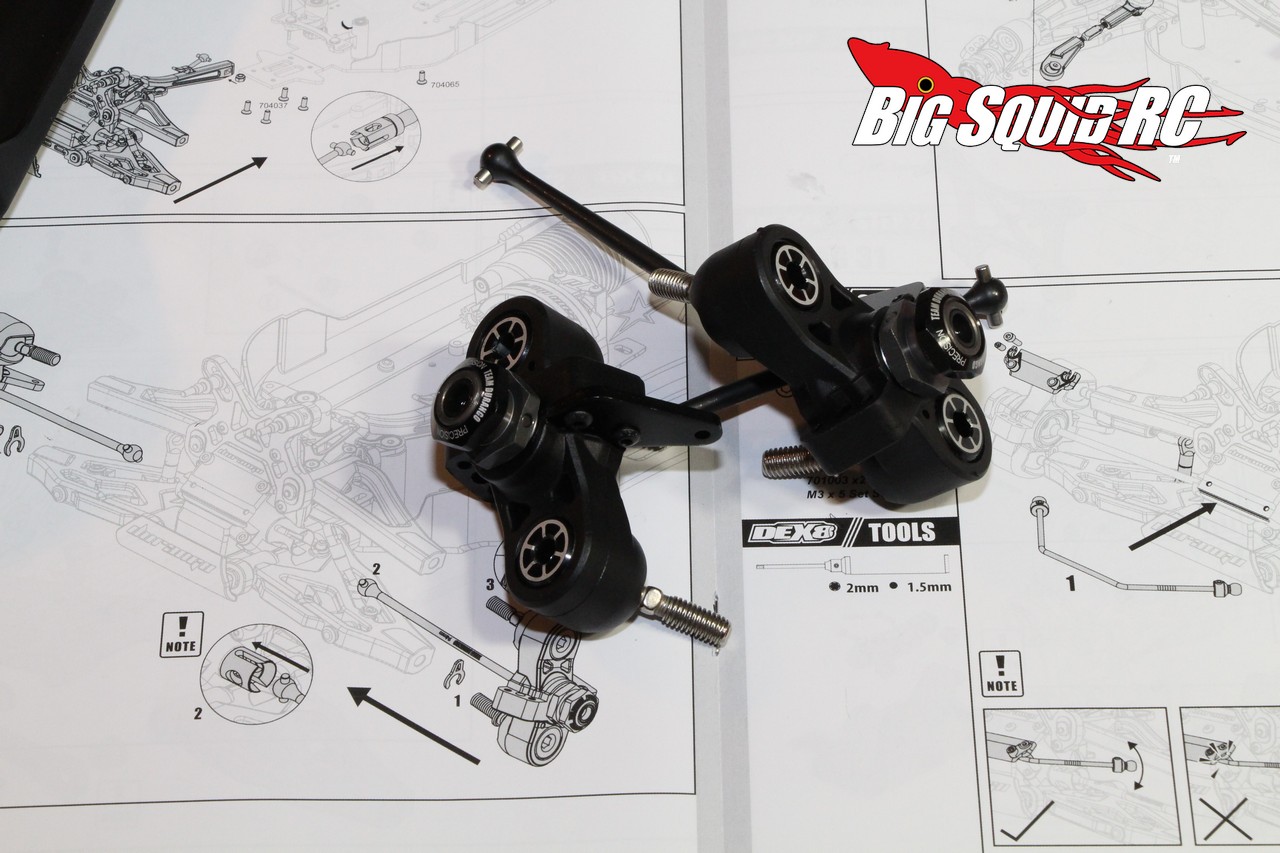
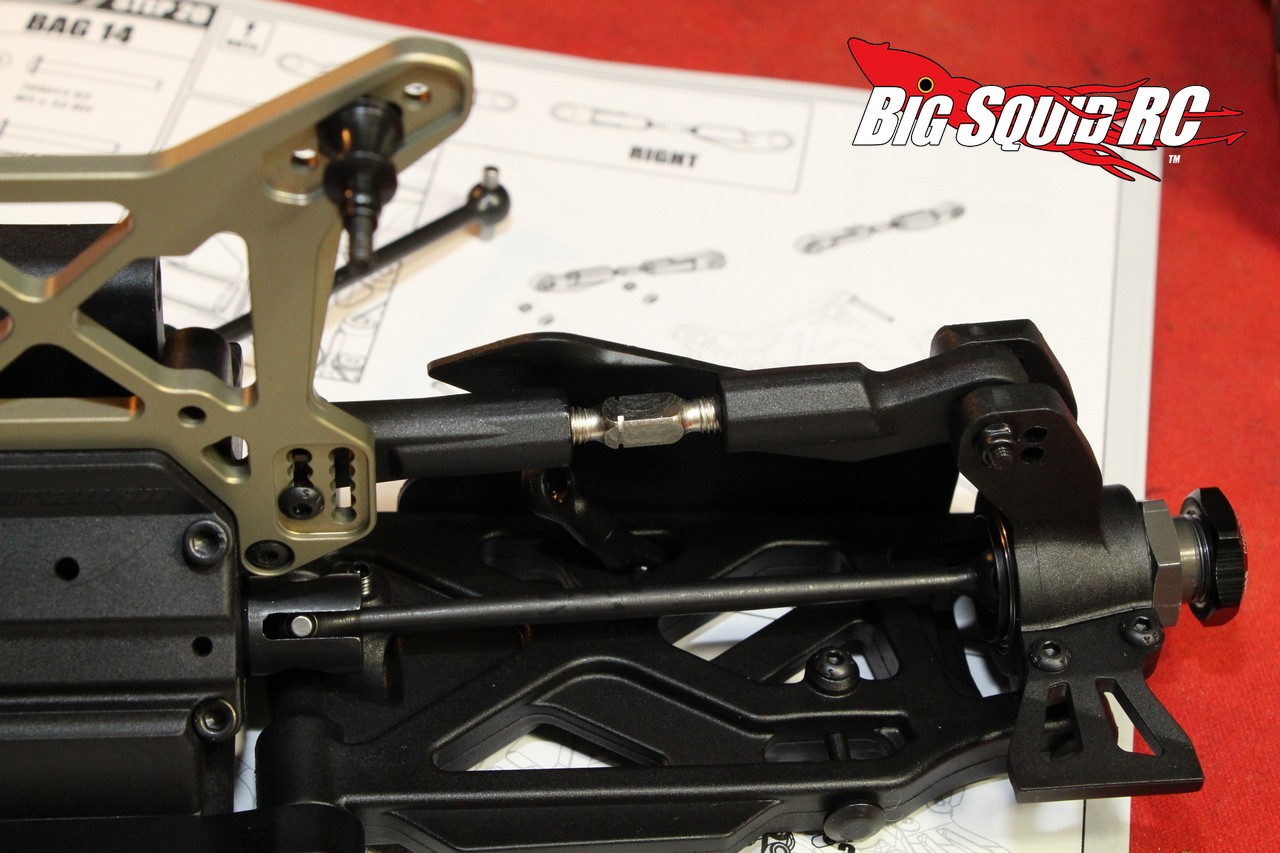
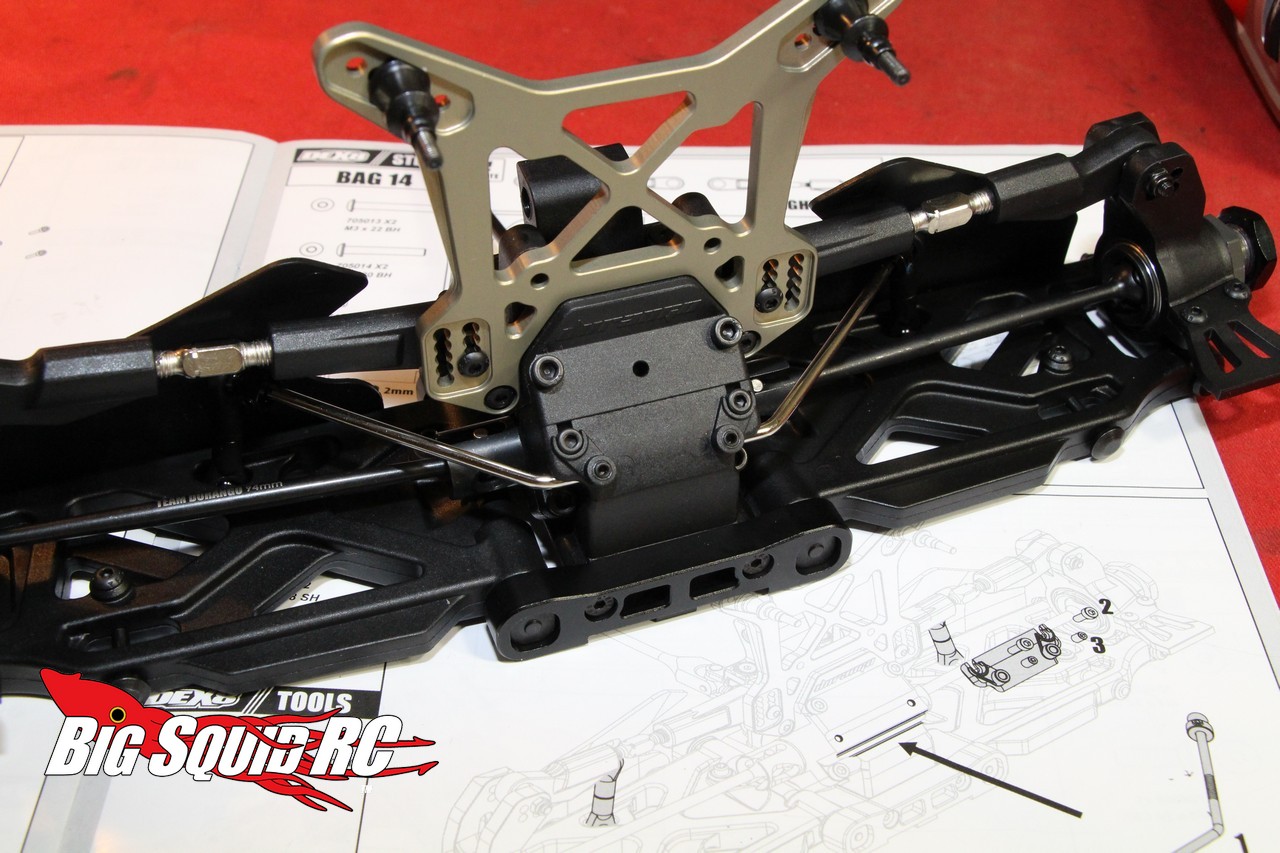
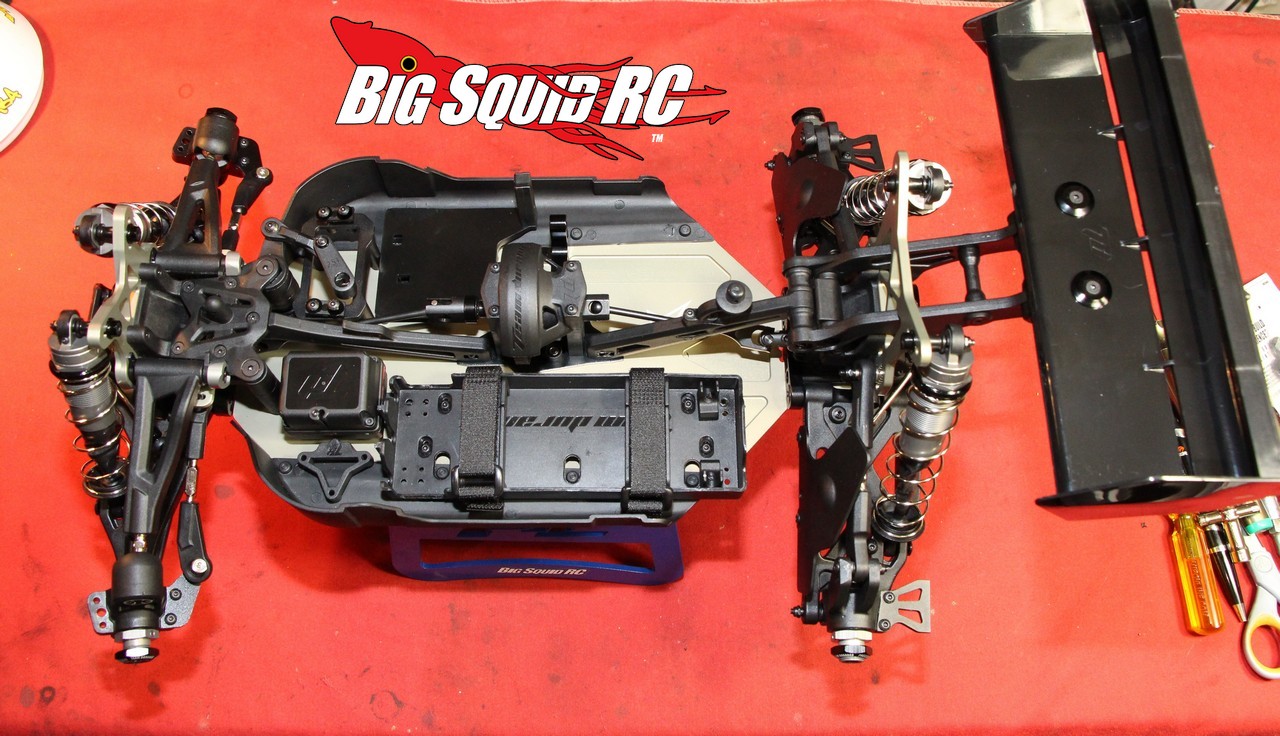
Overall, a whole lot of the build has already been done for you. For example, in Step 14 where you install the front hubs, the pillow balls have been pre-installed, as have the CVDs, wheel hexes, and wheel nuts. In every step all the plastic parts, metal parts, and screws that you need have been bagged together to make the install as easy as possible. It is greatly appreciated that you don’t have to open 12 different bags to complete Step #1, just as it is equally appreciated that you don’t have to measure a bunch of different screws to complete each step. If you are a first time kit builder the DEX8 is one of the best vehicles you could choose to build, if you are an experienced builder the DEX8 eats up a whole lot less of your time.
Our full review of the DEX8 goes up in about a week, if you have any questions about the features of the buggy Right Here is the link to its official page over on the Team Durango website. Also, the first shipment of the DEX8 is expected to sell out quickly, if you want to make sure that you get one of the first ones to hit the market you will want to get one on pre-order at your LHS or at This Link over on the Tower Hobbies website.