Hey gang, Evol here again with an update on my scale drift track build. If you remember last time around we focused on the easy to get and lower cost options for building the basis of your drift track. You don’t? Well check out volume 1 Here. This time around we are going to look at couple of options for scaling out your track that will really trick your eyes into thinking you’re looking at a full scale version when viewed from the right point of view. Some of these pieces can be very high in cost, and others can be very time consuming to produce. I’m choosing to use a mixture of these items because while I don’t have an unlimited budget to build with, I do want the best result possible so I am willing to invest some money in places I feel it will help the most.
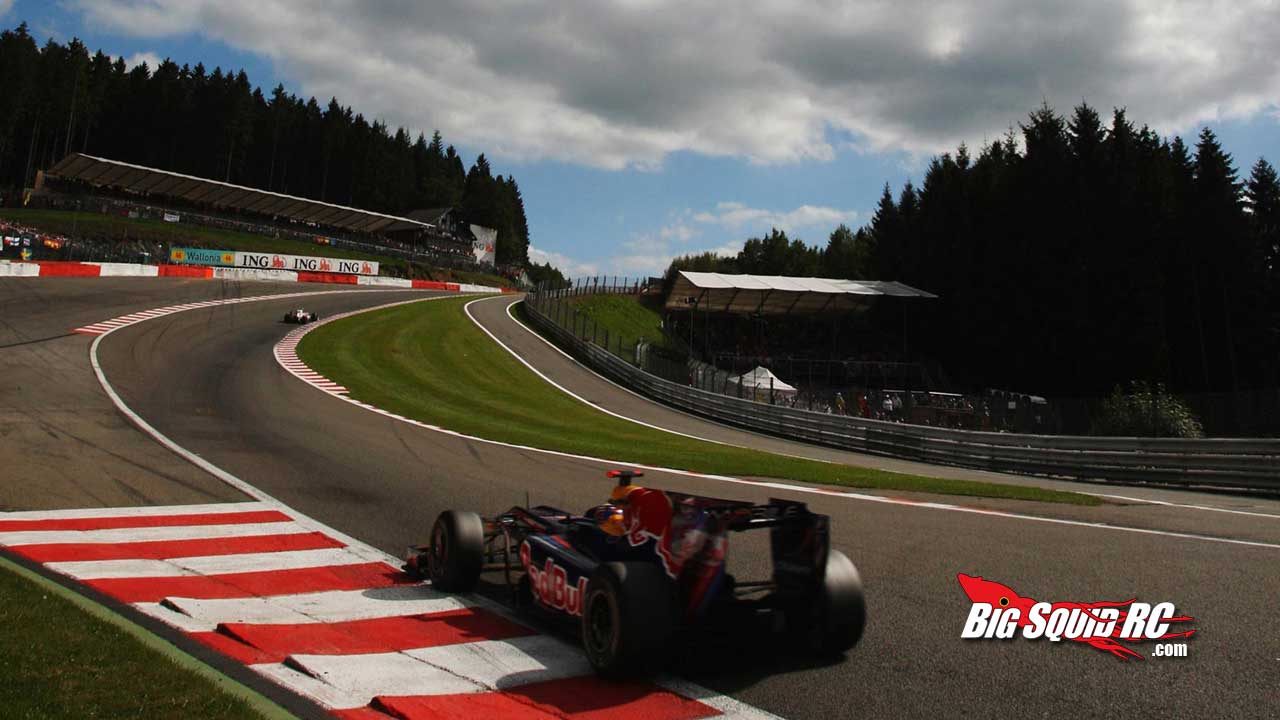
So picture if you will some of the iconic race tracks. Spa, Nürburgring, Monza. All of these tracks feature some visual cues that make you think “race track!” Pictured below is the famous Eau Rouge corner at Spa. See the bright green infields, red and white rumble strips on the entrance and exits of the corner? The red and white crash barriers near the stands? The look of these items is going to be the focus of this installment of my build.
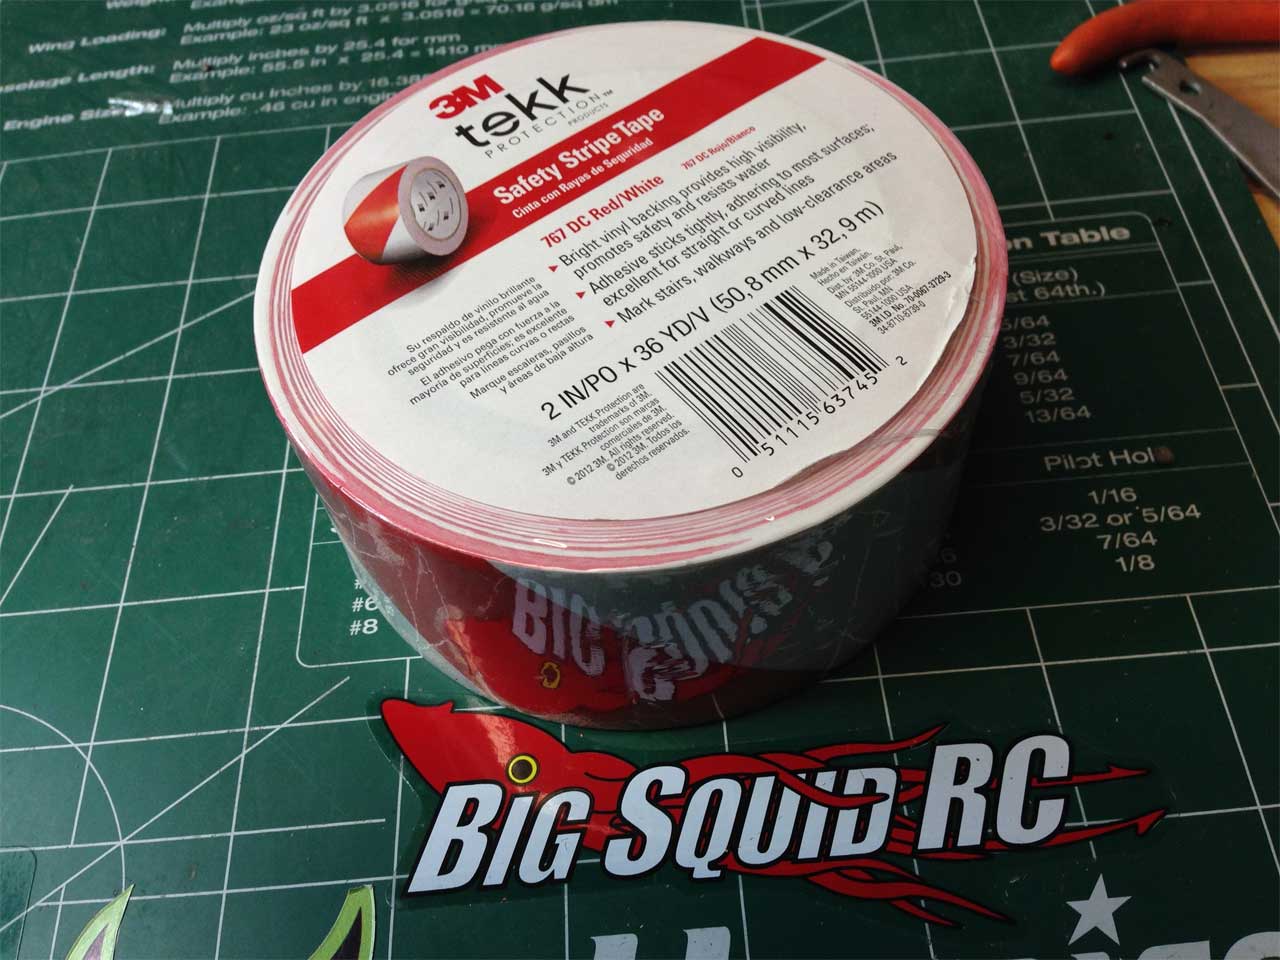
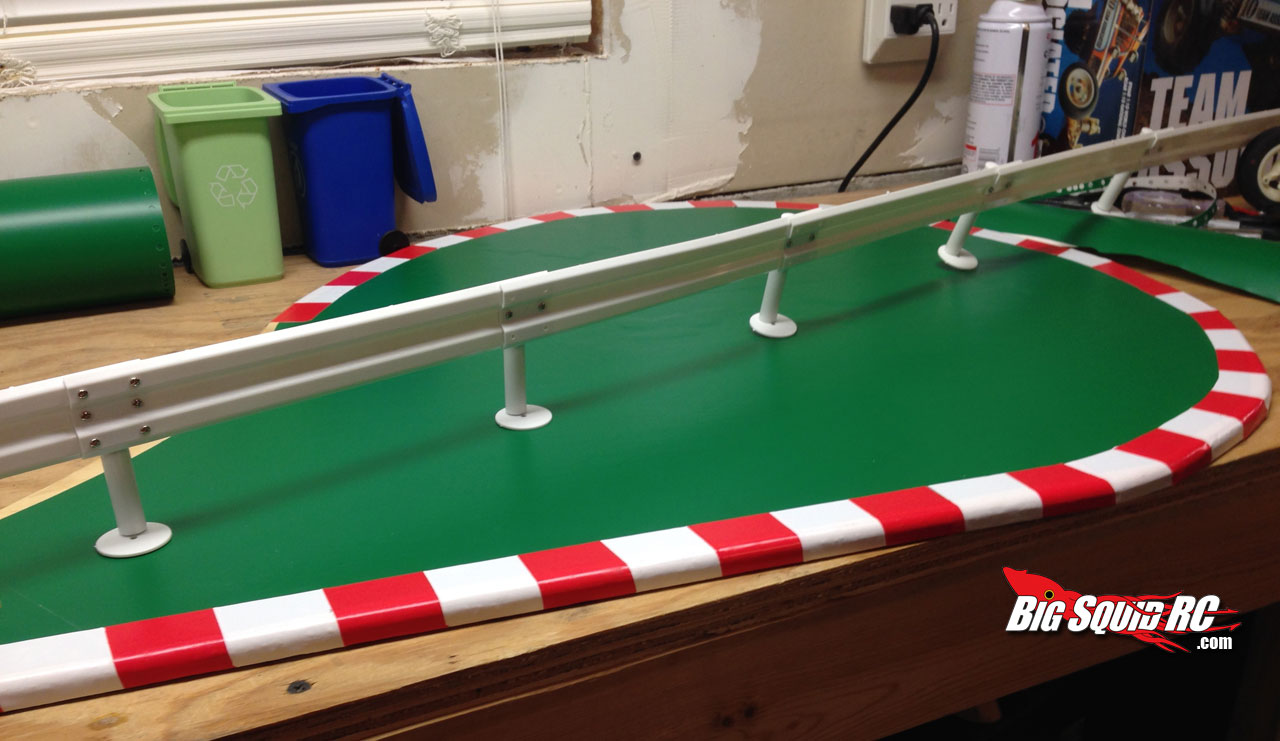
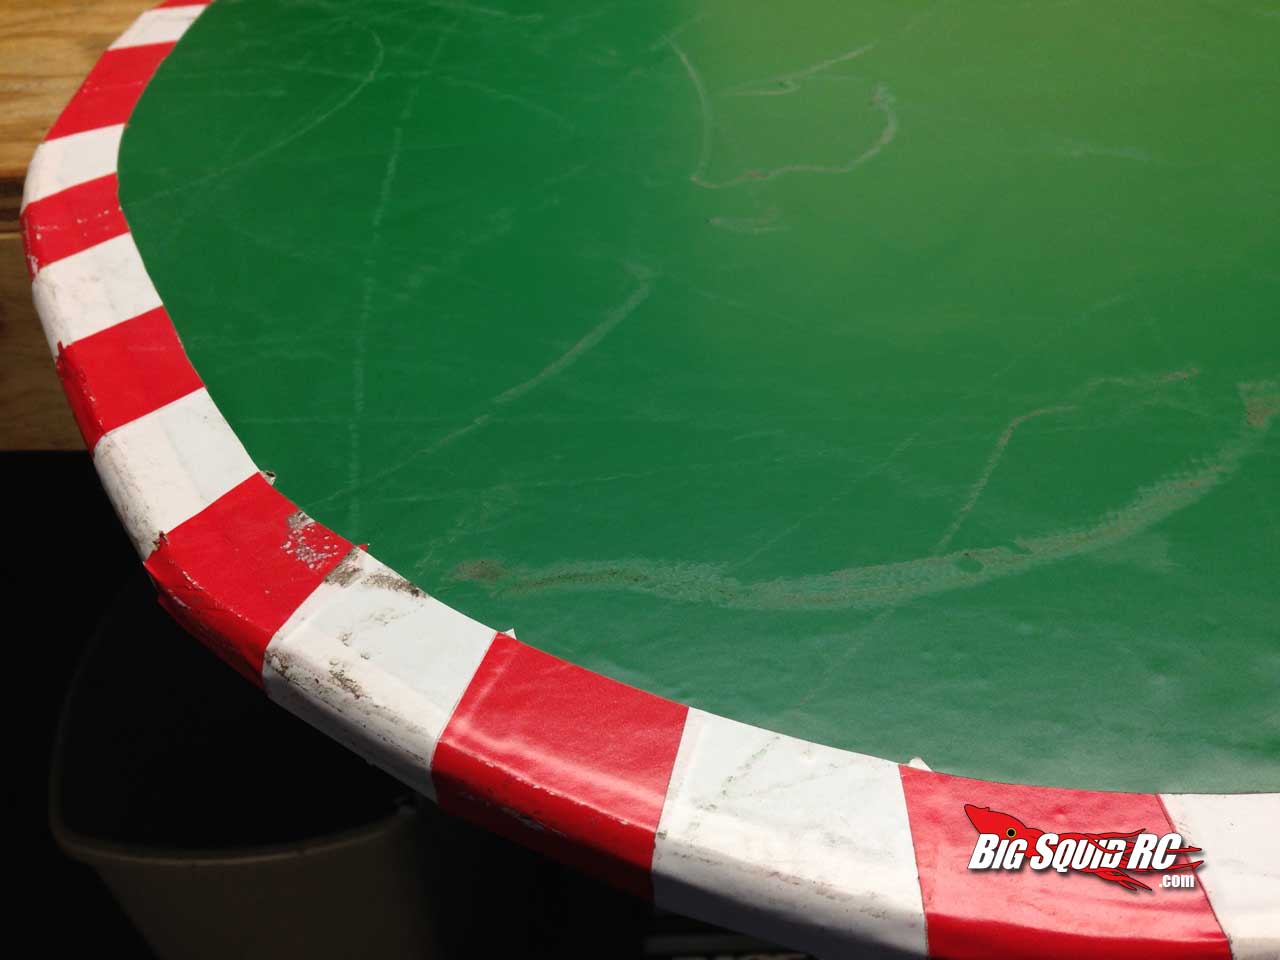
My first stab at doing some of the curbing or “candy canes” if you will was just using some standard 5/8ths plywood and some 3M safety tape. Both readily available at your local Home Depot. I started by cutting the plywood into the shape of my infield with a jigsaw and routering the edge to give it a rounded look. When I was happy with my shape I covered it with some green adhesive vinyl I had laying around, but you can substitute this step by painting it green with spray paint or even putting down some green felt or carpet. This in fact may work a little better than my method.

The next step is to lightly stick some of the safety tape to a cutting board or mat and use a hobby knife to cut each color from the tape. When you have enough diamond shaped red and white stickers to do the length of your curb you can stick them on. I stuck mine on so that the colors run parallel to each other and then I trimmed them on top so they look straight. This is pretty convincing to look at and it’s very cheap to do. I think the results look pretty good.

The tape is fairly rugged and holds up well to cars banging into it. The red tends to scuff off a little but it can be repaired easily by using a red Sharpie on it.
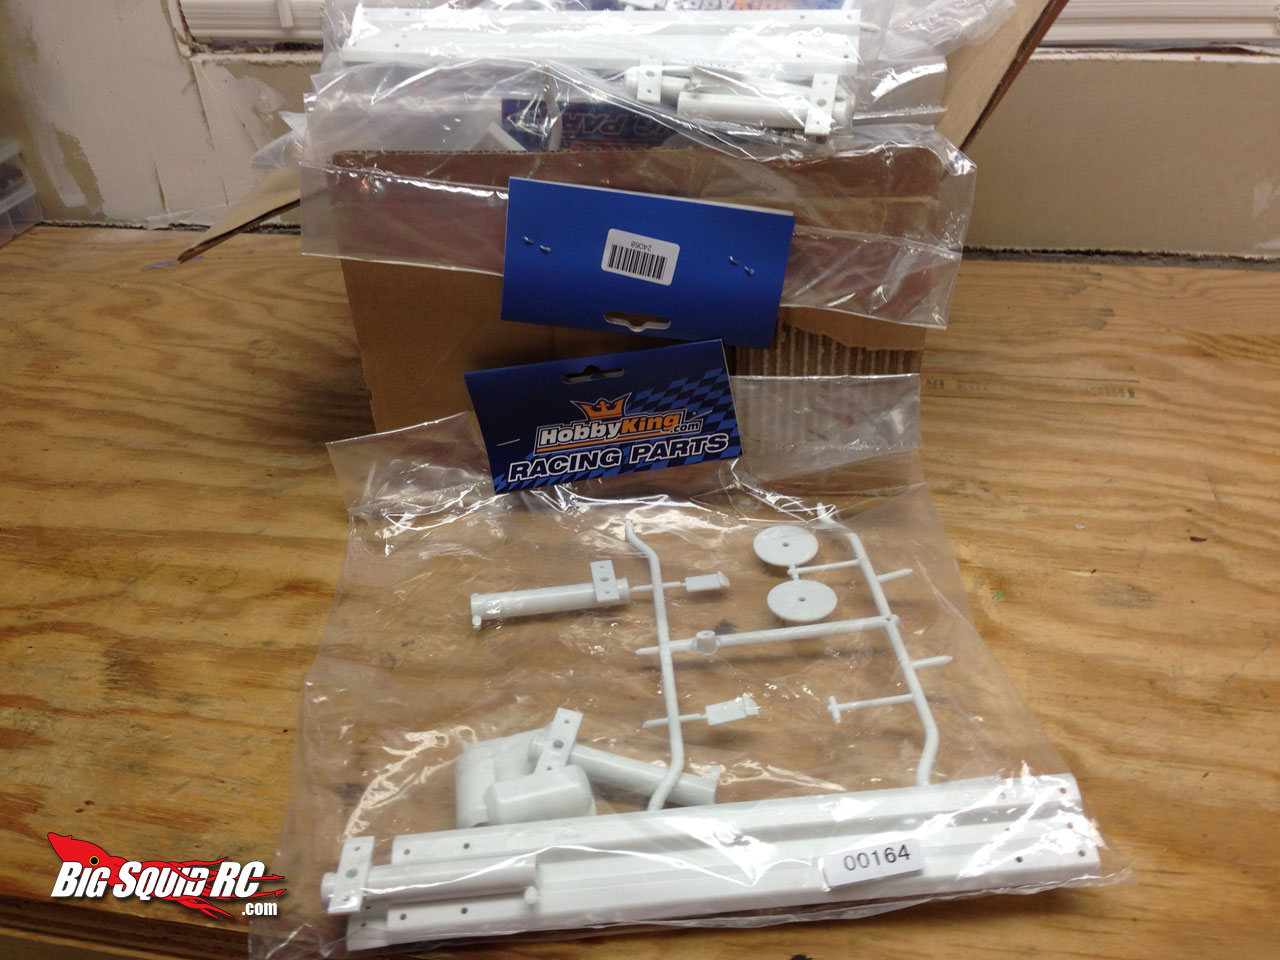
I went a step further with it and installed scale guard rails that I picked up from Hobby King. I anchored the guard rails to the board with some 1/4x20x2″ flat head bolts that I countersunk into the wood. This allows me to bend the guard rails further enhancing the look of the curbing. The end result here looks pretty fantastic but boy is it time consuming.
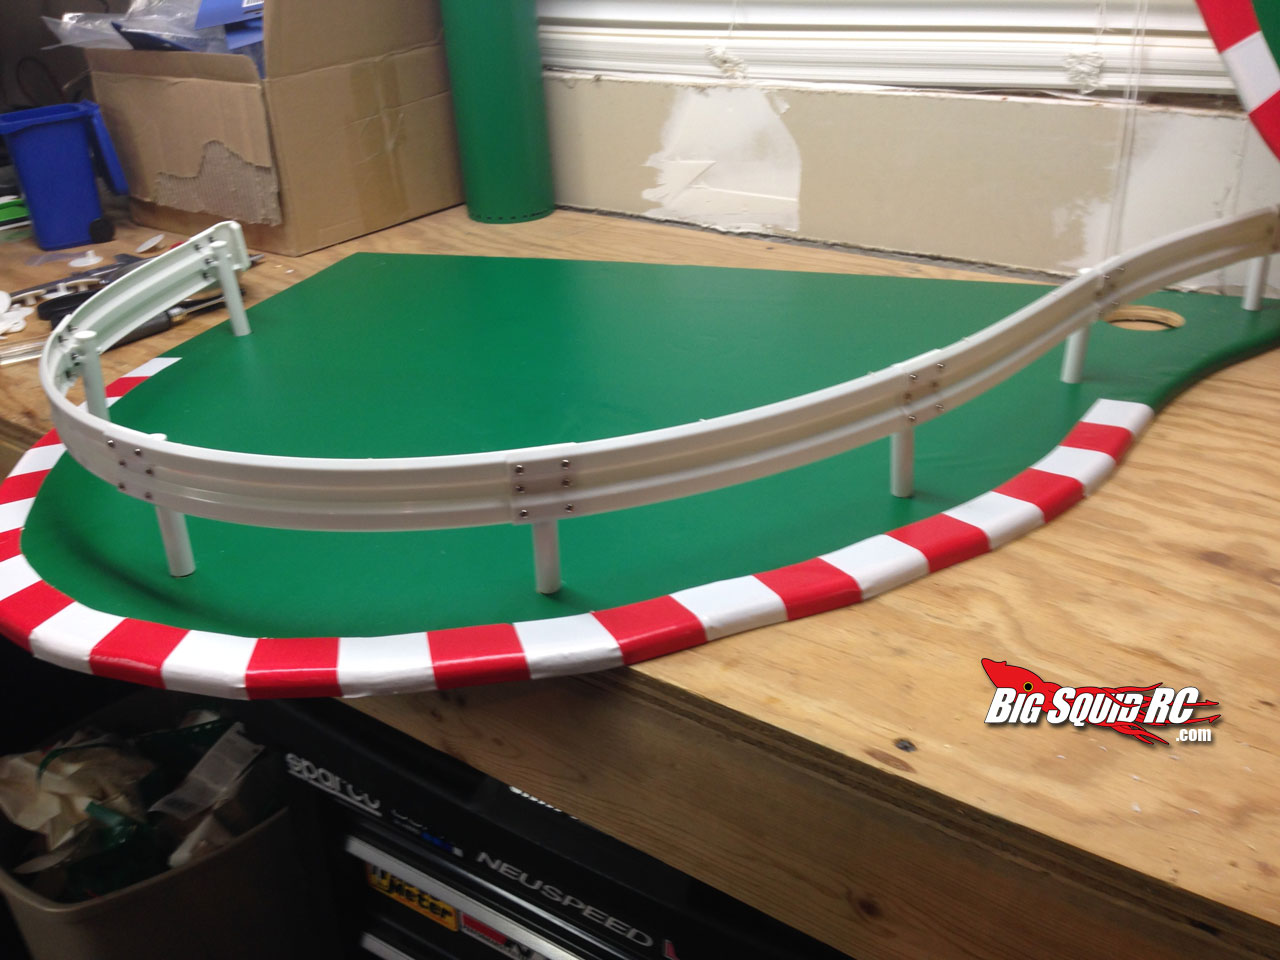
I really like the looks of this setup but the downfall is that it is not very flexible. In my next installment we will look at some easier options for achieving the same look. This entire build is a work in progress and some of these options detailed here work better than others, but I’m trying to present options for all budget levels. I hope you have enjoyed this installment of my scale drift track build. Be sure to check back here regularly for updates as it progresses.
That’s it for now guys, as always keep it sideways.
-Evol
To see the HobbyKing guard rails Click Here.
Or Click Here for more RC Drifting news on BigSquidRC.