Everybody’s Scalin’ – Budget Garage Build
What’s up everyone! I’m Jeremy and I will be doing the “Everyone is Scalin” column from now on. I became interested in this amazing hobby about seven years ago. Like many of us, I started with bashers and over time found myself fully submerged into the RC scale sean. Going from having just a RTR crawler to joining a crawler club, Chi-Town RC Crawlers, and now having my own scale off-road park in my back yard. I am currently working on my summer opener which will include a scale rock concert with pyrotechnics! If all goes well, I will still have my fingers and some amazing pictures for future posts; but enough about me, lets get down to business.
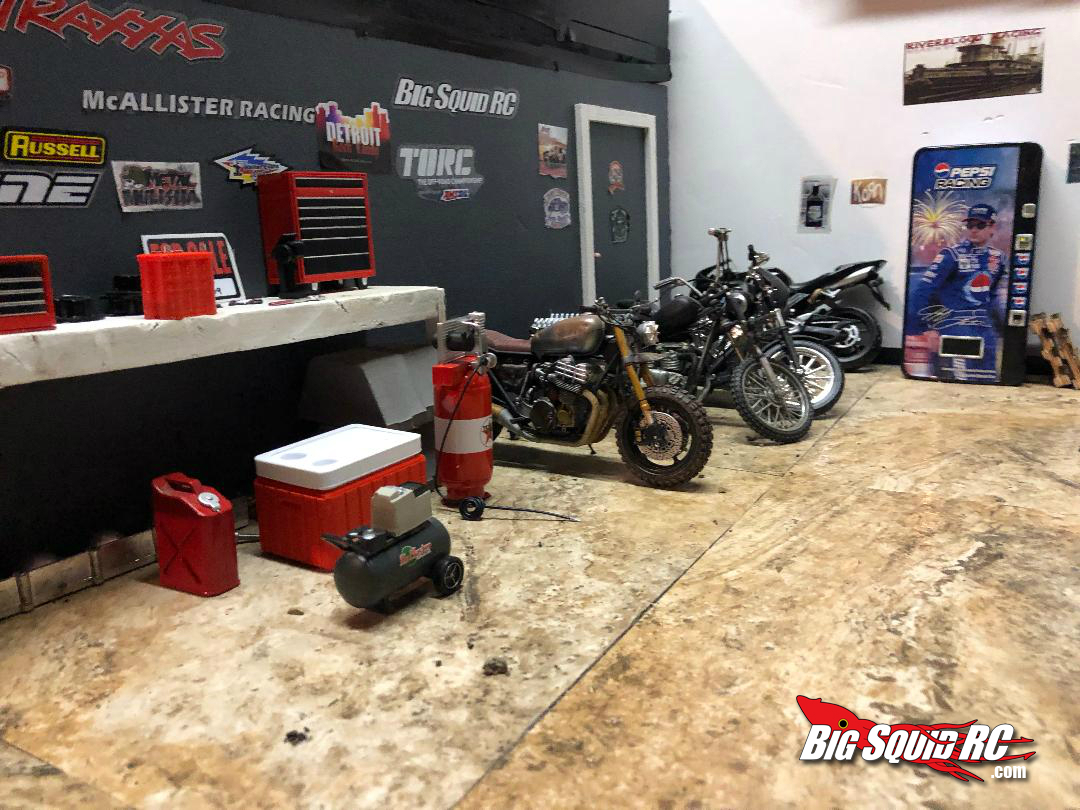
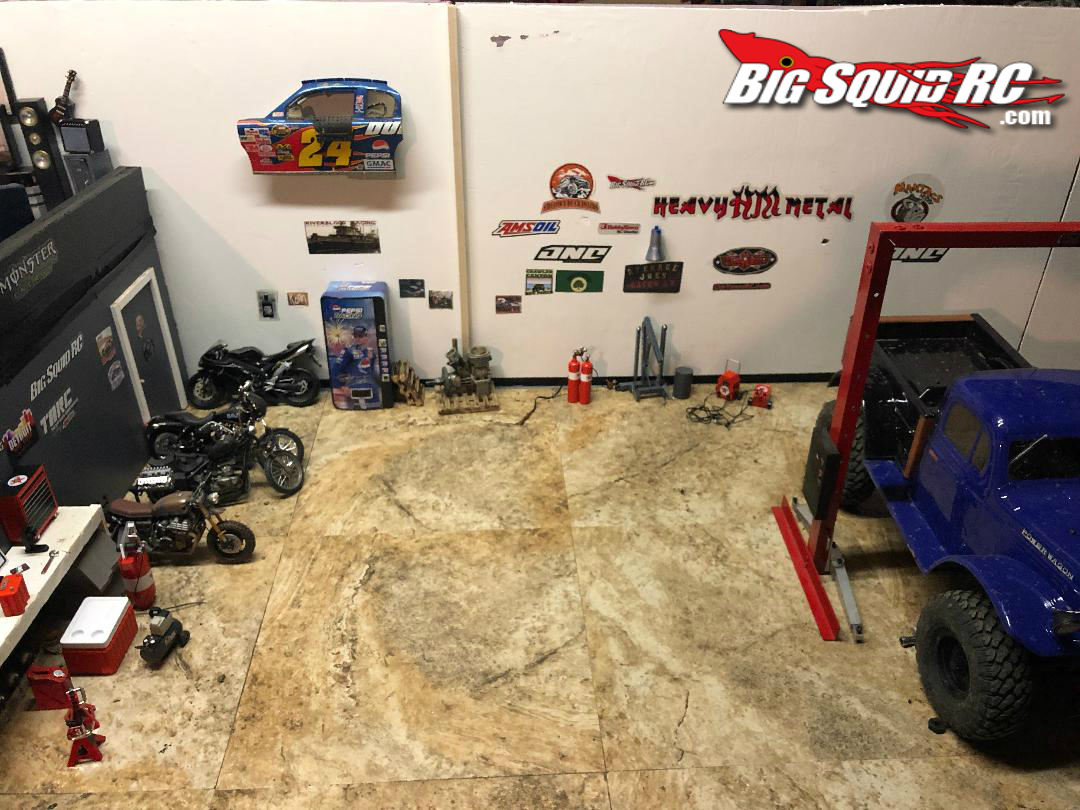
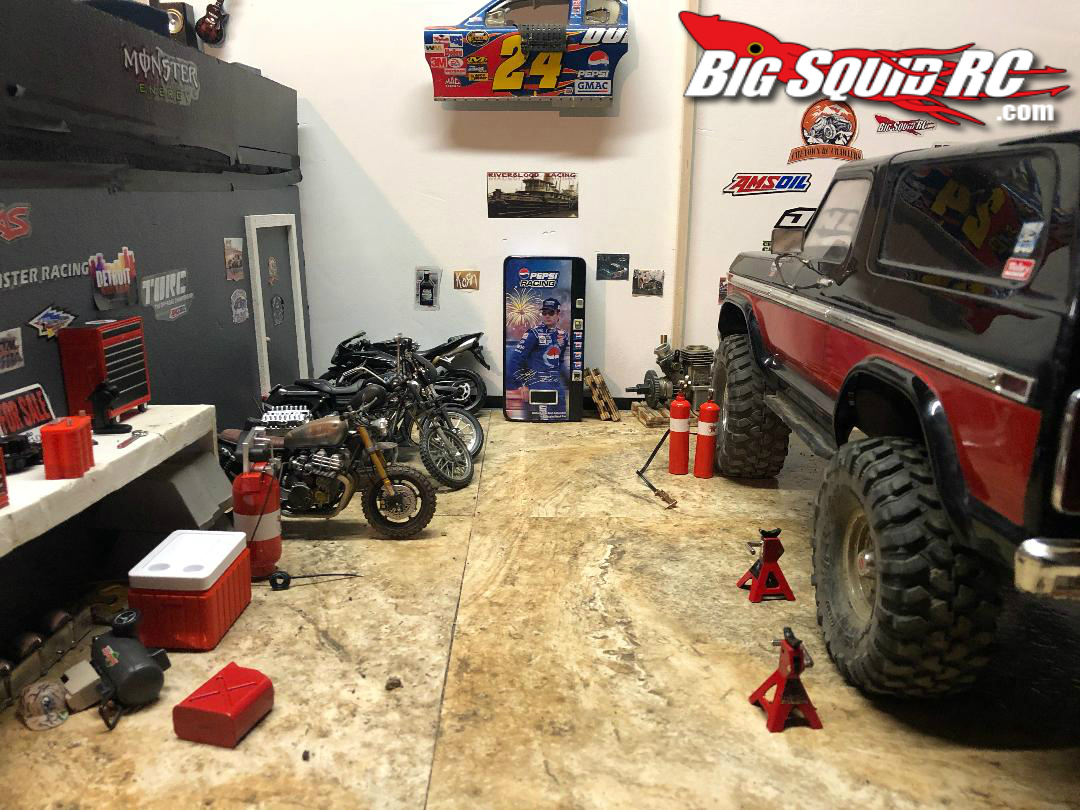
Having a scale truck or car is all about getting the vehicle to look as close to its 1.1 counterpart. So why not store your rigs like your 1.1? I am going to give you some quick how to tips and instructions on building a scale garage out of some foam insulation board and items found around your home. Now don’t let the insulation board scare you, it’s not itchy, just messy.
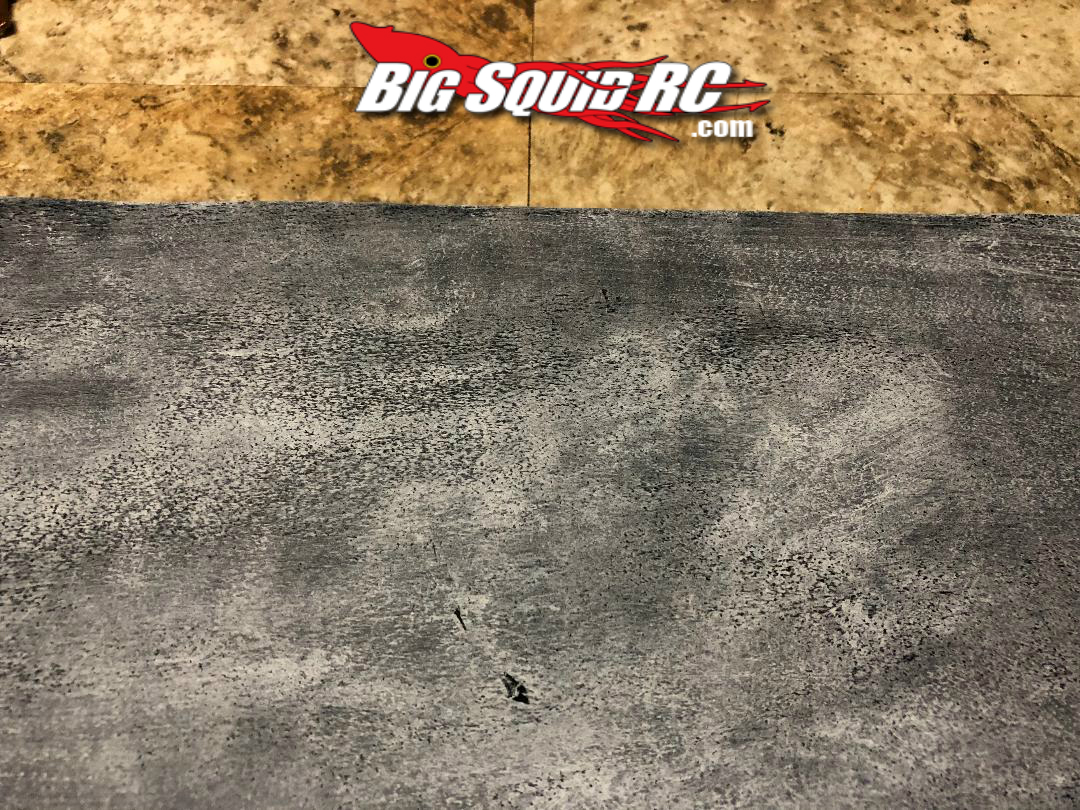
First, the supplies, purchase some ¼ inch foam insulation board from your local big box hardware store. They come in a range of sizes so get the size that fits with the size of your project. I also suggest purchasing a large T square, razor knife, ruler, tooth picks and acrylic paint. As for colors, it’s up to you. For a brick look I suggest purchasing a flat black paint, a barn red, greys and browns. If you want a clean professional looking garage, all you have to do is paint the walls whatever color you want.
Now that you have your building supplies it’s time to build. I find it best to have the vehicle or vehicles you will be using in your scale shop by you to get an idea of how tall and deep your garage will be. Once you have the measurements use a T square to get straight cuts. If your cuts don’t come out perfect don’t worry, you’re not building a load bearing structure. To get the best use of you scale garage I suggest building two side walls, one back wall, and the floor. This way you have the front open for easy scale pictures. I like to use cheap stick on linoleum for the floor it adds a nice hard surface for the vehicles.
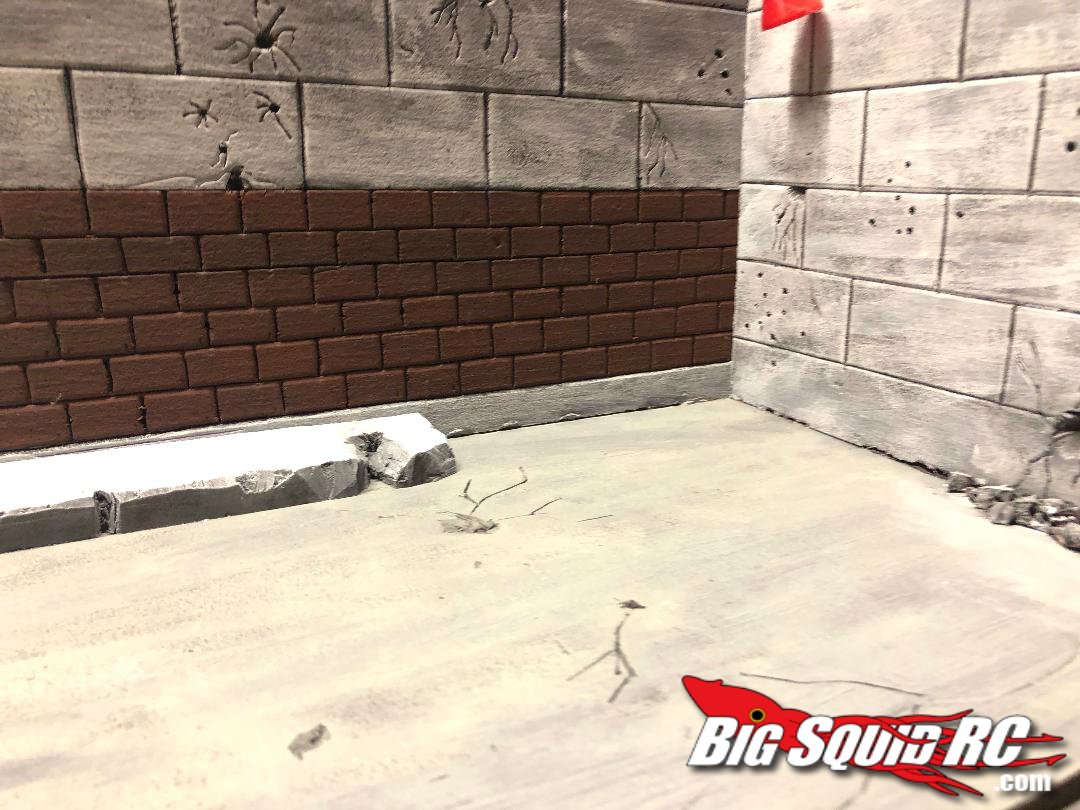
Now you have your walls painted and floor done, take the tooth picks, insert them into the bottom of the walls of the insulation board and use them to connect the walls to the floor. This way if you ever have to move the shop or store it away, you can take it apart and it won’t take up a lot of room. Just remember this is basically a budget garage build. The whole thing will cost about 60 bucks to construct if you don’t already have some of the supplies needed. The possibilities are endless with using the foam board. You can easily carve brick, cinder block even hard wood floors. Just by cutting into the board and then taking a dull pencil or pen running it through the foam board. The cut will add depth and texture to the walls and floor. Toss in a little black washing and dry brushing to achieve a weathered look.
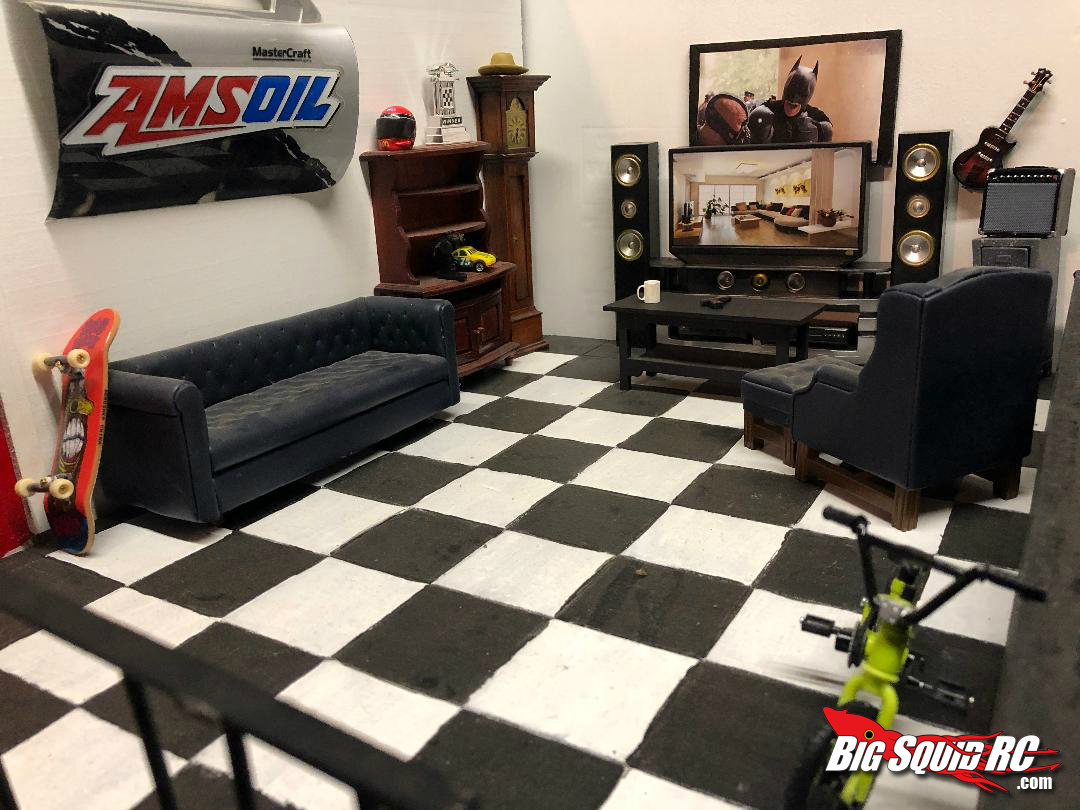
Giving your new scale shop personality is key in my eyes. Make it the way you would want it, that’s what it’s all about just don’t forget to put a BigSquidRC sticker on the walls. Have an old beat up RC body laying around? Cut off some of the body panels and hang them on the walls. It will start to make you look at everyday items in a whole new way. Like, “hey I can paint this old cell phone box to look like a soda machine”. I hope this helps some of the newer people in the RC scale world or anyone for that matter. Anytime you can do something cheap in this hobby is definitely worth trying.
Have a cool garage project? Link it in the comments below, or over on our Facebook page.
Happy building.