Gluing Tires with Cubby
While I highly prefer to save time by using pre-mounted tires, gluing tires is still a part of our wonderful hobby. For you old timers, you can glue up a set in your sleep, for you new hobbyists, it isn’t nearly as hard as some people (like me) make it out to be.
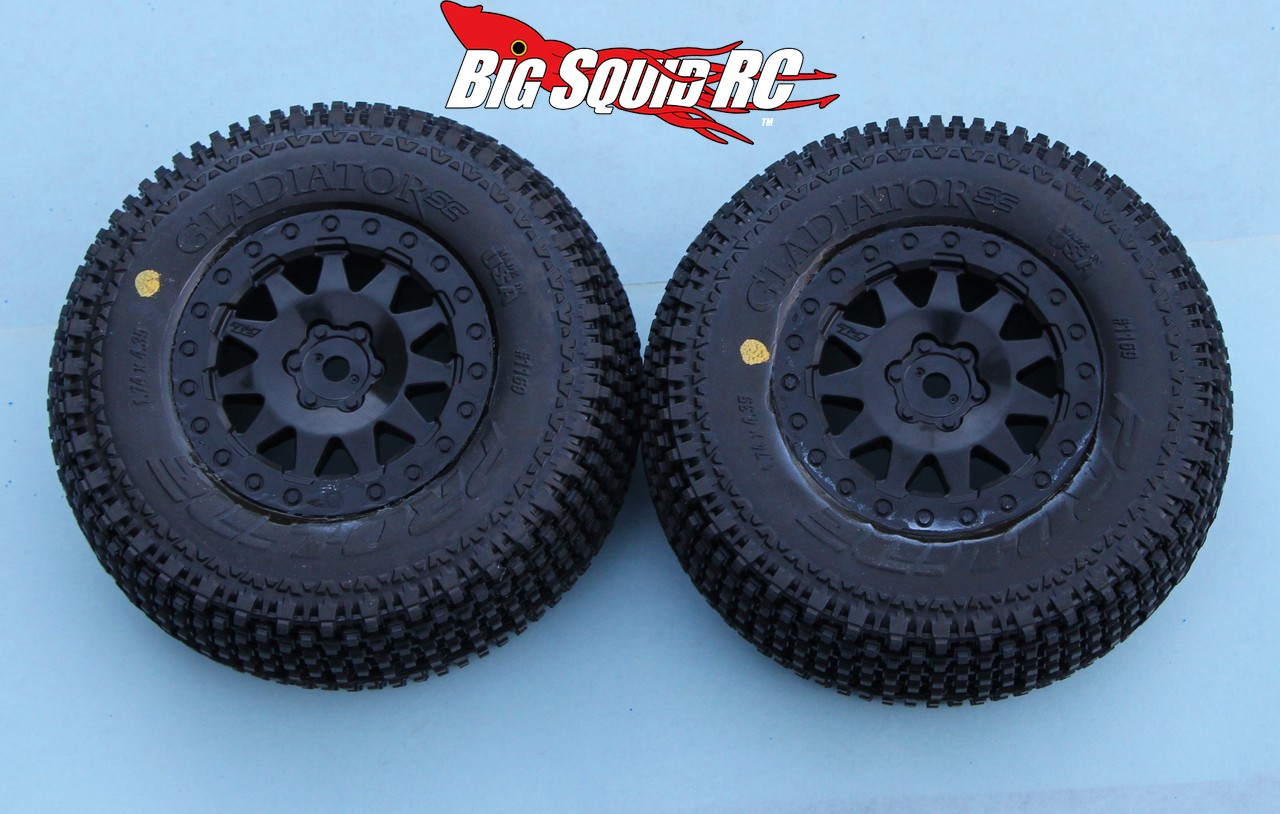
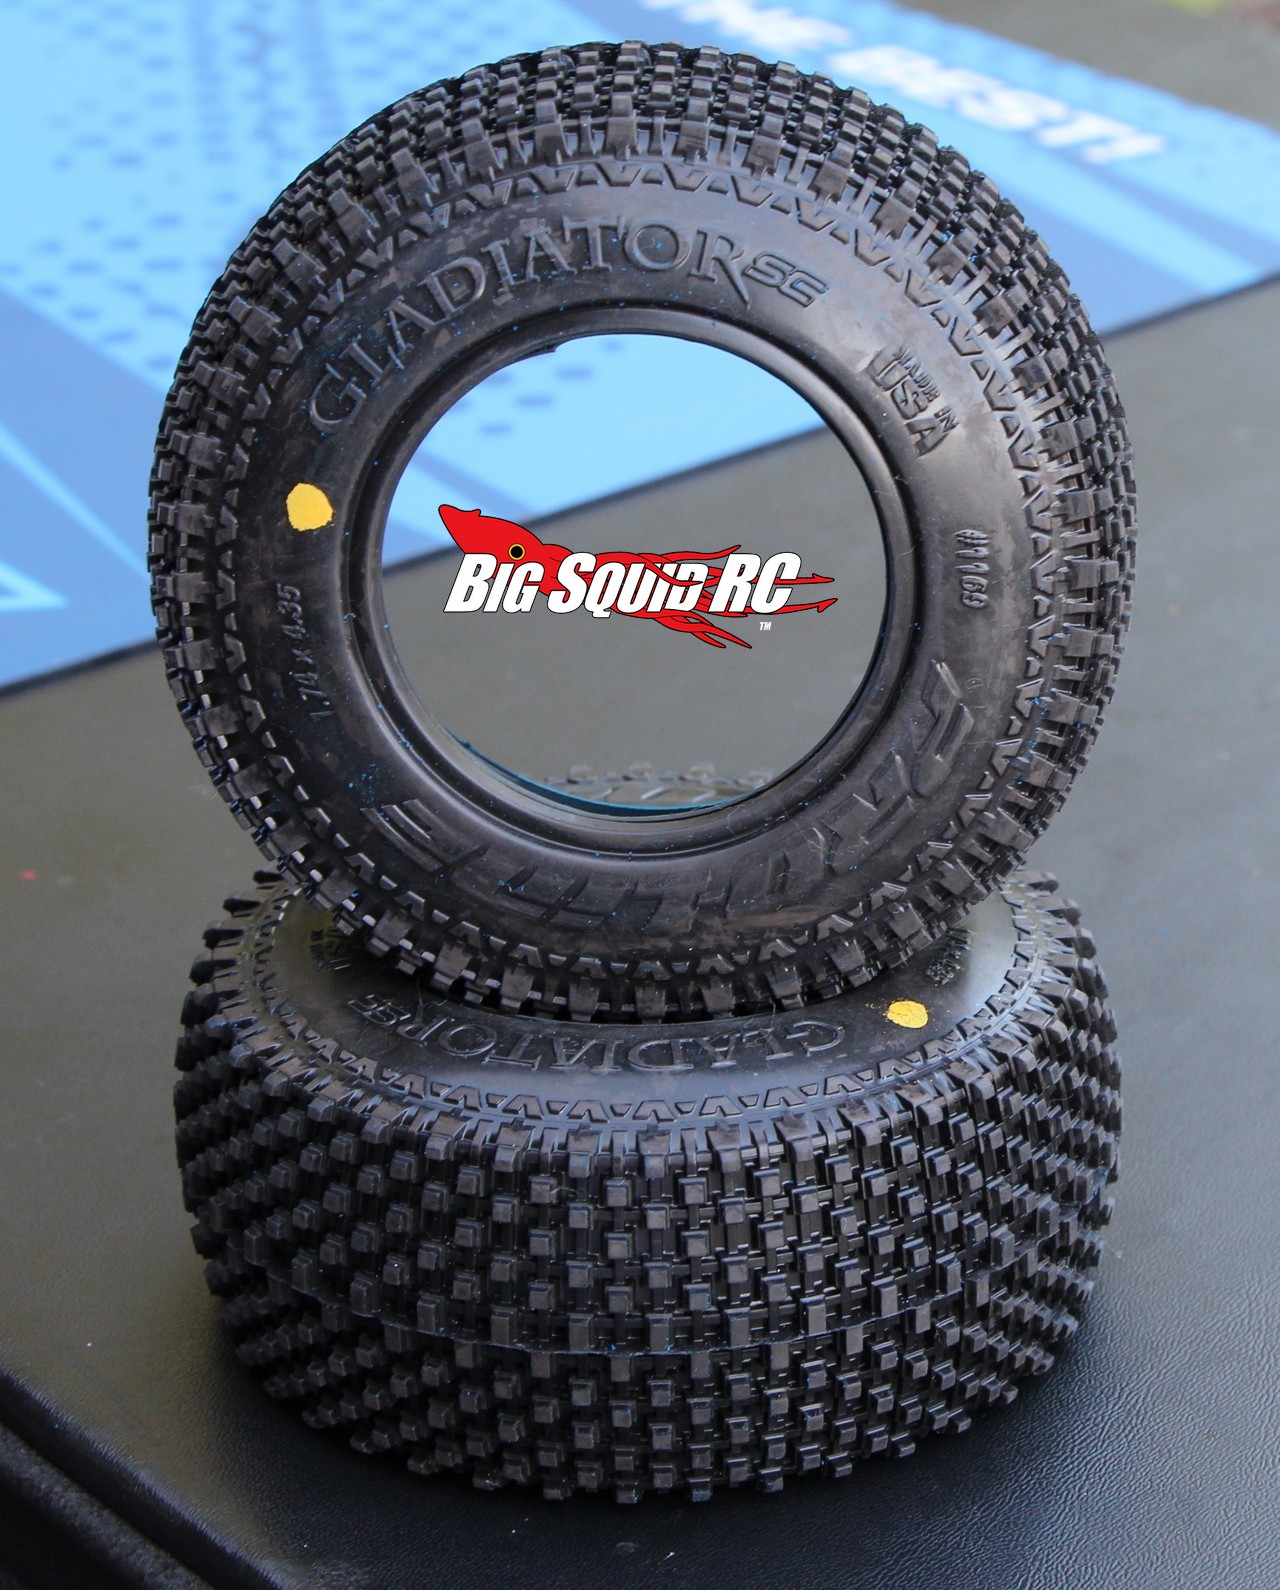
I recently got a set of Pro-Line Gladiator SC tires to put in the front of our Pro-Line Pro-2 SCB Converted buggy. For all you newer hobbyists that may not know how to glue tires, here is how I do it…
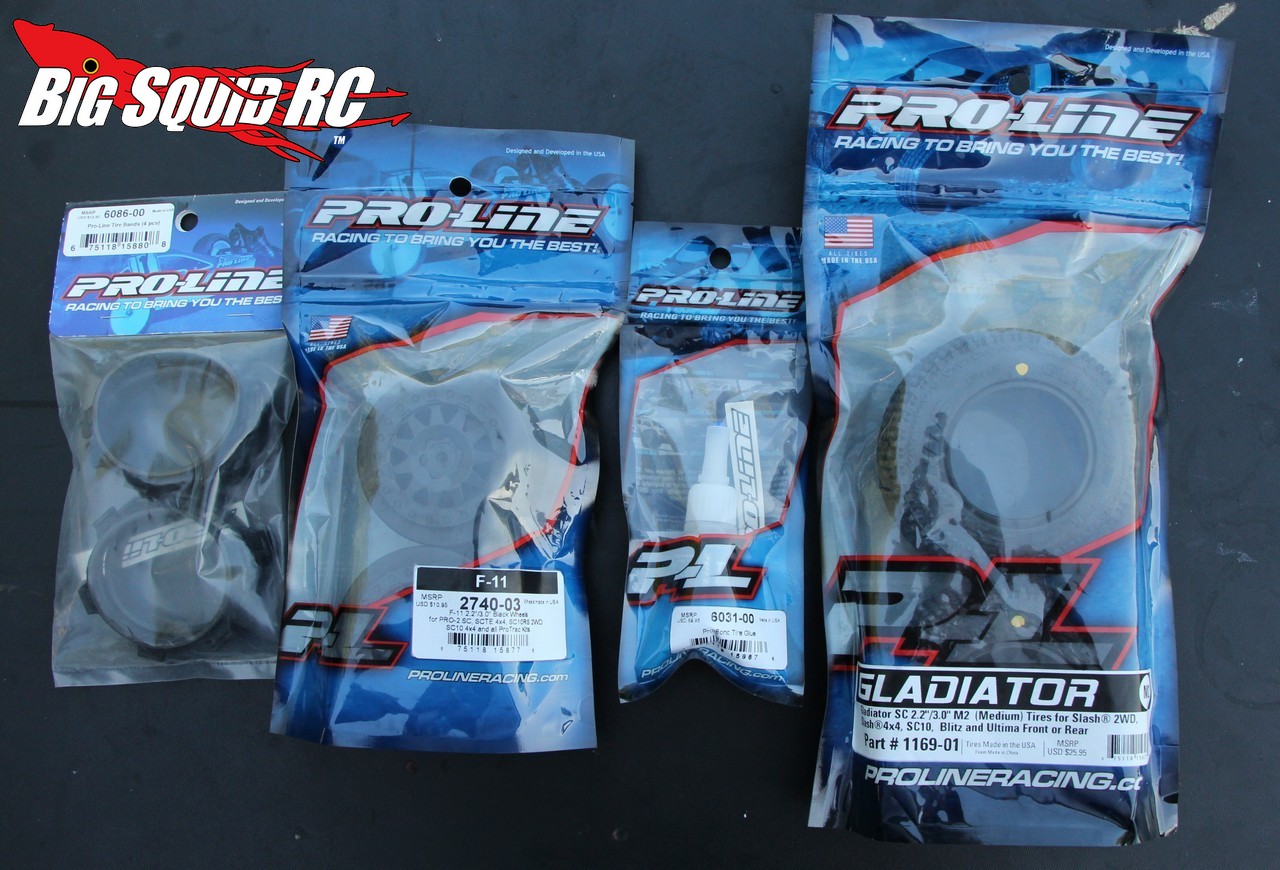
1. There are tons of tips and tricks that can be used when mounting up tires. Unfortunately, all those take time, and I am incredibly lazy, therefore I bust it out the fastest way possible. Step one is quite easy- get everything you need gathered together. What do you need? Well, tires of course, a set of wheels, some tire/CA glue, and some tire bands. That’s it. Yes, really. Oh, before I forget, we recommend using Pro-Line uber tire glue, but if your LHS doesn’t have any, take note. The thinner the CA glue, the faster it will dry and arguably the harder it will be to work with. The the thicker the glue the easier it is to work with and the longer the drying time.
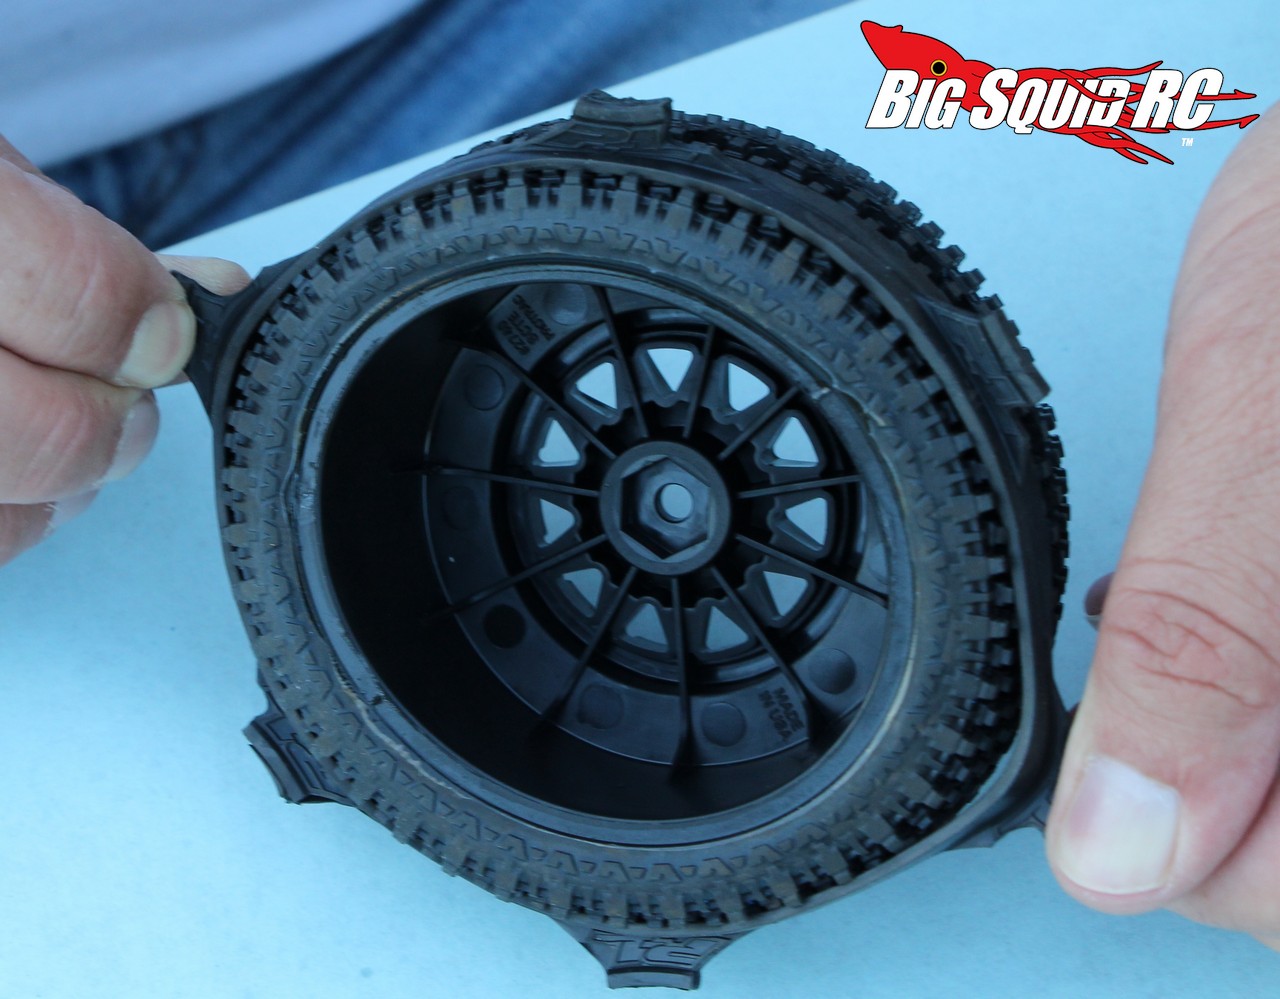
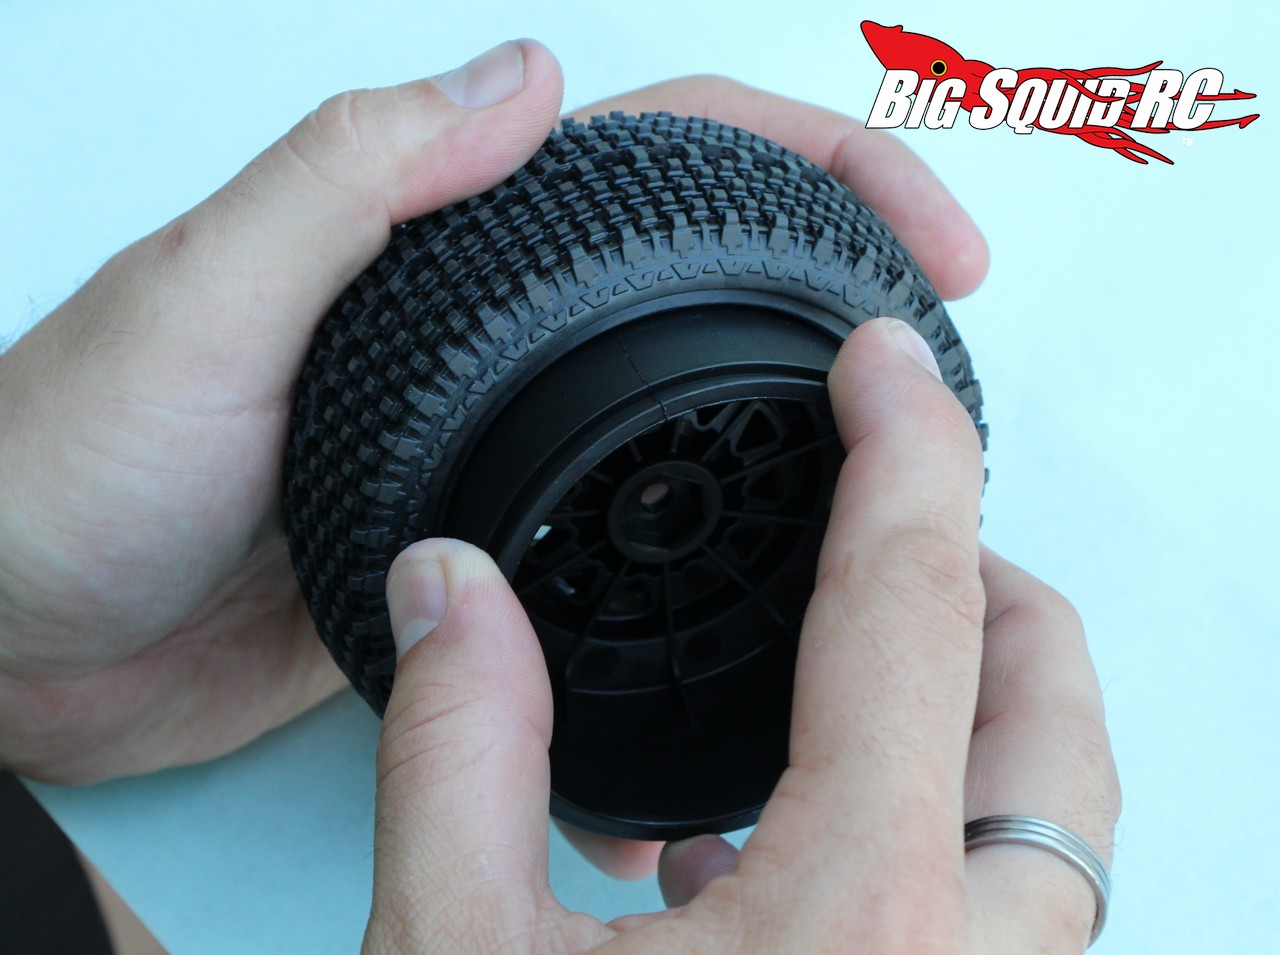
2. Step two is super easy, simply slide the tires over the wheels. This is impossible to mess up, unless your tires are directional. If you have directionals, mount the wheels to your truck, then slide the tires over. This ensures they are all going the right direction before you start gluing.
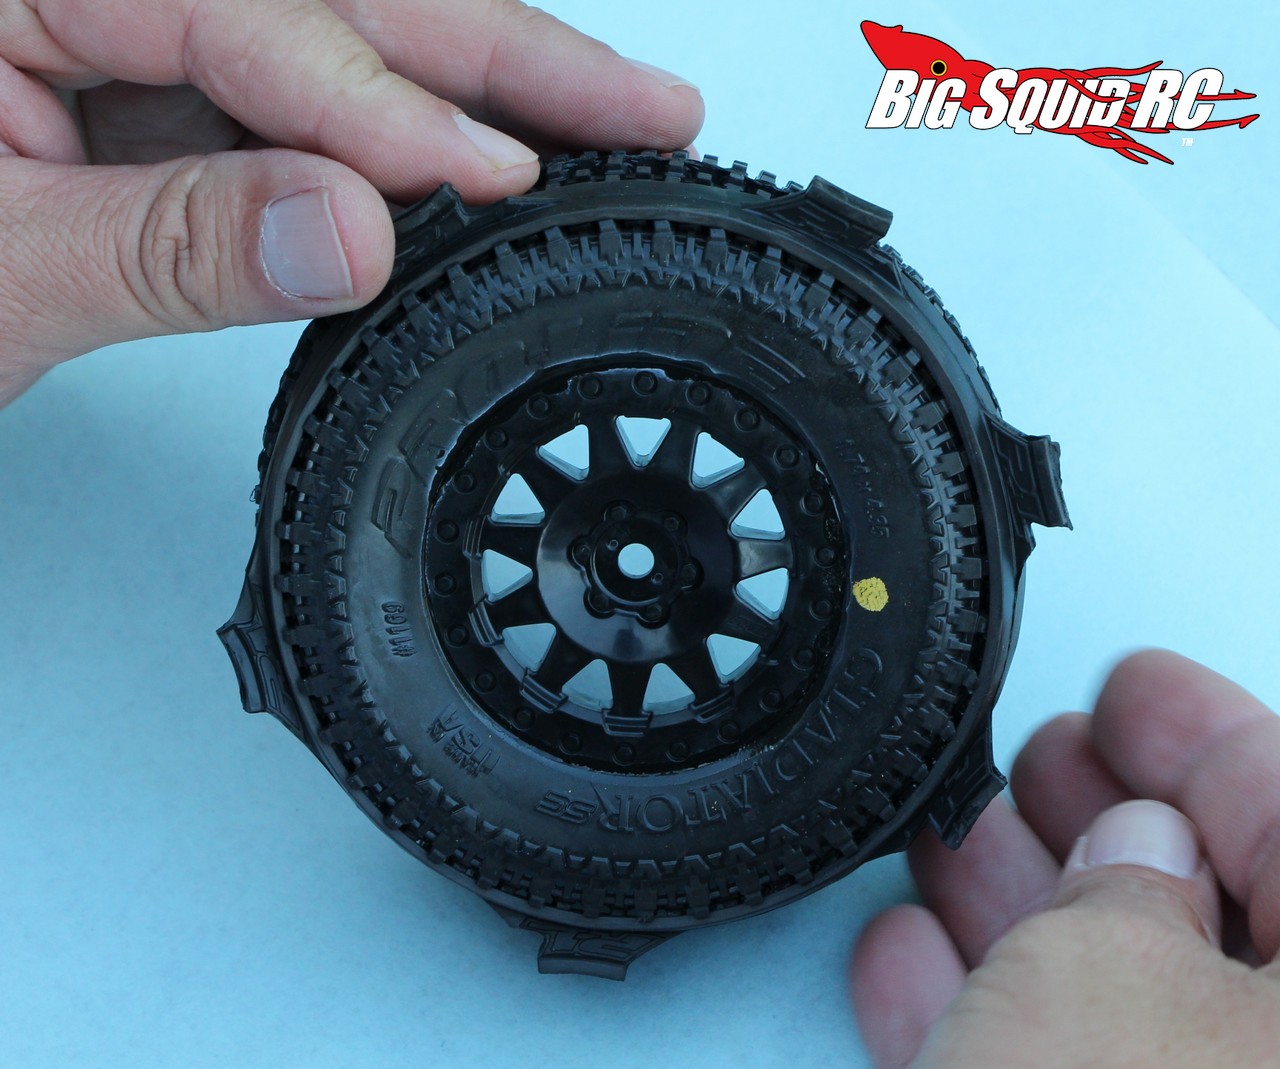
3. For step three you need to make sure the bead of the tire is well seated into the bead on the wheel. Once again, this is an easy step, pat yourself on the back when you have all the beads set.

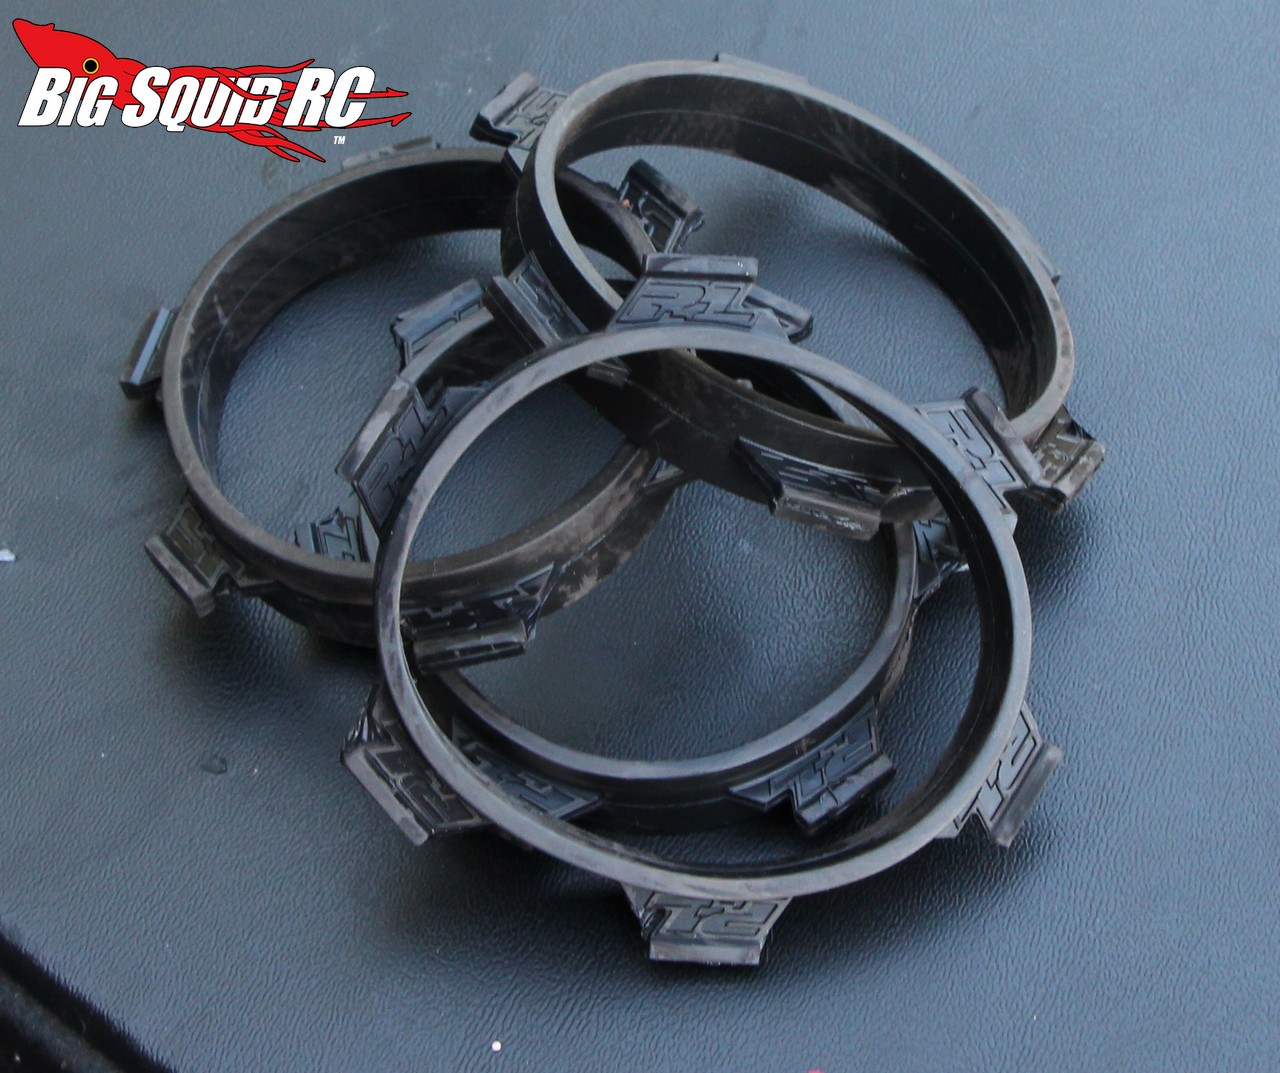
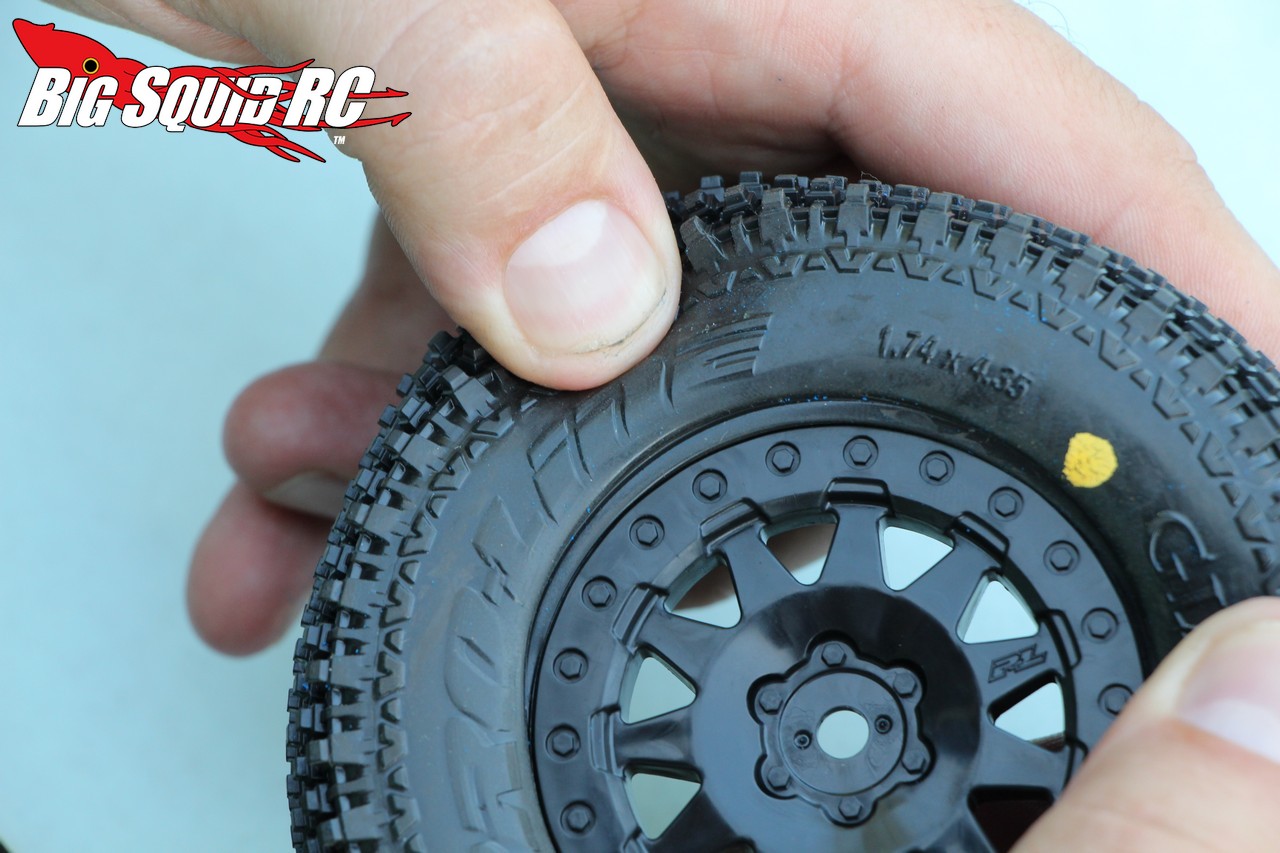
4. About those tire bands… some people install them now before gluing, some immediately after. For a noob, you’ll probably want to put them on before gluing. The bands make sure the beads stay down tight against the wheel for a better glue job.
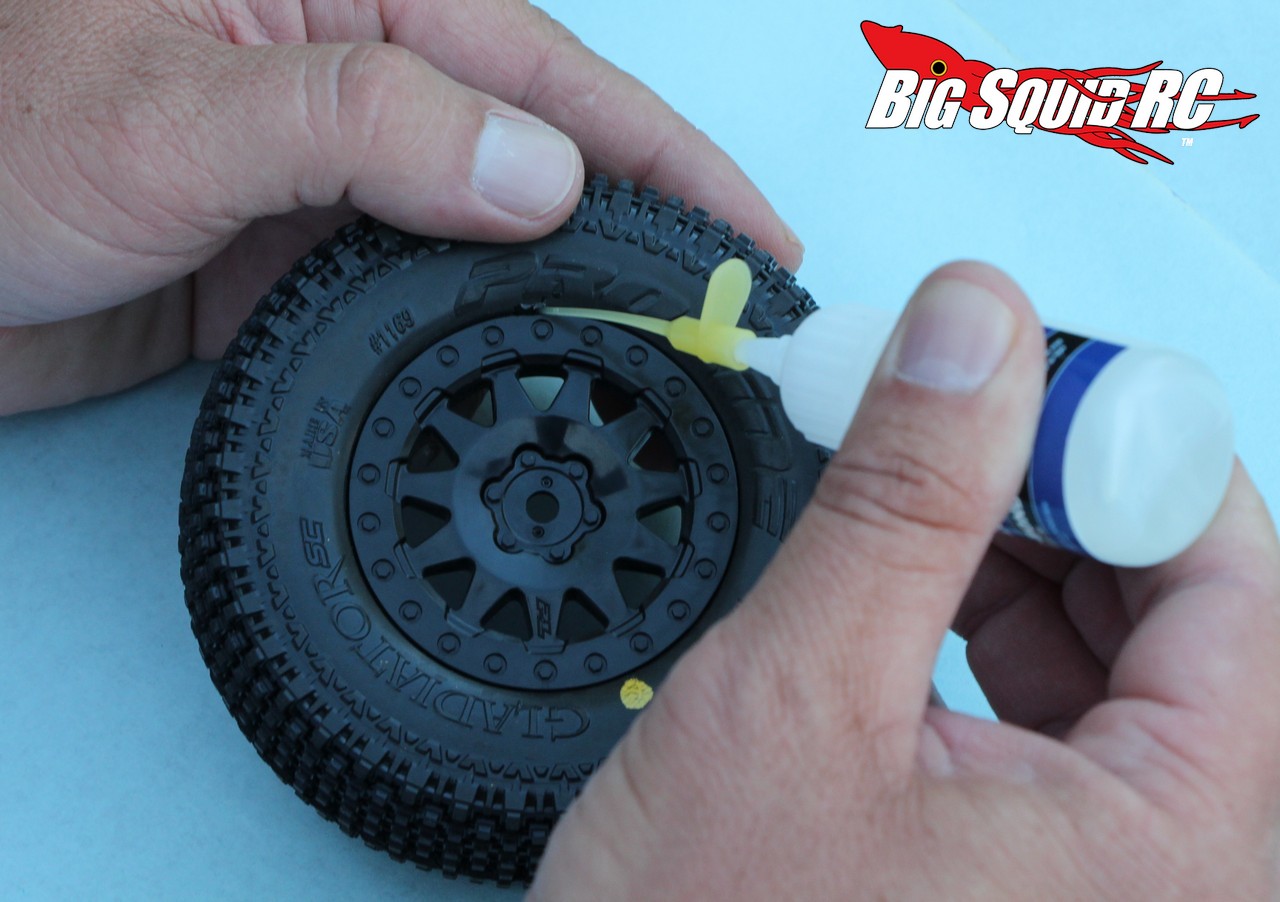
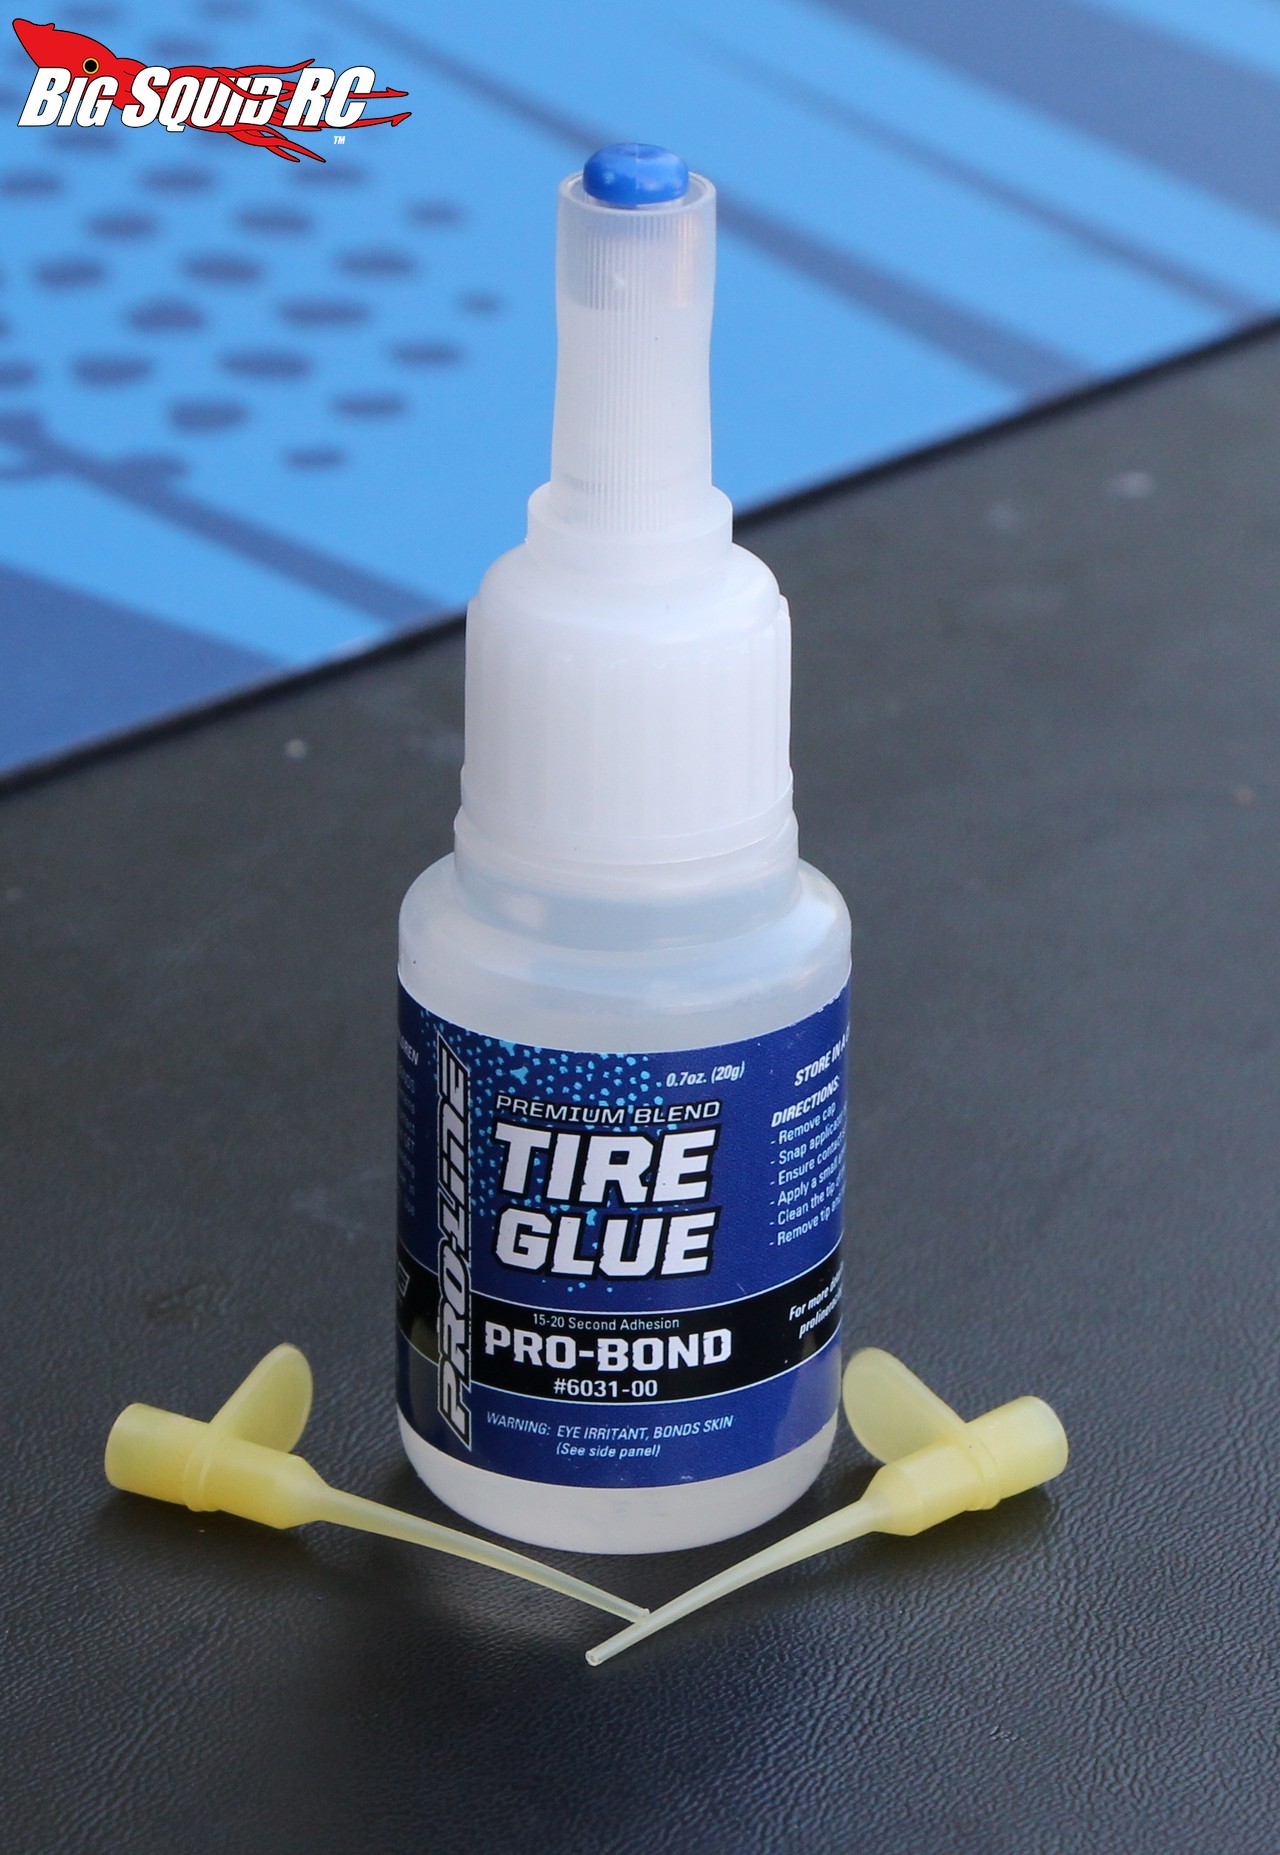
5. Hey, bust out that glue, it’s time for some real fun. This step can be a bit tricky, so pay achtung here. If it’s your first time, a set of safety glasses is recommended, you really don’t want to get any glue in your eyes (trips to the ER waste a lot of time). Also, be careful not to accidentally glue one of your fingers to the tire/wheel. What happens if you get your finger stuck? It is stuck there forever, and good luck pulling chics with a Gladiator SC hanging off your hand. But seriously, if it gets stuck, it isn’t the end of the world, wait a few minutes and slowly (read- SLOWLY) peel the glue off your finger. To get back to business here, slightly peel back the tire bead and apply the glue to the tire/wheel. Do this all the way around the tire.
6. Ok, its time for a break. Ya, step 5 is awesome. But seriously, when you’ve done one side of the tire, give it a few minutes to dry before you do the other side. Why do this? To help keep yourself from accidentally gluing one of your fingers to the tire.
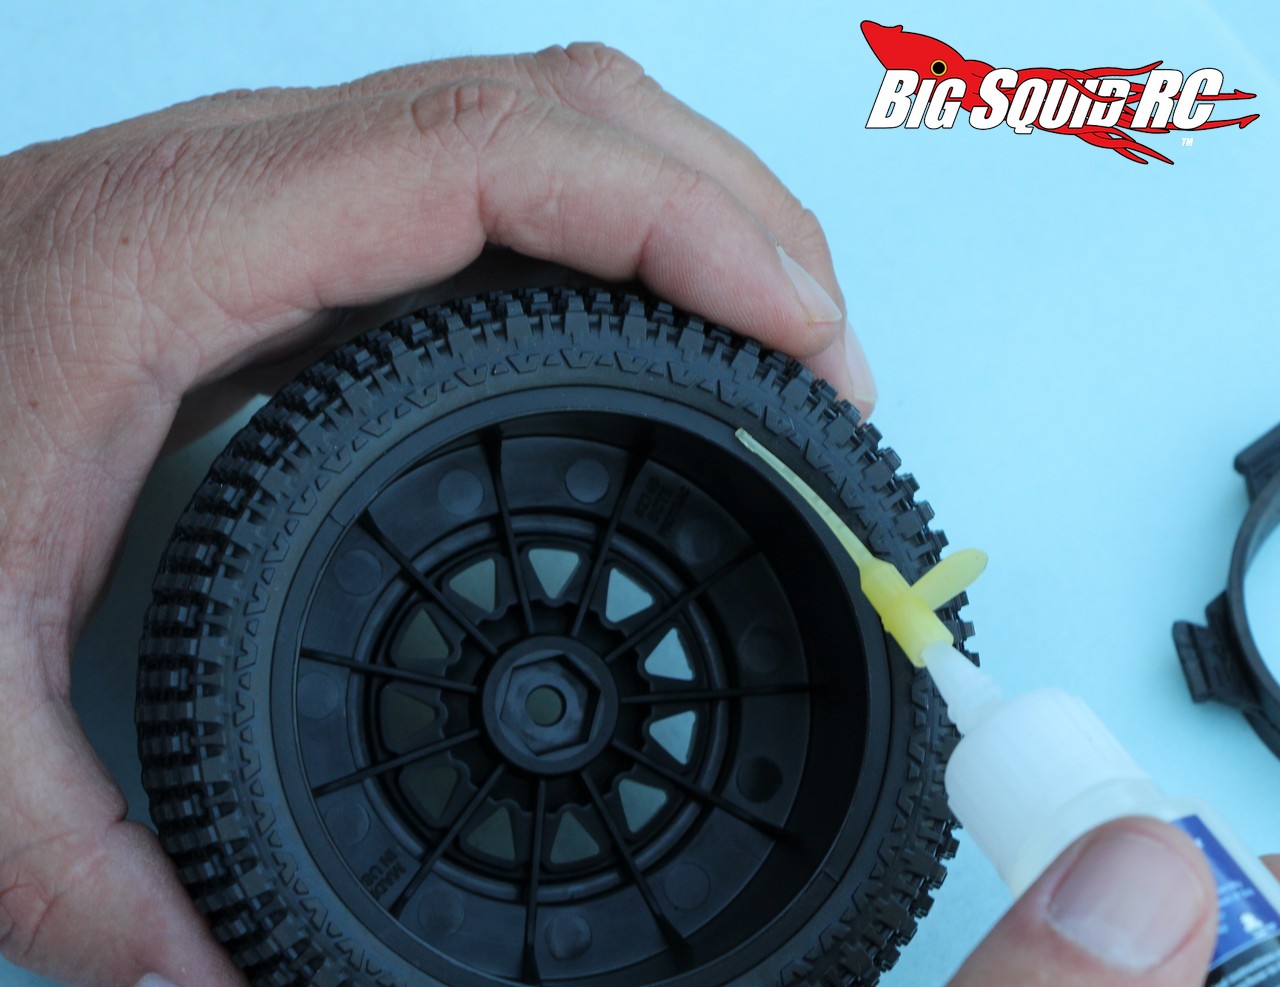
7. Get back to work ya sloucher, now it’s time to glue the other side of the tire. Just like you did on the first side, lightly pull back the bead, apply glue, and go all the way around the tire.
8. Finally, the last step and it’s really hard. Once you have both sides of all your tires glued, let them sit and dry for a while. Overnight is preferred, but in a pinch you can run them in a manner of minutes. Once dry, mount them to the vehicle of your choice and give them a good thrashing! It isn’t uncommon for tires to come loose on today’s high powered machines, if yours does, no worries, just clean the tire/bead the best you can and re-glue.
Pro-Line Items Used-
Gladiator SC Tires- #1169-01, $22
F-11 SCT Wheels- #2740-03, $9
Pro-Bond Tire Glue- #6031-00, $8
Tire Bands- #6086-00, $11
Read more “How-To” articles at This Link on BigSquidRC.