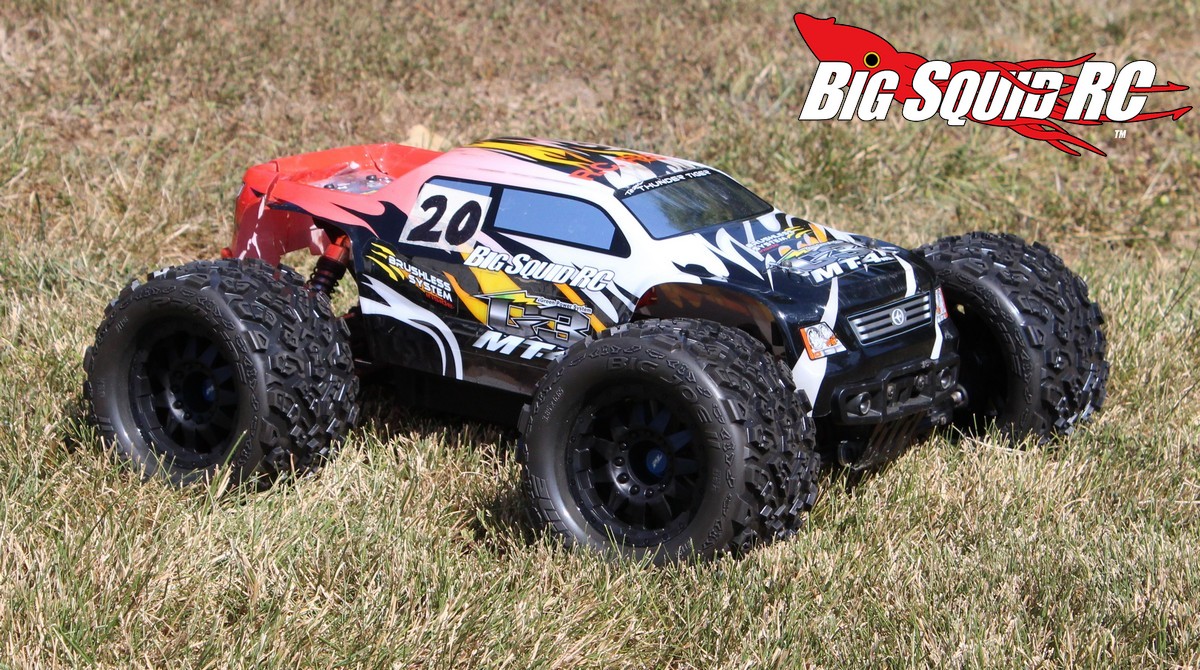
Hop-Up Series Part #3 – Thunder Tiger MT-4 G3, Installing New Wheels/Tires
One of the most cost effective ways to gain performance on any rc car is to install new wheels and tires. This is especially important in todays high powered world of brushless and Lipo. Today there is more juice on tap than ever before making it even harder to put all the power to the ground.
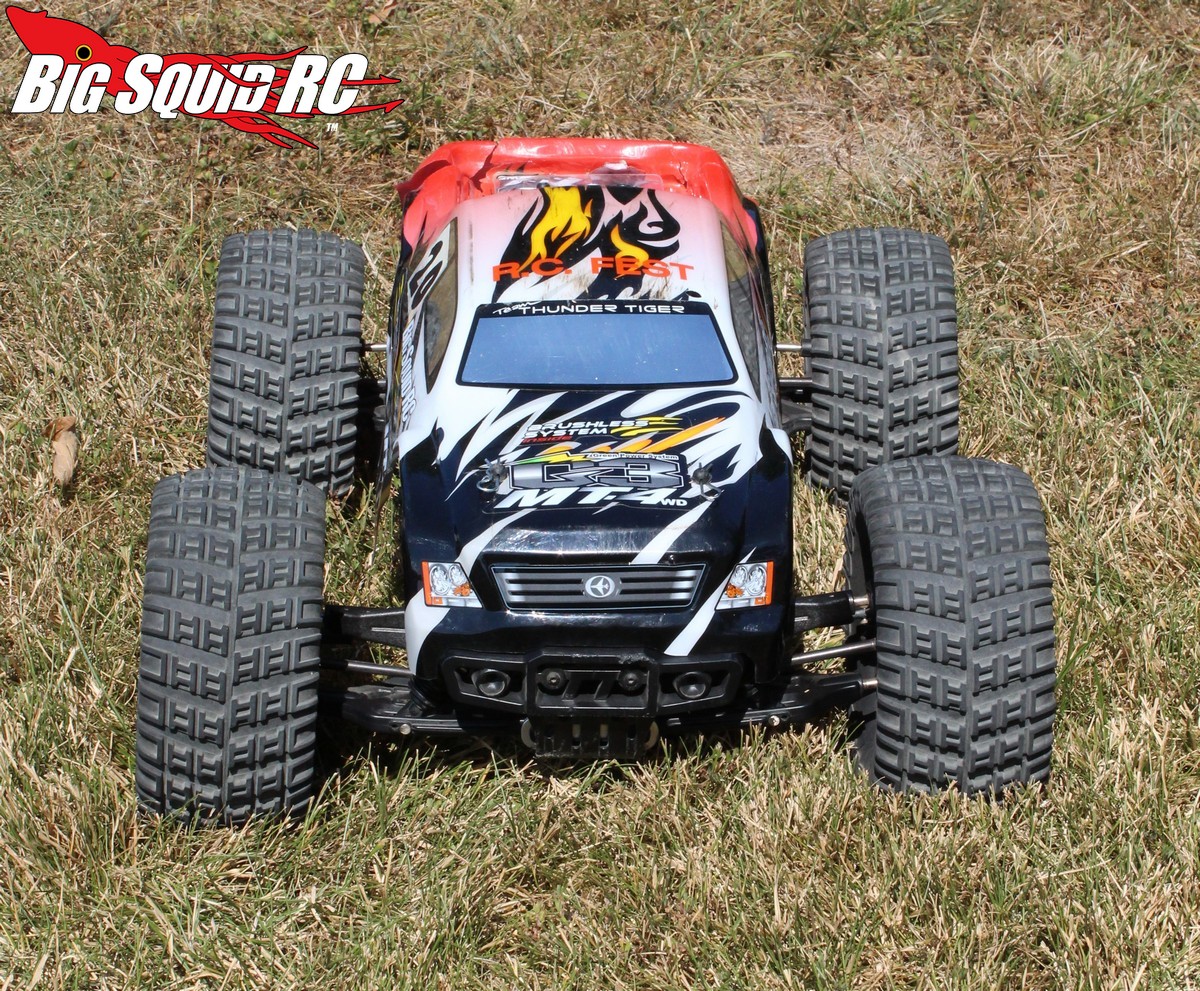
The stock tires on the Thunder Tiger MT-4 G3 actually do a fairly good job. They are light, they wear a long time, and they aren’t known for ripping themselves to death. However, one thing they aren’t known for is traction. Today we’ll be going through the process of putting new high performance shoes on the big Thunder Tiger. This is perhaps one of the easiest hop-ups you can install. Experienced hobbyists can do it with their eyes closed but we’ll explaining everything more in depth for first timers and newer hobbyist.
Wheel/Tire Selection
There are a lot of different wheels/tires that will bolt on the Thunder Tiger MT-4 G3. The most important things to remember when looking for new wheels/tires for the MT-4 G3 is- 1. the wheel needs to have a 17mm hex, and 2. they need to have the proper offset so they don’t rub the body. Pretty much anything that fits on a Traxxas E-Revo or HPI Savage will work on the MT-4 G3.
You will also run across pre-mounts or unmounted wheels/tires. We prefer using pre-mounts around the BigSquidRC offices because they save us so much time, but the choice is up to you. In some cases you may not have the option of pre-mounts if you are looking to mate a certain wheel from one manufacture with a tire from another, and some tires simply don’t come pre-mounted at all.
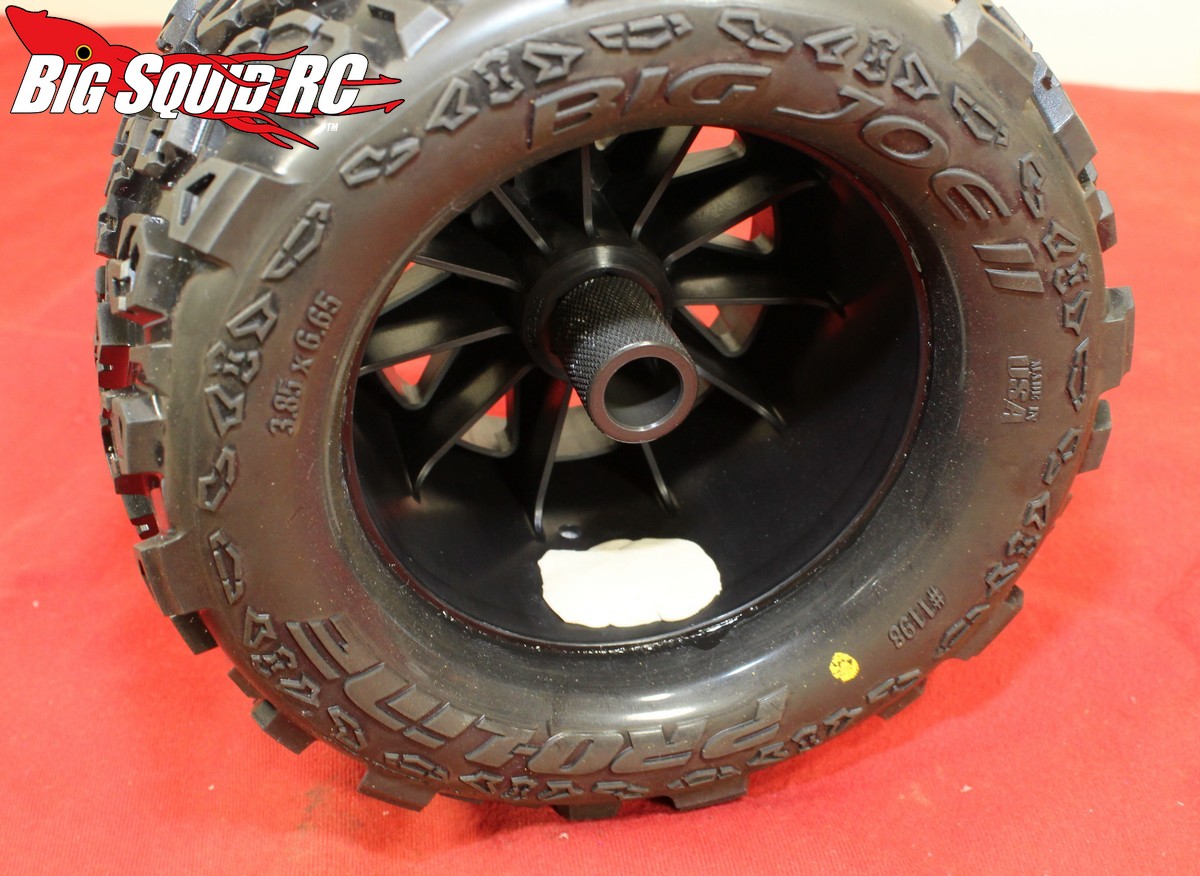
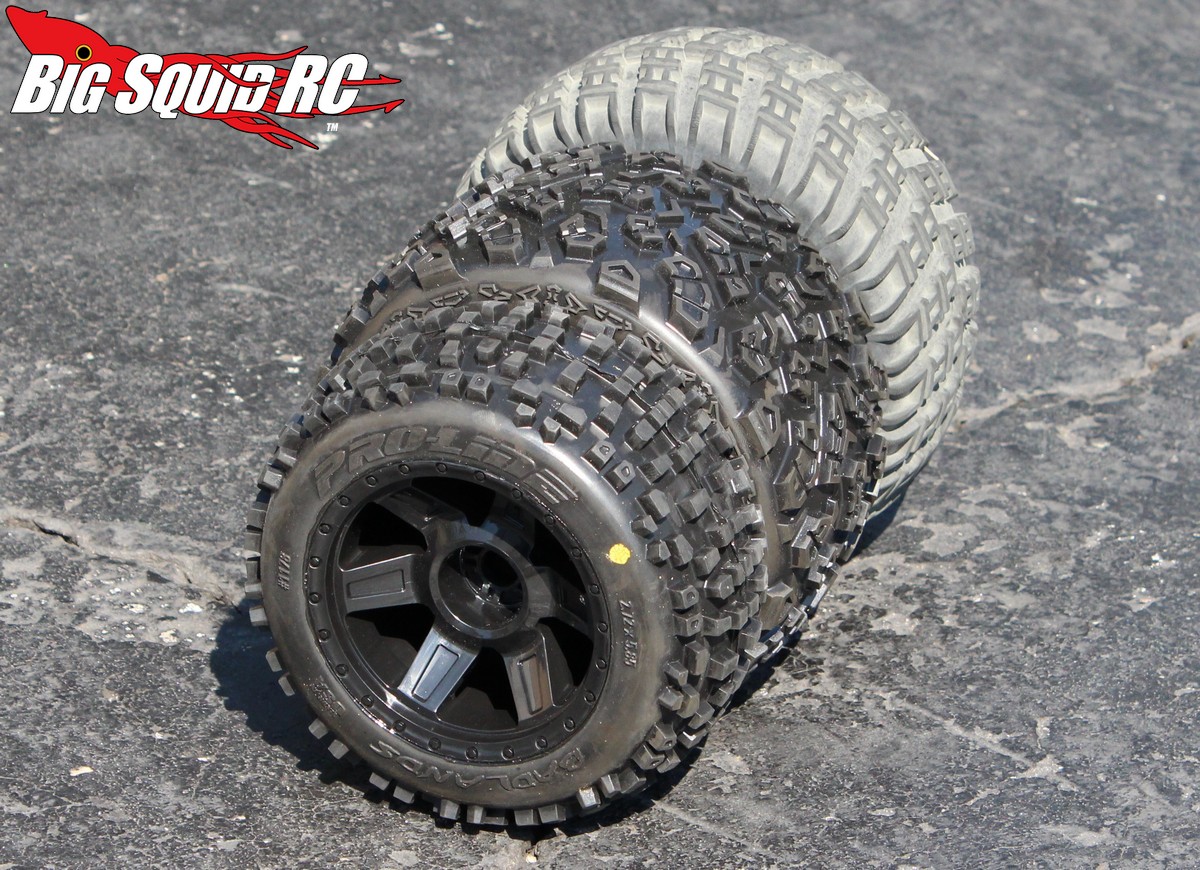
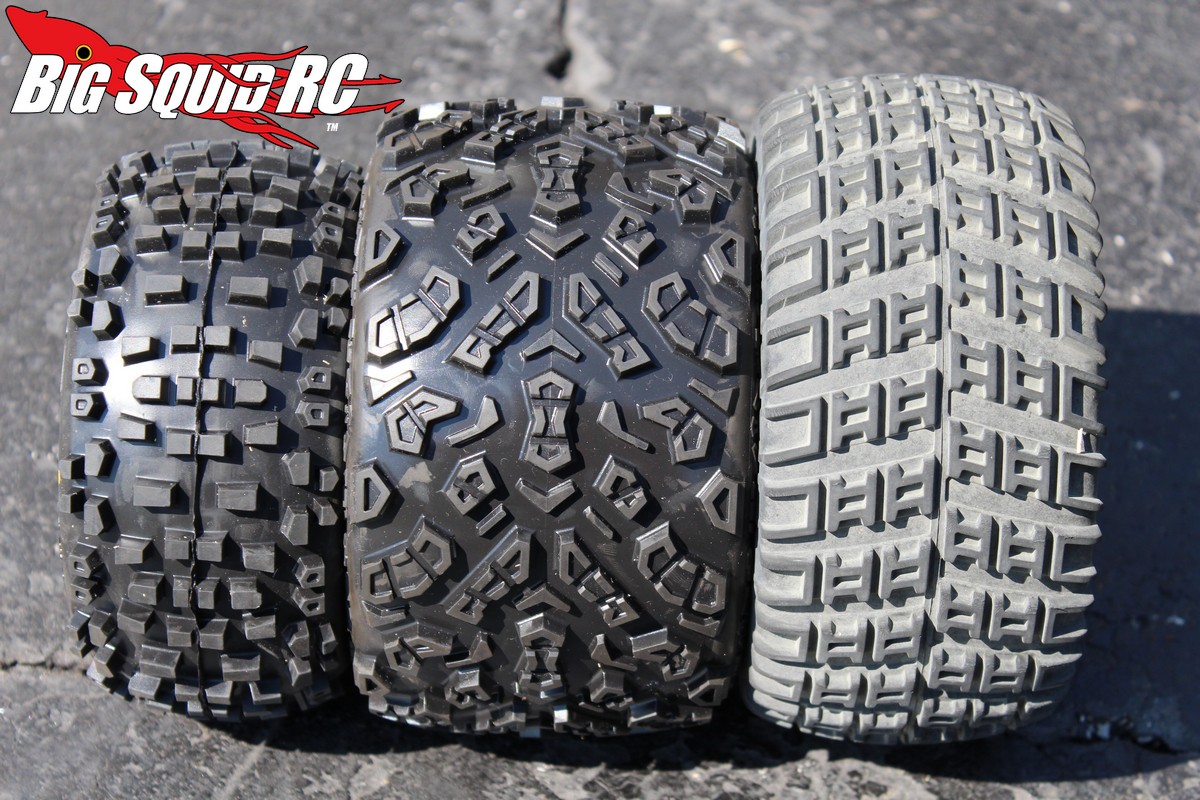
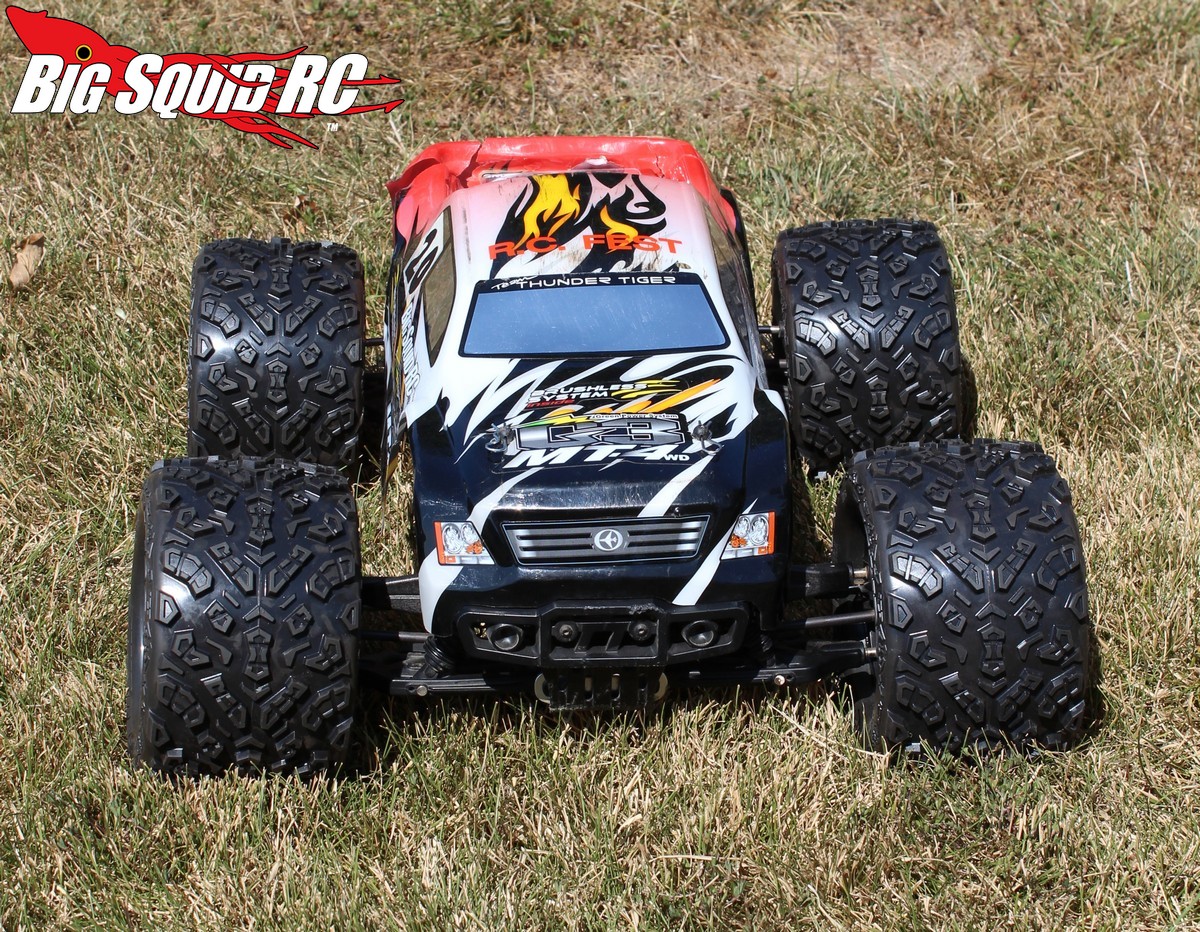
Our tire of choice on the Thunder Tiger MT-4 G3 for general bashing is the Pro-Line Big Joe II. These are big bashing tires that are slightly smaller in diameter than the stock tires, but substantially wider with much more traction. The Pro-Line Big Joe IIs work great on pavement, grass, and loamy dirt. The Big Joe IIs are designed to be lightweight, which they are for their mammoth size, but weigh about 17 grams more than stock (349 grams for a Big Joe II mounted and balanced, 332 grams for a stocker).
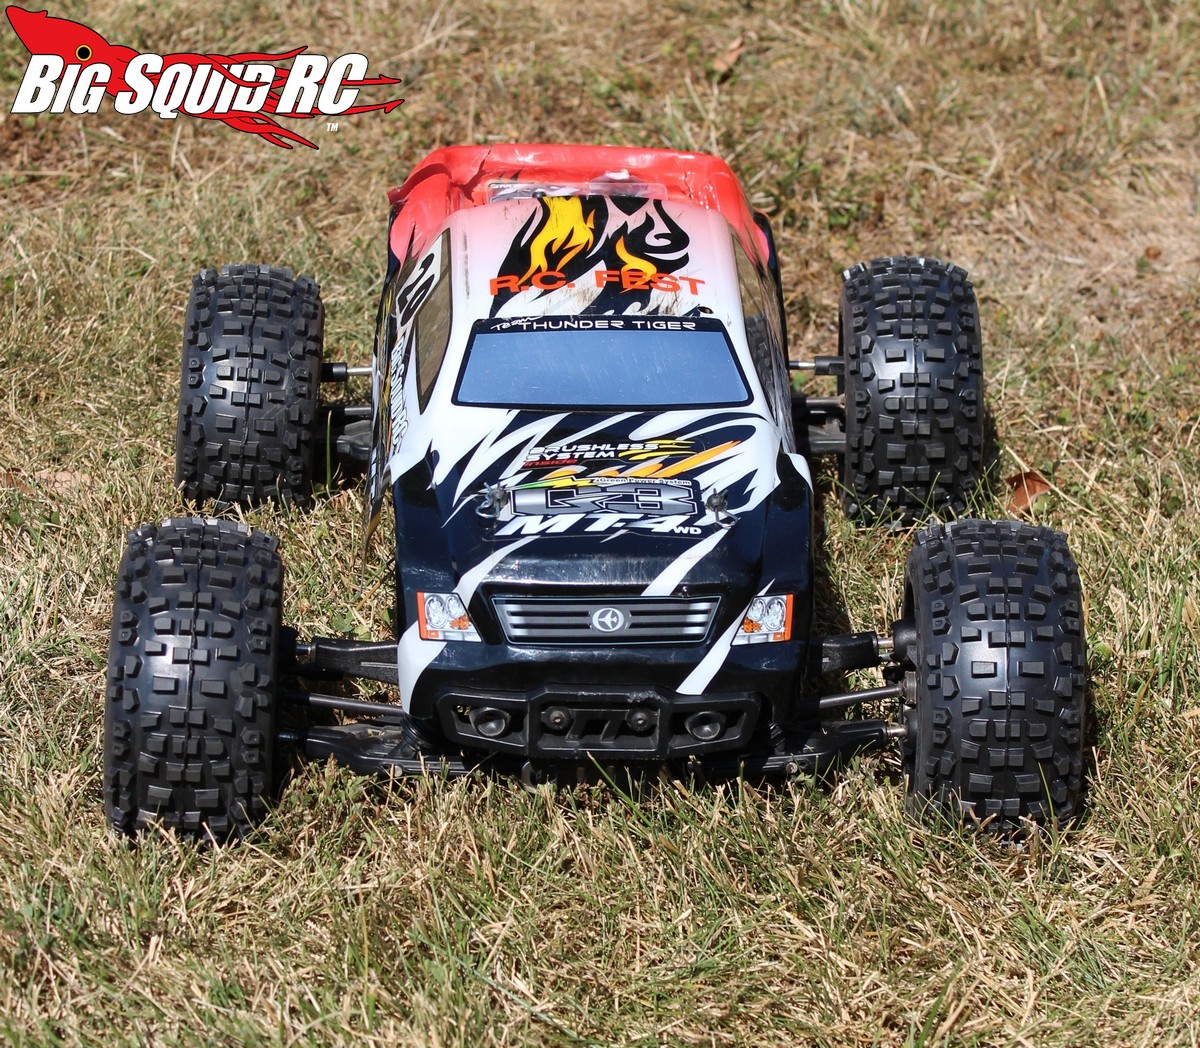
For use on strictly dirt surfaces we prefer to use Pro-Line Badlands. The Badlands are somewhat smaller than stock but their moto inspired thread gets loads of traction on many different types of dirt. They are also exceptionally lightweight (246 grams pre-mounted), yielding great acceleration with lower motor temps and slightly longer run-times. The Badlands are also make the Thunder Tiger less sensitive to throttle/brake input while jumping.
Fast Install – Putting Pre-Mounts on the MT-4 G3
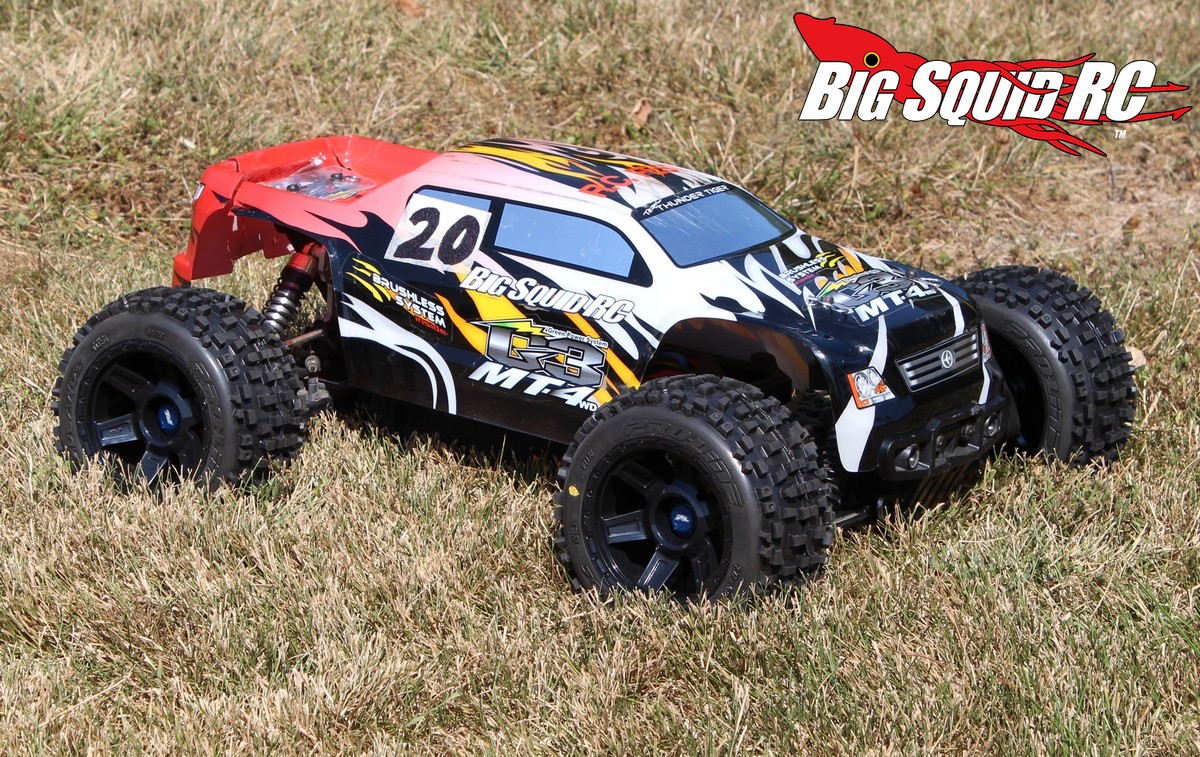
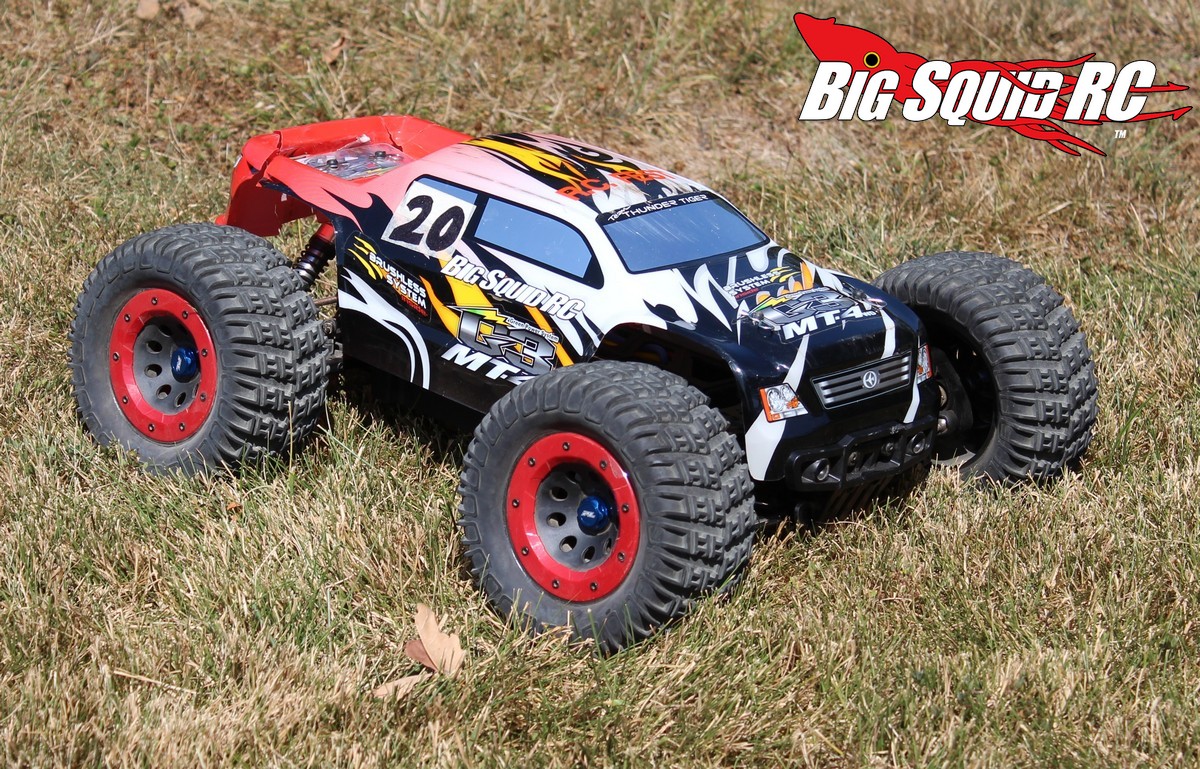
1. Using the wrench supplied with the truck, loosen the four wheel nuts to remove the stock shoes. Remember “Righty tighty, lefty loosey” if you aren’t sure which way to turn. The wheels will slide right off.
2. Slide your new pre-mounts on, tighten up the wheel nuts and you are all done! Super fast, super easy, and now your MT-4 G3 will have more traction and look better to boot.
Longer Install – Gluing & Balancing Wheels/Tires
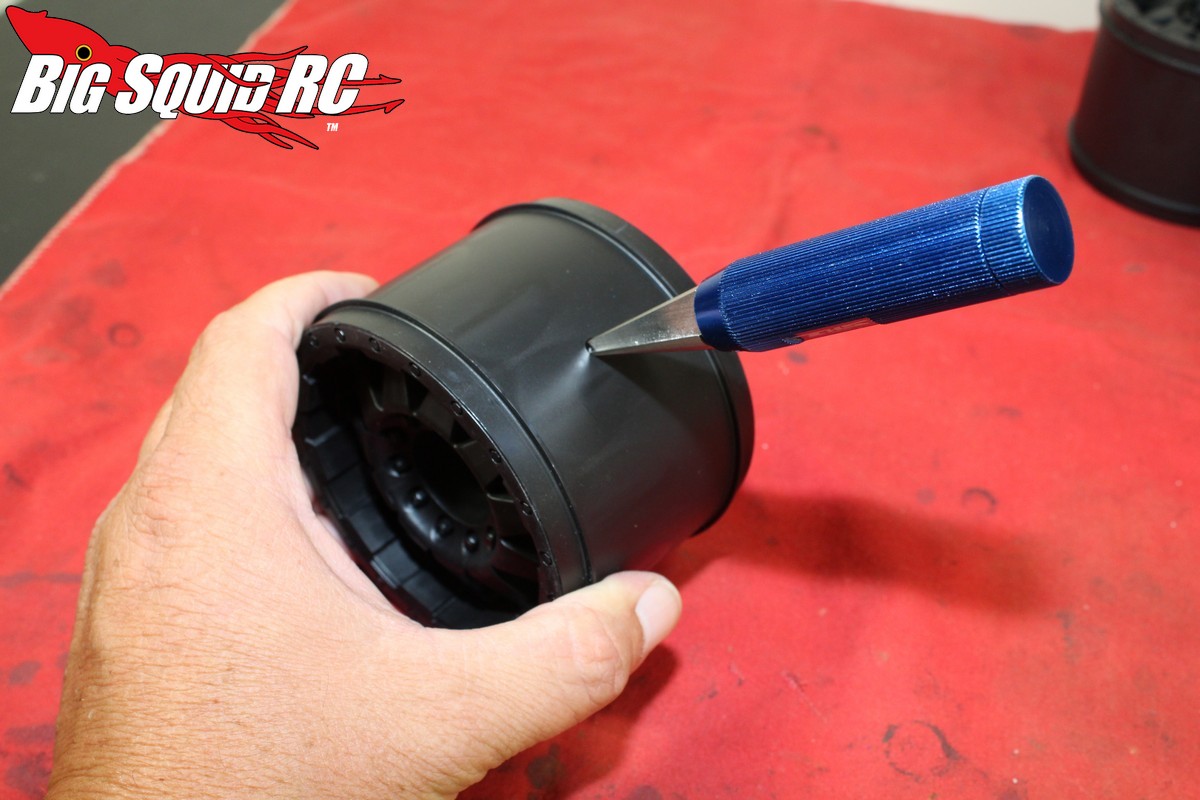
1. Make sure the wheels are ready for gluing. Check to make sure the bead surface is clean, you can do this with a damp cloth. Also make sure there are vent holes in the wheel (if you aren’t venting the tire carcasses). If there are no vent holes they can be easily made with a body reamer.
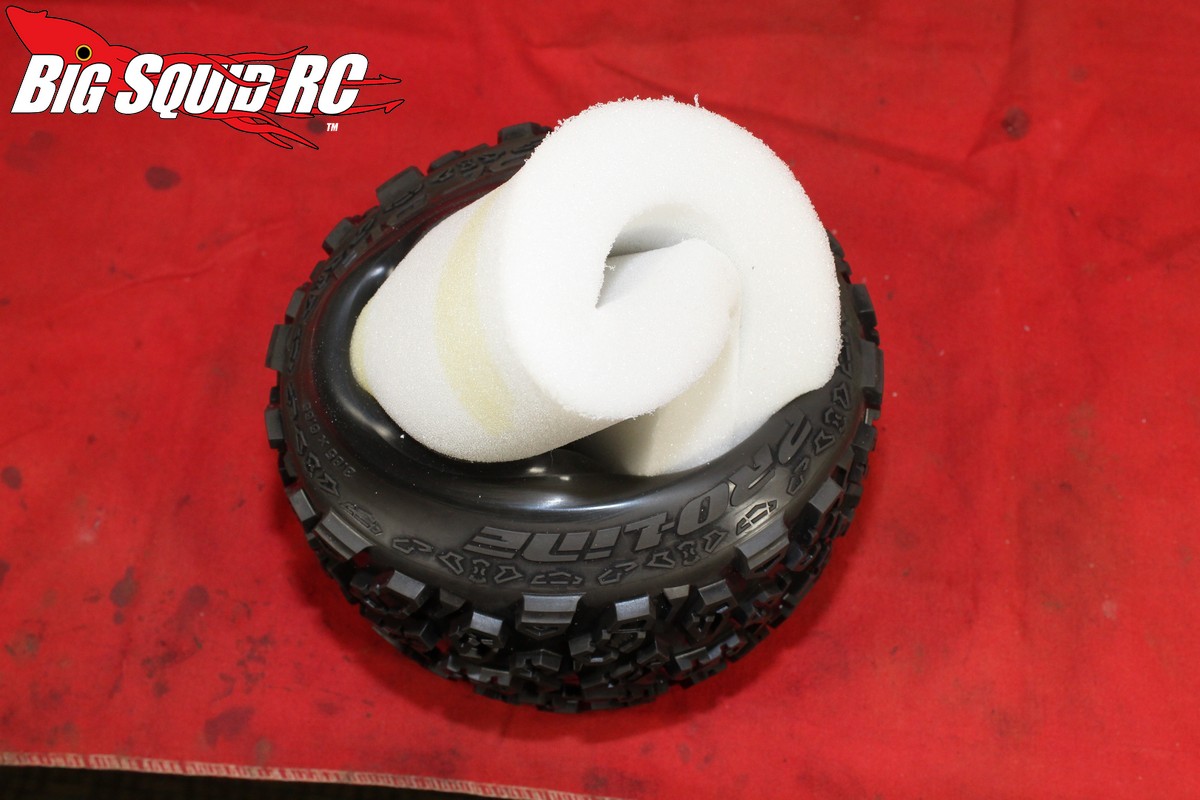
2. Check the tire foams. The tire foams may be good to go and already inside the tires, or they may be wadded up inside the tires bead. If the foams are lumpy simply let them sit out for a few hours until they get their normal shape back.
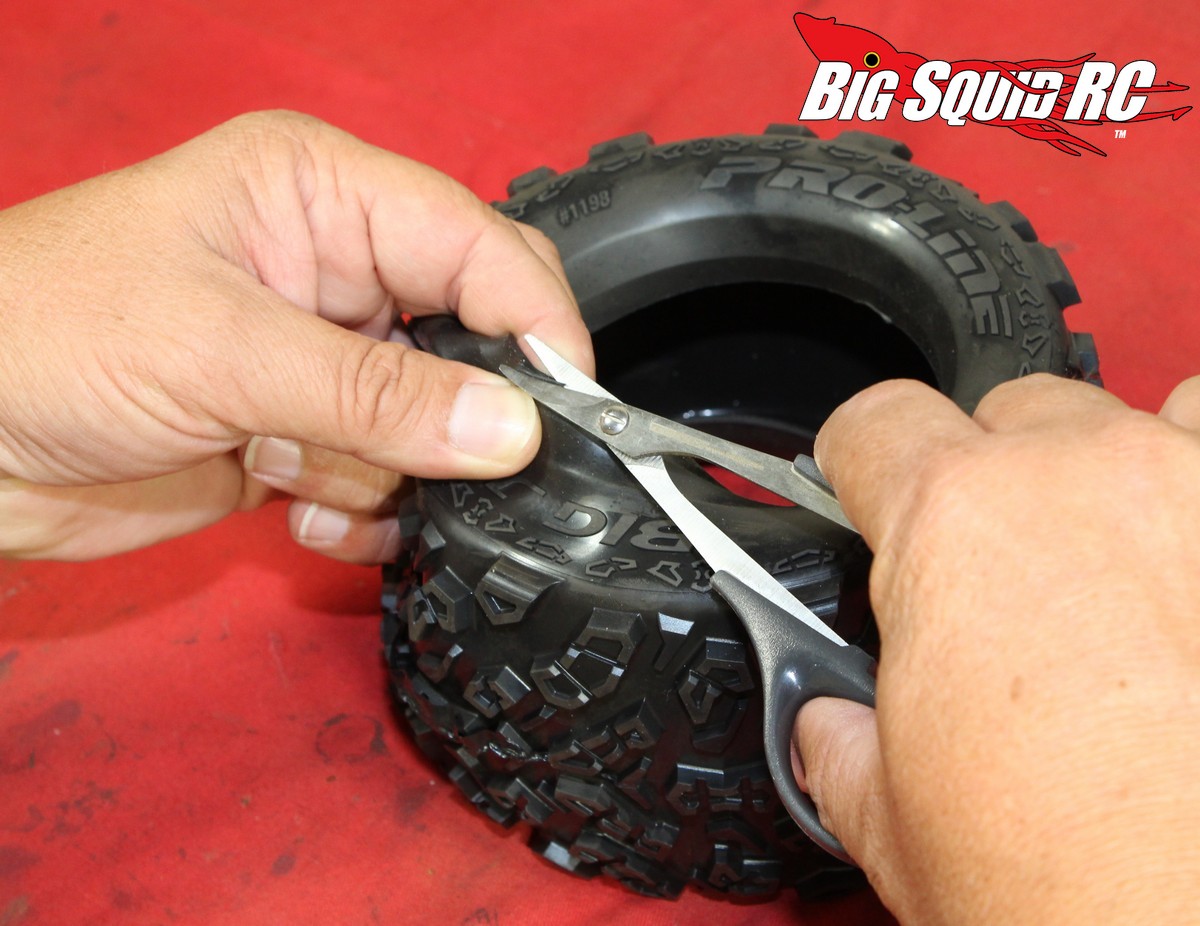
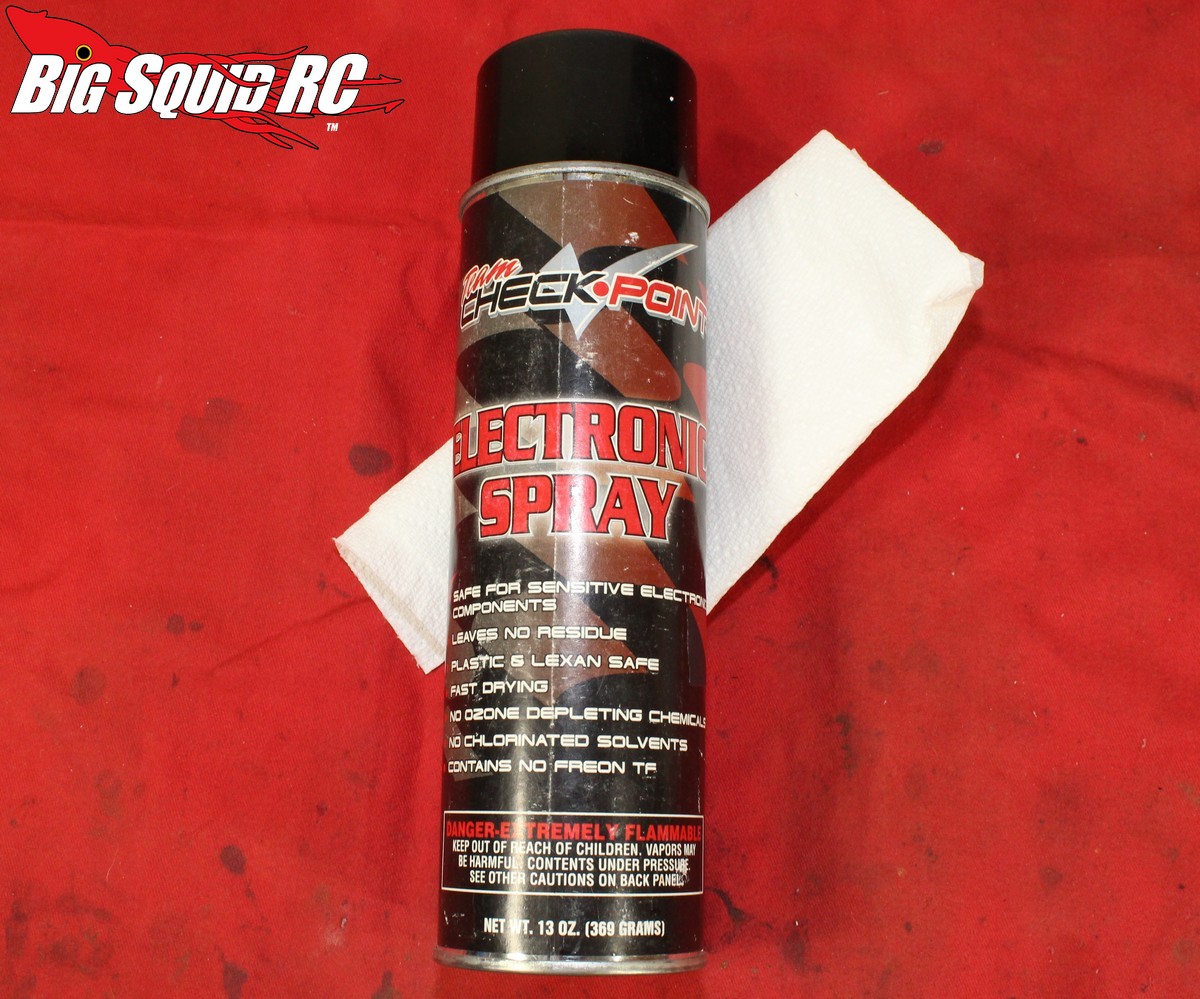
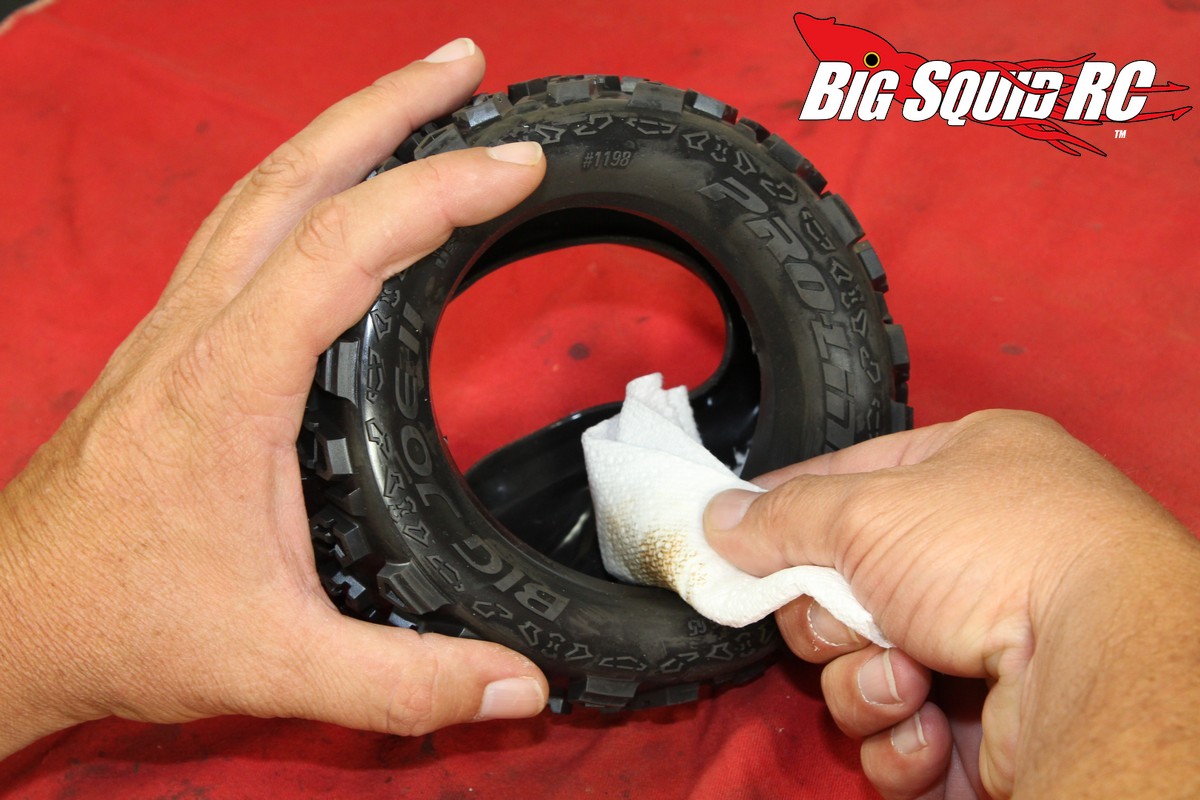
3. Check and clean the tire bead surfaces. Sometimes there will be a bit of extra rubber, flash, left on the tire bead surface that can keep the bead from getting a proper bond to the wheel. This is easily removed with a set of body scissors. You’ll also need to clean the bead surface of your new tires. A release agent is used at the factory that needs to be removed before you start gluing. We use a paper towel and TrakPower motor cleaner to remove the release agent on our tires.
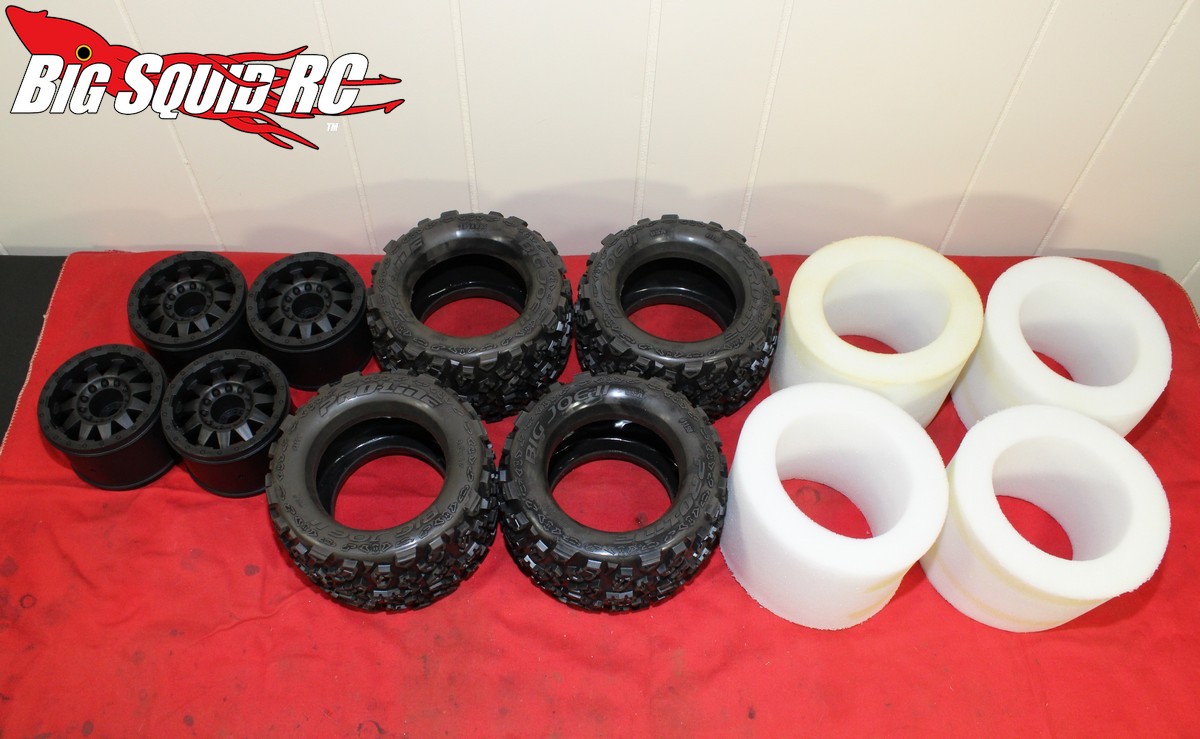
4. Install foams into the tires. This doesn’t have to be perfect as the first time you tag the gas real hard the foams will center themselves, but you can use a thumb on each side of the inside of the tire to make sure the foam is fairly centered.
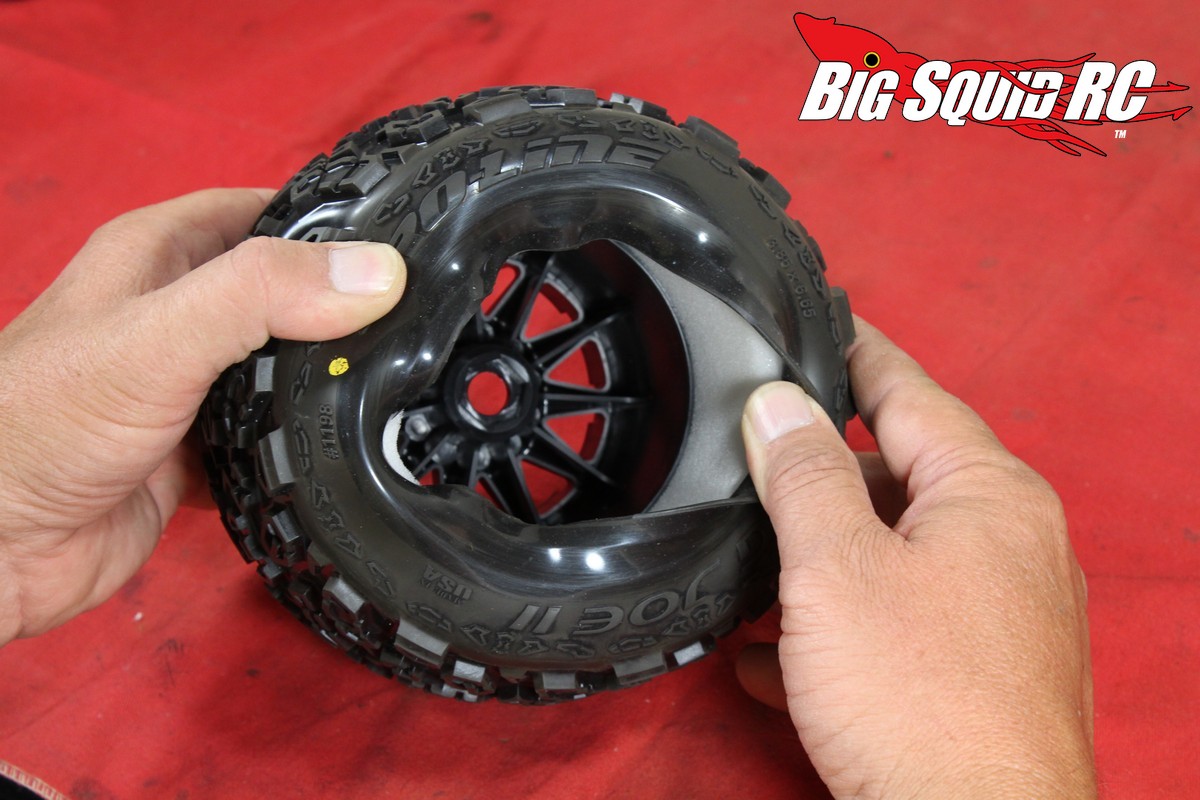
5. Install wheels into tires. Of note here- some tires are directional, some are not. If you are installing direction tires this is the time to double check to make sure you’ve got the tires pointed the proper direction.

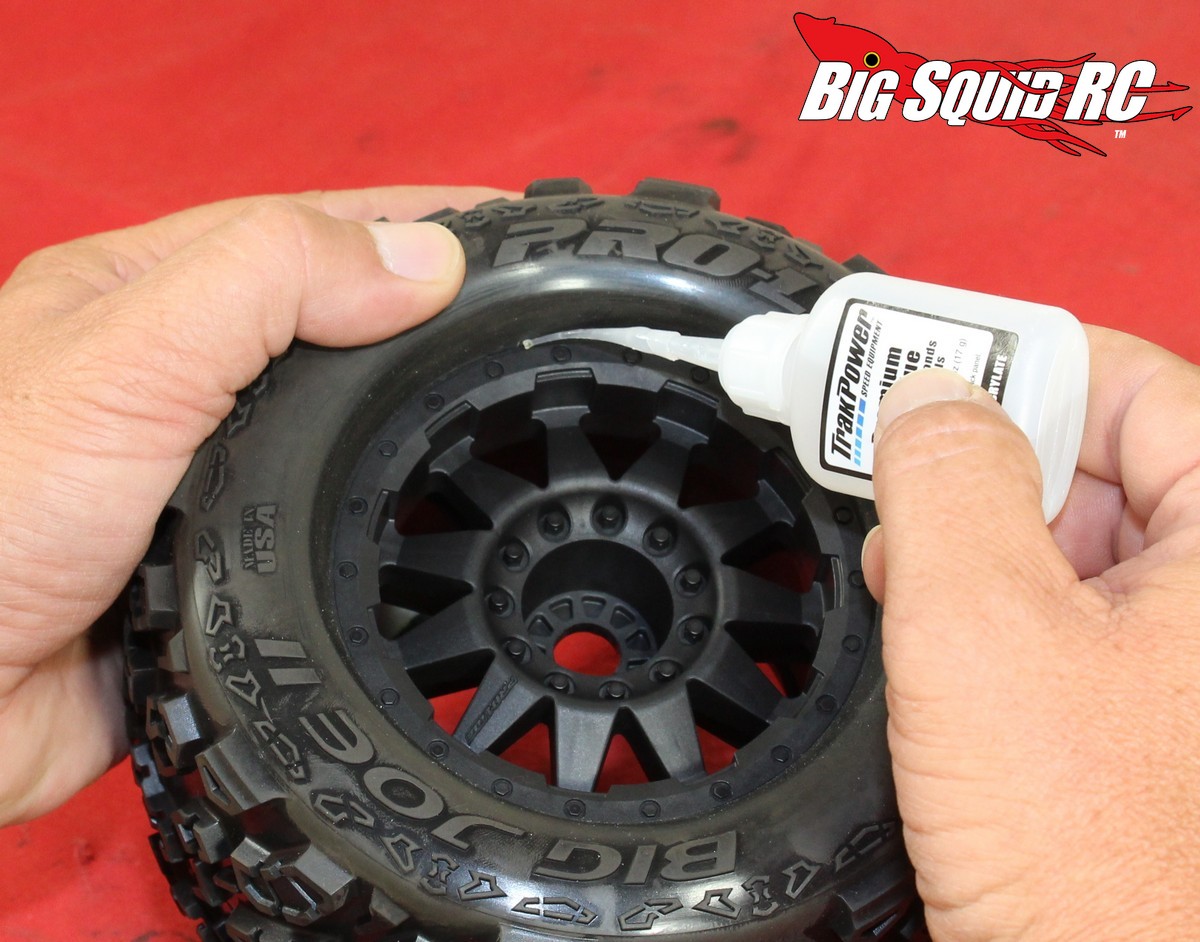
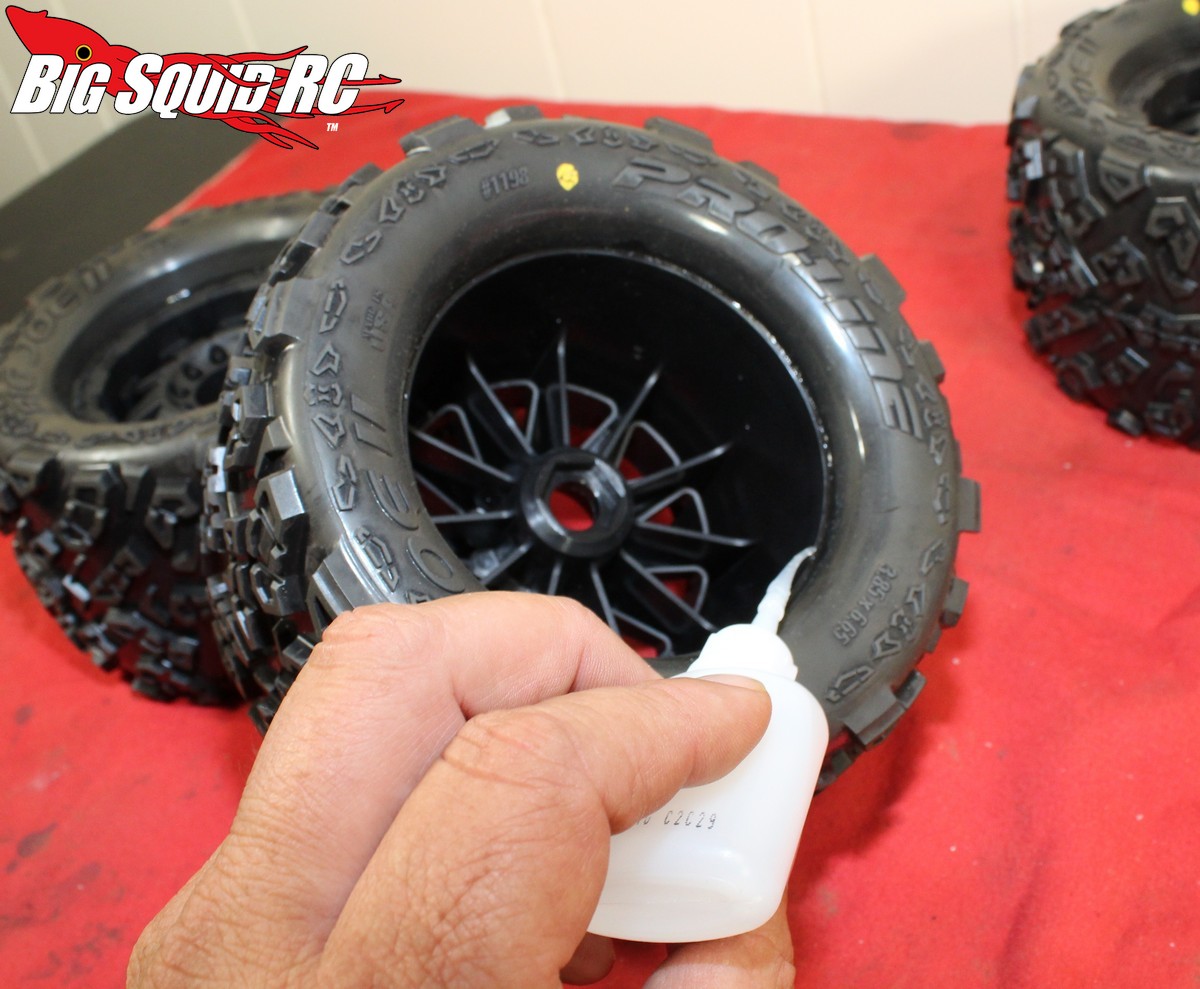
6. Start gluing. We recommend going with a thin CA glue like the kind we used from TrakPower in the photos (Bob Smith and Pro-Line are just a couple other companies that sell awesome CA glue). Thin CA is used because it just seems to hold better and it dries super fast. Also of note- one of the most important tricks while gluing is to use a needle tip on your CA bottle, this does wonders for controlling that fast moving thin CA glue. Make sure the bead of the tire is properly aligned with the bead surface of the rim and start gluing. Remember, a tiny, TINY, bit of CA glue goes a long ways. Remember to wear eye protection, gluing your finger to the tire is no big deal, getting CA in your eye is serious stuff.
7. Give the glue some time to dry. CA is said to dry nearly instantly, but we try to give our tires a good 24 hours before we use them.
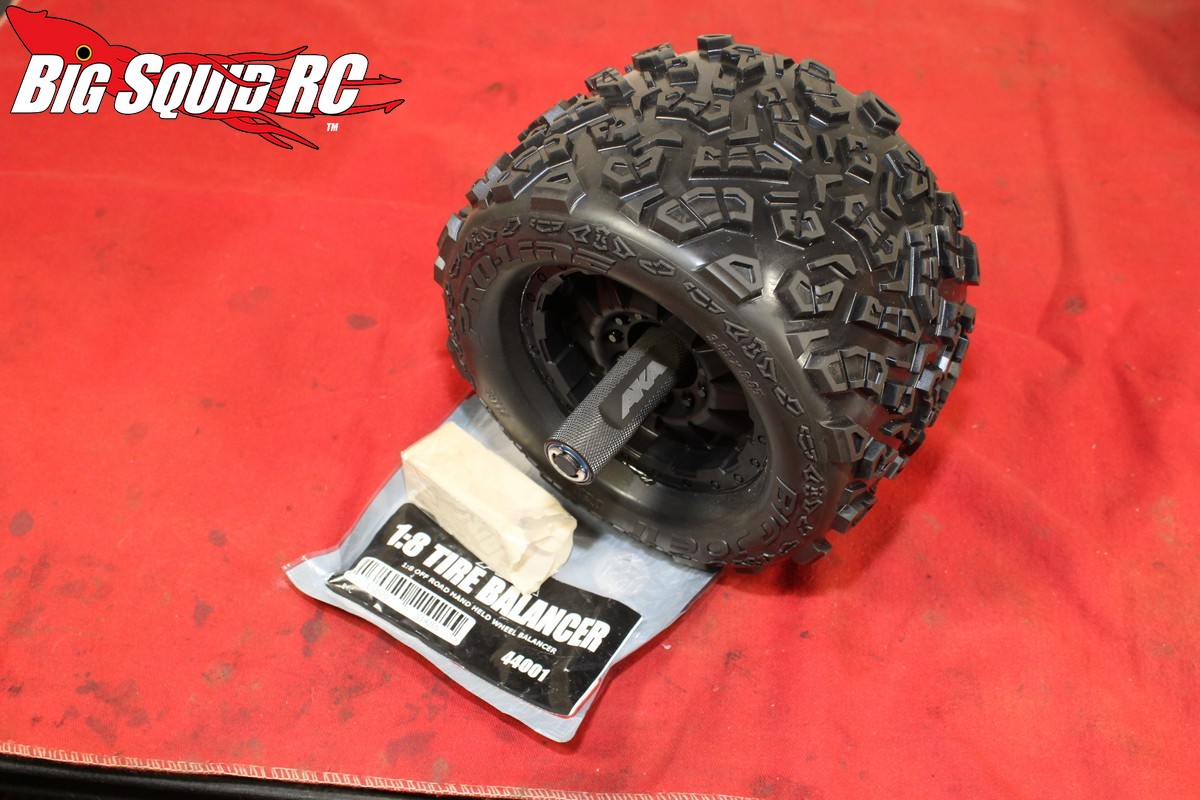
8. Balance your new shoes. Big power on unbalanced monster truck tires can nearly shake a truck apart. Balancing rc wheels/tires is super easy and doesn’t take long. We used an AKA hand balancer that comes with putty to make sure our new wheels/tires rotated smoothly.
9. Bolt them up, you are ready to bash!
That’s it for this installment, next week we’ll be installing a new body and wing to the MT-4 G3.
To view previous hop-up articles on the Thunder Tiger MT-4 G3 simply click THIS LINK.


