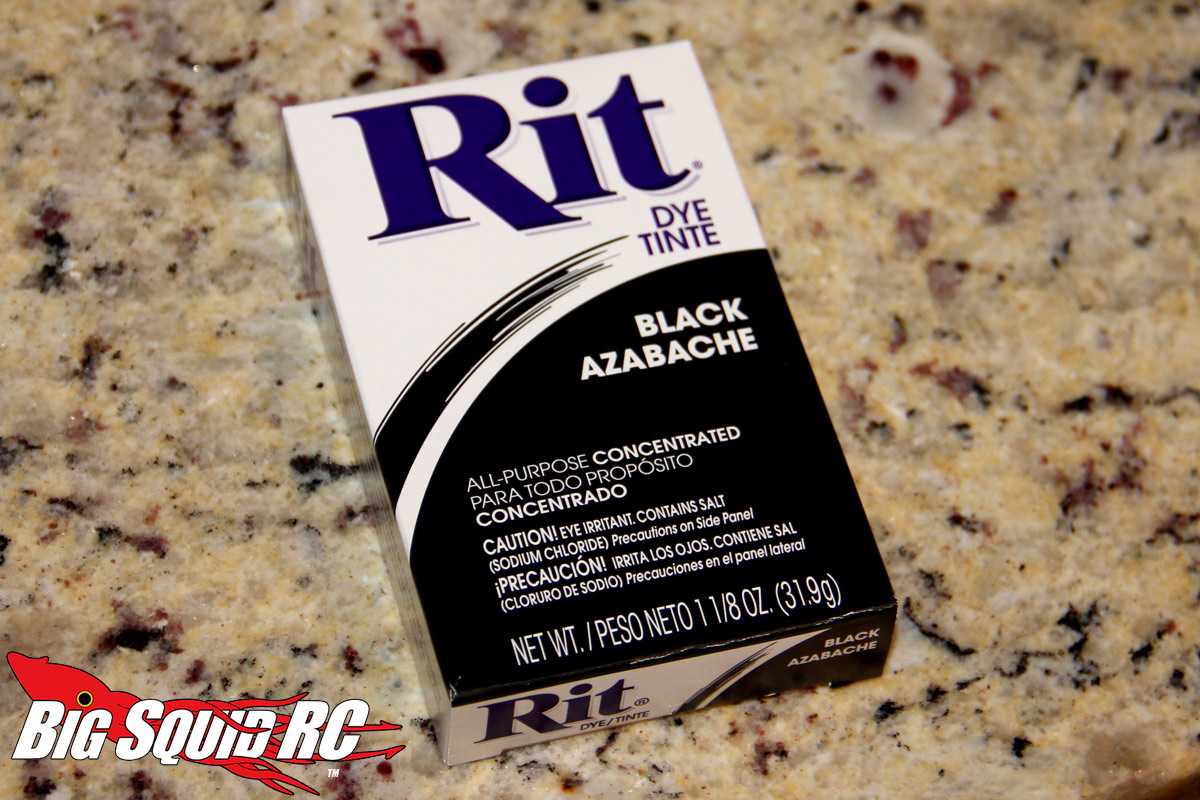
Rit Dye is a super cheap option to customize your vehicle without the need for paint or custom parts that cost big $$. You can usually find Rit in the laundry aisle of your local supermarket. The powder (like I’m using here) is around 90 cents. The liquid stuff costs around $2-$3 a pop.
Any light colored plastic part will usually accept dye (the rule is you can go darker, not lighter), just be aware that mixing colors won’t always yield great results. Unless I have a white “ready for dye” part, I typically just do black. Black almost always turns out great. You also want to make sure that you clean your parts very well before their bath. Any dirt, grime or oil can cause discoloration.

This is the Tamiya Clodbuster that I use as a retro monster truck racer. It looks good here, but after a season of racing it got beat up pretty good. I wanted to change to a new aftermarket chassis and color scheme. The new design I planned on doing would require me to ditch the blue parts as that color wouldn’t look right. Time to break out the dye!
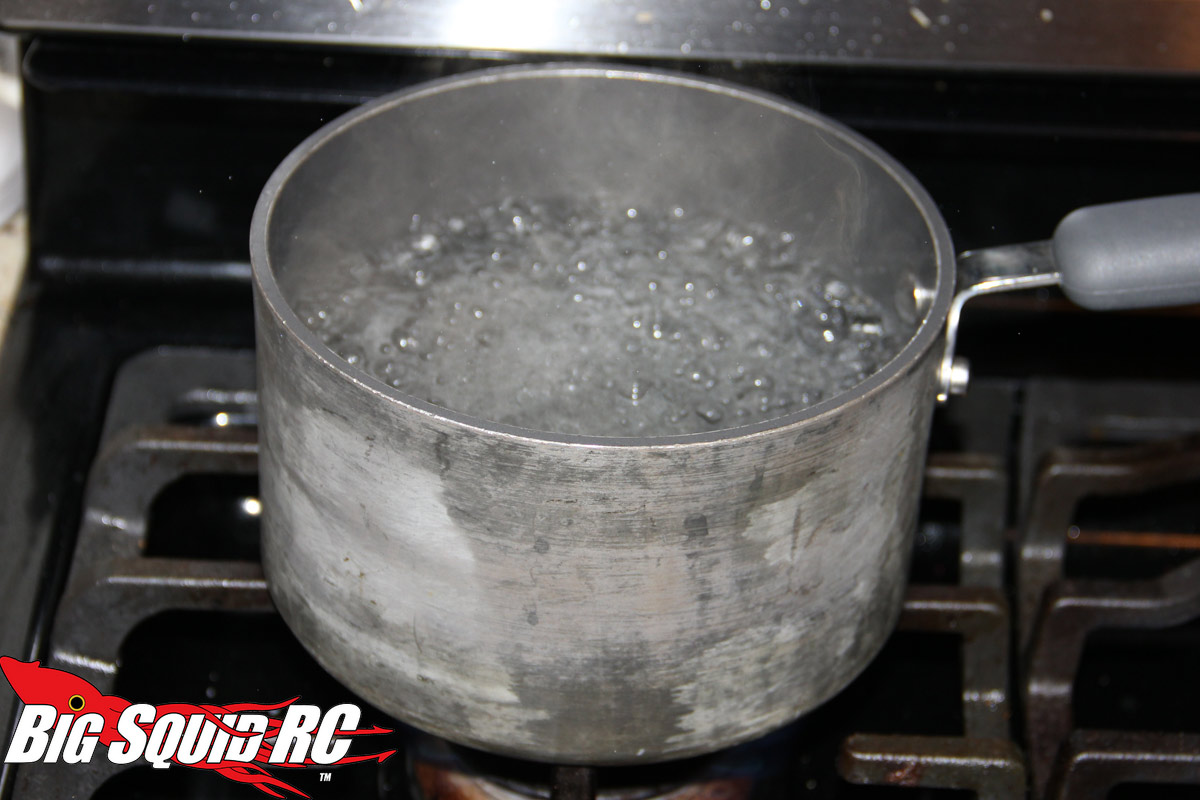
Bring a pot of water up to boil. Make sure to use a pot that you (or your significant other!) won’t mind getting stained. Rinsing and scrubbing a pot after use can usually get rid of the color, but not always.
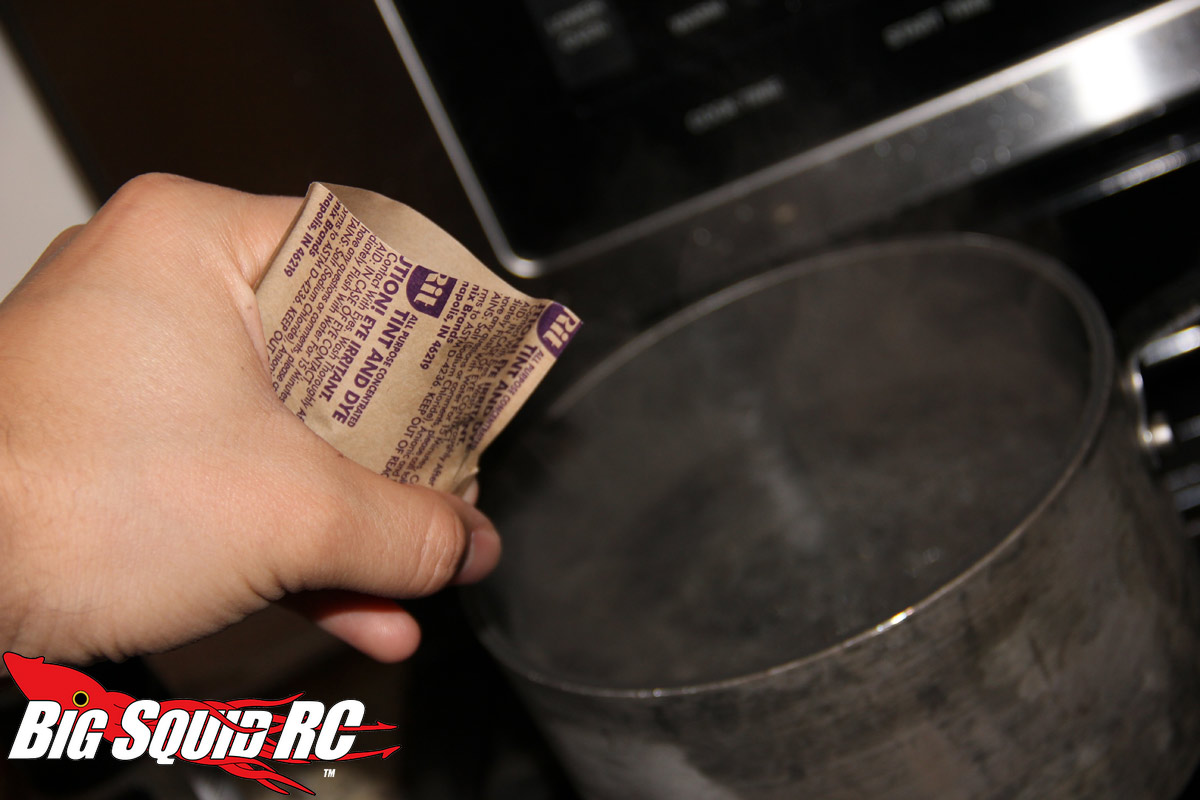
Prepare to pour in the Rit dye.
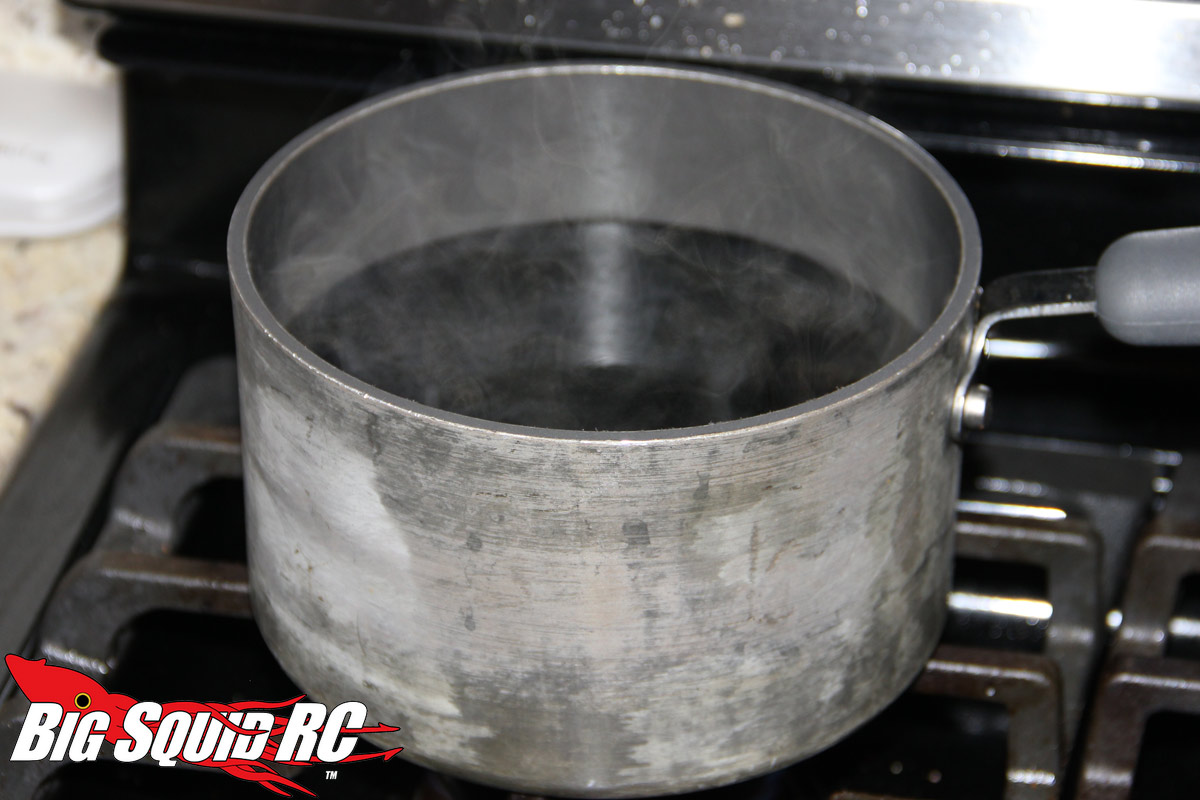
With the pot now black (or whatever color you are using) you can turn the heat down to a simmer. Time to add the parts. Make sure to drop them in carefully as splashing the dye can cause counter top stains.
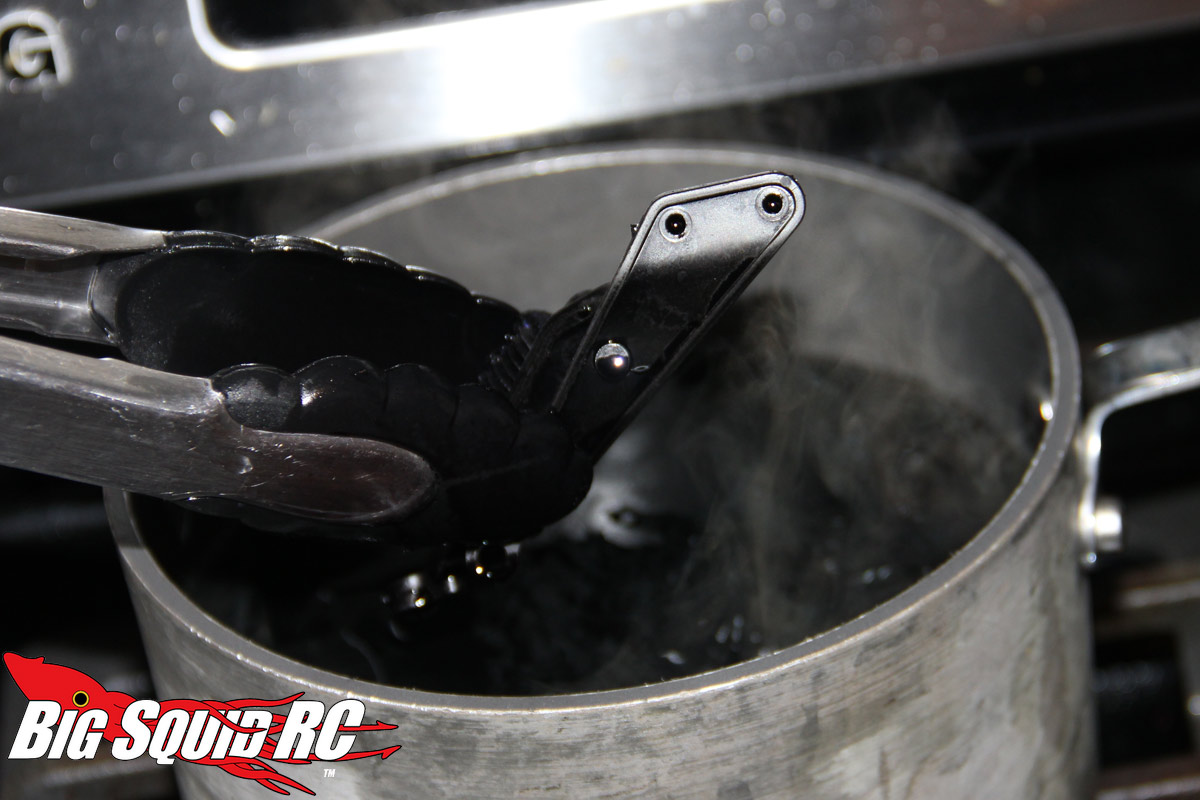
The heat allows the porous plastic to accept the dye. After anywhere from 30-60 mins in the bath they should be ready to go. Be aware that some colors or kinds of plastic can take longer to do. Just check on your parts with tongs and you’ll know when they are ready to come out. Be careful when removing the parts so as not to splash hot water on yourself.
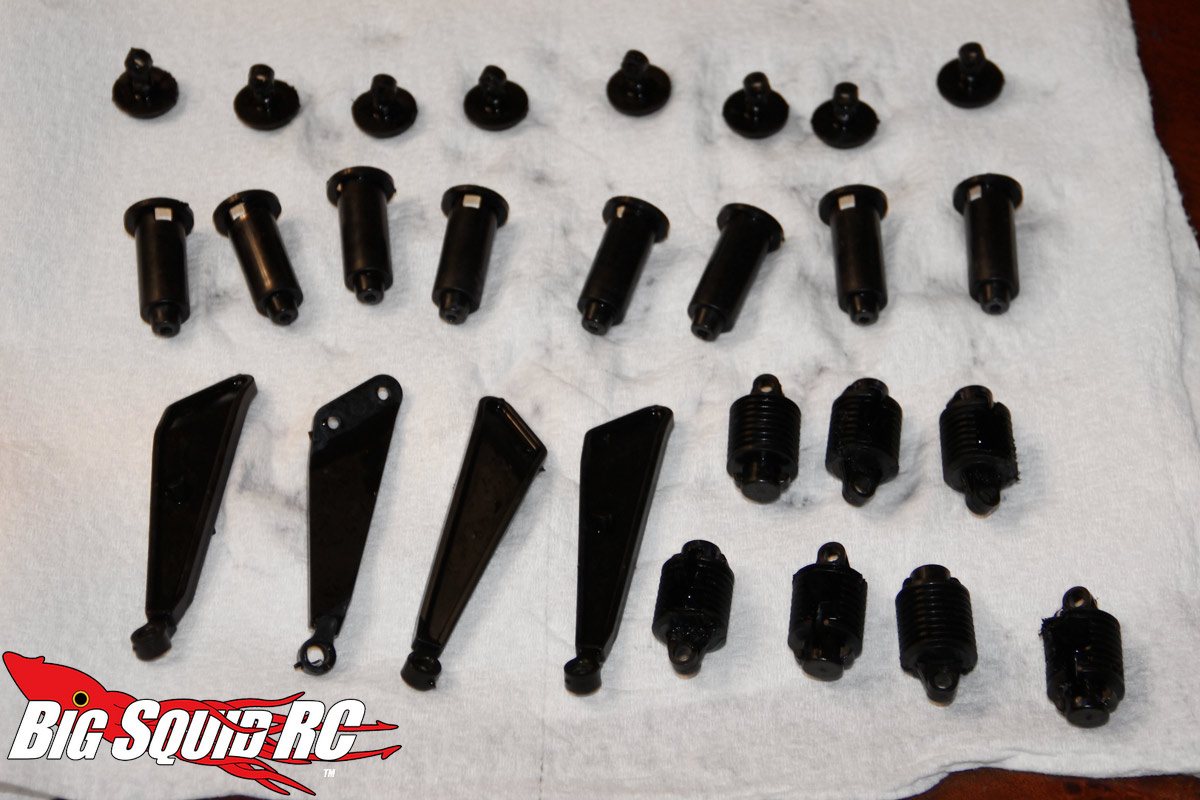
Here are my newly black parts laid out for drying. They look like they were molded this way. Not a hint of blue!

And here she is, my “new” classically inspired “Skoal Bandit” retro racer. The black plastic completes the look. Spending a few dollars on dye is much cheaper than buying all new parts!
Click here To see more “How-To” articles on BigSquidRC.


