How To – Velineon Brushless Upgrade For The Traxxas Ford GT
A few weeks ago when wrapped up Our Review of the Traxxas Ford GT, we were blown away with its capabilities in stock form. However, we are a power hungry bunch of maniacs, so it was only logical that we drop in some serious power via a brushless motor and new ESC.
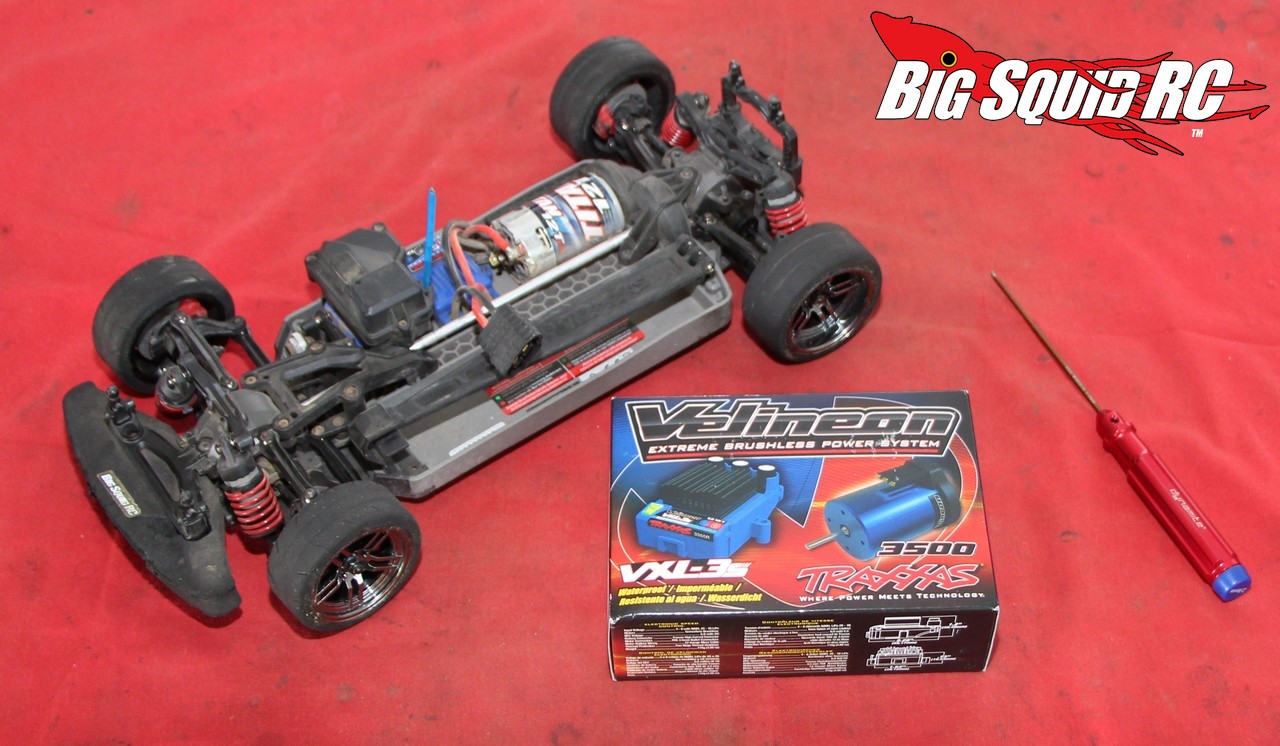
To pump up the power in our Ford GT, we decided to install a Traxxas Velineon Brushless System. The system we went with was part #3350R and is street priced right around $145. It comes with a potent 3500kV brushless motor, as well as a VLX-3S ESC.
The Install-
Our install went buttery smooth, but we took down notes to help new hobbyists that may have never done a power system swap before. Here are the steps to taking out of the stock system and replacing it.
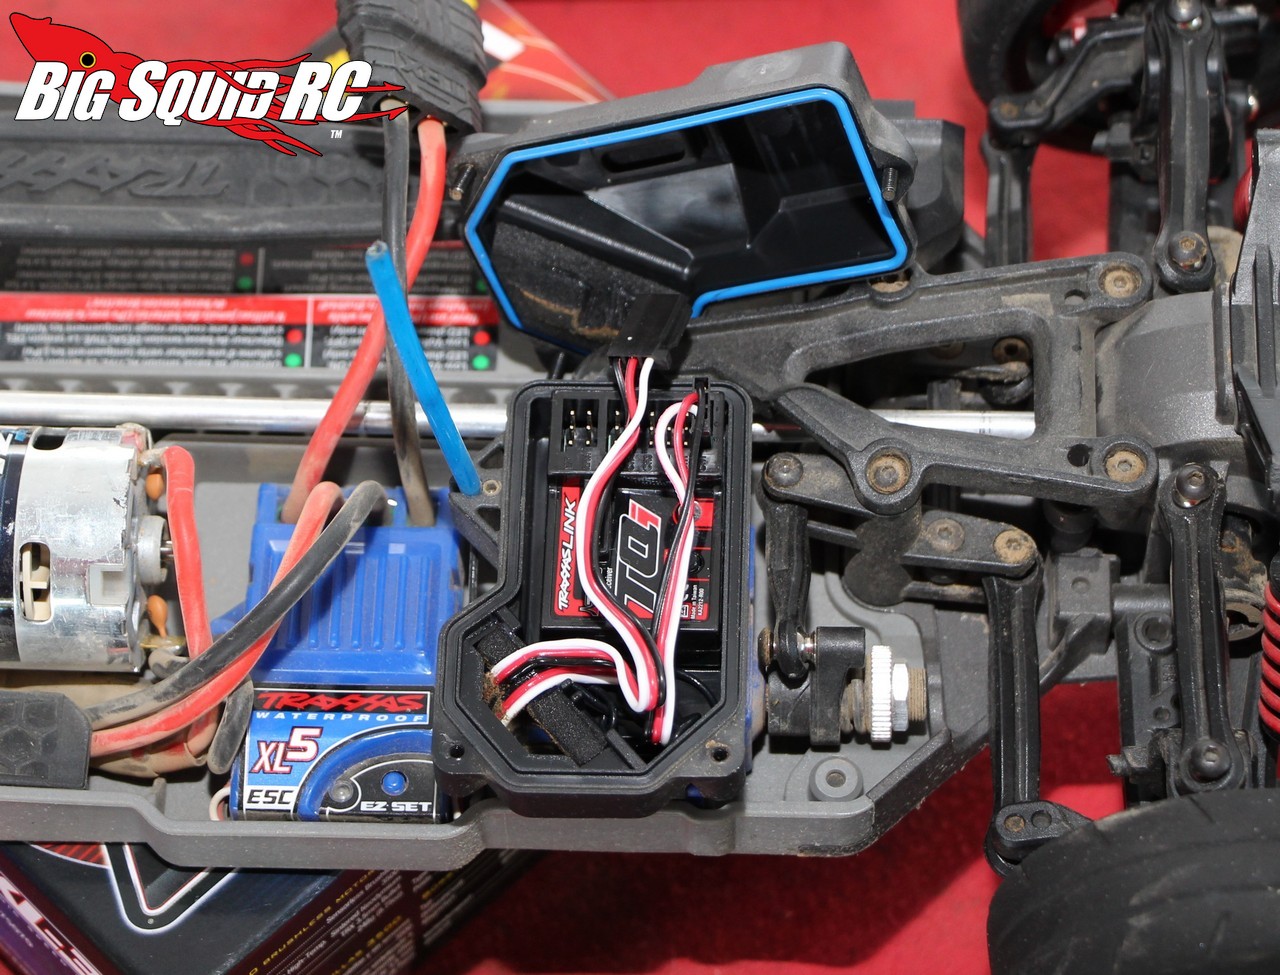
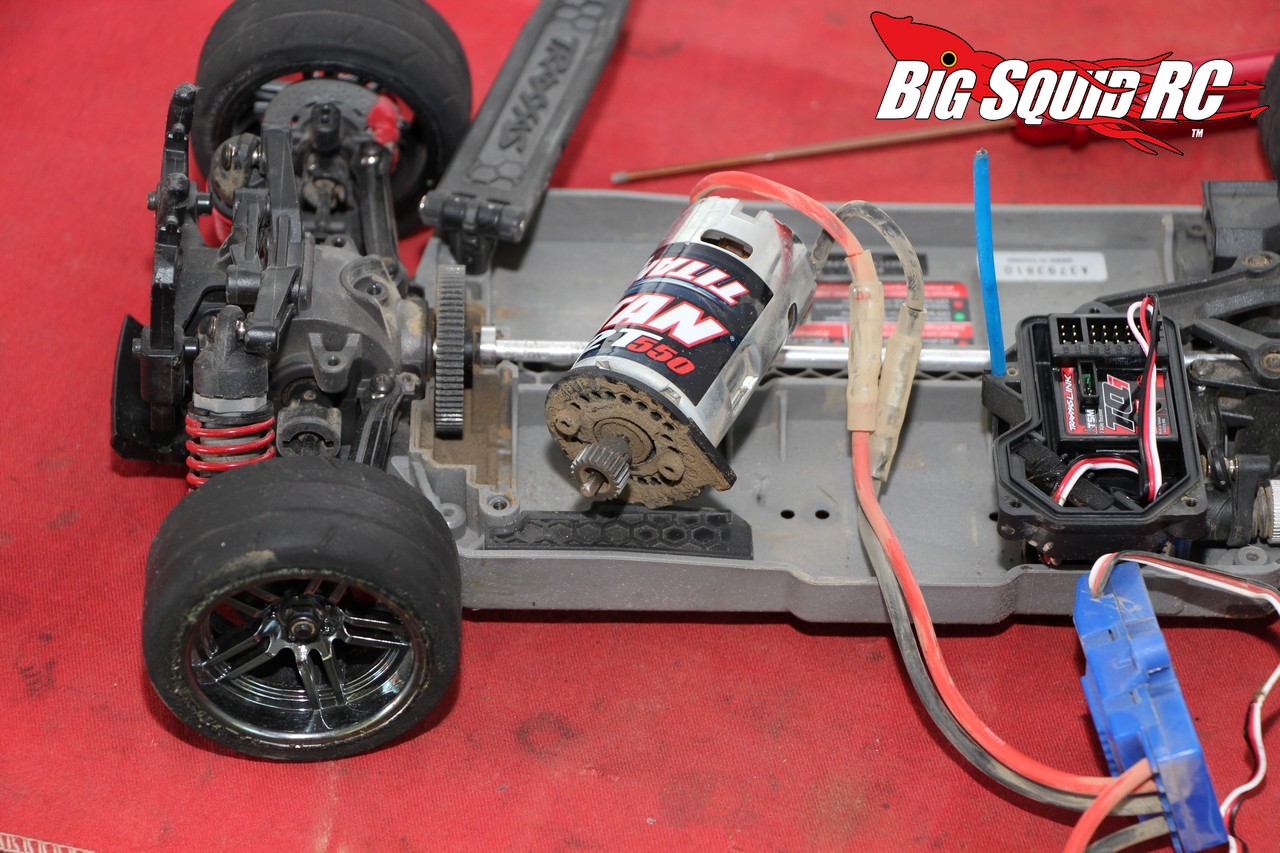
1. Remove the three 2mm screws that hold the lid of the receiver box on. Removing the lid allows you to unplug the signal wires from the ESC that plugs into the receiver. Once unplugged, pull the ESC wire out of the receiver box.
2. Remove two 2mm screws that run through the chassis and hold the stock ESC in place. Once this is done, you can unplug the ESC from the stock motor and remove it.
3. Remove the four 2mm screws that hold down the spur gear cover. Once this is done, the black plastic motor mount, with motor, will slide right on out.
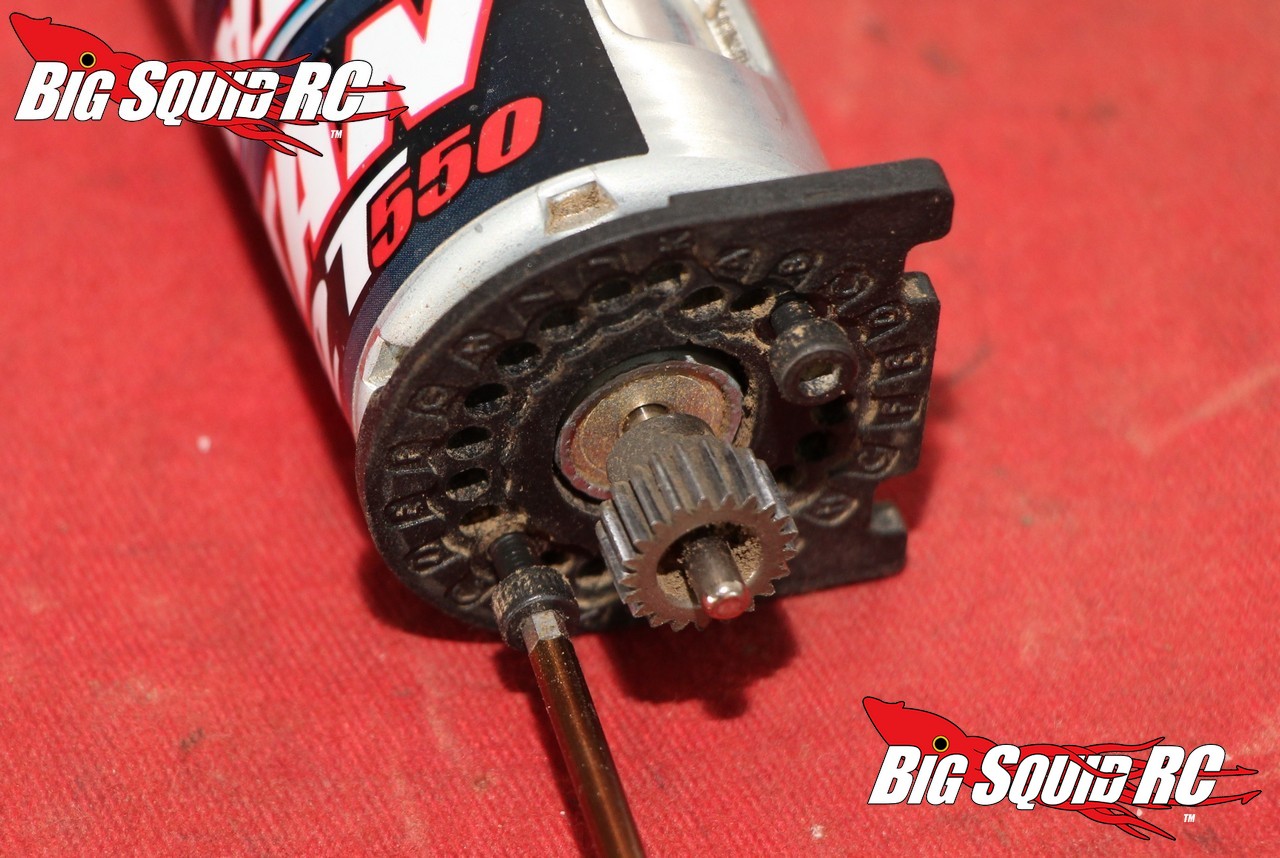
4. Remove the two 2.5mm screws that secure the motor to the plastic motor plate.
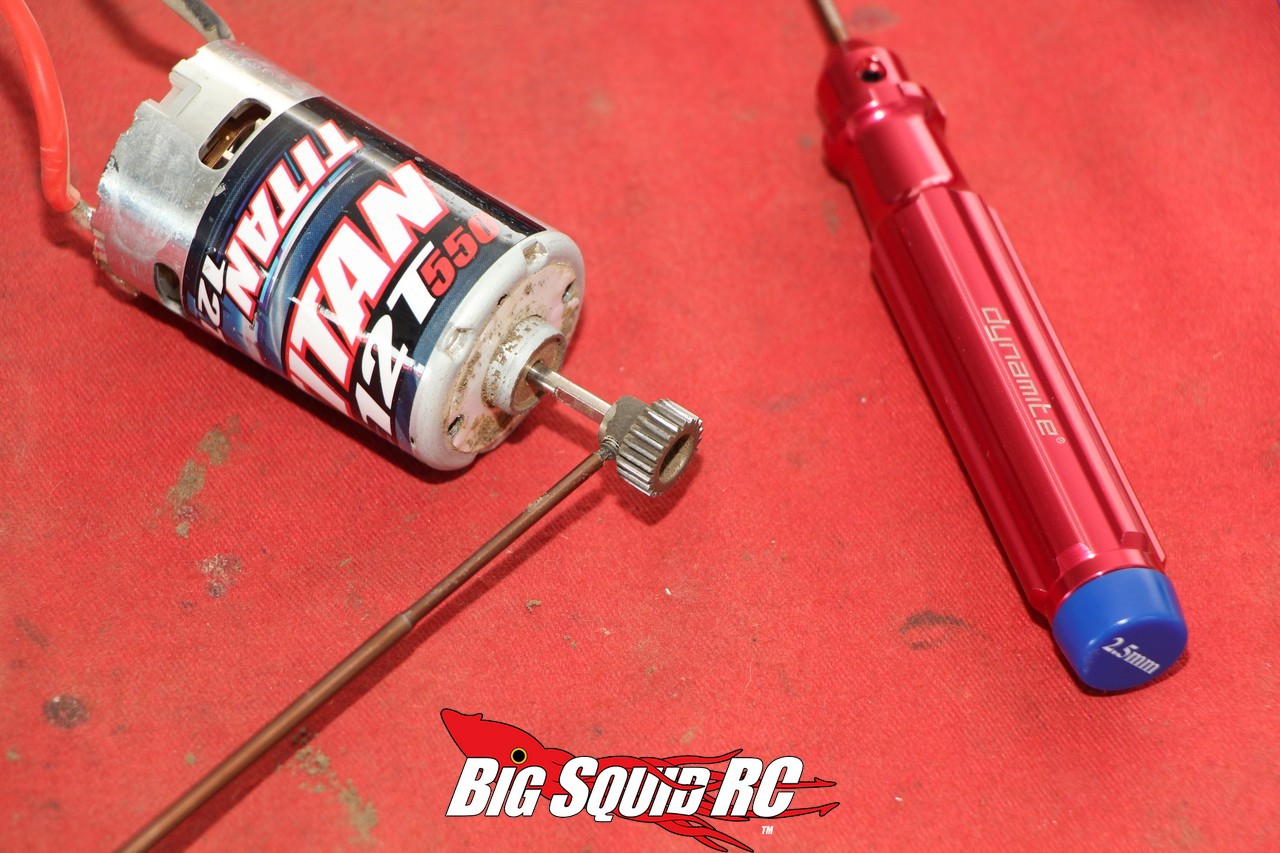
5. If you plan on using the stock pinion on your brushless motor, you can use a 1.5mm hex driver to loosen the grub screw on the pinion, then slide it off.
You are half way there at this point as the stock system has been completely removed. Sit back, enjoy a cold beverage, then grab your wrenches and get ready to start installing some insane power. 🙂
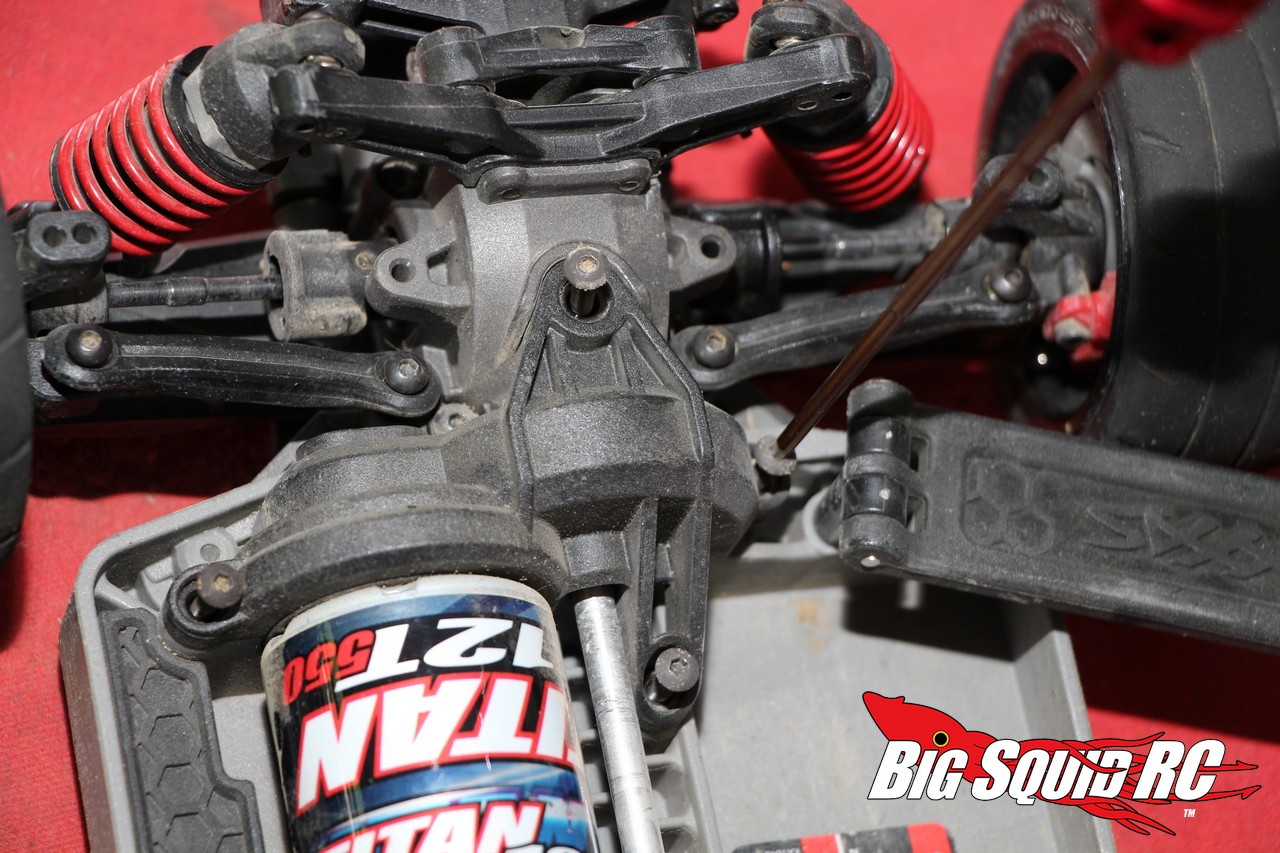
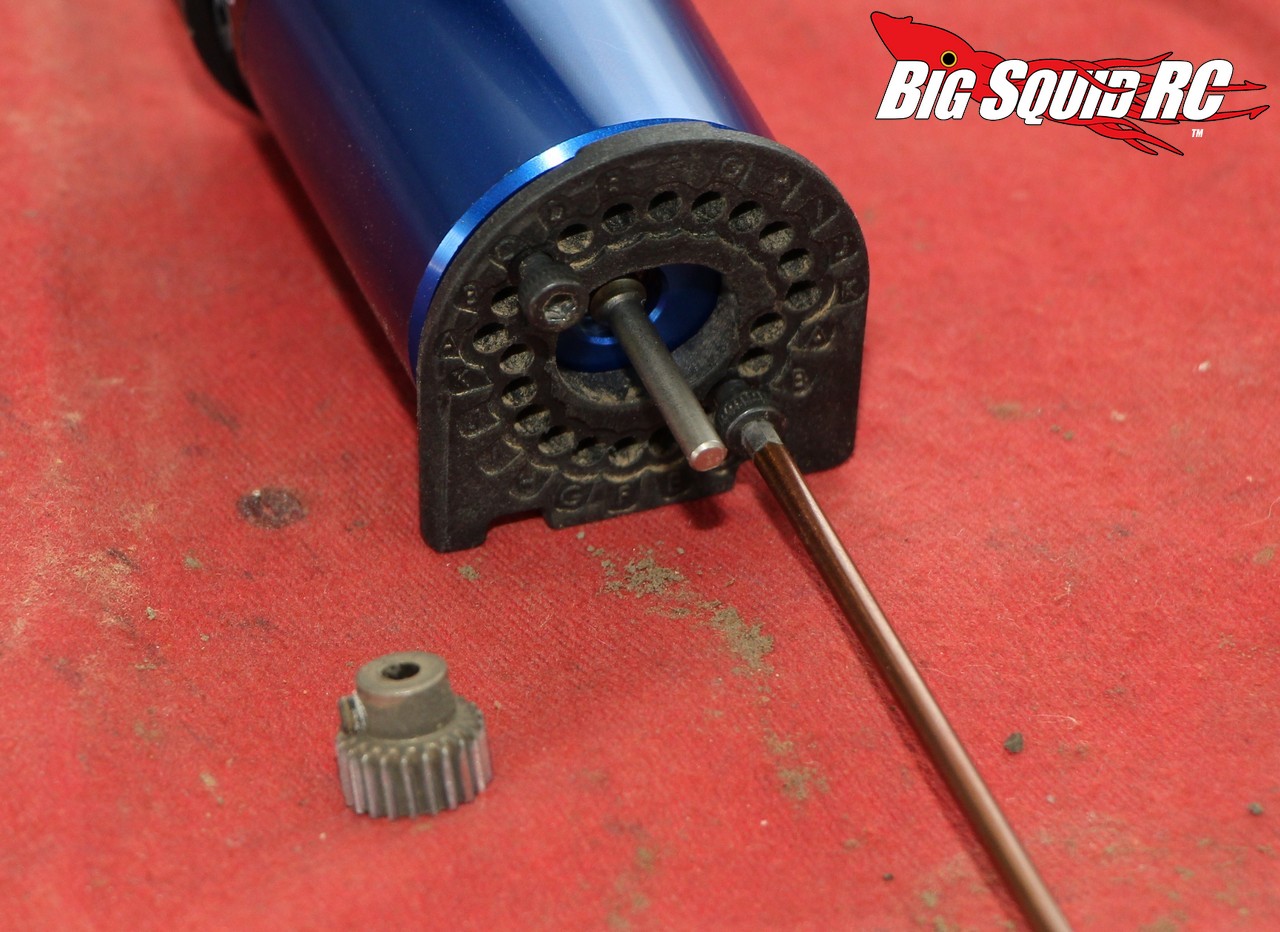
6. Install the two 2.5mm screw into the new brushless motor through the motor mount plate. If you are using the stock pinion, both screws will go through holes “C” for proper gear mesh. If you are using a different size of pinion, look in your manual to see which motor screw mounting holes should be used.
7. Slide the pinion onto the output shaft of the brushless motor, but don’t tighten it yet. Slide the motor into its place in the car. Adjust the pinion so that it properly lines up width-wise with the spur gear, then use your 1.5mm hex driver to tighten the grub screw on the pinion. Pinions love to come loose at the worst of times, so feel free to use a bit of thread-lock, as well as tightening the grub screw down snug.
8. Now it’s time to install the spur gear cover via the four 2mm screws that you removed earlier.
The motor install is now complete, time to finish up the ESC.
9. Run the receiver wire from your new brushless ESC into the receiver box and plug it in. The wire needs to be plugged into port #2, and it is directional, so make sure the black wire faces the outer edge of the receiver.
10. Install the receiver box lid via three 2mm screws.
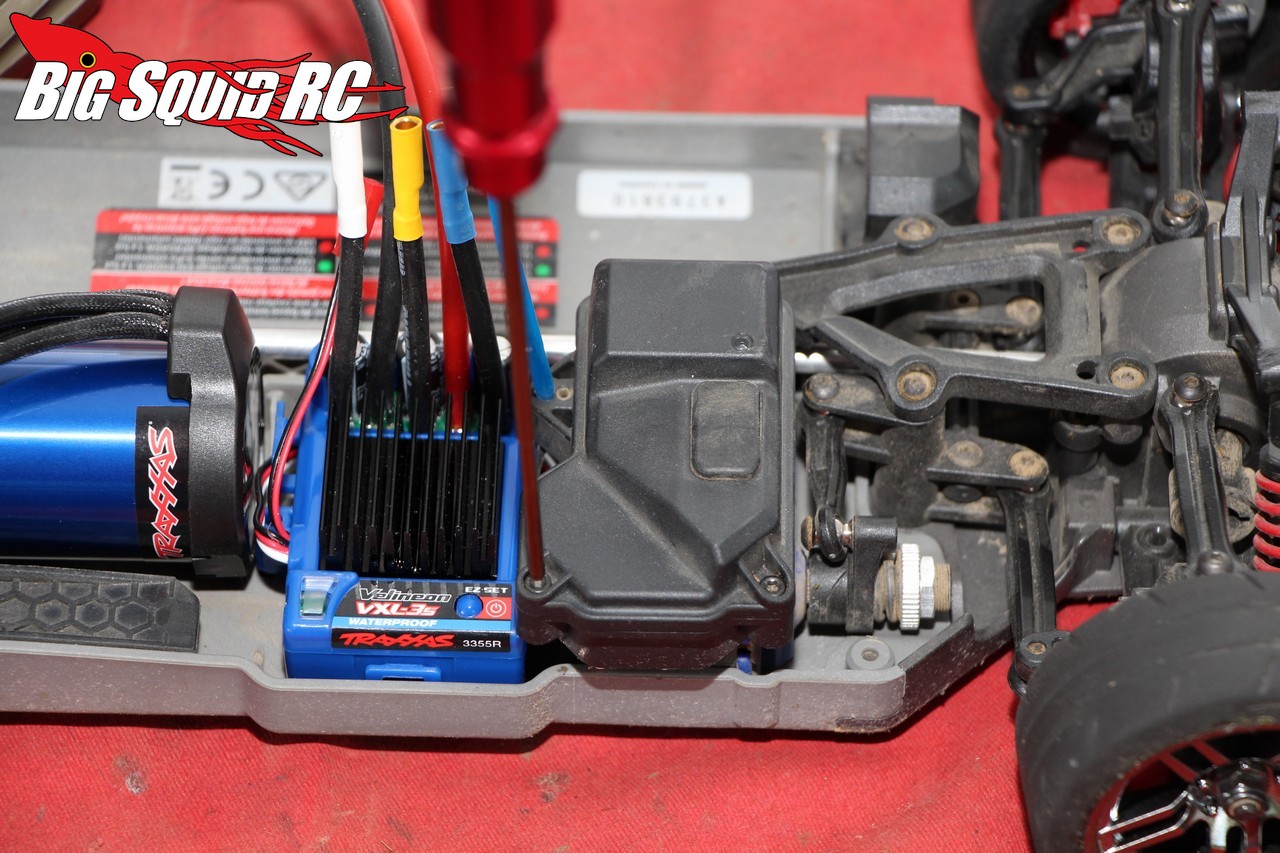
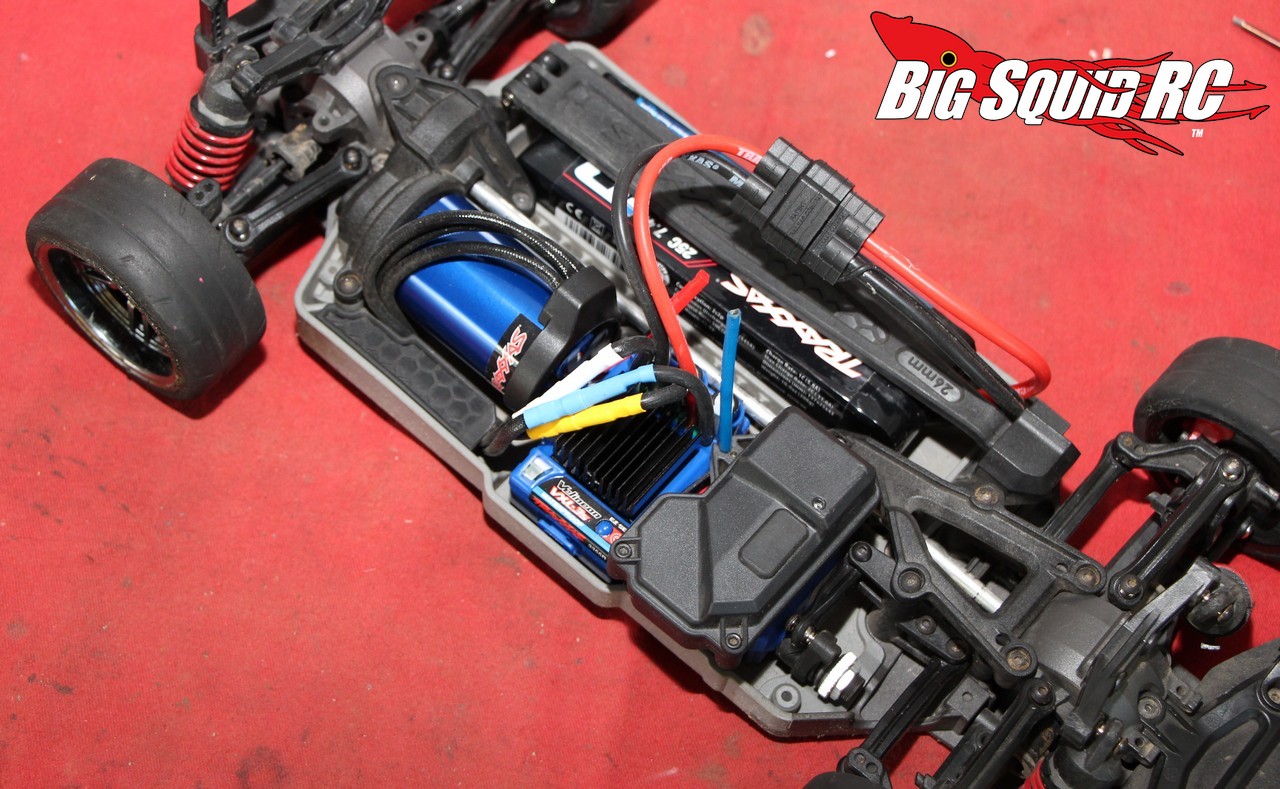
11. There are a couple of mounting options for the ESC. You can use bolts that run through the chassis to keep it secure, but we chose instead to use the provided double sided tape. We used a pair of scissors to cut the tape to the desired size, then stuck it to the bottom of the ESC. Now you can go ahead and stick down the ESC between the motor and the receiver box. You will want to mount it so that the on/off switch faces the outside of the car. This makes it easier to turn the car on or off.
12. Connect the three large wires that run from the motor to the ESC. Connect them so that the colors match- white to white, blue to blue, and yellow to yellow.
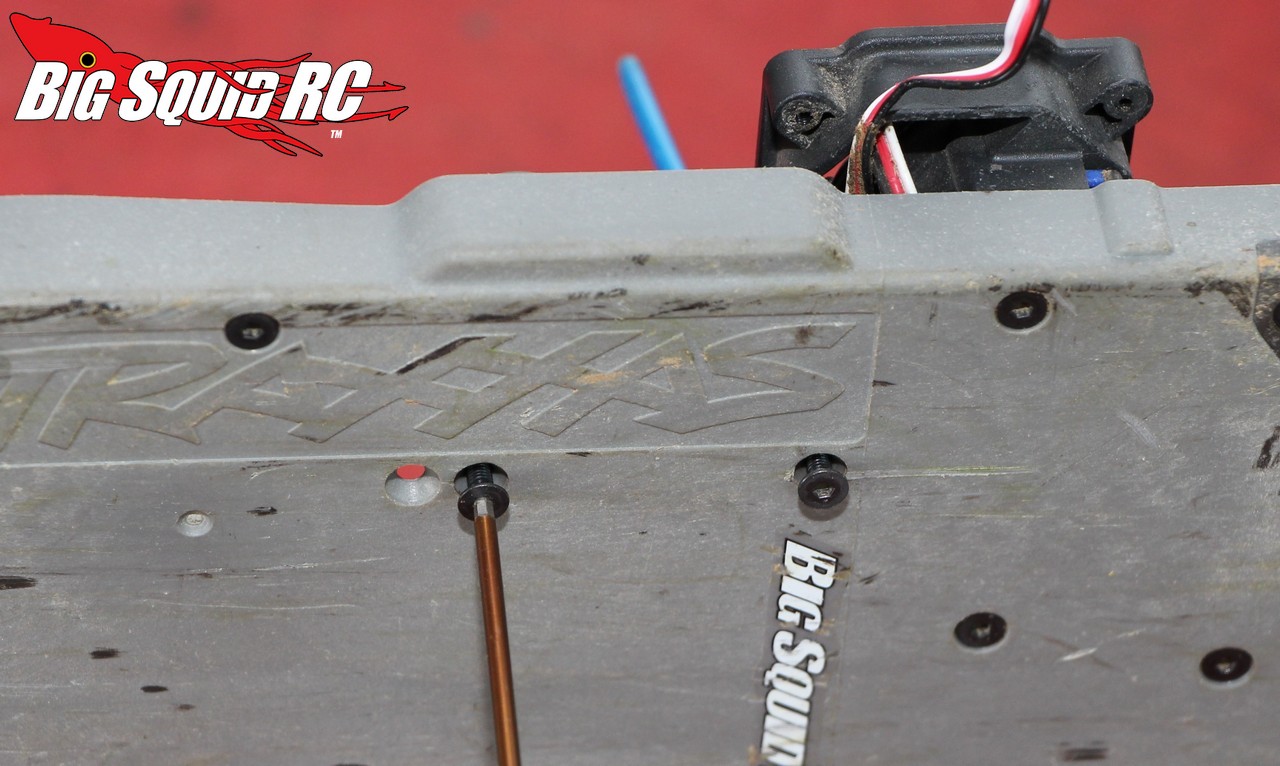
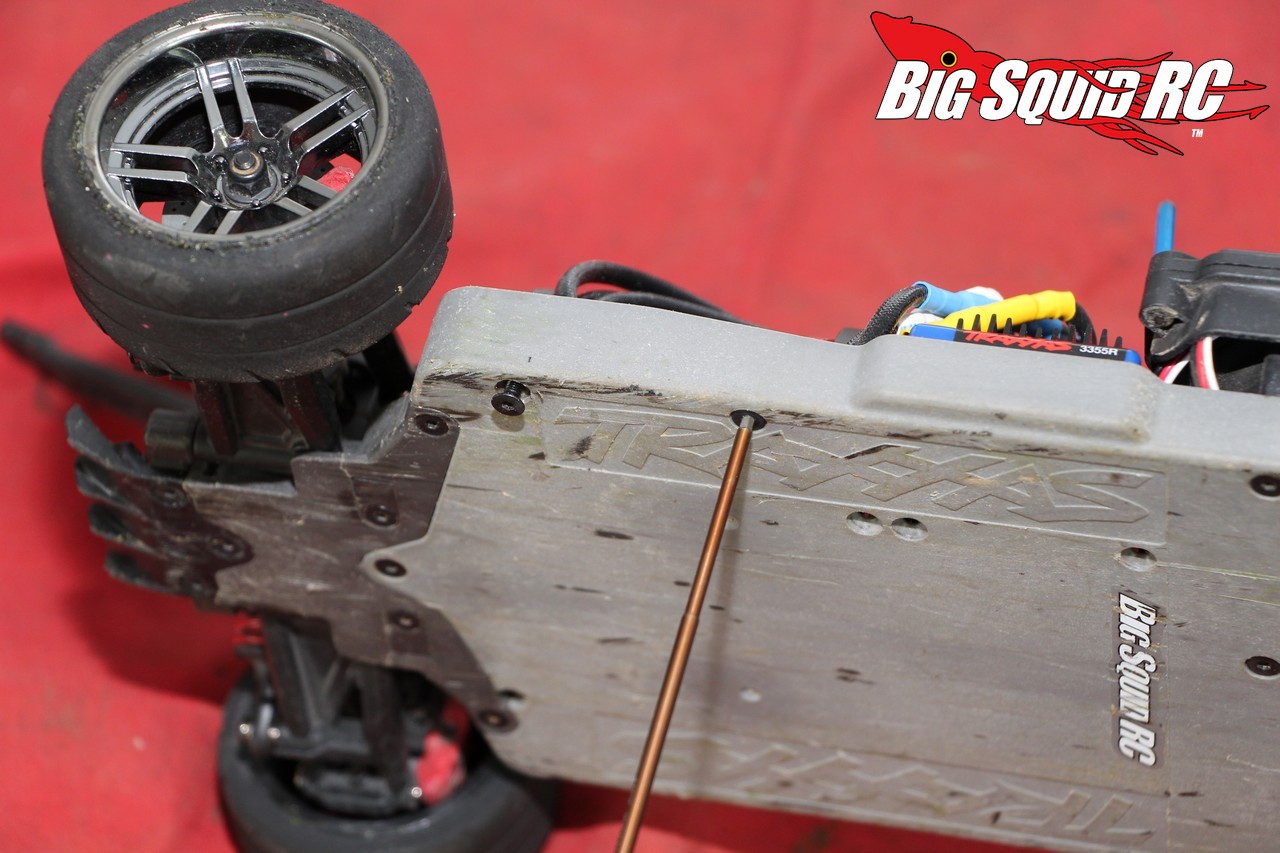
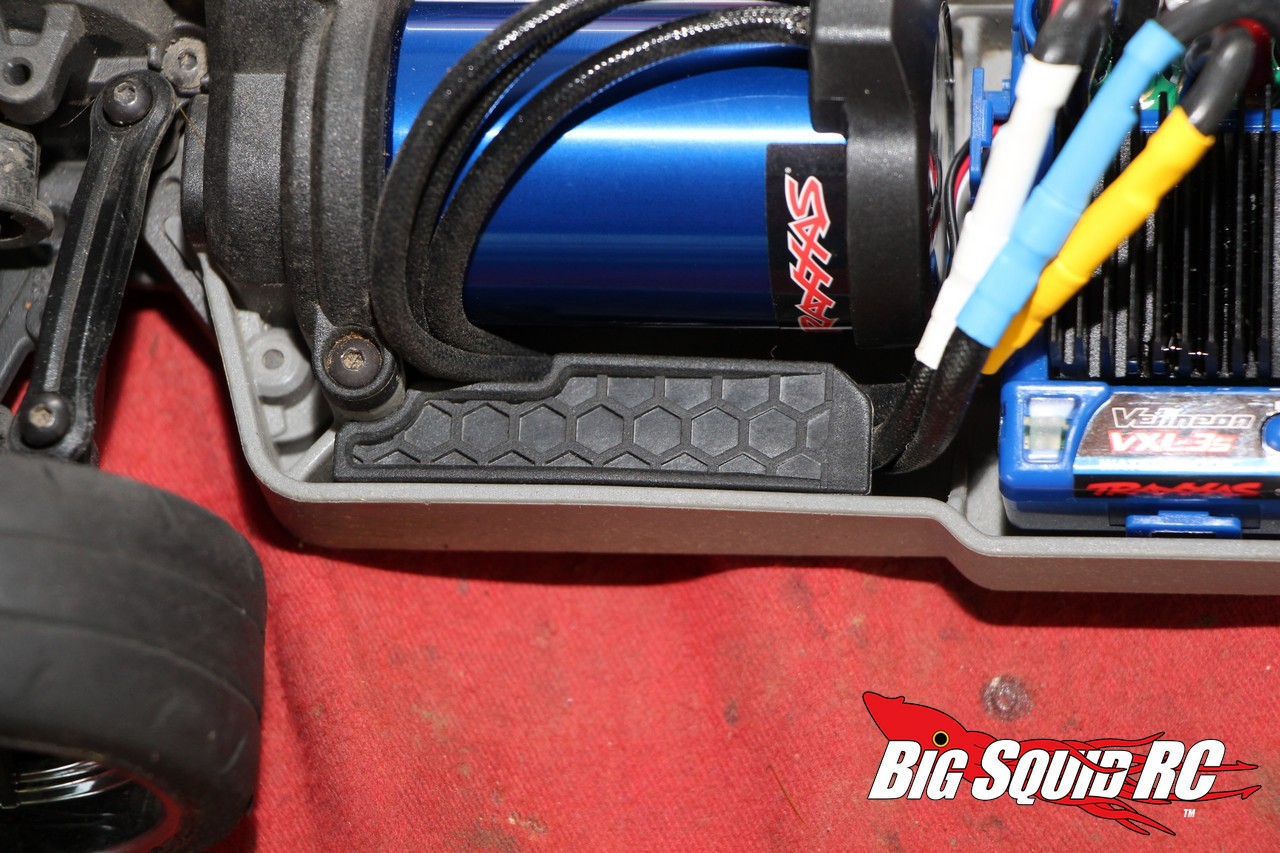
13. While you don’t have to, we took out the two 2mm screws under the chassis to remove the wire cover plate that sits next to the motor. We then shoved the wires down low and reinstalled the plate. This helps to secure the motor wires, it keeps them out of harms way, and it leaves your car with a more sano look.
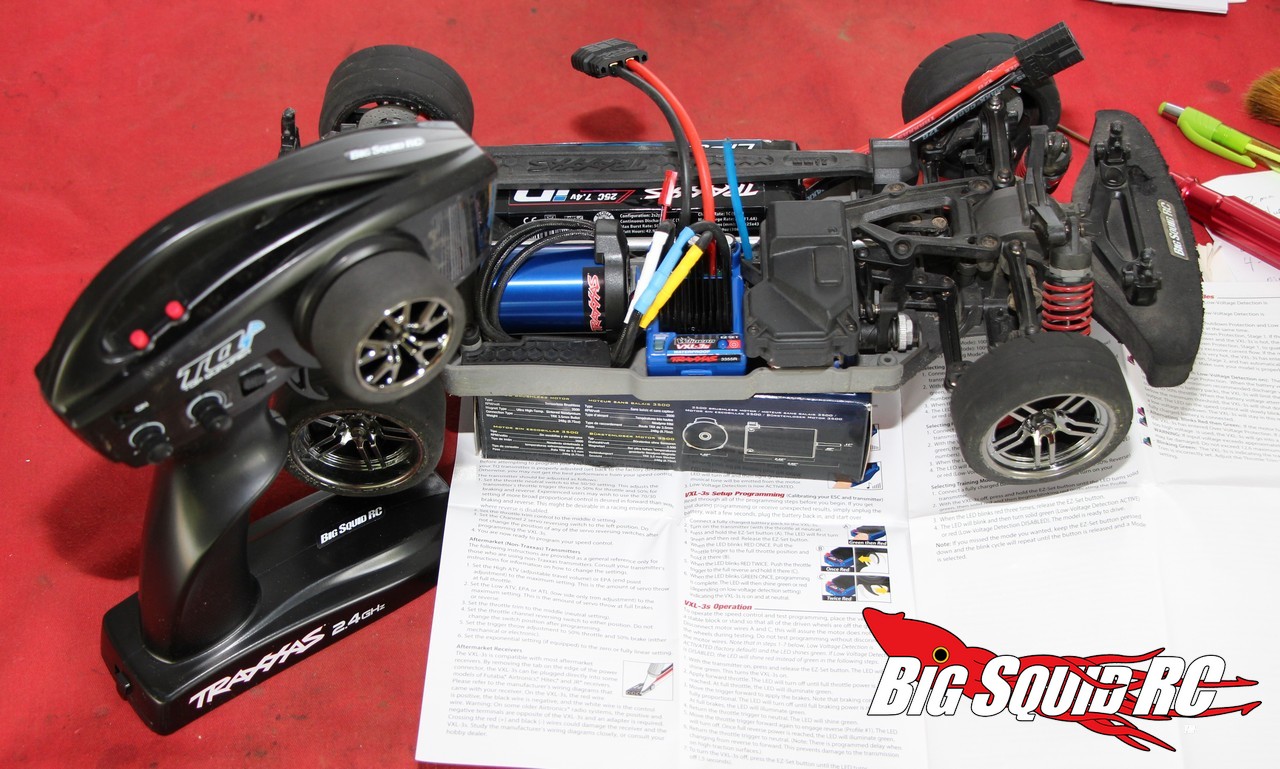
14. To wrap up the install, you will need to calibrate the new ESC to your transmitter and make any setting changes that need to be made. Calibration and programming varies by ESC manufacturer, but the set-up process on the Velineon was super easy. You will need to install a battery while calibrating and changing the programming.
Hooray, finished!!! All in all, putting a Velineon system in the Ford GT was super easy, so easy that even a new hobbyist could easily accomplish the task.
Driving The Beast –
Did the Velineon VXL-3S 3500 system have more than stock? Yes indeed, and not just a little, it had a LOT more power. We drove the car mostly with a 3S Traxxas LiPo and it absolutely ripped from a dead stop, blitzed through the mid-range, and the top end power was intense! At pretty much any speed, a large dose of throttle would instantly result in massive wheel spin, something that made the car a lot more fun to drive than stock. We noticed it took off quite smoothly from a dead stop, and while doing speed runs, it never seemed to lack for power.
Conclusion –
If you know anything about our hobby at all, then you already know what a giant increase in raw power you can get by installing a brushless system. The Velineon VXL-3S 3500 system was exceptionally easy to install and was no joke with its power output. It took our stock Ford GT from fun, to HOLY COW, in the power department. Better still, you don’t have to be a seasoned veteran to be able to perform the install. In less than 30 minutes, and for under $150, your Ford GT can be churning out massive power, just like its full scale counterpart!