Modding The Helion Dominus Part 2 – Modding The Helion Dominus Part 2 – Installing Street Shoes, Plus Setting Camber and Proper Ride Height

Some areas of the world are nice and sunny 12 months out of the year. Other places, like where the BSRC bash crew lives, the weather can get downright awful. After two straight weeks of rain and snow Cubby got tired of waiting for the off road tracks to dry up so he asked me to put the best street tires I could find on our Helion Dominus. After all, the parking lot right outside the BigSquid offices was bone dry, so why burn up perfectly good dirt tires?
Keep reading for my tips, suggestions and how to….
By: Tim Mohr
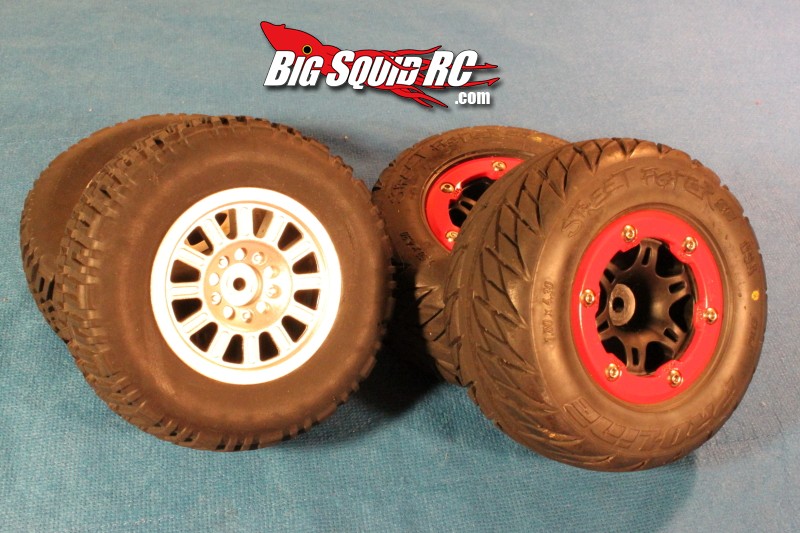
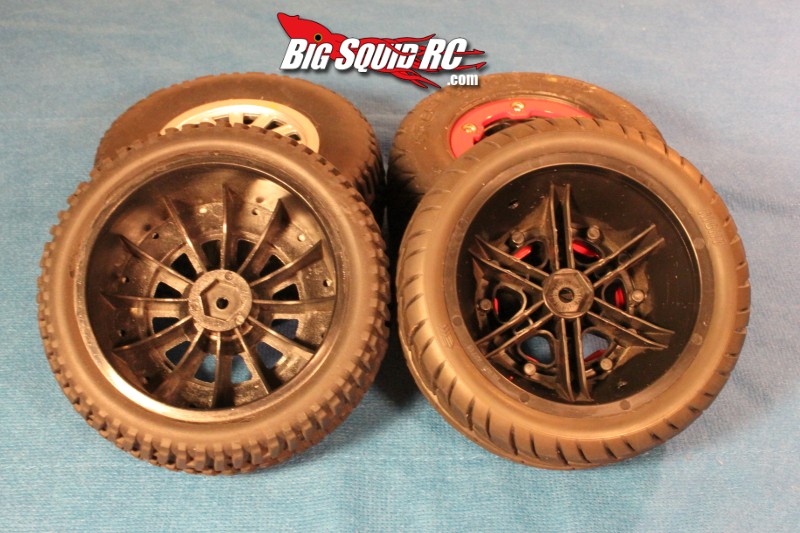
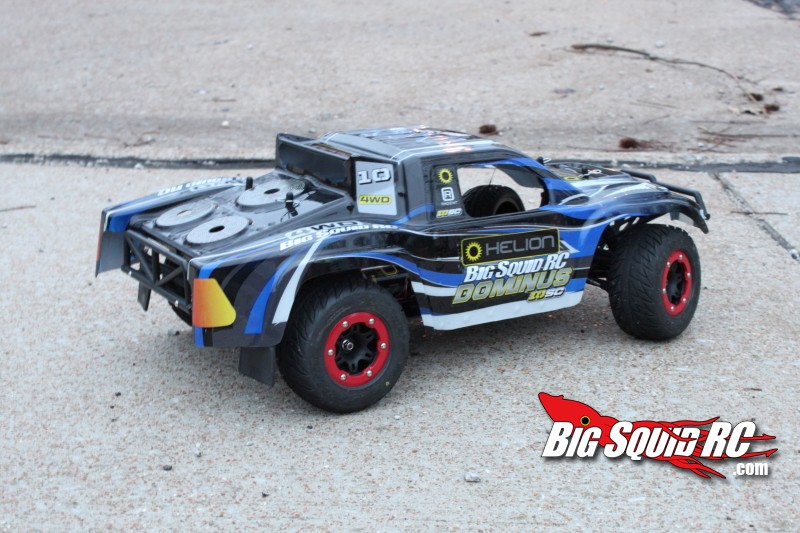
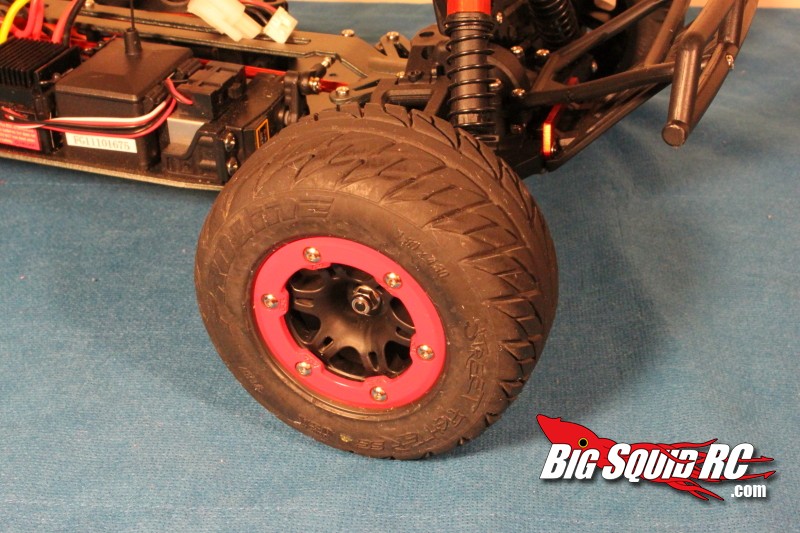
My choice for best street shoes for any short course truck is very easy- Pro Line’s Street Fighters (part #1167-01, about $20 a pair). The Street Fighters give excellent traction, look great, and last a long time.
The factory rims on the Dominus use the standard 12 mm hexes, but are a slightly different off-set than anything else on the market. Cubby would never allow stock rims, so I was ordered to find the best after-market rims available. After looking at virtually every rim on the market, I mounted the Street Fighters up to Pro Line Split Six bead-loc wheels (part #2715-04, also about $20 a pair). These are the same off-set as Slash 4×4 rims, and while they make your truck slightly wider than the stock Helion rims, they don’t cause any clearance problems and look great on the Dominus. An added bonus from the Pro Line bead-loc rims is not having to glue tires on, you simply tighten up the bead-locs and you are ready to rock.
Next on the agenda was properly setting the wheel camber and the trucks ride height.
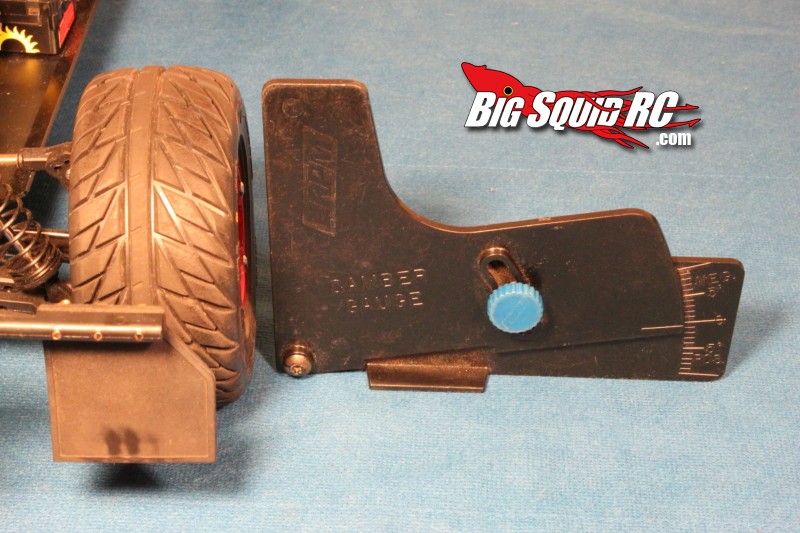
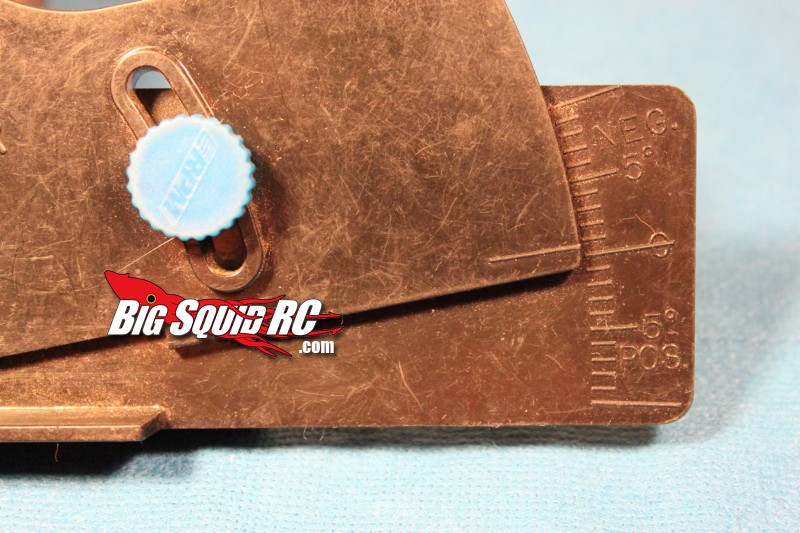
First up was the camber, which was easily accomplished using an RPM Camber Gauge (part #70992, about $10). Our Dominus came out of the box with zero degrees of rear camber, and +1 degrees (top of the tires were angled outwards) on the front. Using the RPM camber gauge I set the rear camber to -2 degrees (top of the tires angle inwards) on the rear, and -1 on the front to improve mechanical grip in the corners.
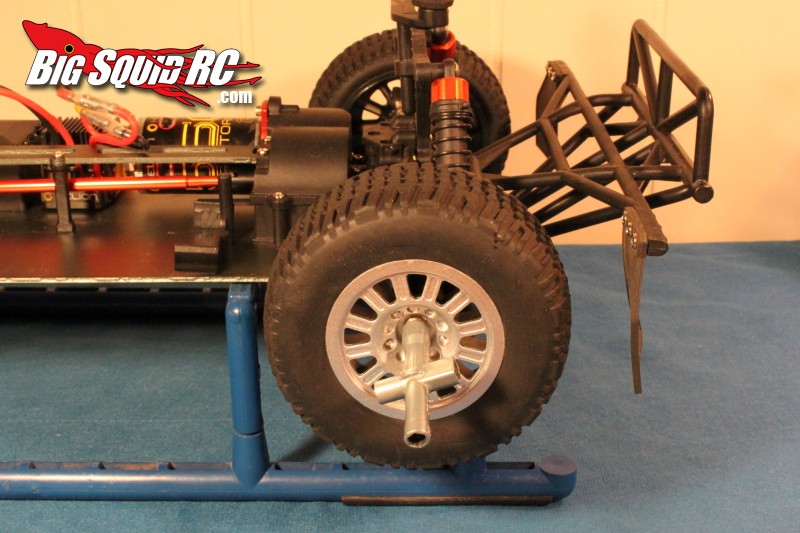
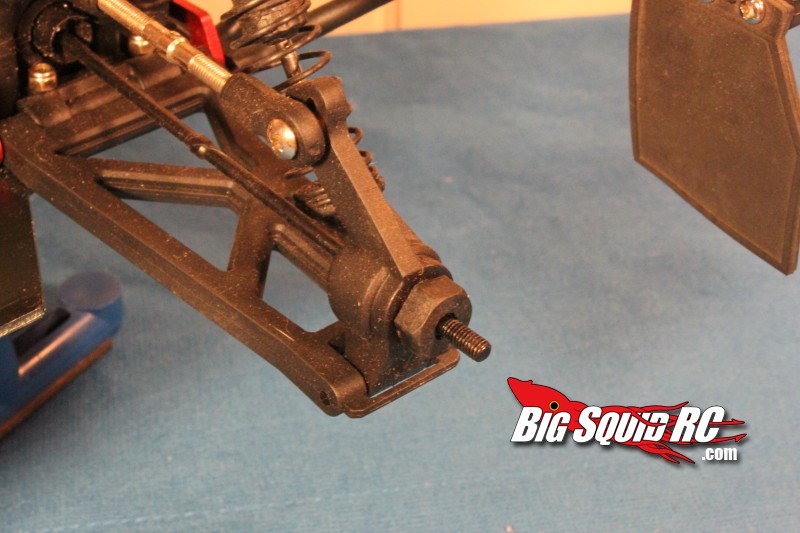
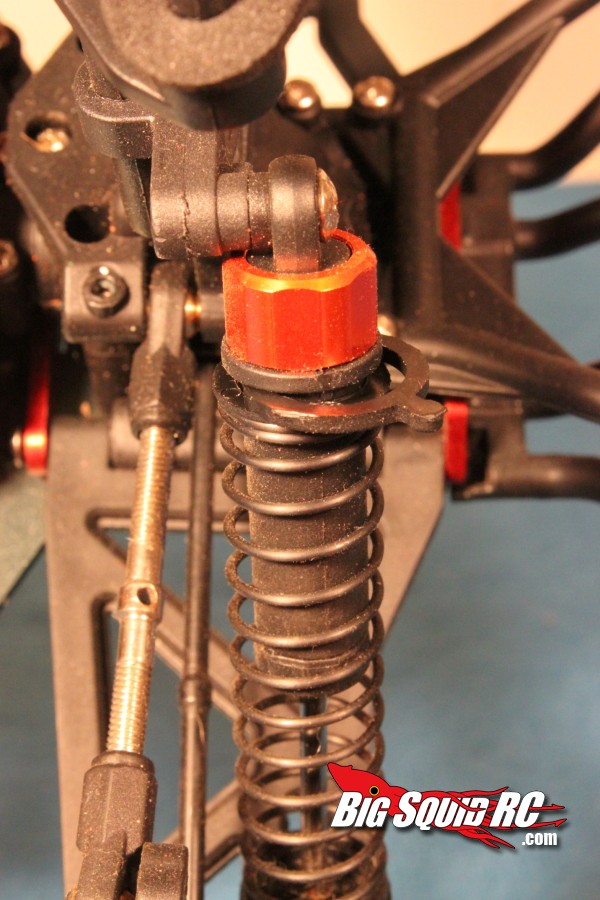
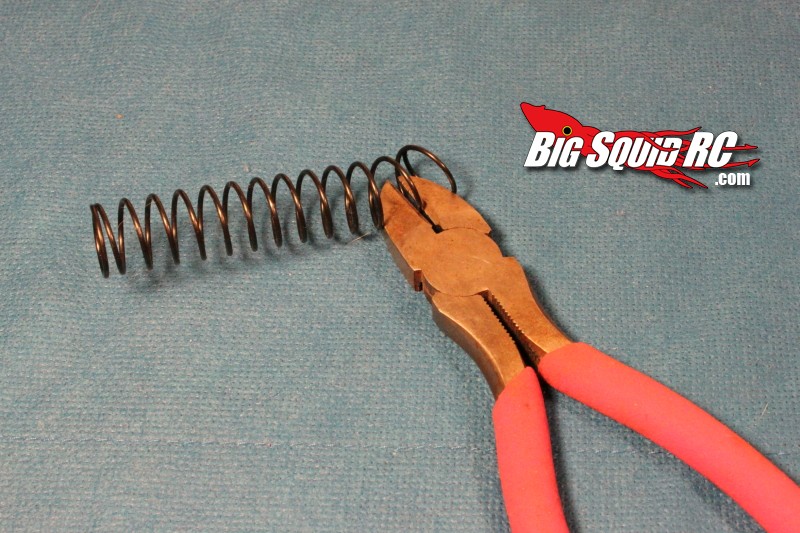
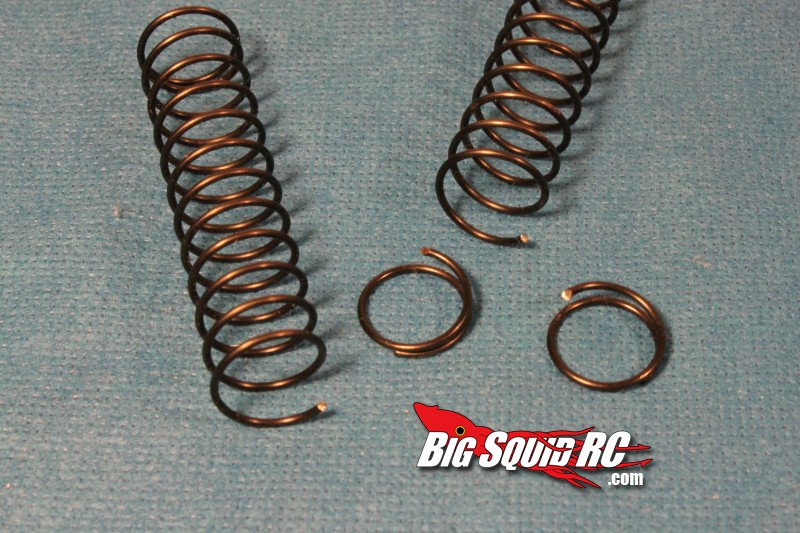
The ride height on the Dominus is set up for true bashing out of the box, the drive bones are way above level both front and rear. To gain corner speed I lowered the truck to where the drive bones are just above level. On the rear this was easily achieved by removing the stock pre-load spacers. The front of the Dominus was harder to lower as it didn’t come with any pre-load spacers to remove. I cut one and a half coils off the front springs to bring the front ride height down to where I wanted it.

All in all I spent about an hour doing all these mods. Once I was done Cubby couldn’t wait to take the truck for a spin, he literally ripped it out of my hands! Out in the BigSquid parking lot Cubby drove 3 straight battery packs then came back to give me his input on how my mods stacked up. Cubby liked how I had taken some of the entry steering out of the truck, and he was impressed by the overall improved cornering traction.
I set out to do some easy and cheap mods that would yield big dividends while street bashing the Dominus, mission accomplished!
In the next installment of “Modding The Helion Dominus” I’ll show you what it takes to properly install a LiPo battery. In most trucks installing a Lipo is easy, on the Dominus it takes some work, so stay tuned!
The Dominus is a HobbyTown exclusive, so if you are looking for one, you will need to order online, or hit your local HobbyTown!
Want more tips? Check out our Modding The Dominus Part 1 Reducing the Parachute Effect.
Also remember to read our Dominus Review if you are thinking about getting one.


