Modding The Helion Dominus Part 3 – Installing A Lipo Battery

In most trucks popping in a new Lipo battery is easy, they just drop right in! Unfortunately that isn’t the case with the Helion Dominus. Stock, the battery tray in the Dominus is set up for use with the included 7 cell 1800 mah Ni-MH. When attempting to drop in a ROAR sized Lipo you will find the stock battery tray is too long and not tall enough.
Keep reading to see what is needed to properly install a ROAR sized Lipo in your Helion Dominus.
By: Tim Mohr

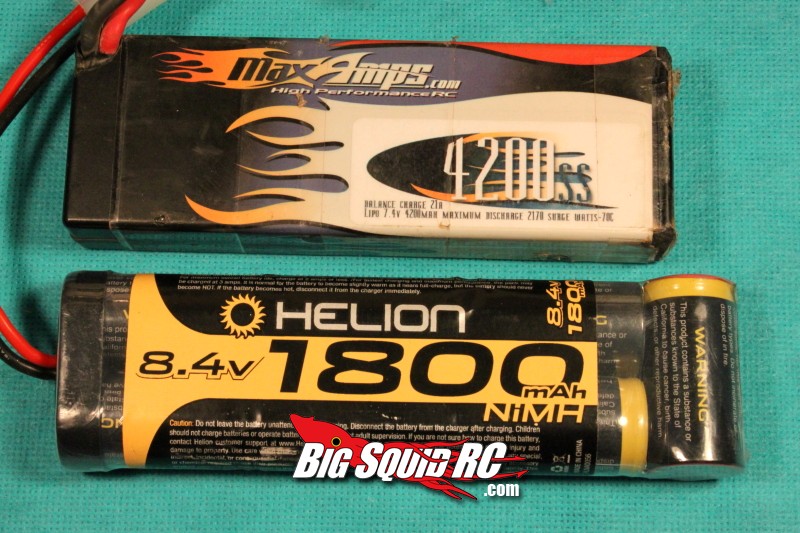

1. Take off the 2 body clips that secure the battery strap and remove the stock 7 cell Ni-MH battery.
2. Remove the three foam pads on the chassis in the battery area. If not removed these foam pads will raise your Lipo making it extremely difficult to get the battery strap on. I used a flat tip screwdriver to help remove the foam pads.
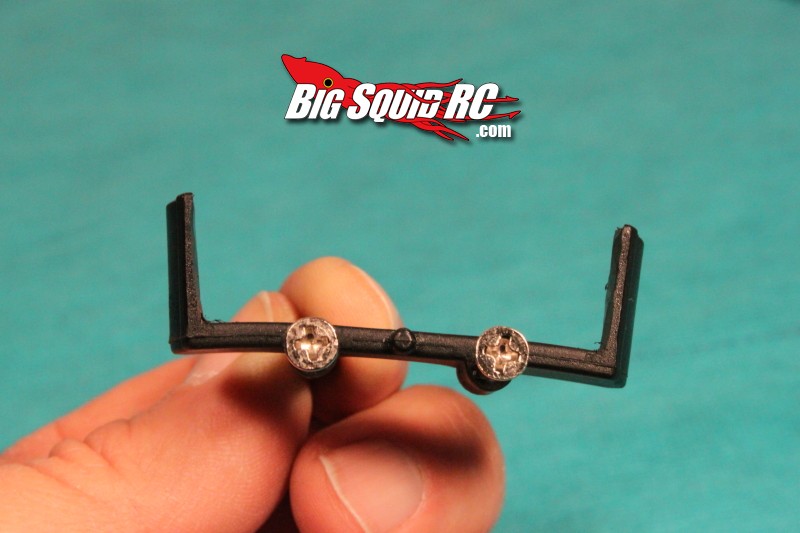
3. Remove the 2 battery tray ends. This requires the removal of 4 phillips head screws.
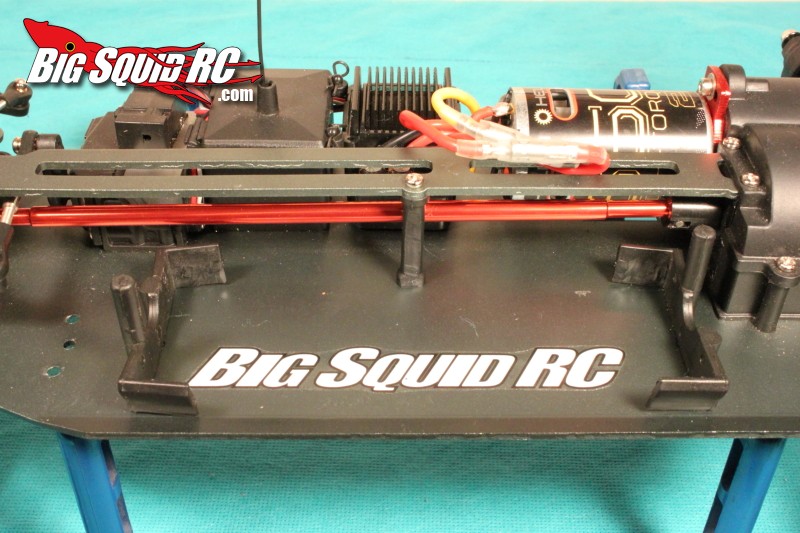
4. Remove the center post. This sits in the inner middle of the battery area and goes from the chassis to the top deck. This requires the removal of 2 phillips head screws.
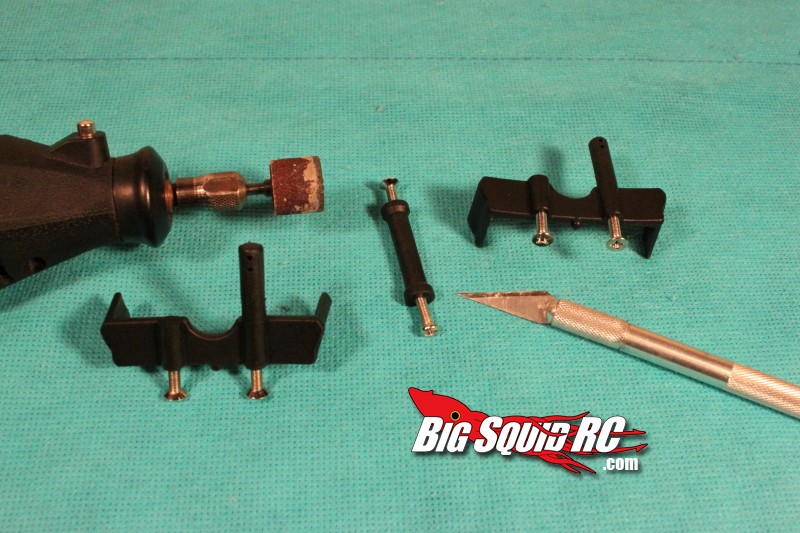
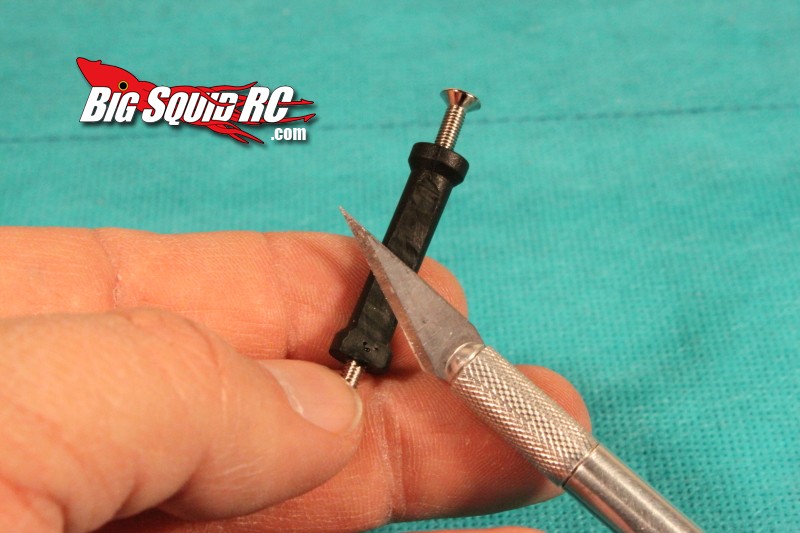
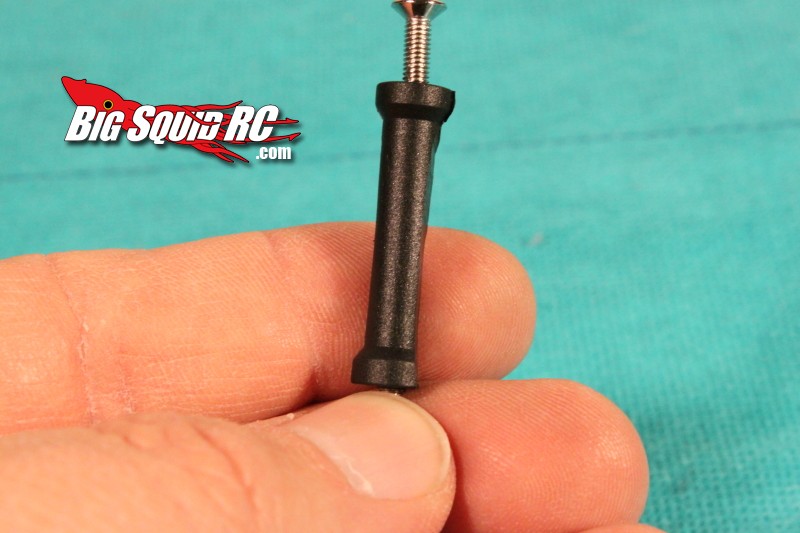
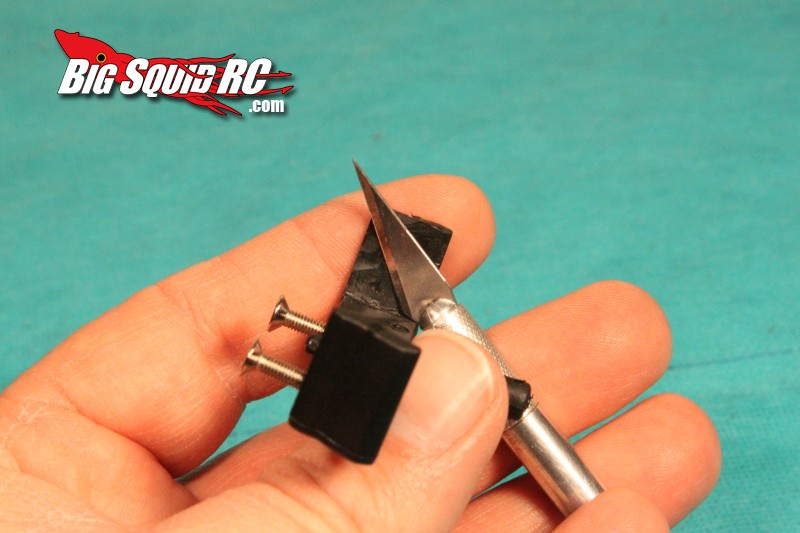
5. Remove excessive material from both battery tray ends and from the center post. A ROAR sized Lipo won’t easily slide into the battery tray ends, remove material to keep them from bowing outwards. Putting a flat spot on the center post gives more room for a Lipo to sit in the battery area. I used a hobby knife to remove excess material, but a Dremel with a sanding wheel will also do the job.
6. Re-install the battery tray ends and center post. Mount the rear battery tray in its stock holes, mount the front battery tray in its “short” position.
7. Re-install battery strap. Helion includes a short battery strap with the truck for use with Lipo batteries, be sure to use it.
8. You are done!
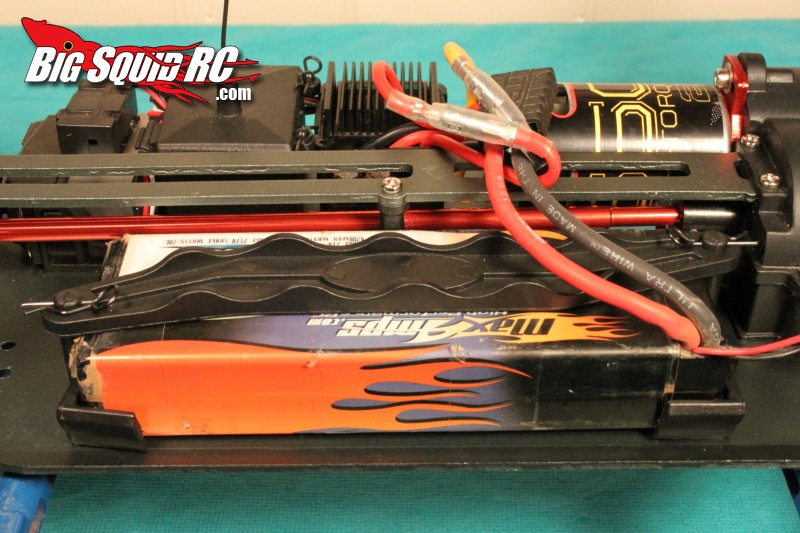
Going from the stock 1800 mah 7 cell Ni-MH battery to a good Lipo battery gives you more power, higher top speed, and much longer run times. A Lipo battery might not be a simple drop in on the Dominus, but the above mods are easy, take less than 15 minutes, and are well worth it to upgrade to Lipo power.
In the next installment of “Modding The Helion Dominus” I’ll show you what it takes to properly install a brushless motor and speed controller in your truck, so stay tuned!
Want more tips? Check out our Modding The Dominus Part 1 Reducing the Parachute Effect and also Part 2 Installing Street Tires, Setting Camber and Ride Height.
Also remember to read our Dominus Review if you are thinking about getting one.


