Modding The Helion Dominus Part 6 – Installing An Upgrade Body
Modding The Helion Dominus Part 6 – Installing An Upgrade Body

When we first got the Helion RC Dominus, the guys around the BigSquid office really liked the looks of the stock body. While the stock body looks good it does have a couple of downsides- it tends to break after heavy beatings, and there are getting to be a lot of Dominus trucks at local bash areas, so many in fact that it’s hard to tell which one is yours because they all look the same. This week I’ll be showing you what it takes to mount an upgrade body on your Domimus.
By: Tim Mohr
Here are the things you’ll need-

1. Body Scissors and reamer (Dubro makes a nice set)- $15 …. LINK
2. Hobby knife- $2 ………. LINK
3. Pactra lexan rc car paint- $7
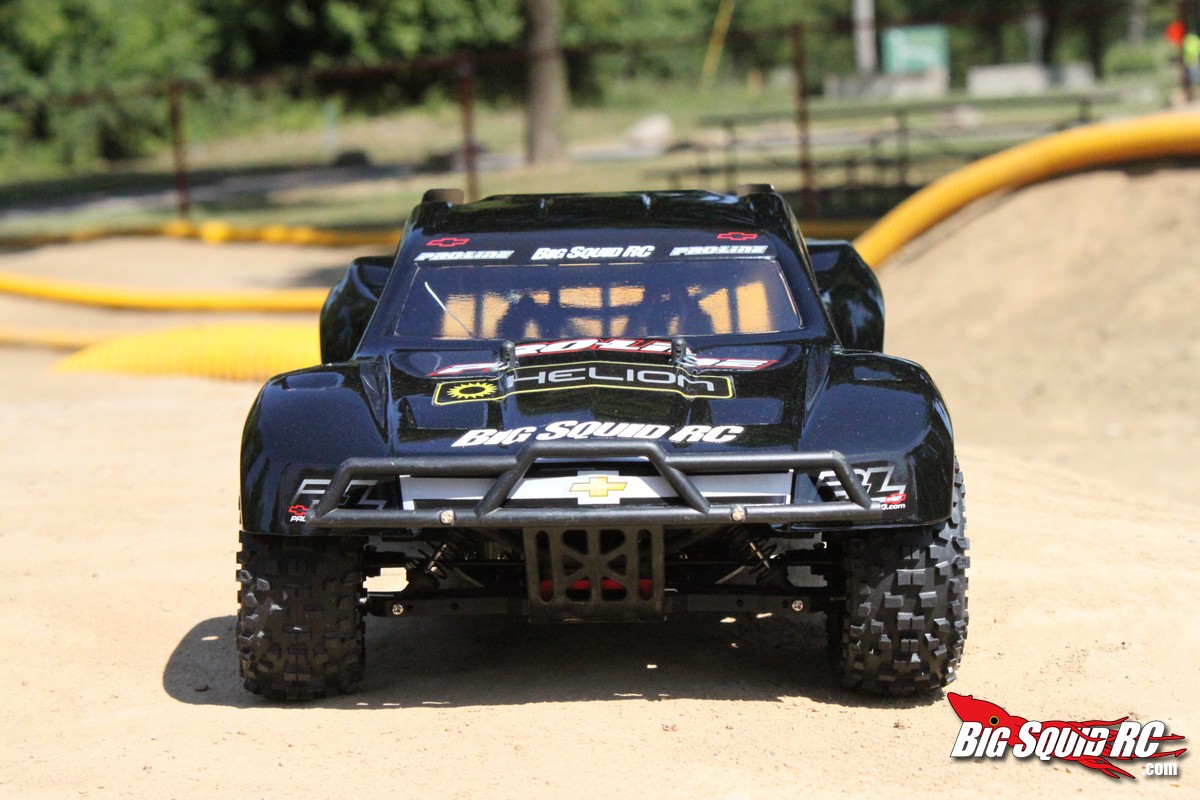
4. Pro-line body (we used the Flo-Tek Chevy Silverado 1500)- $40 … LINK
5. 1/16″ hex wrench and nut driver (to secure numberplate and wing bolts)
6. Disposable respirator mask (to keep paint out of your nose/mouth)
Here are the steps to properly install a new Pro-Line body on your Dominus-
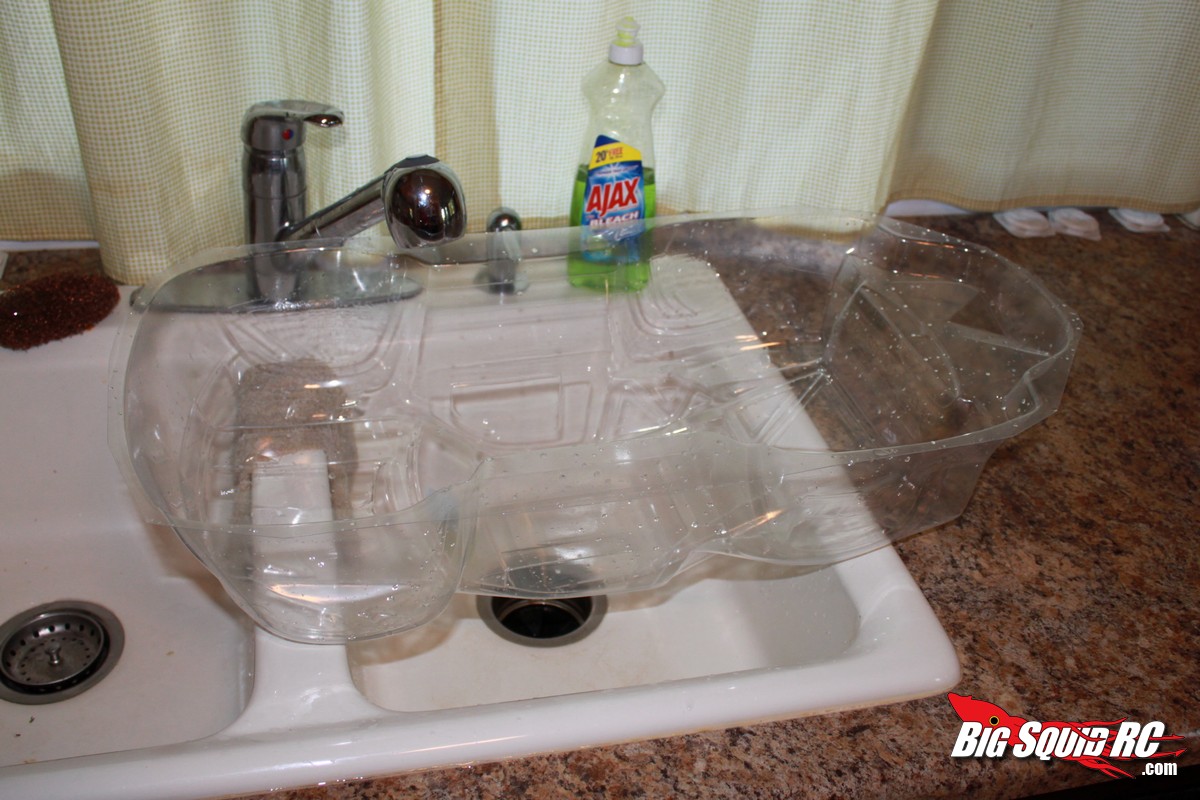
1. Give your new body a bath. Washing your new clear body in soap and water removes dirt and any left over mold release allowing the paint to adhere better.
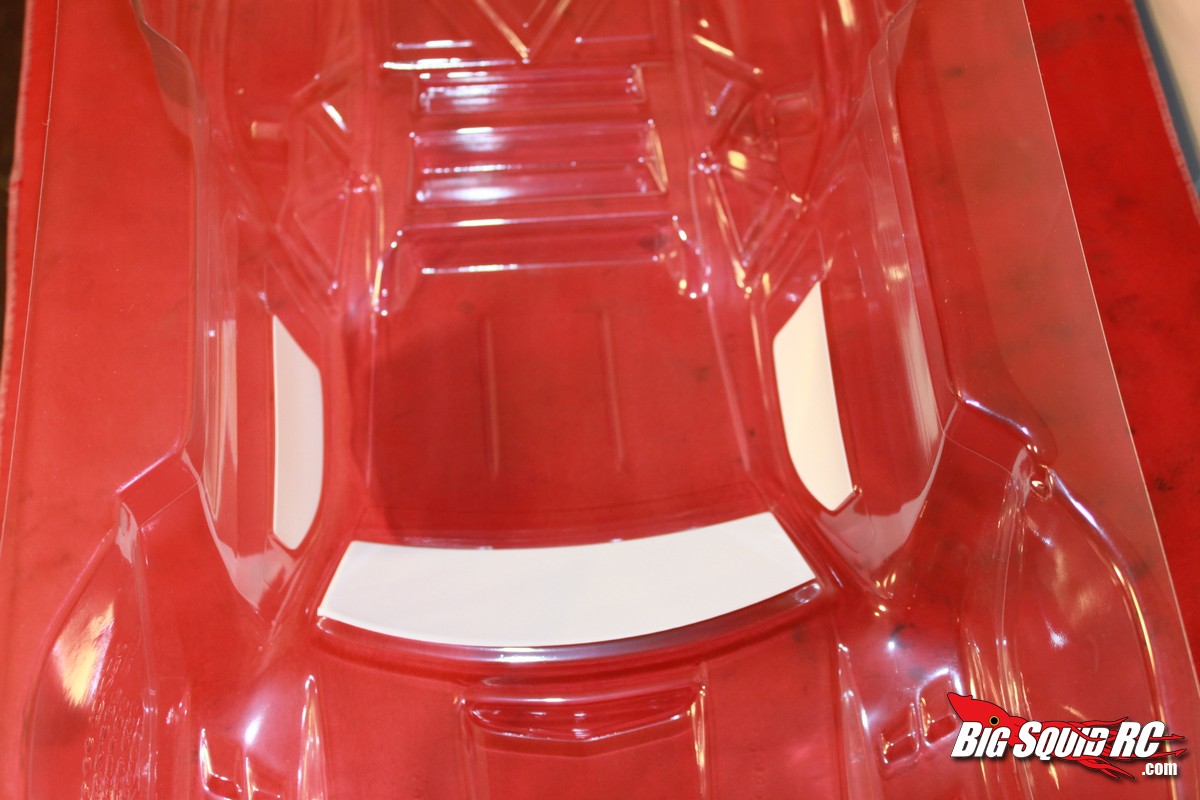
2. Make sure the body is completely dry, then apply window masks. These masks make sure you windows stay nice and clear during the painting process.
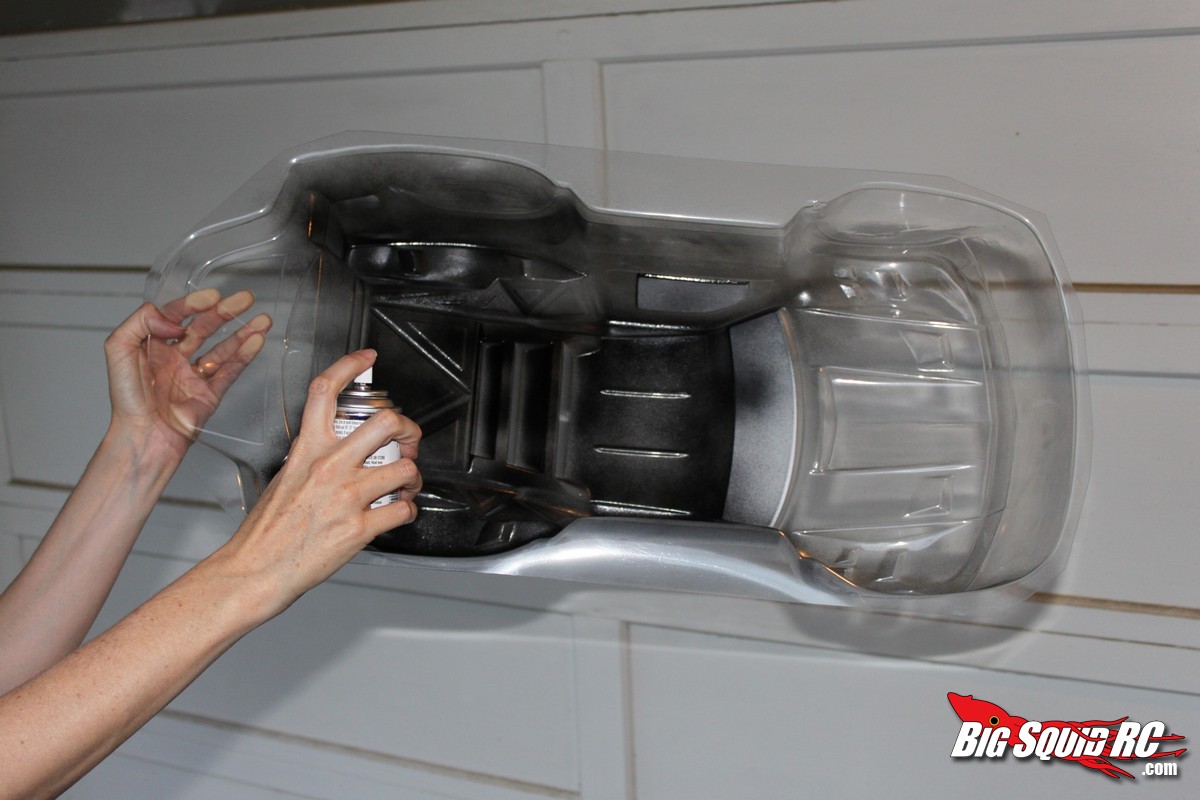
3. Time to actually lay down some paint. While painting remember the one golden rule- don’t lay the paint on too heavily. Laying on too much paint too quickly will lead to runs. One more rule you’ll want to follow if you like keeping your wife happy- don’t paint inside the house, paint outside or in your garage. We did a quickie one color job on our body which required two coats. Apply a very light first coat to the inside of the body, then after 15 minutes of drying time apply a heavier second coat. After the second coat give the body a good visual inspection looking for any areas you may have missed. Miss a spot? Simply hit it with more paint.
4. Fresh paint is easy to nick and scratch, so give it some time to dry. 24 hours is ideal but you can use a fan to speed this time up.
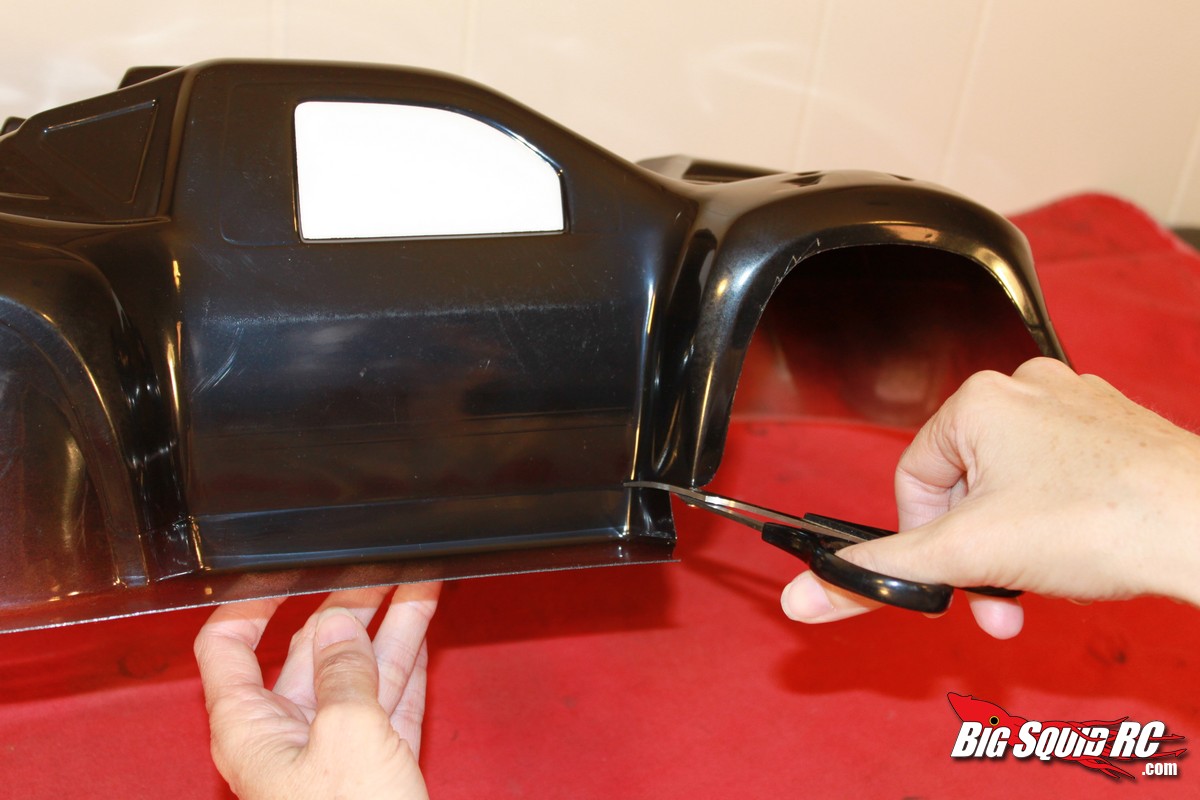
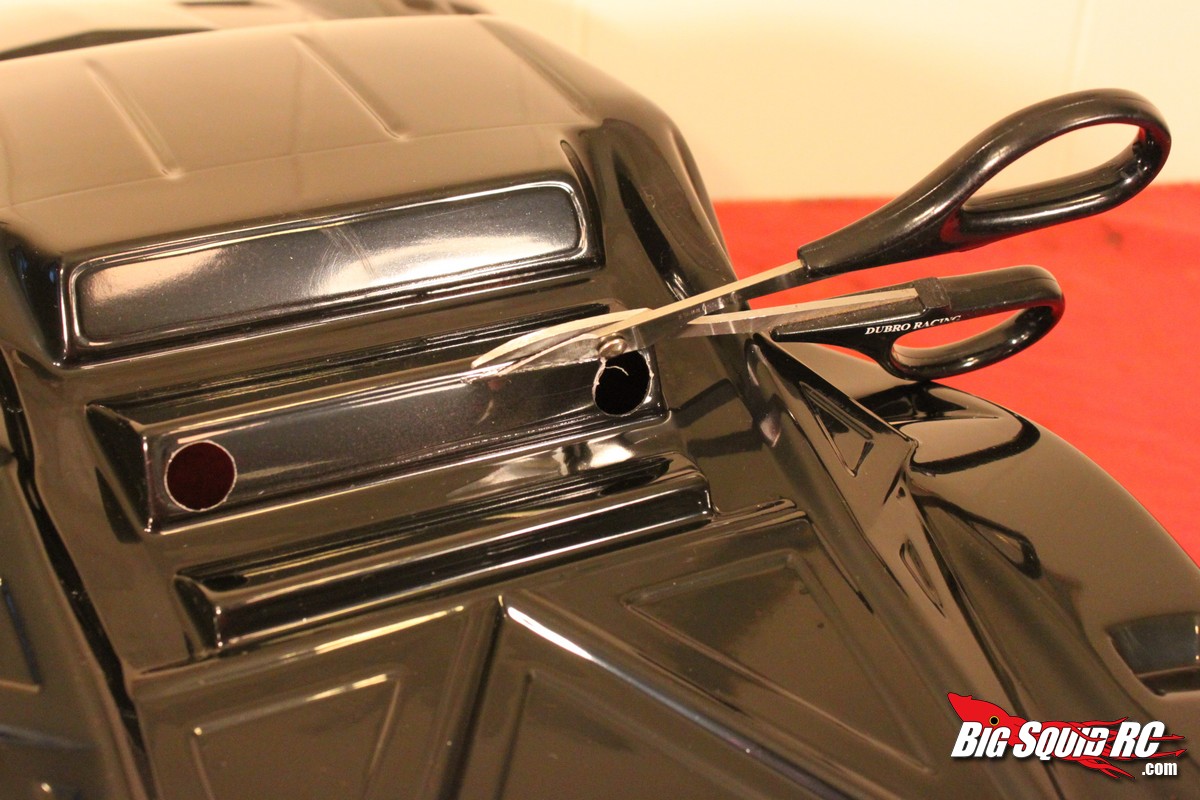
5. Break out your body scissors and trim off the excess lexan to reveal the proper shape of the body.
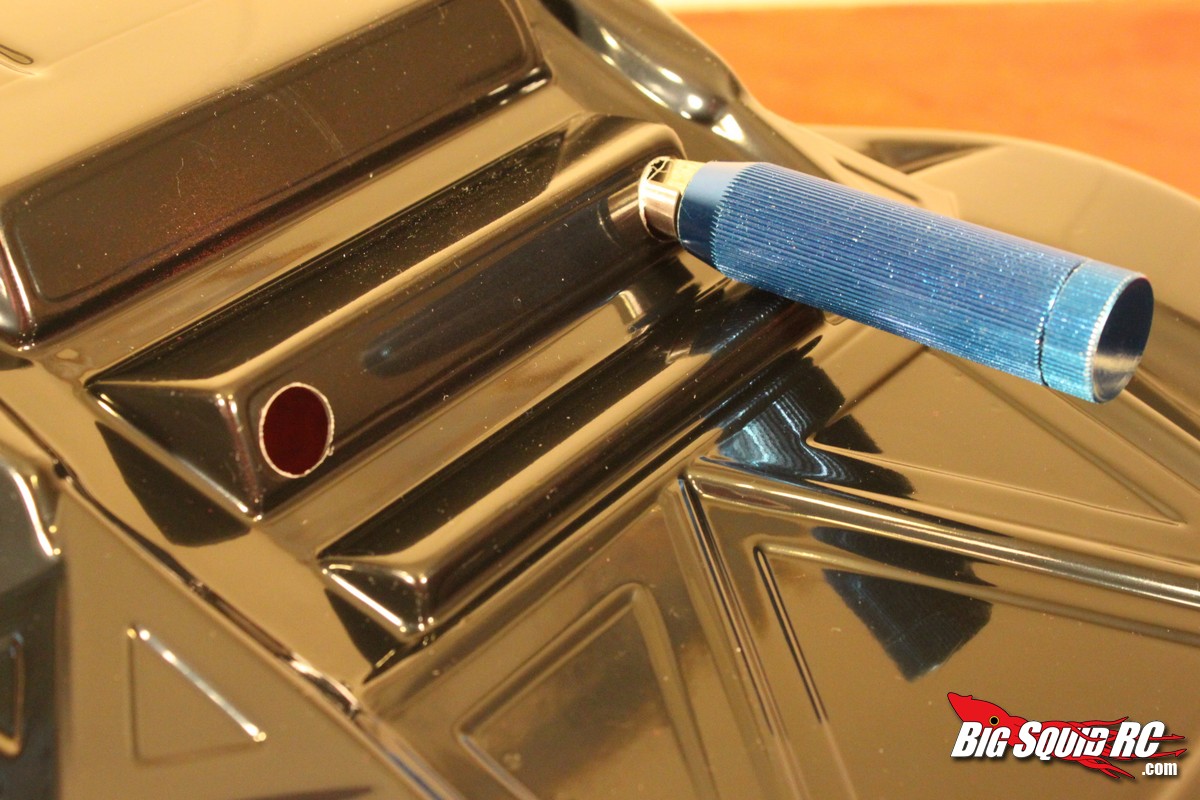
6. Cut out the Flo-Tek holes. You can use a Dremel or your body reamer and scissors.
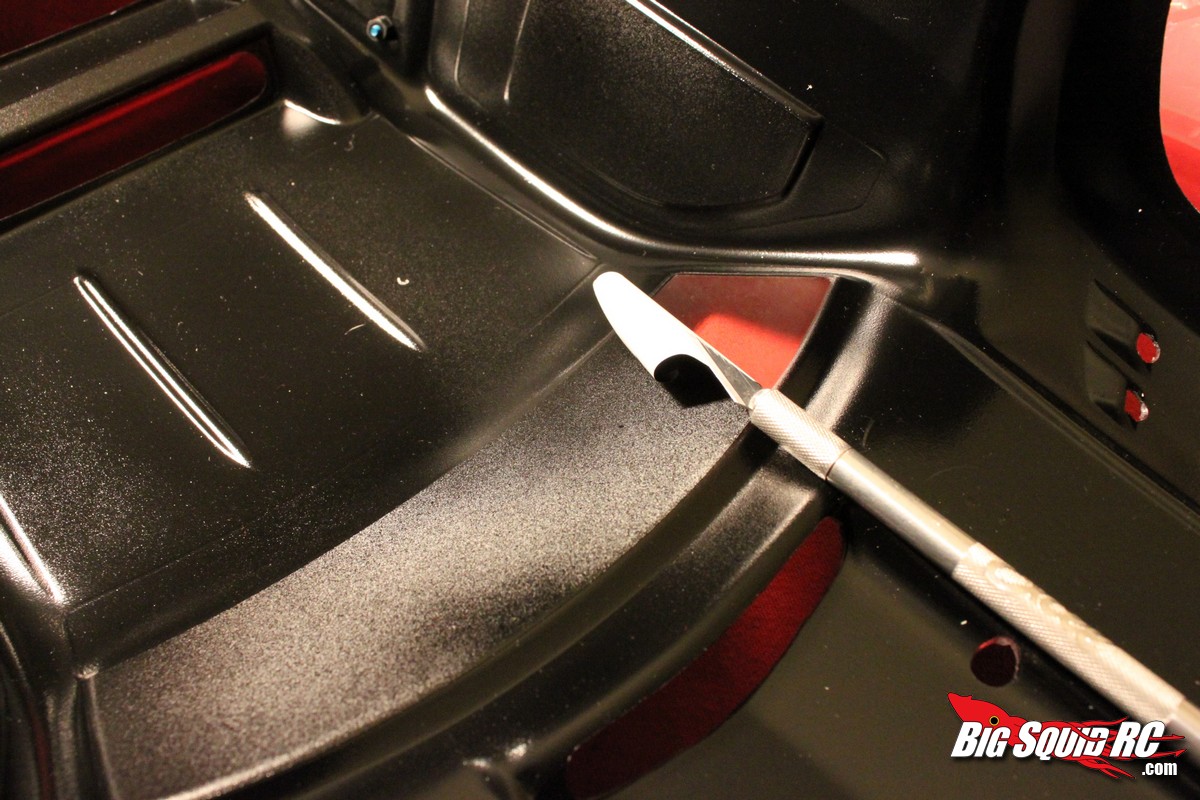
7. Step seven is one of the most important parts of the install- marking and drilling the body mount holes. If you get this step wrong your body will not only look wrong, but your tires might very well end up rubbing against the body. Pro-Line provides divots on their bodies for many different short course trucks, however their bodies are not marked for the Dominus so you’ll have to manually determine the proper spot for the mounting holes. On the Dominus this is quite easy. Pop your new body on the Dominus then adjust it to where it looks correct- both front to rear and side to side. Using your hobby knife, mark the spots where the body mounts are pressing against the underside of the body, then use your body reamer to make the holes.
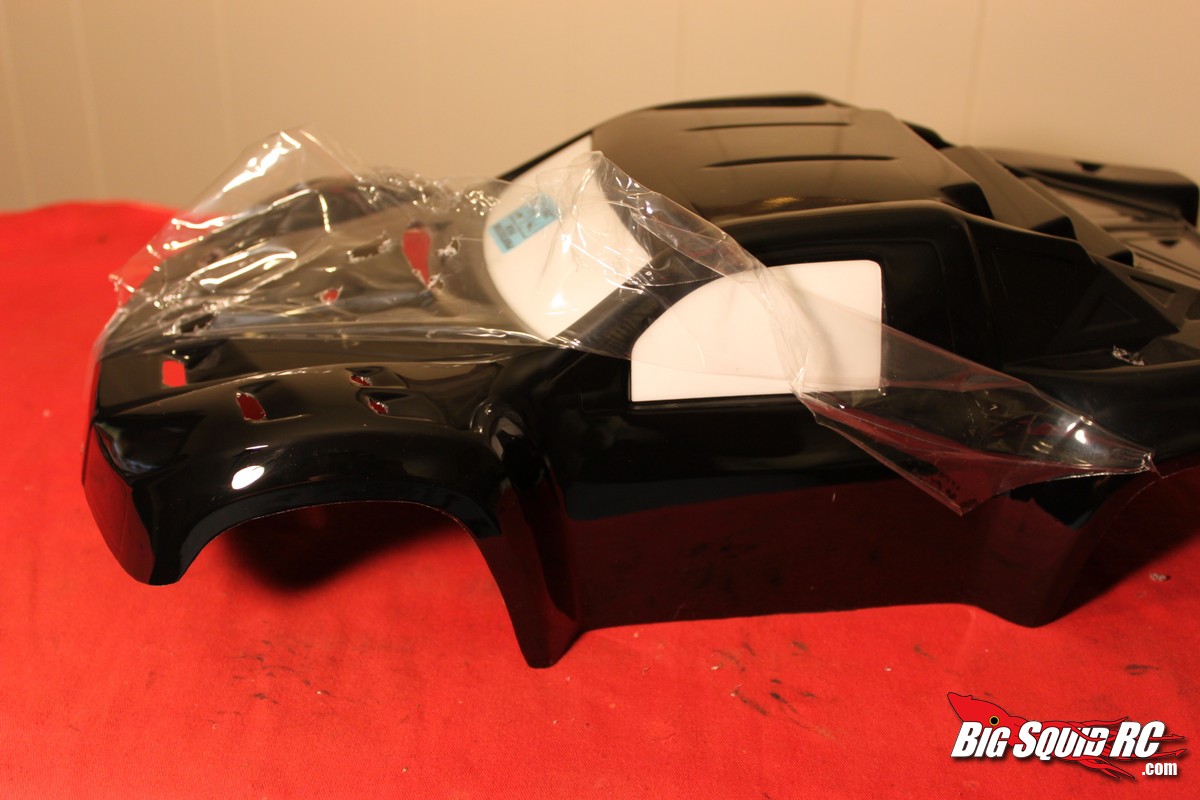

8. Peel off the protective over-spray film from the outside of the body.
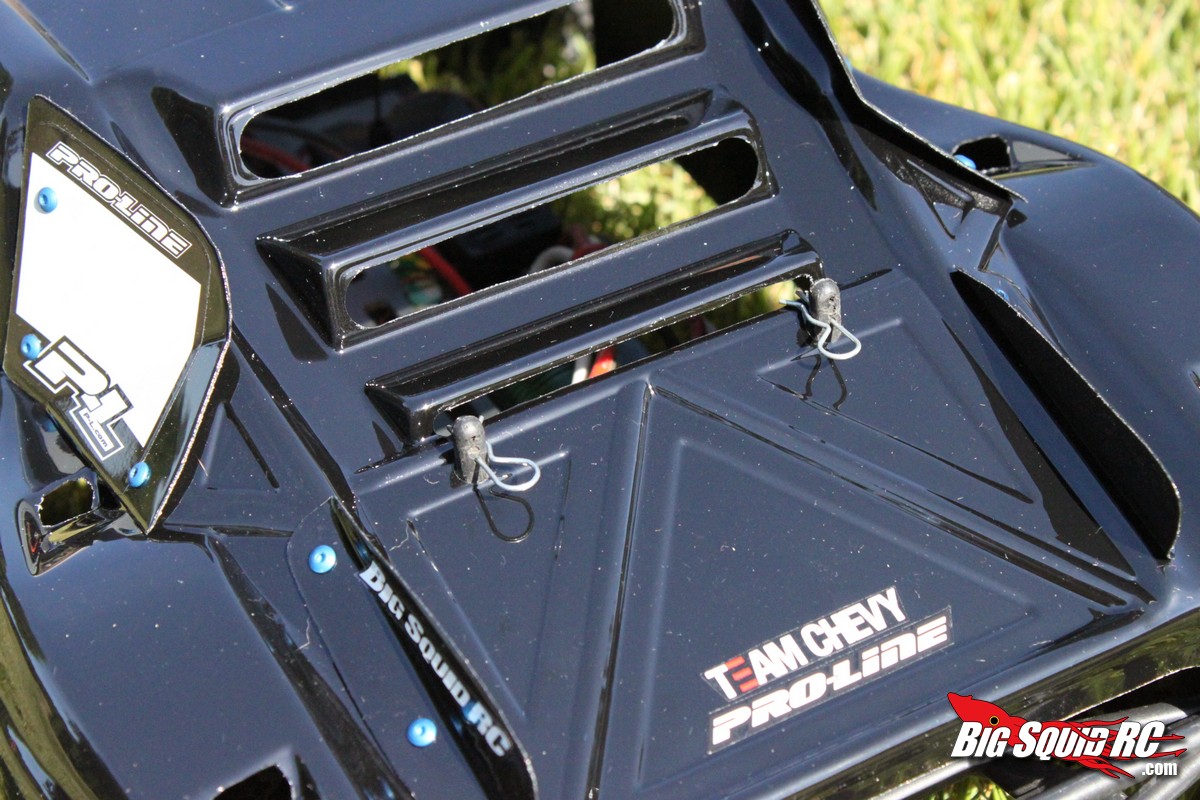
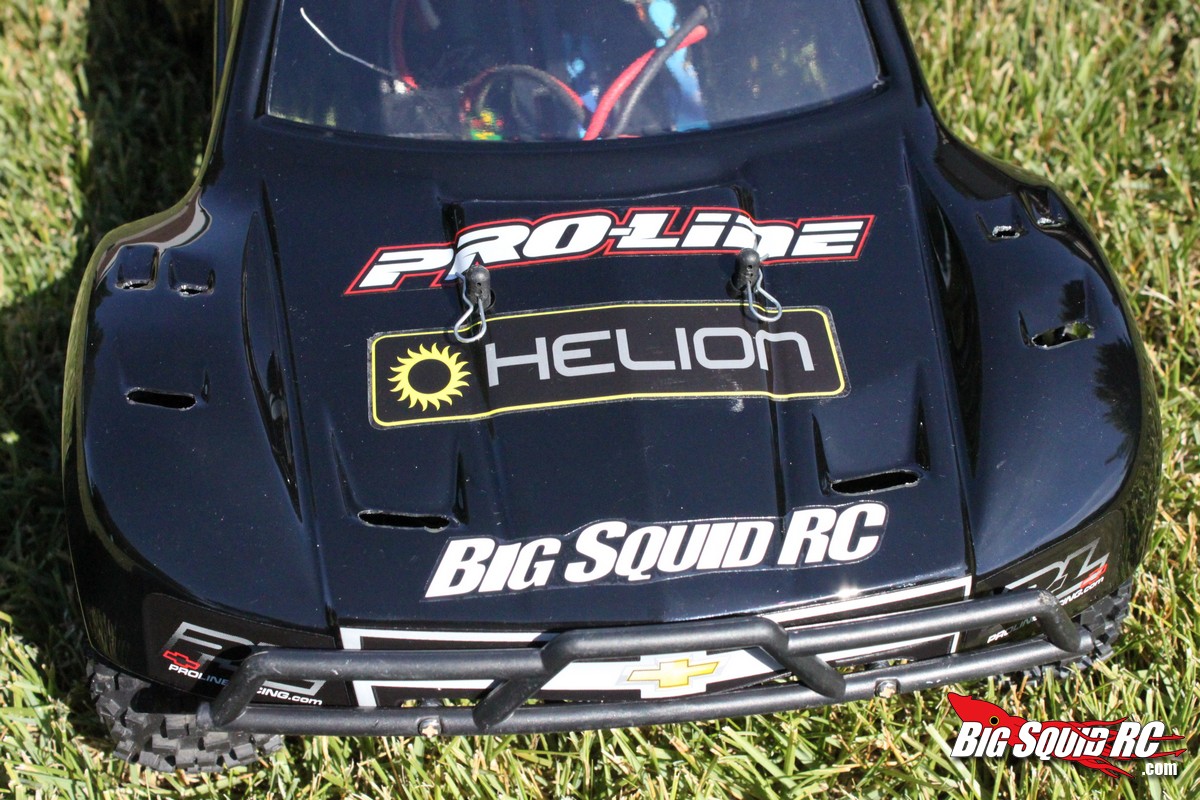
9. Mount the number plates and rear wings. Use your body reamer to make the holes and your 1/16th hex wrench and nut driver to secure the bolts.
10. Pull off the window masks.
11. Apply the stickers of your choice and you are all done!
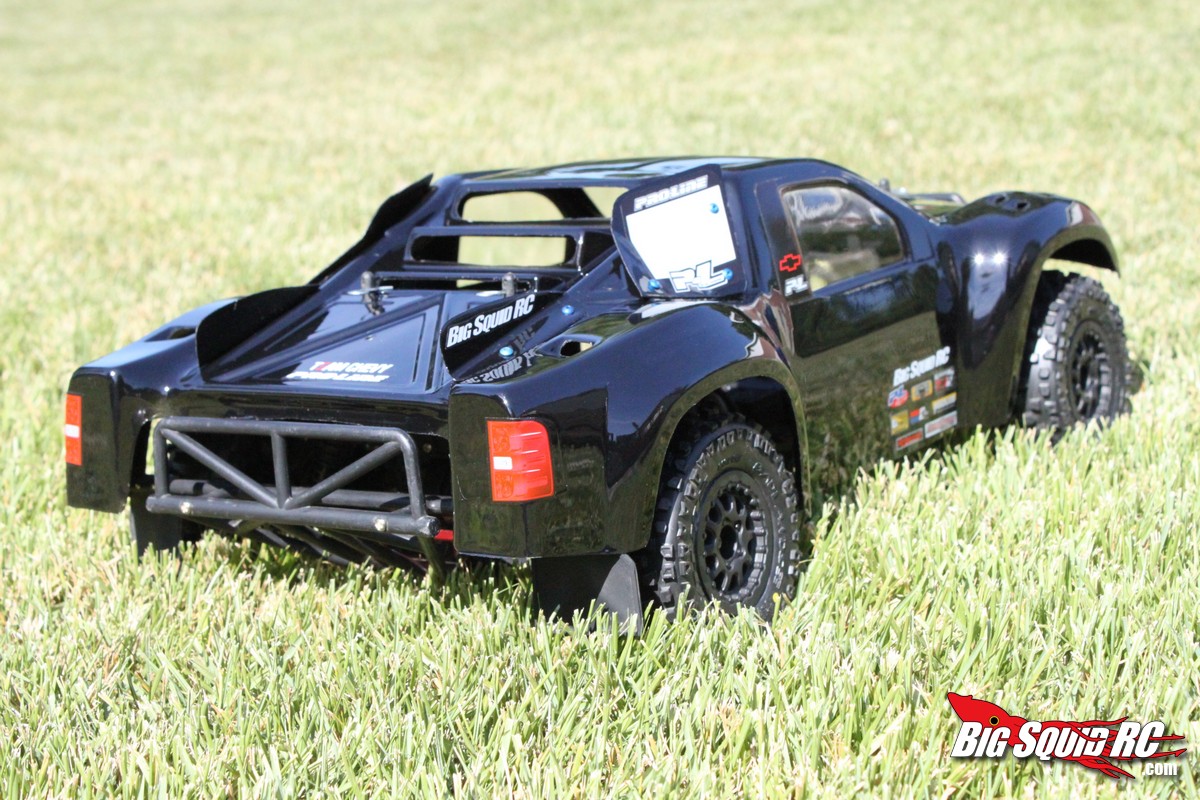
The new Pro-Line Flo-Tek Silverado body we mounted on our Dominus has proved to be much more durable than the stocker and it has much less “kite effect” when pounding jumps on windy days. The Flo-Tek is also nice in the fact it gives us the sickest looking Dominus at our local bash area.
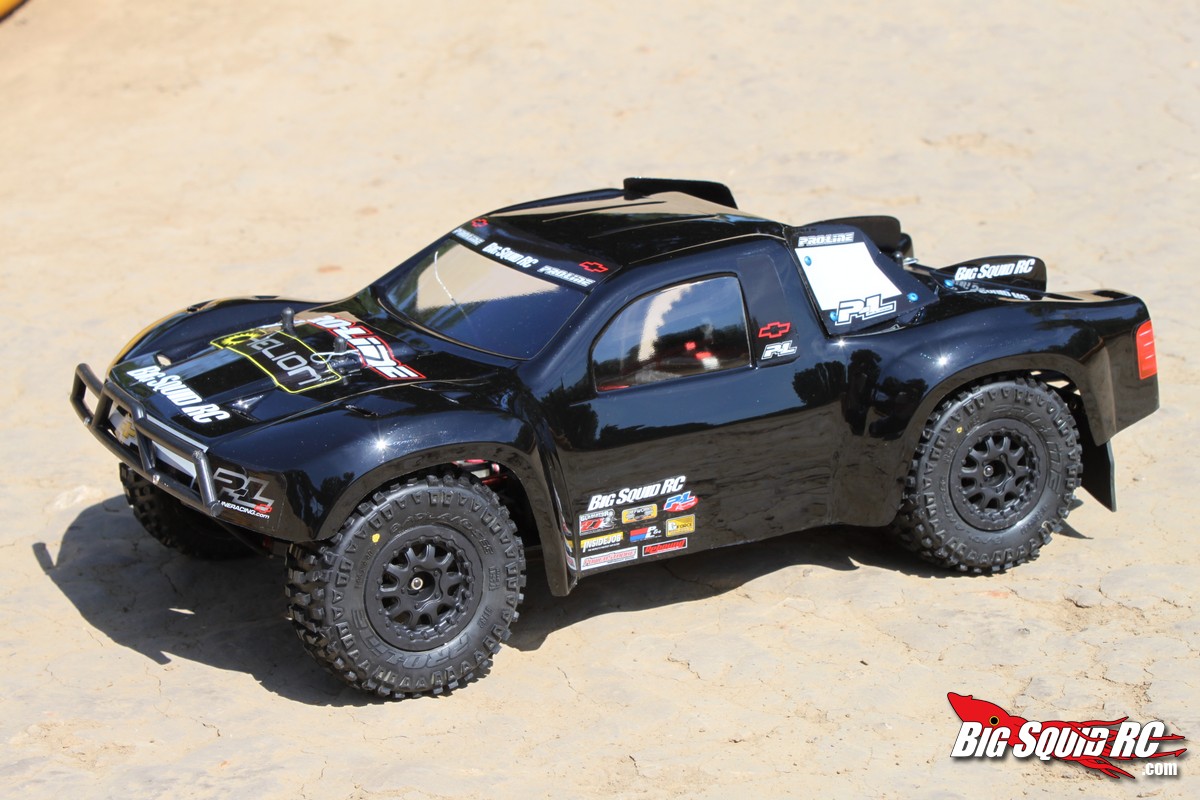

Adding a new body isn’t the easiest or quickest mod you can do to your Dominus, but if you want your Dominus to be the best it can be an upgrade body is a must have.
In the next installment of “Modding The Helion Dominus” we’ll be upgrading the servo, stay tuned!
The Helion RC line is a HobbyTown exclusive.
Check out the Helion RC website for more info!


