Raging Rotors – Check Yourself Before You Wreck Yourself
Hey guys, Ragu here with this weeks Raging Rotors, focusing this week on the art of quadcopter blade replacement, plus a few tidbits about stuff going on in the heli world.
Now with every great pilot comes a few great crash or freak out stories: I’ve tried using the GPS on my Blade 350QX when I forgot to wait for signal lock, and almost watched it disappear permanently. Granted not all stories have a happy ending like that, but from Estes Proto X to DJI Phantom something may/will happen where blades are lost or broken. Being an employee of a local hobby shop ~cough cough~, I have one major pointer for all you in need of quadcopter repair: Check your blades! A quadcopter functions with two sets of motors: a set of motors where the shaft spins clockwise, and a set of motors where the shaft spins counter-clockwise. With each set of motors comes a special set of rotor blades to direct air flow downward and are not interchangeable. Signs that you possibly replaced or reattached your quadcopter blades incorrectly is either no lift when throttle is applied, or the quad trying to do a flip very shortly after takeoff.
To check for proper blade installation, I have three methods:
- Check the instructions: I know that sounds really silly, but I have found that a lot of the manufacturers mark their blades, sometimes subtley, to make installation easy (at least for them). I’ll admit the markings may not be easy to find or read, but it’s a good reference point.
- Throttle check: My tried and true method when checking any blade installation issues is to power up the quadcopter and barely throttle up enough to get the motors spinning. Since lift is the goal for the quad, if one puts their hand an inch or two over each motor, they should feel almost nothing. Feel a breeze? Wrong prop!
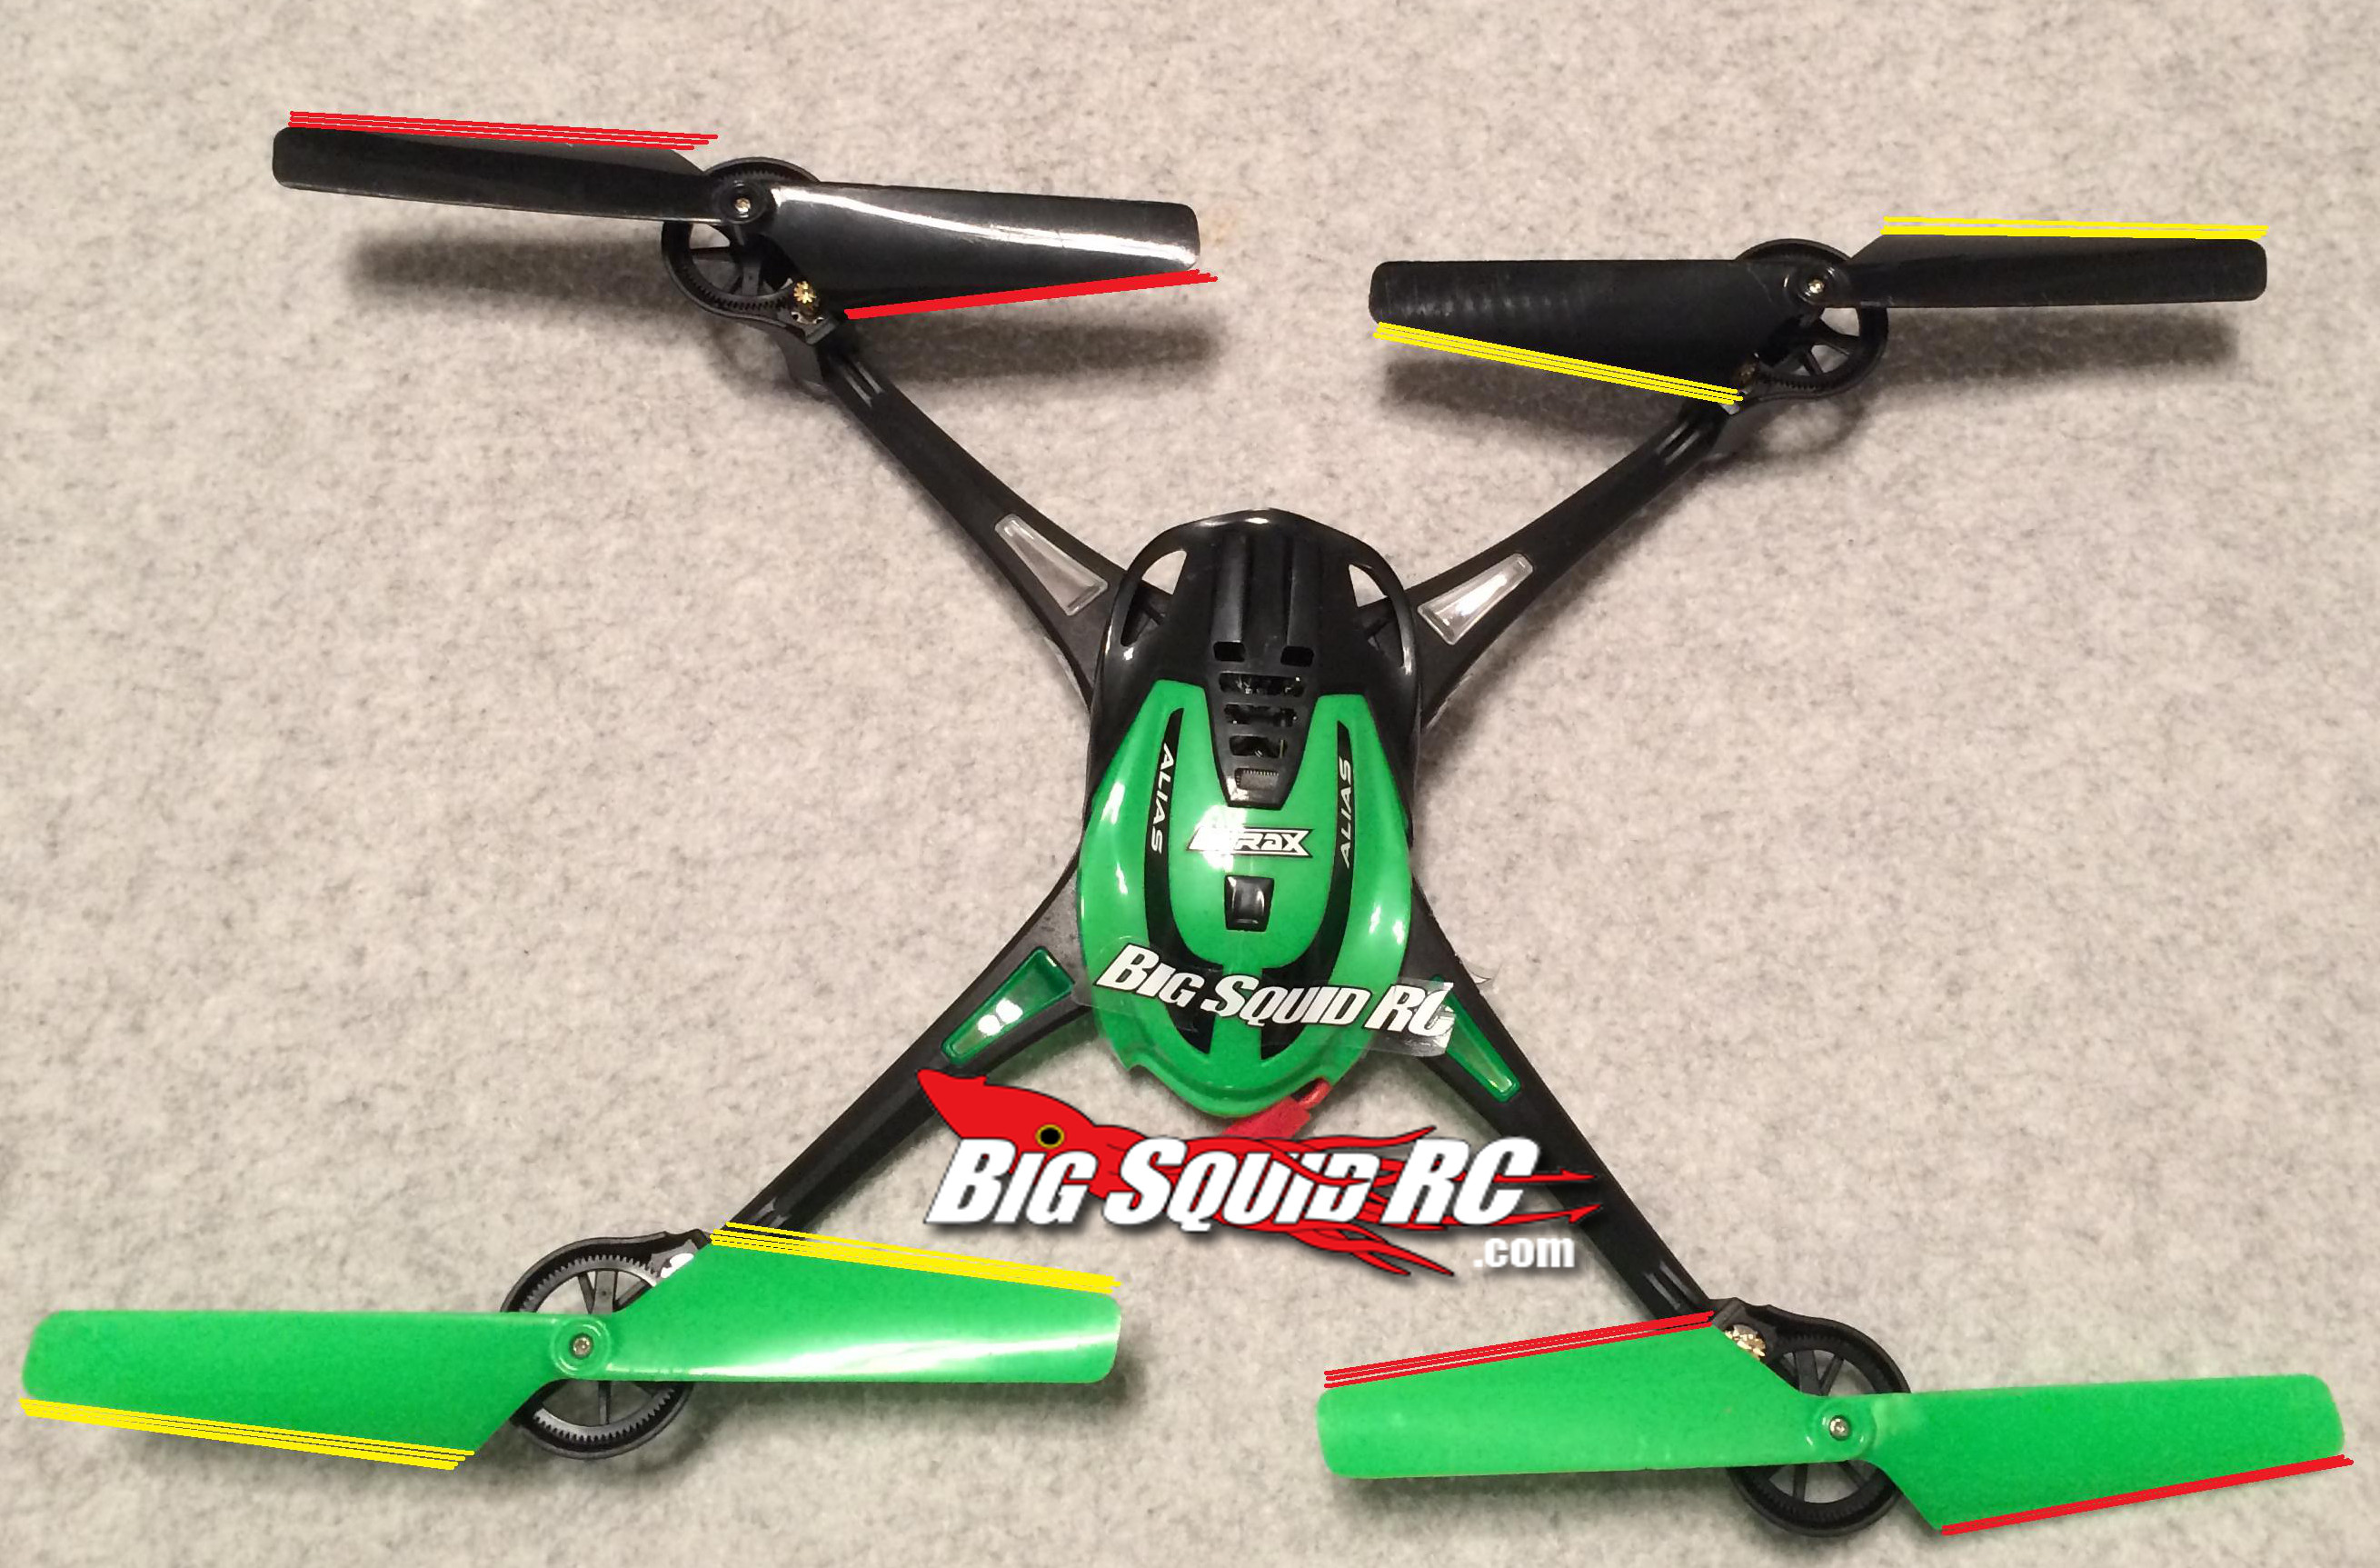
- Each blade has a coordinating partner blade diagonal from it. Therefore, the blade on the front left of the quadcopter should have the same shape as the blade on the rear right, and then the front right with the rear left. This is harder to check on really small quadcopters, so I tend to use this technique last on the micro and mini quadcopters.
You can also visually see it in the below image. I marked the blades of our Shootout LaTrax Alias where the rotor blades pitch down. Note by the colors that the rotor pitch matches the rotor diagonal from it. Many retail quadcopters come with extra blades, but color of the blades doesn’t mean you’ve fixed the quad with the right blade. By using either my visual guide for the three methods, your quadcopter will take off smooth!

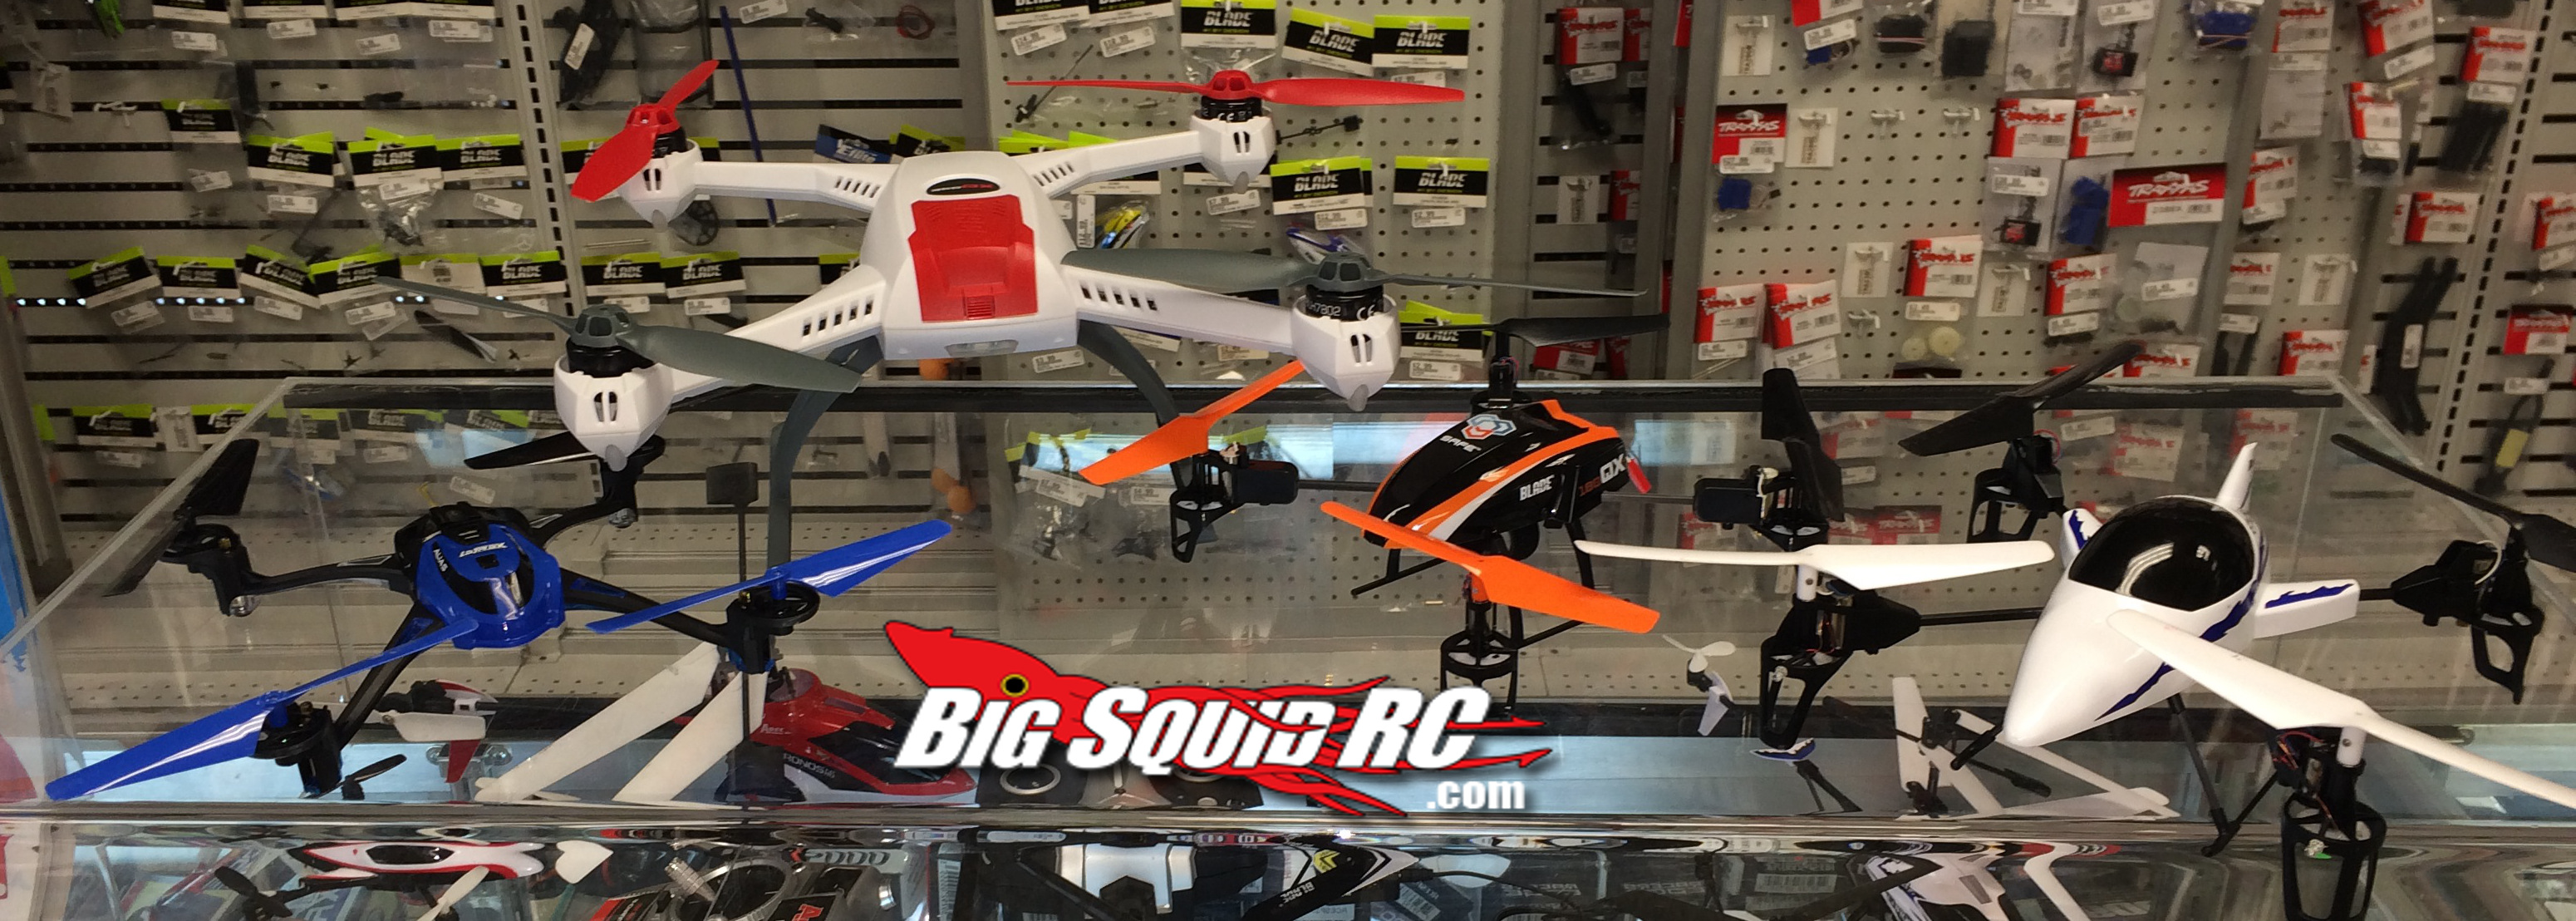
Lastly, Cubby beat me to it but I’m excited for the 2014 BigSquidRC Quadcopter Championships at HobbyTown Orland Park March 1. I will definitely be in attendance, between being a quad guy and it being in my backyard; I cannot wait for this fun event. If not participating, I’ll be proudly showing off some of my fine collection as well as running demonstrations of the Blade 350QX (weather permitting), which thanks to something I picked up from UpgradeRC it now has a wicked cool look.
For now that will finish up Raging Rotors for this week. If you have any questions, feel free to email me via kevin at bigsquidrc.com. I’ll see you same Bat-time, same Bat-channel next week, but until then Stay Shiny and Keep Flyin’!