Raging Rotors SPECIAL: A Build More Fun than the Lego Movie, Part 3: If I Only Had A Brain
 [To start from the beginning, check out Part 1 and Part 2]
The frames are built and the motors and ESCs are installed, and all that remains is one major piece: The Multirotor Control Board.
The Multirotor Control Board is the heart and soul of the multirotor vehicle. It maintains level flight, helps equalize motor speeds, and also is the gyroscope for the aircraft. Now these boards use a number of programming means: some use computer code to get set up, others just a basic computer setup program, and some can be completely standalone. The only disadvantage? The price varies just as much as the capabilities of the control board. I picked up a little bit of everything for these quads, so I left no stone unturned.
Multirotor Control Boards:
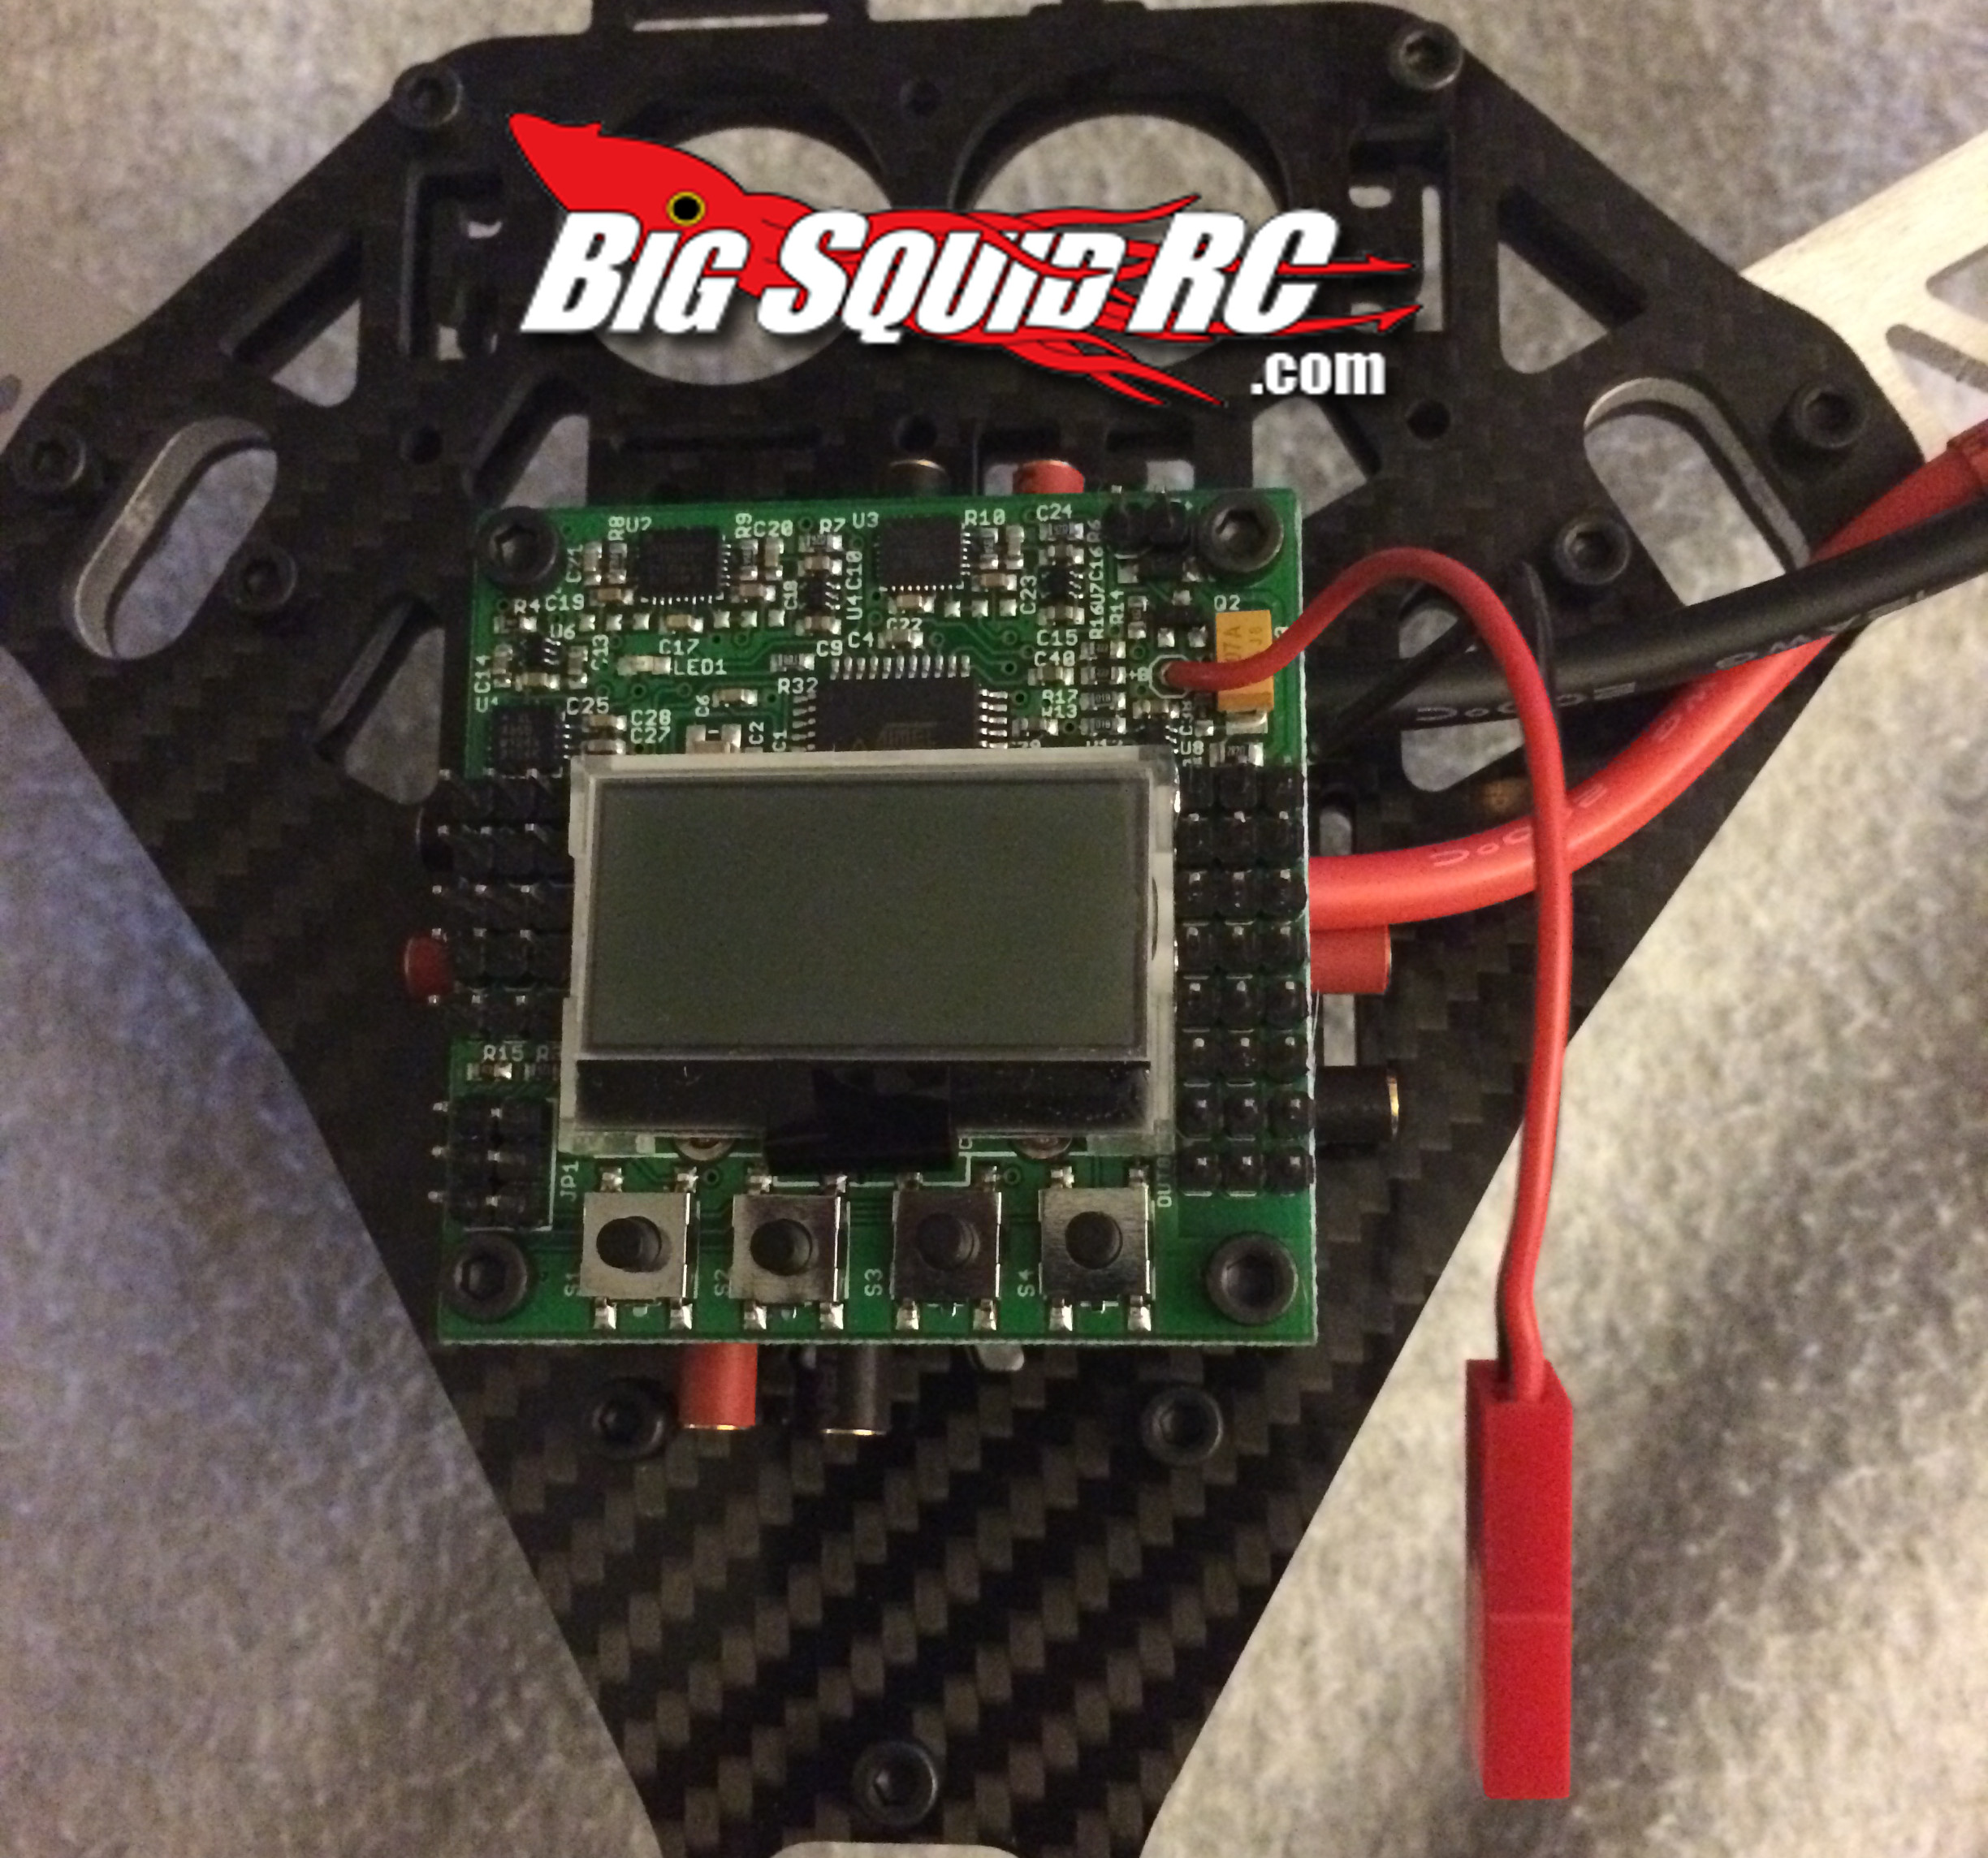
Armattan CNC 258 VTail: This quad actually was designed with hardware to support the installation of a specific control board, the KK Multiboard. Available from various sources, though originating from HobbyKing the KK board is the go-to control board for most DIY multirotor builders. Priced around $39 shipped, this control board has an onboard LCD display and menu system to fine tune the settings. With its simple setup and reliable performance, I can understand why it is always on backorder. The disadvantage? Backordering, and the fact is ships from China. I can be quite impatient, so sometimes waiting is not worth the value. [Note 5/22/14: For those of you looking for a more ‘Made in USA’ KK board, ReadyToFlyQuads now has one available for purchase here.)

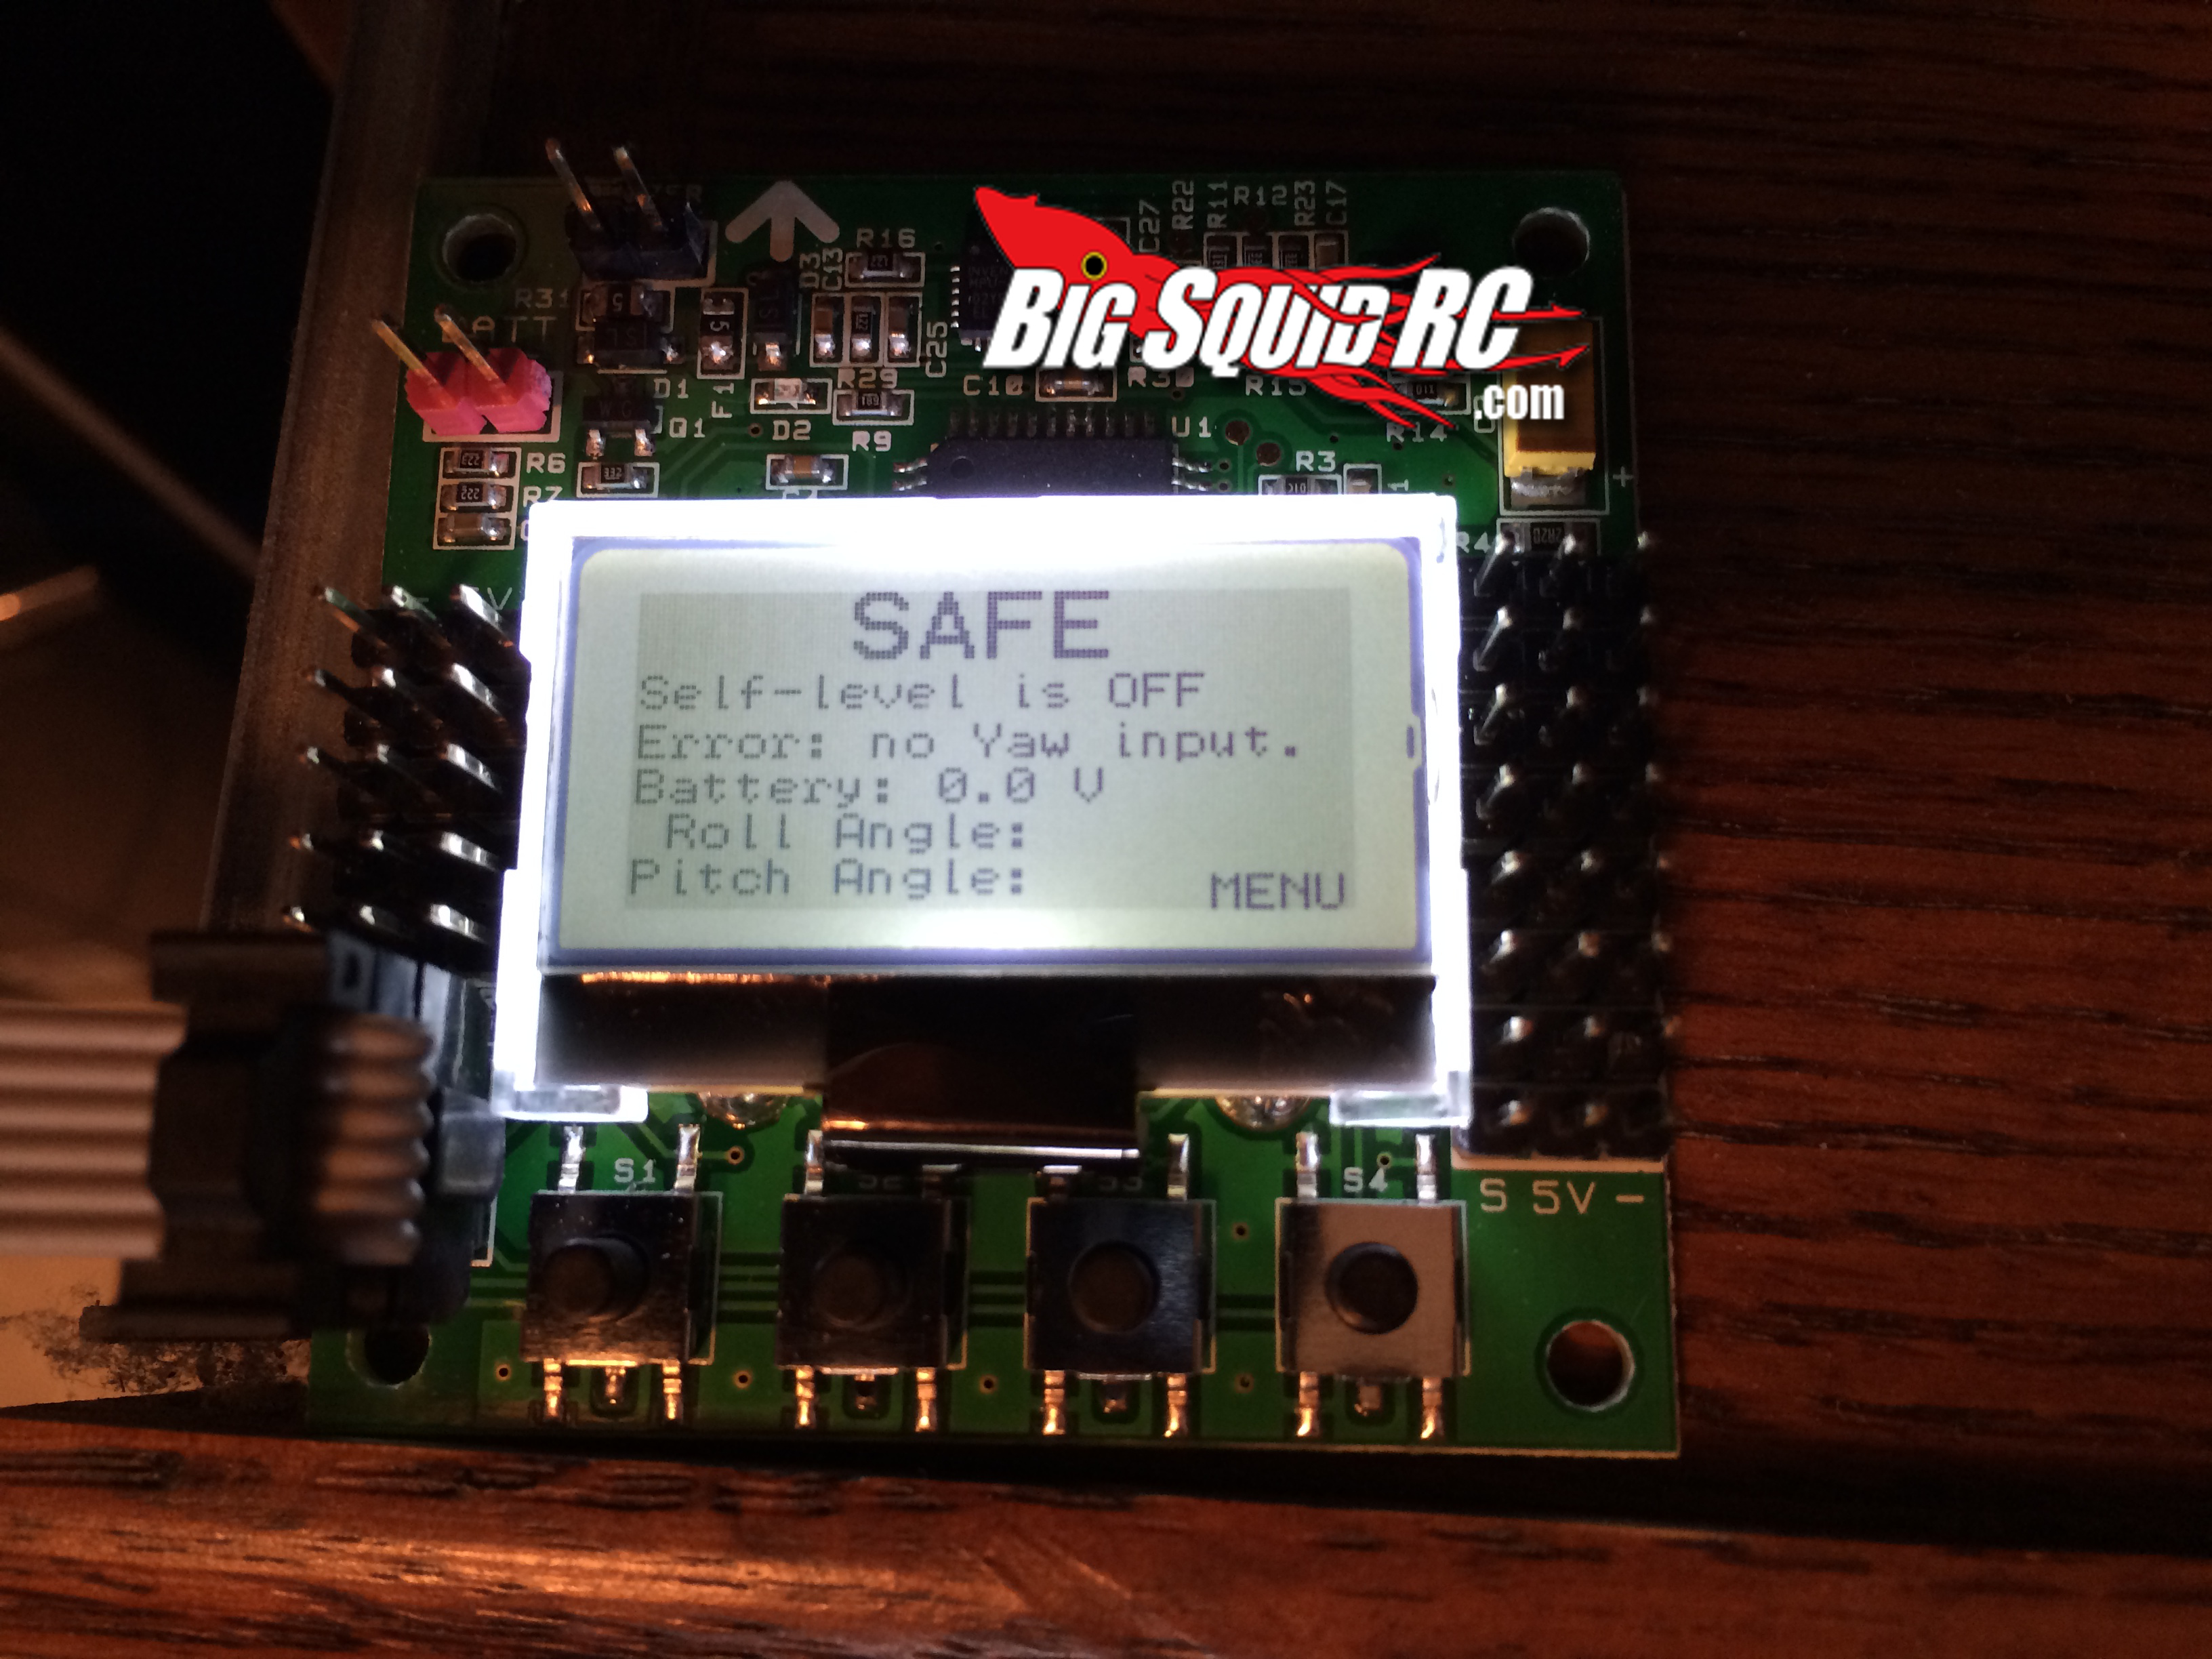
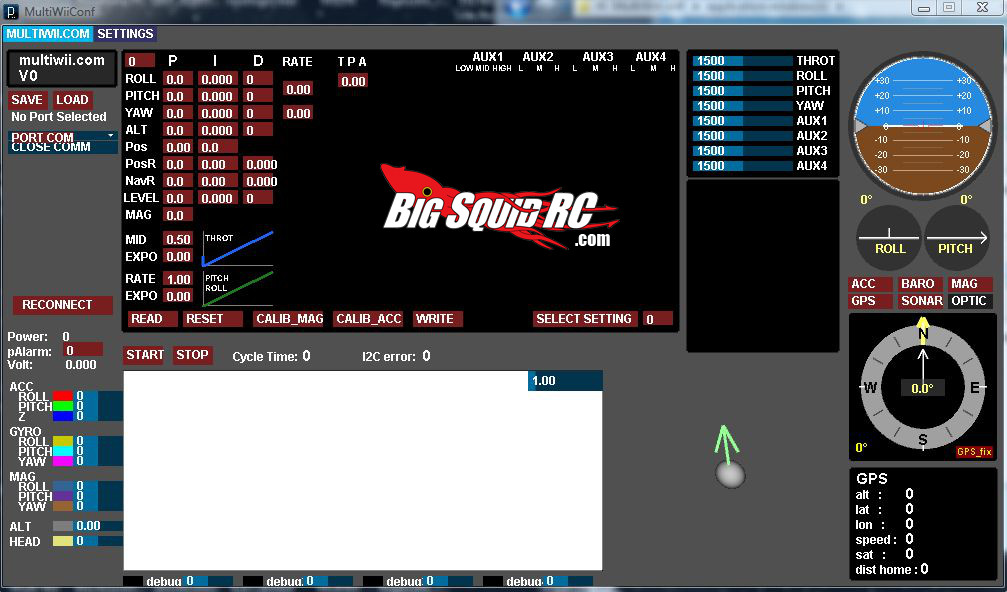
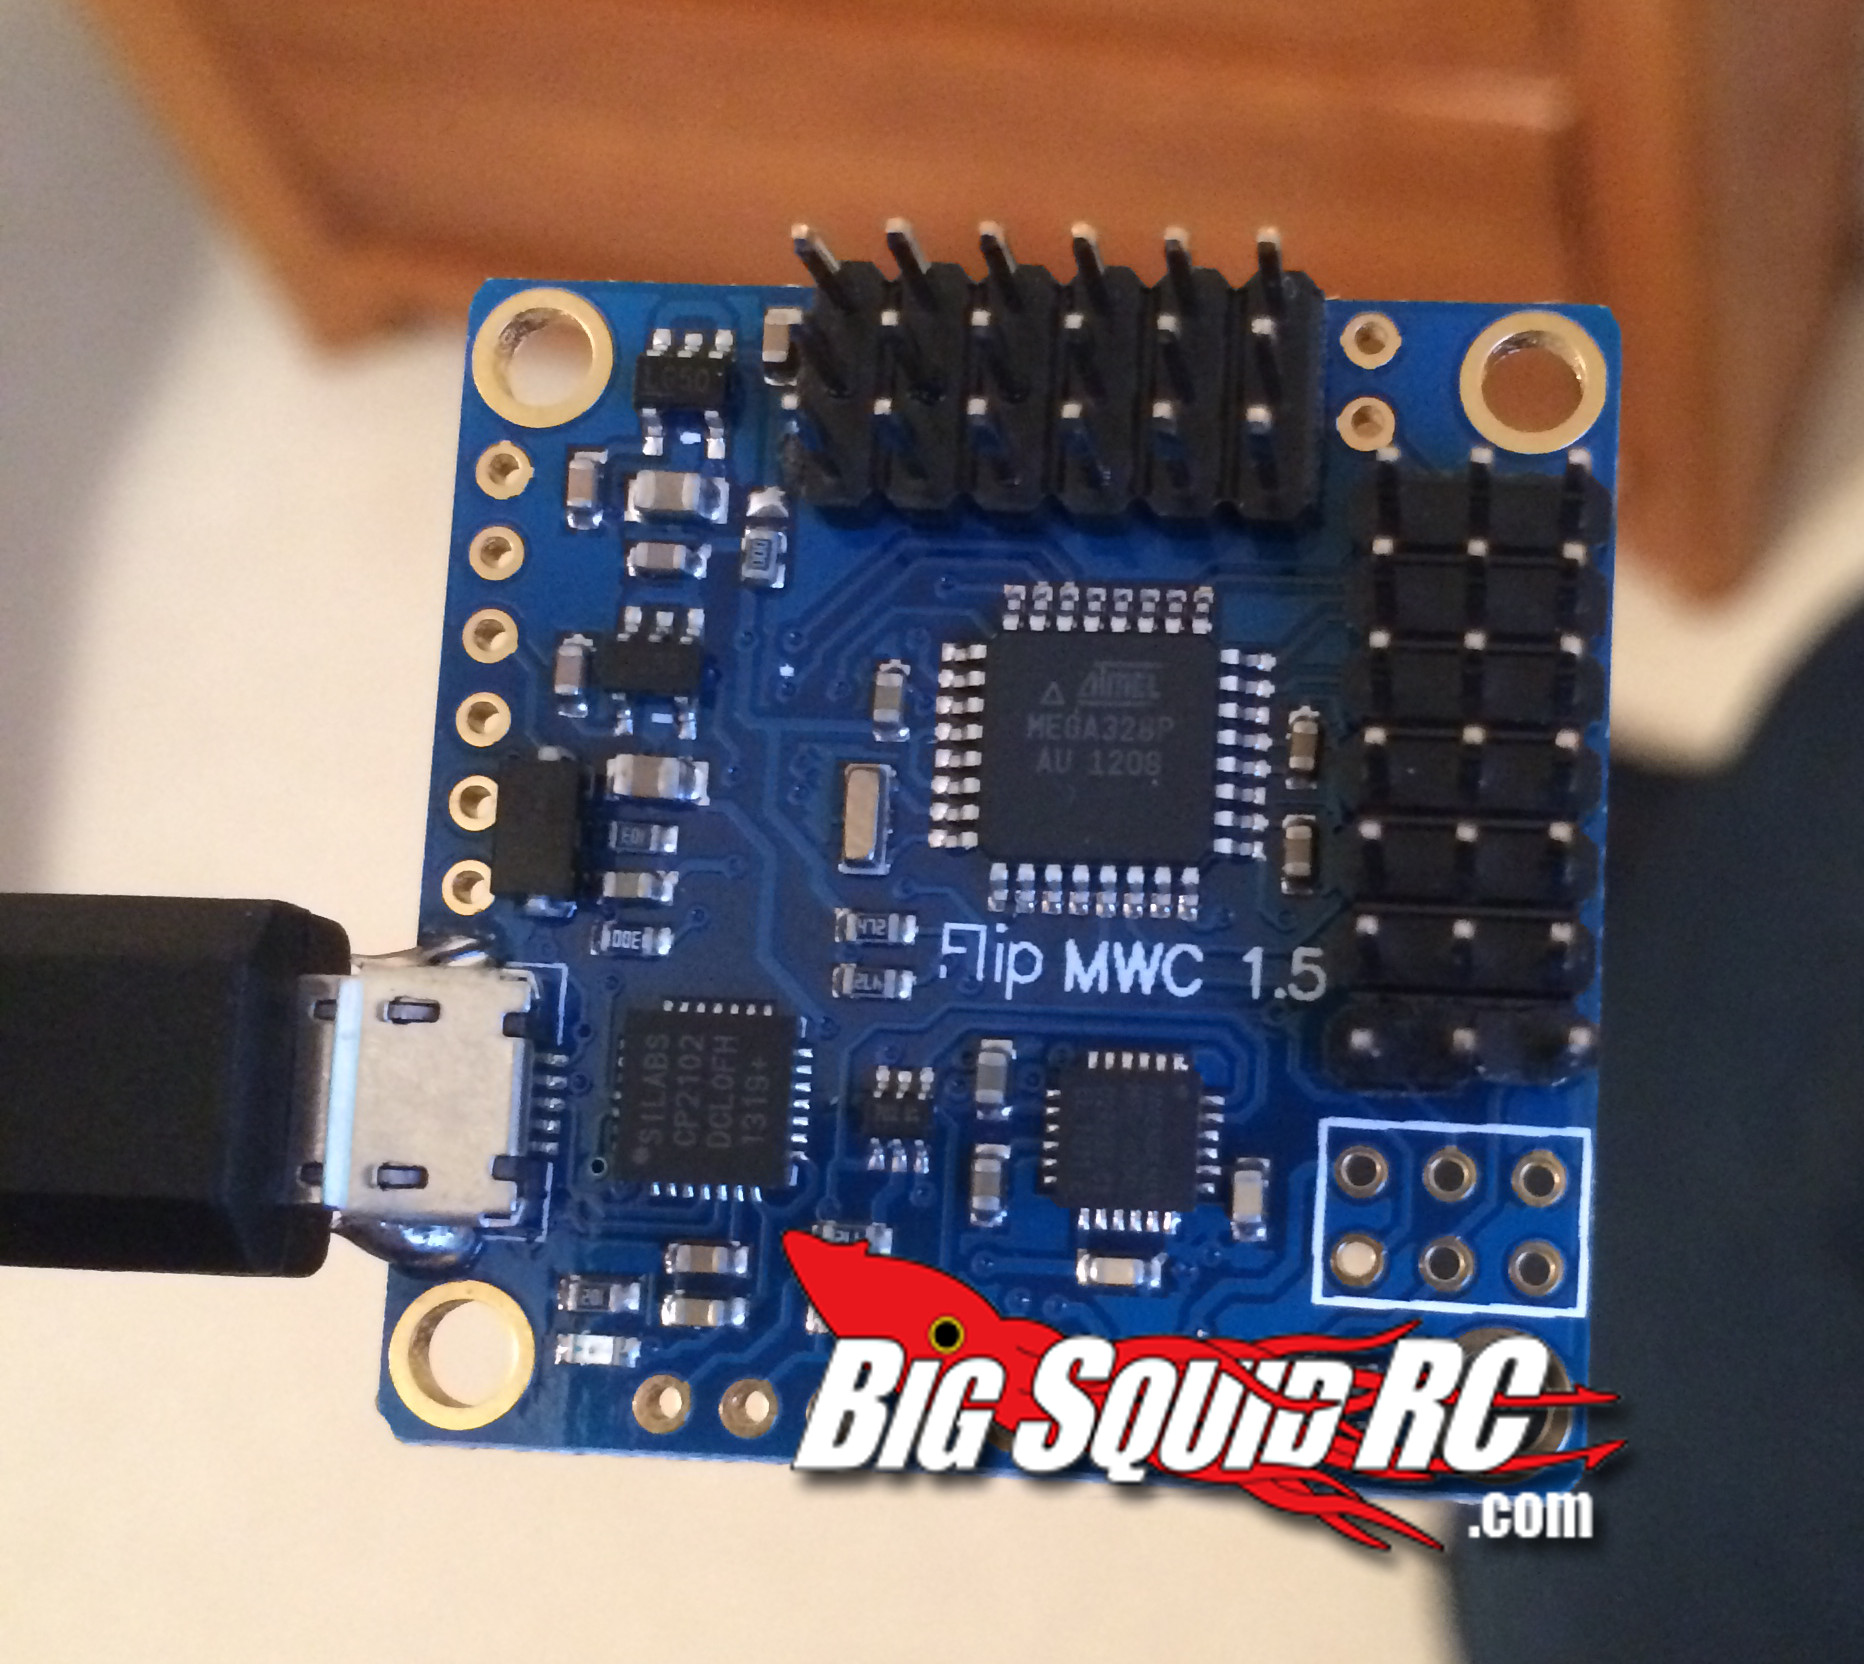
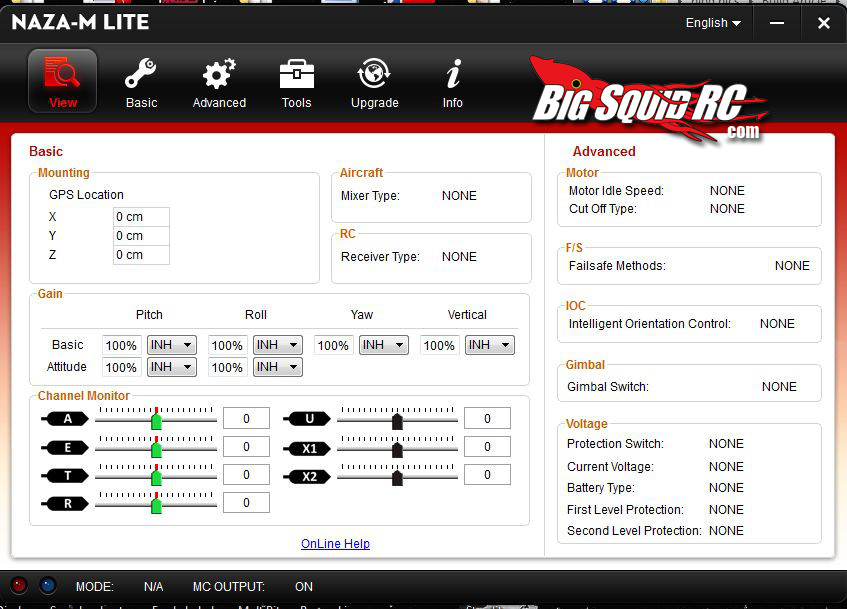
Lynxmotion Hunter 400: For this quadcopter I really got adventurous and went to my new source for multicontroller boards: ReadyToFlyQuads. Featured on a post from a while ago (found here), the guys there in Florida have made a great board called the MultiWii FLIP. With the gyro and accelerometer technology used originally for the Nintendo Wii controllers, the boards are programmed to handle multirotors using a programming language called Arduino. Yes, this does fall under the ‘Age of the Geek’ category, but all of the coding is premade and the FLIP board can also be purchased with all the programming pre-loaded. For a faster ship, you can order the board without programming and requiring the headers (ESC/Receiver Plugs) to be soldered, and get it to your door for around $20 shipped. I only recommend this board for the ‘tinkering’ kind of DIY builder, for you have a lot of tweaking available through the MultiWiiConf board utility program, shown below.
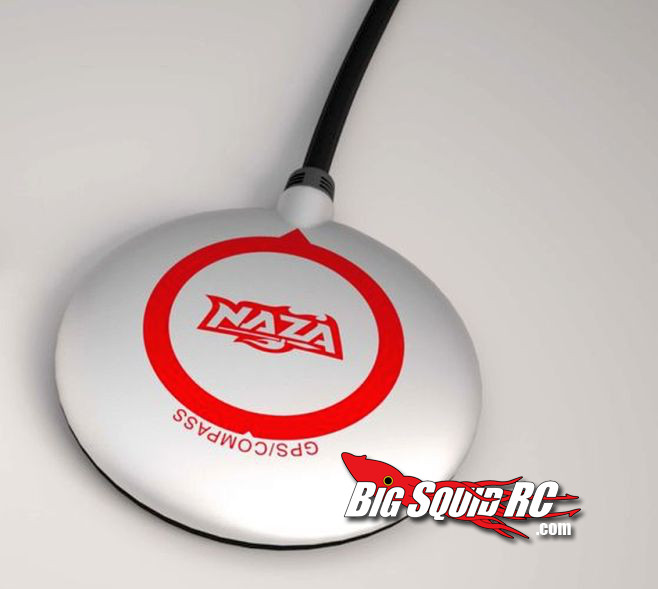
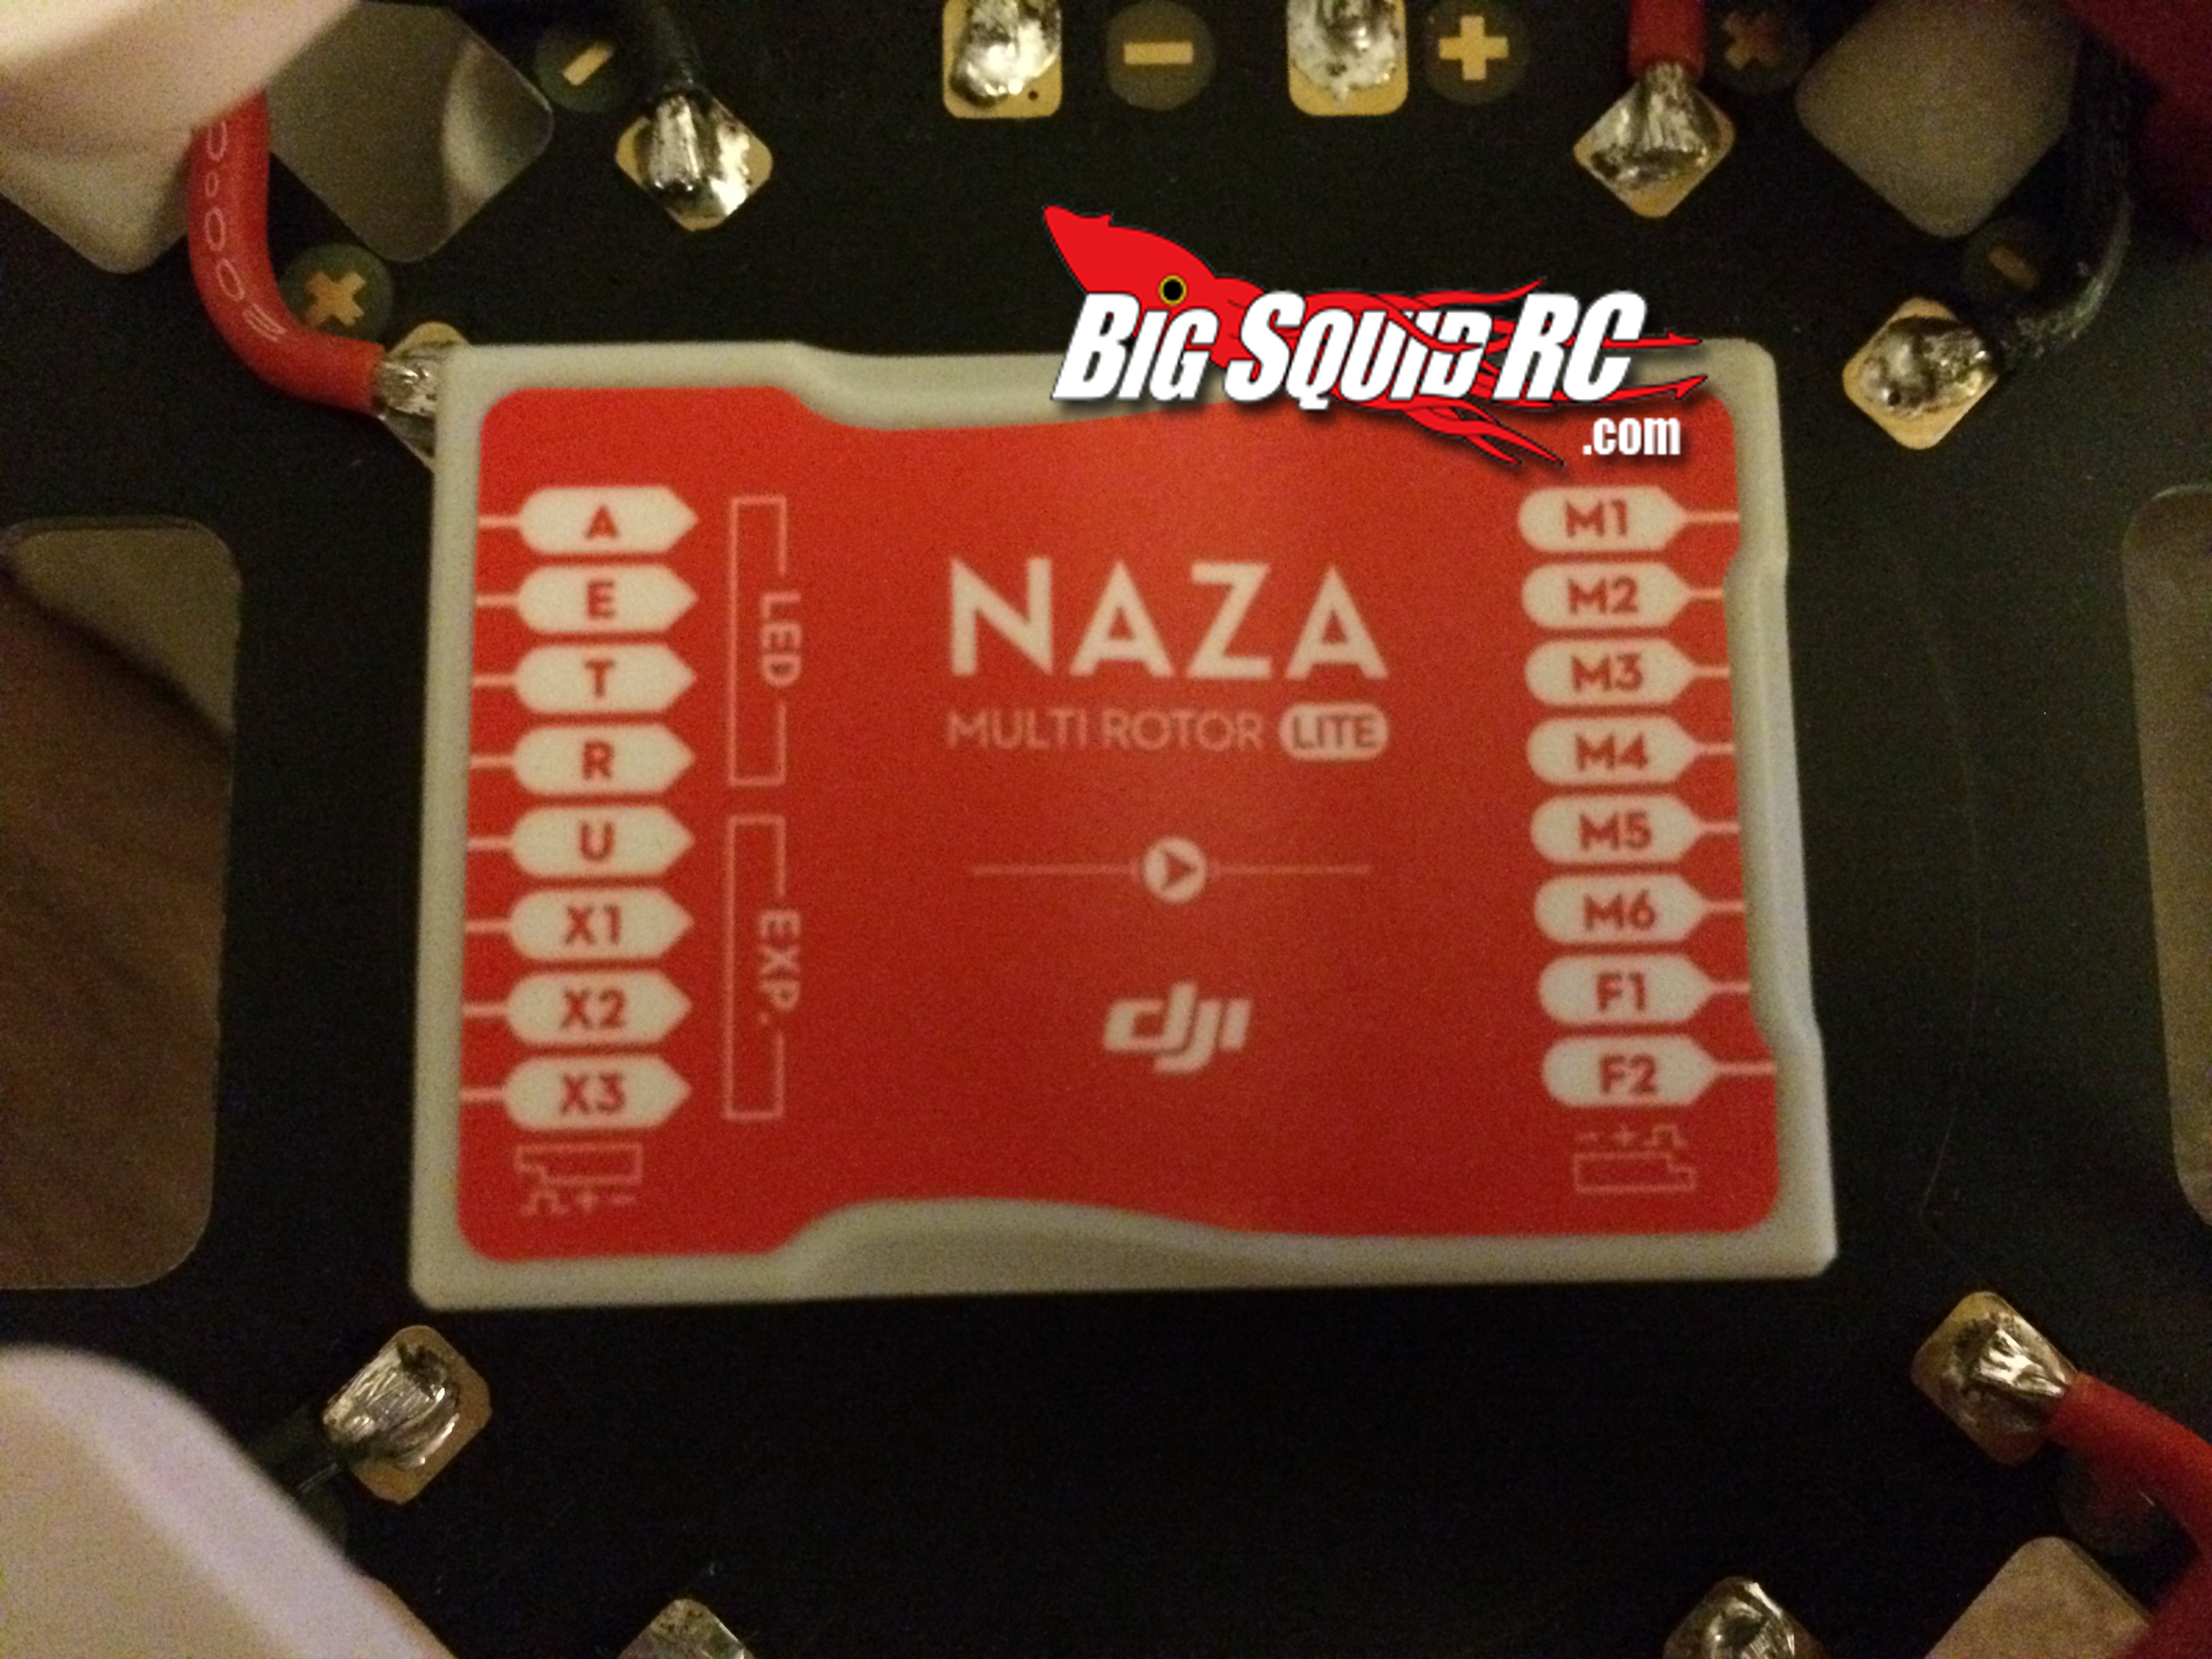
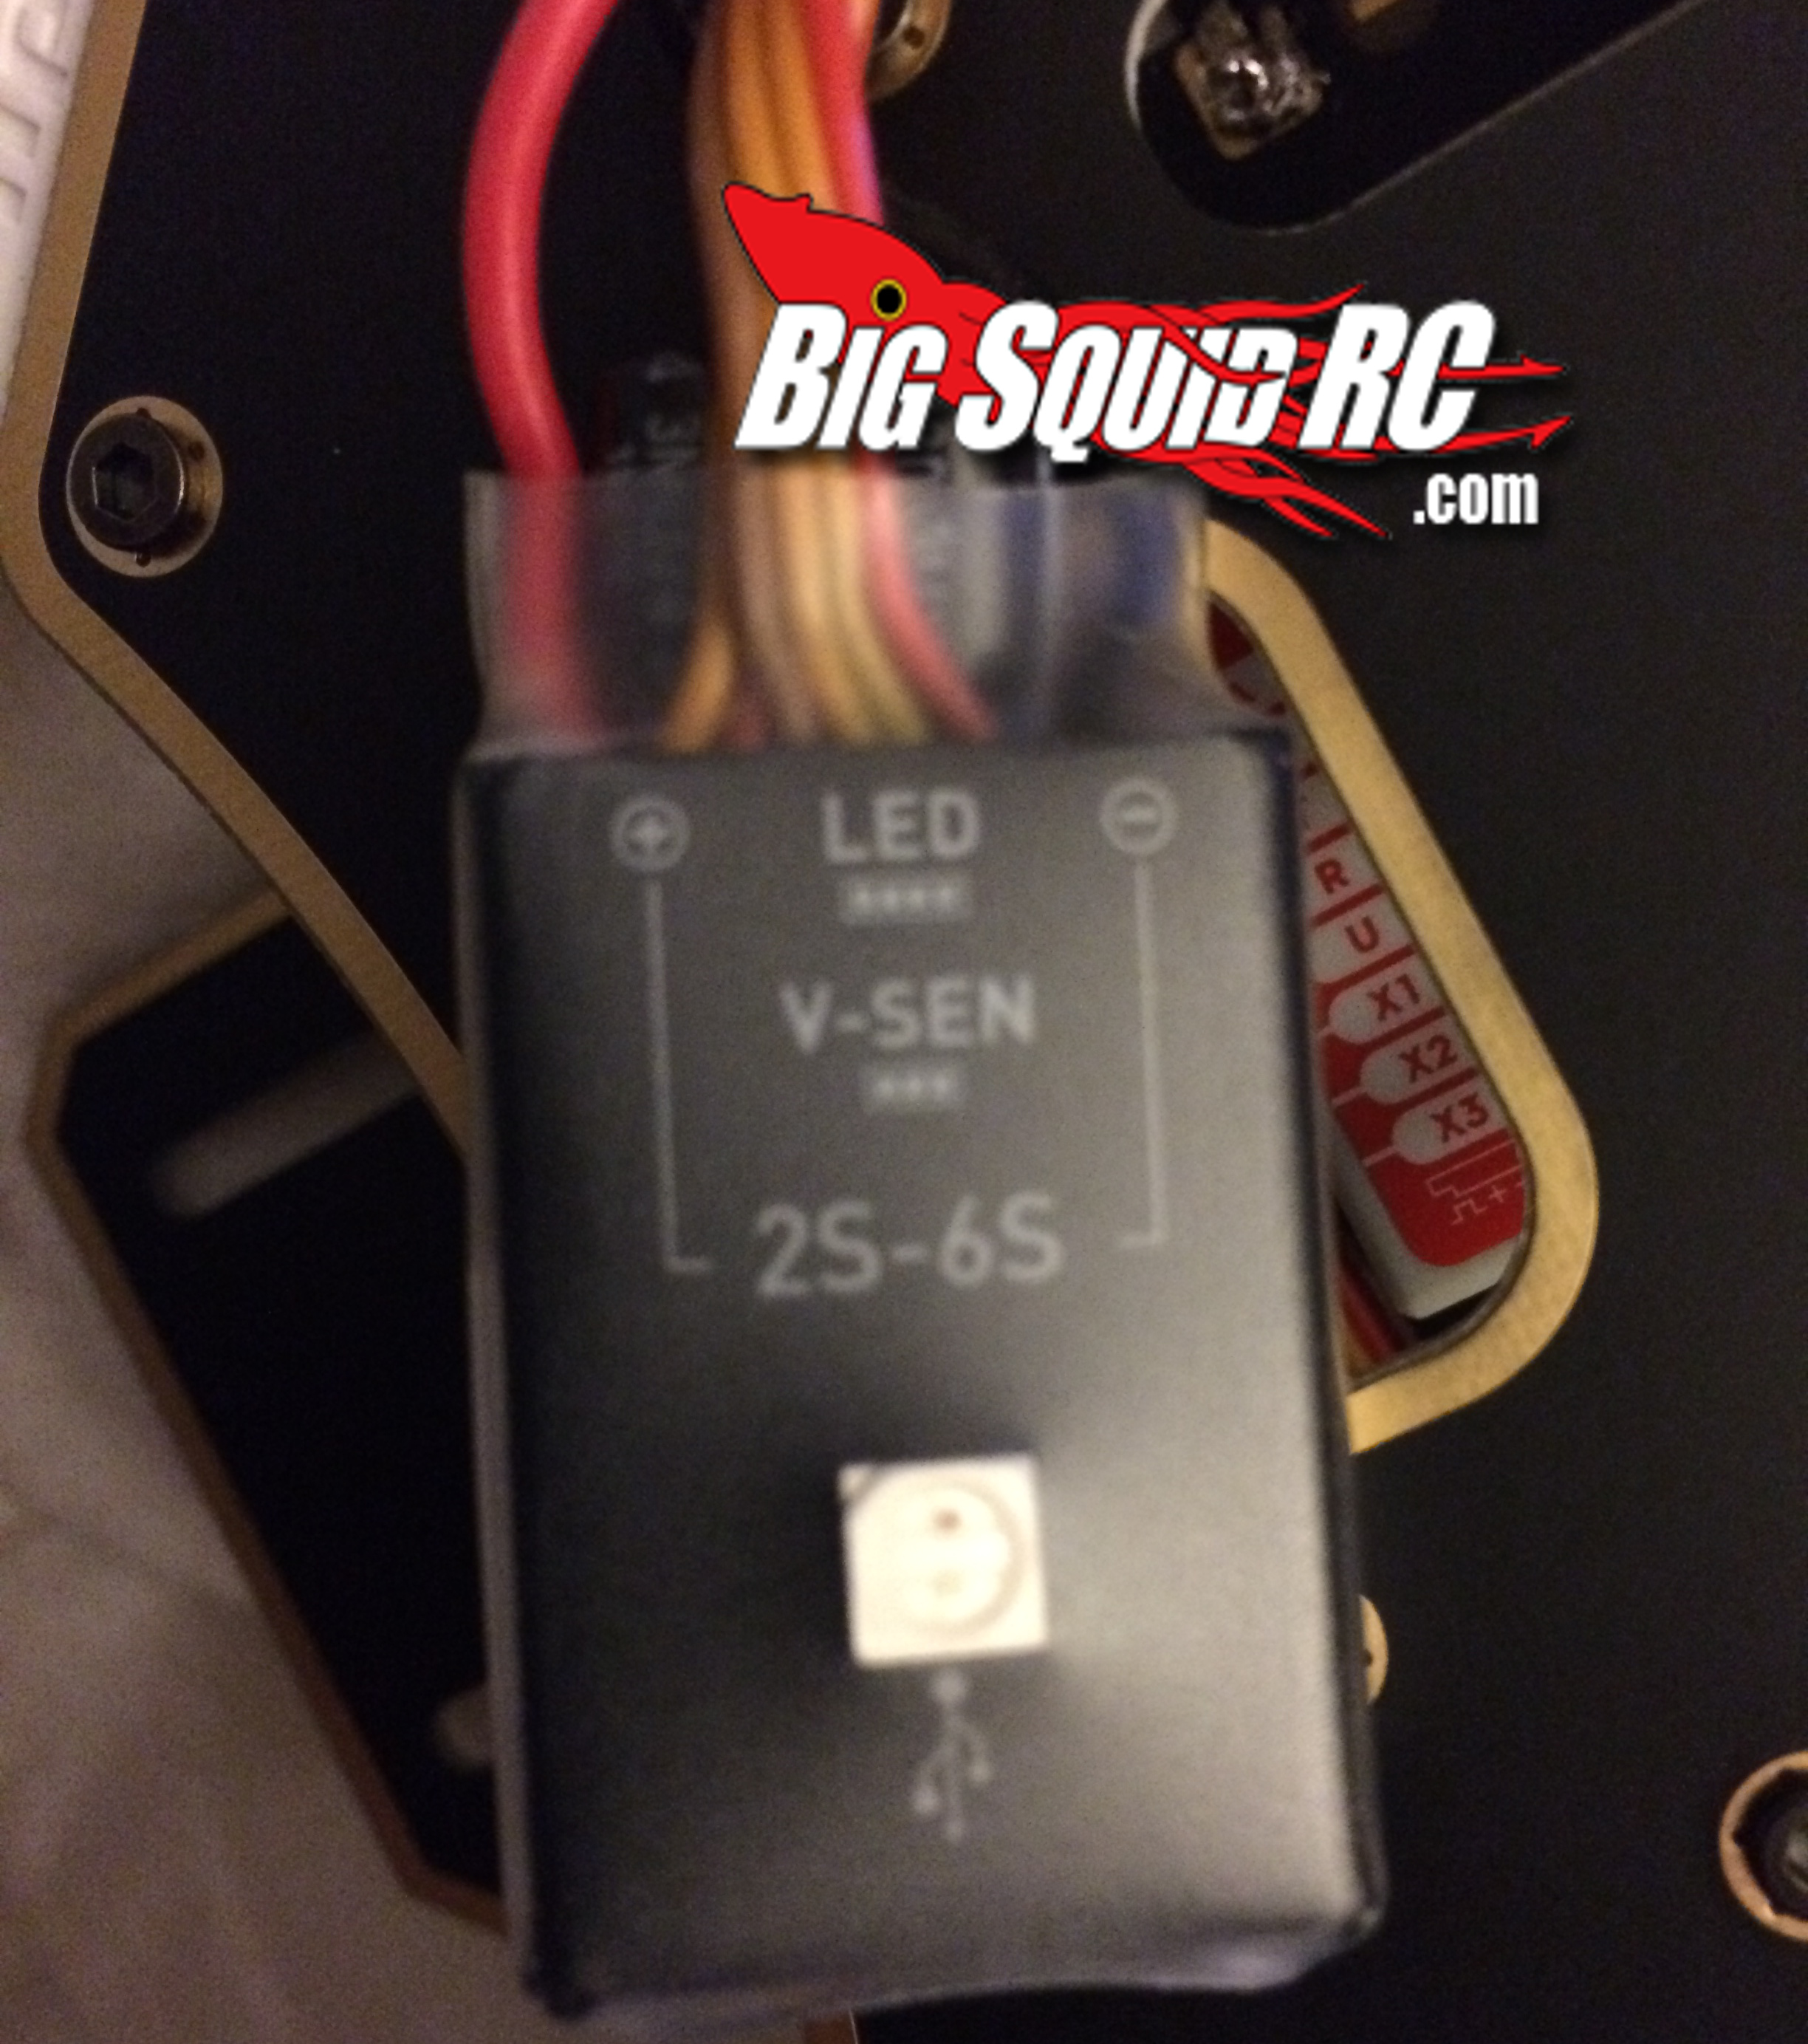
DJI Flamewheel 450: For this quadcopter I took the more traditional route by buying more DJI, more specifically the Naza-M Lite Controller with GPS unit. This is a basic multicontroller unit that was built with great instructions and support from the manufacturer. The GPS upgrade alone is the same as the GPS and controller bundled together, so I picked up the set for $169 from Empire RC. Granted it is much more expensive than the other two controllers, but the technology is backed but multiple sources of technical support as well as an ever changing firmware set that can be upgraded by connecting the whole thing to the computer. Overall, this was the only setup I had that was pretty straight forward without making me taking much risk in the ‘I hope this setup works or I will have a big crash to clean up.’
Now that the major ‘guts’ of the quadcopters present and accounted for, it’s time to update the scoreboard:
| Quad | Frame | Motor/ESC/Wiring | Controller | TBA | Total |
| Armattan | $125 | $129 | $39 | $0 | $293 |
| Lynxmotion | $90 | $157 | $20 | $0 | $267 |
| DJI | $32 | $122 | $169 | $0 | $323 |
Looking back to Part 2 (link at beginning of article), the tables have turned when it comes to pricing, placing the DJI at the high end of the kits where it was at the lowest, thanks to the Naza-M Lite.
It’s time to assemble and pick up the last components, which will wrap up this build series with ‘Prop Up or Shut Up’. It will focus on the finished product, flight, and basic tricks to get your builds running smoothly.
I can’t wait to show you how these guys fly, but until then Stay Shiny and Keep Flyin’!


