Vaterra Halix Hop-Up Series Part #6 – Upgrading the Servo
While the stock servo in the Vaterra Halix works fine for general bashing, to go truly high performance a better servo needs to be installed. A better servo will not only be faster than the stock unit, but also have more power for keeping those big tires pointed where you intend them to be.
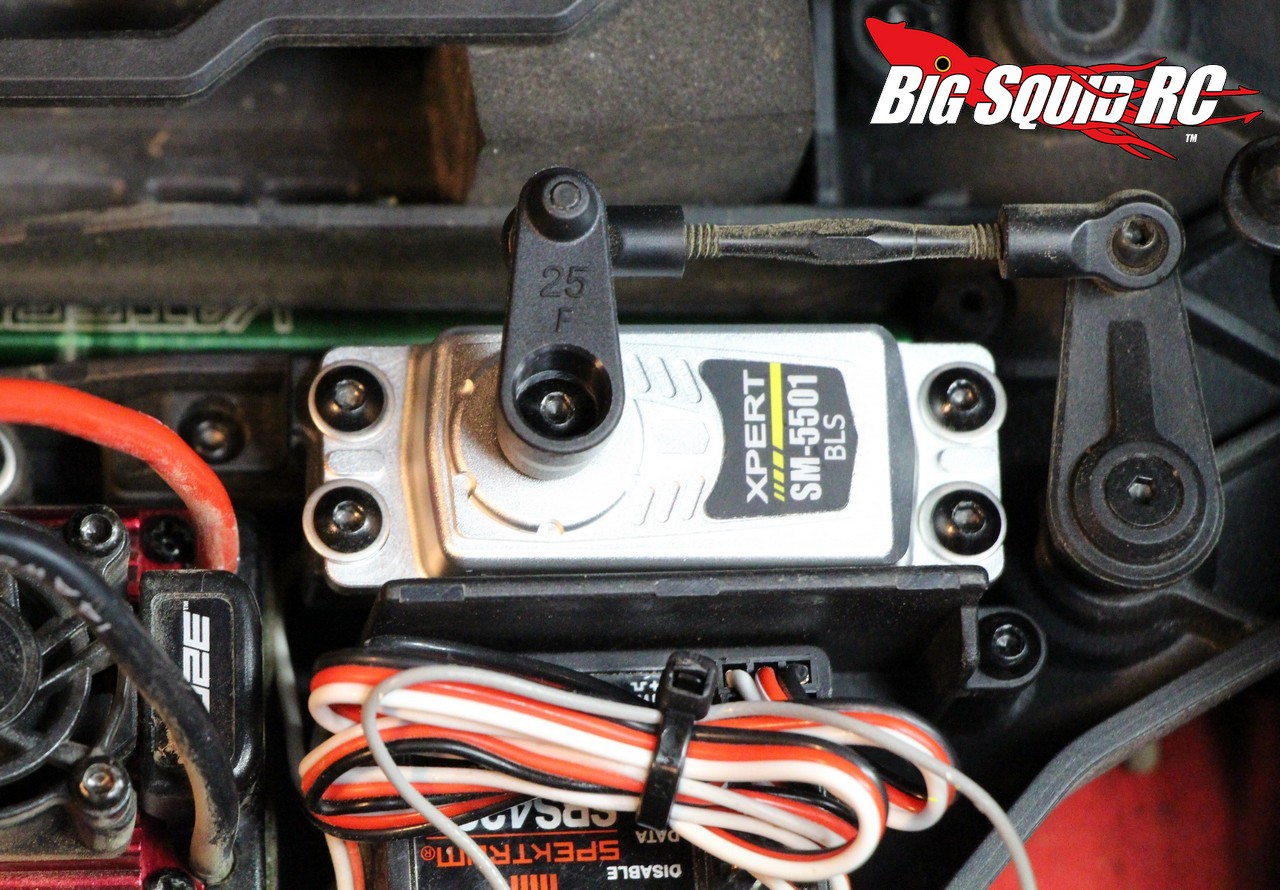
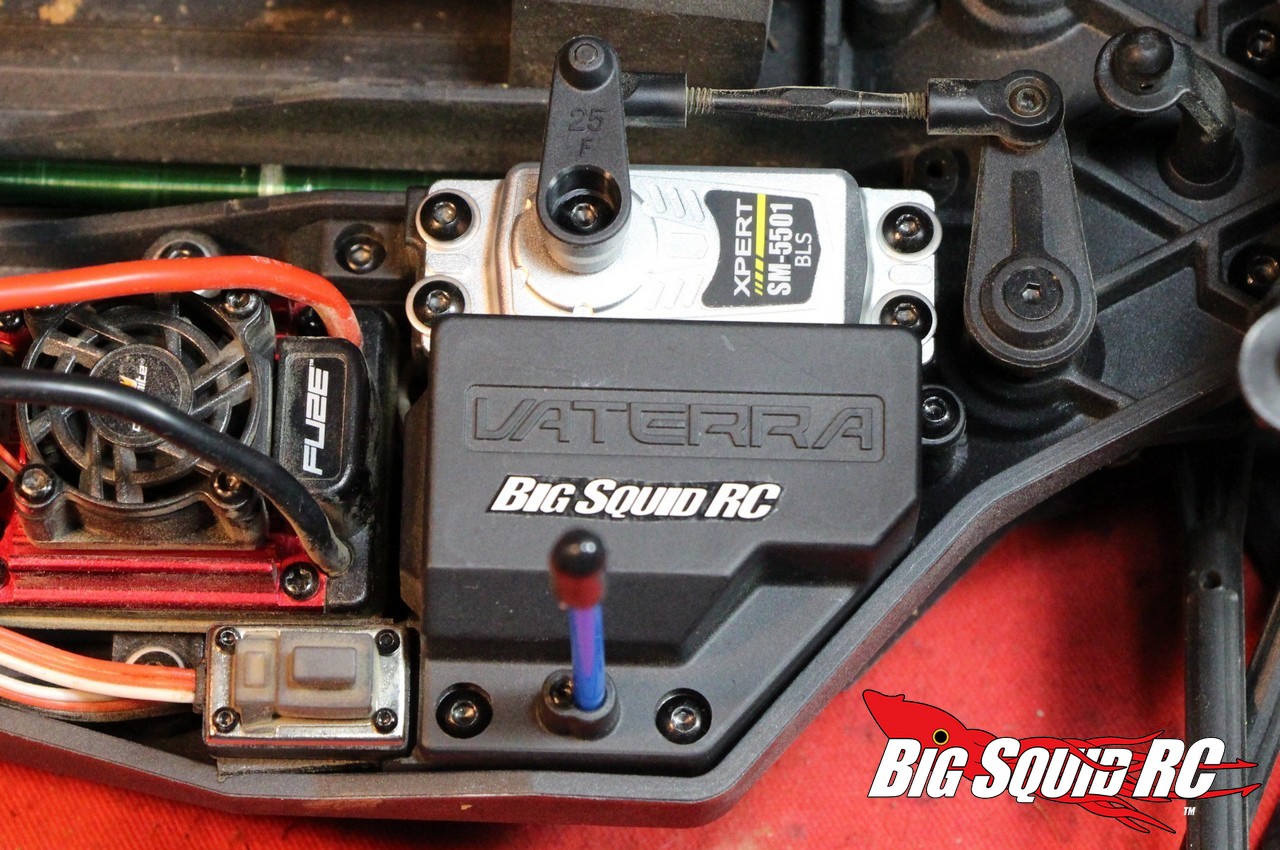
For our Halix project we decided to pop in an Xpert SM-5501HV. The 5501 has some impressive specs, .106 for speed and 270 oz-in of torque at 7.4 volts, and it is a digital servo, a requirement for use with the AVC system on the Halix.
Installing a Servo in the Halix –
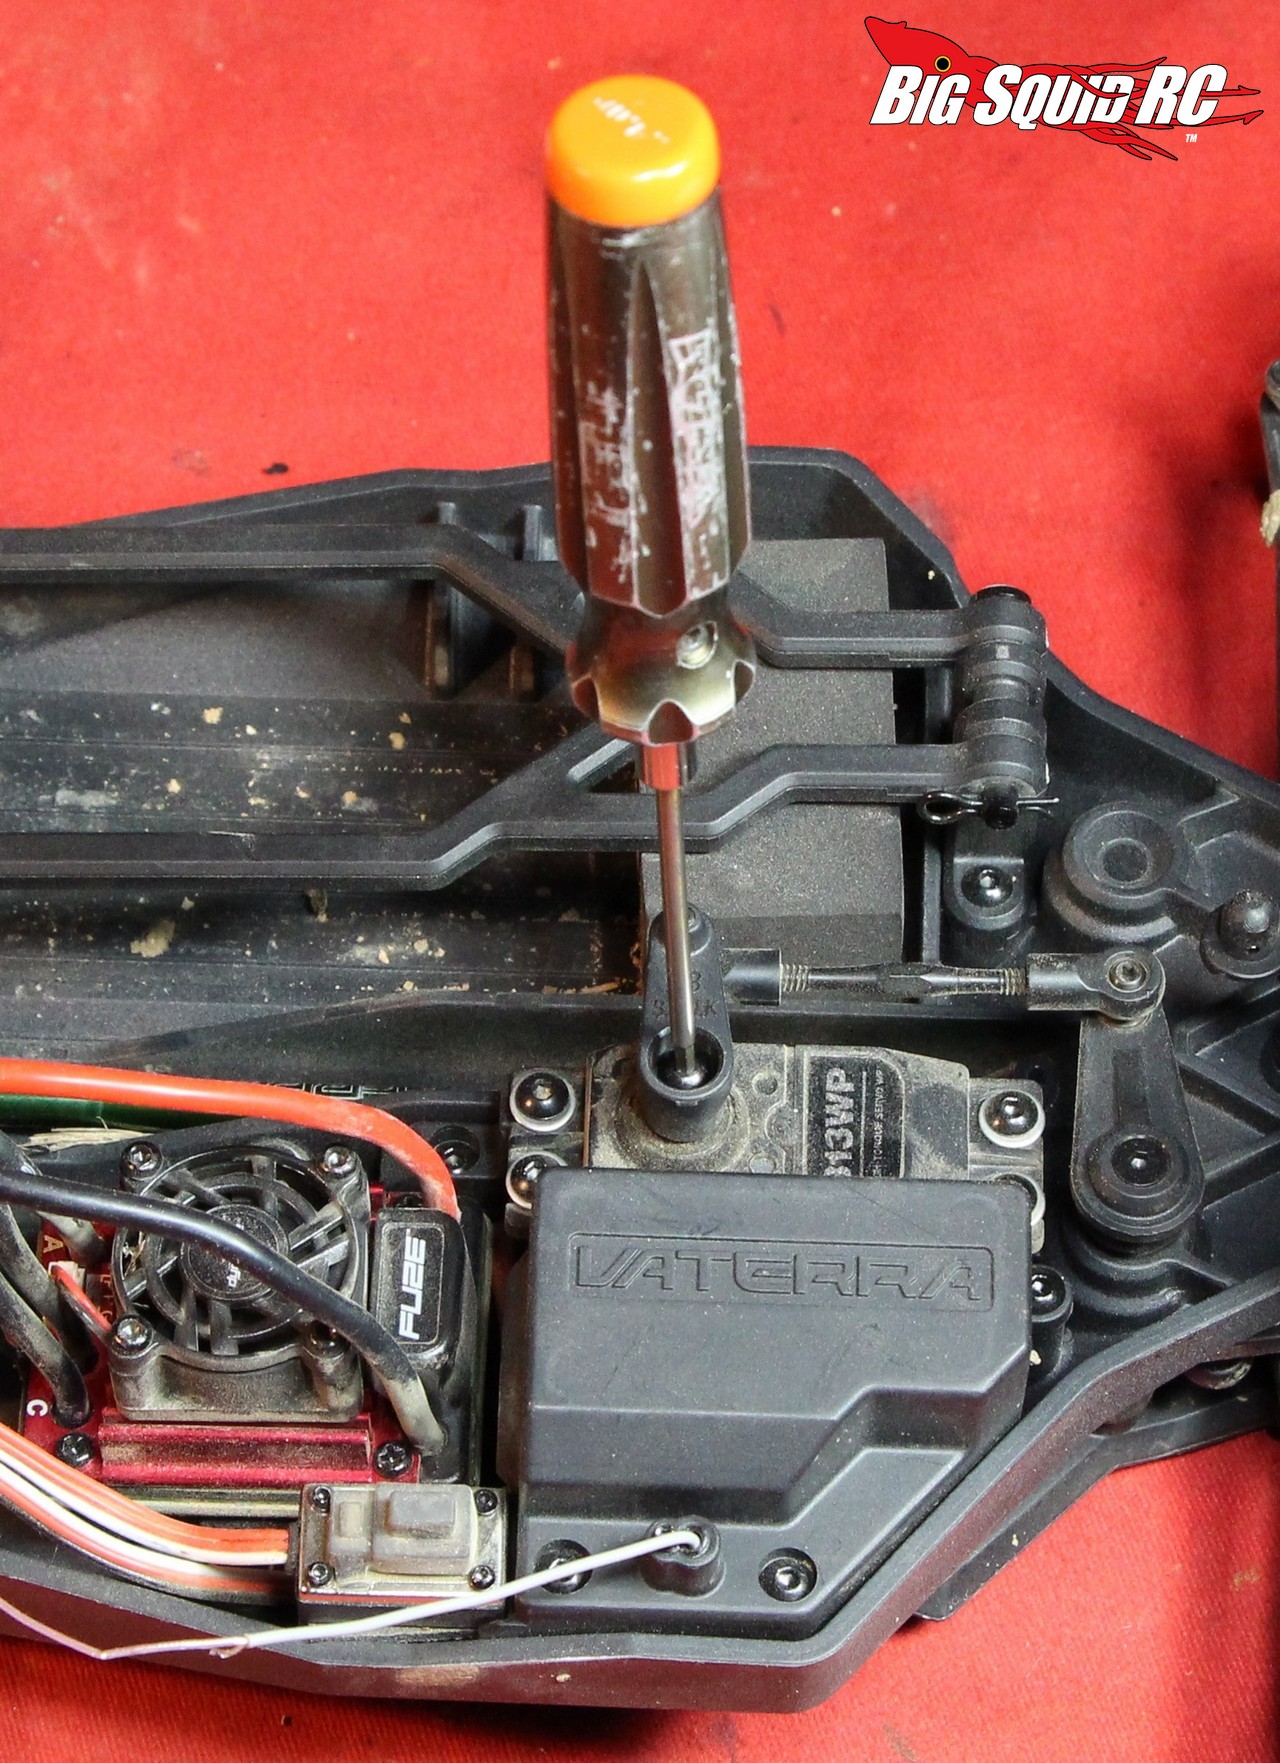
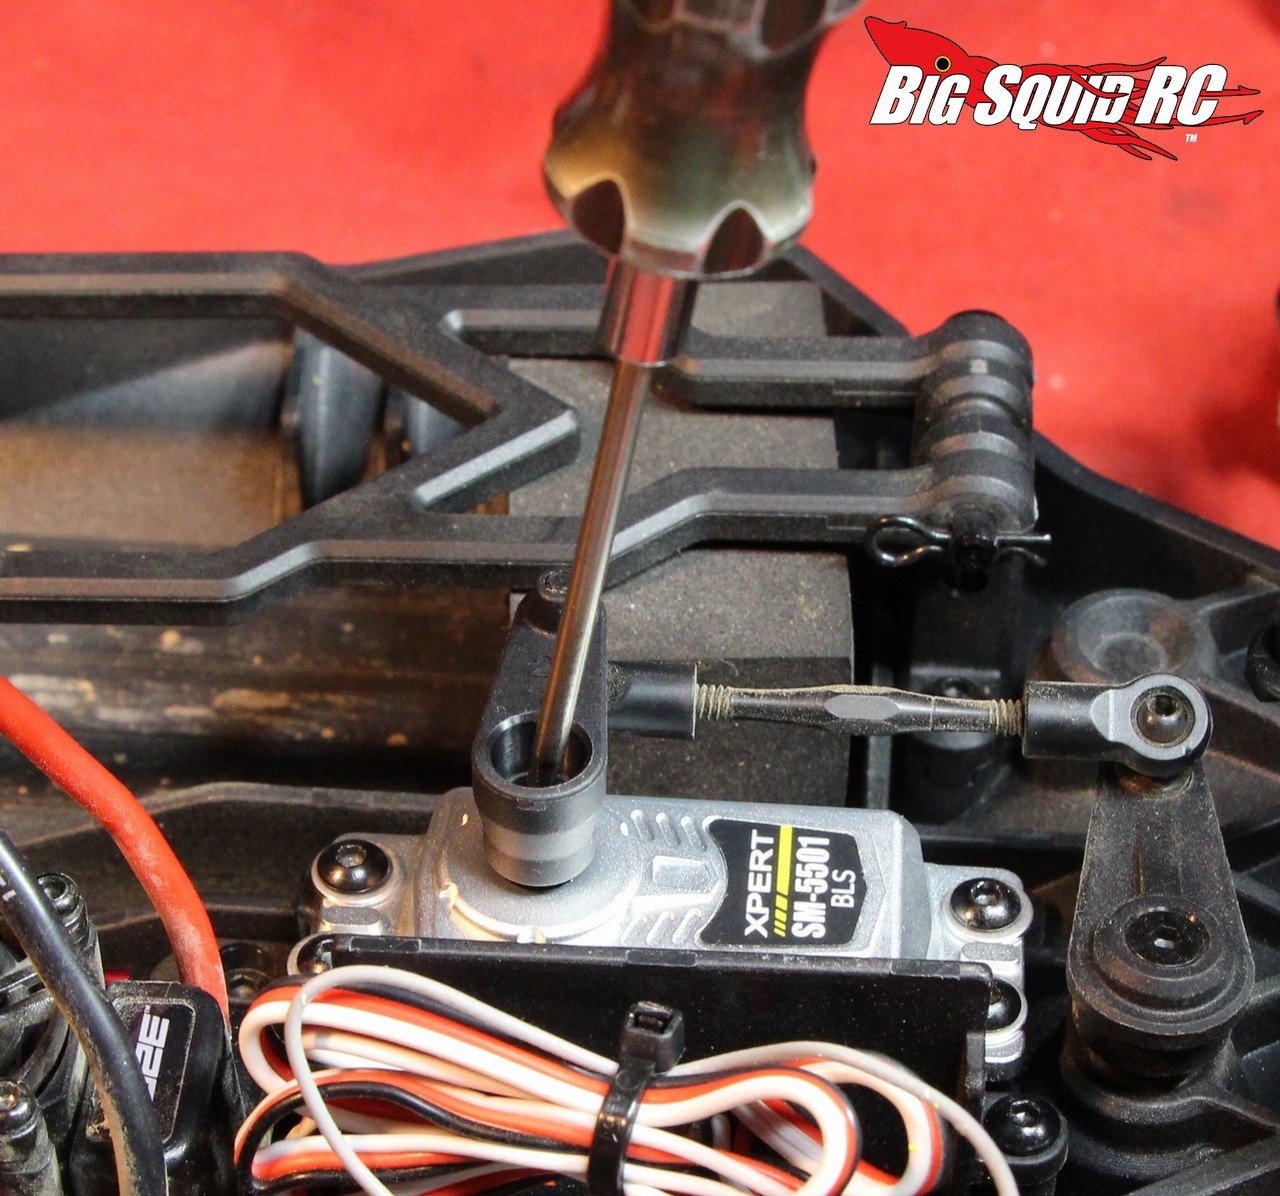
1. Use a 2mm hex to remove the bolt out of the servo horn.
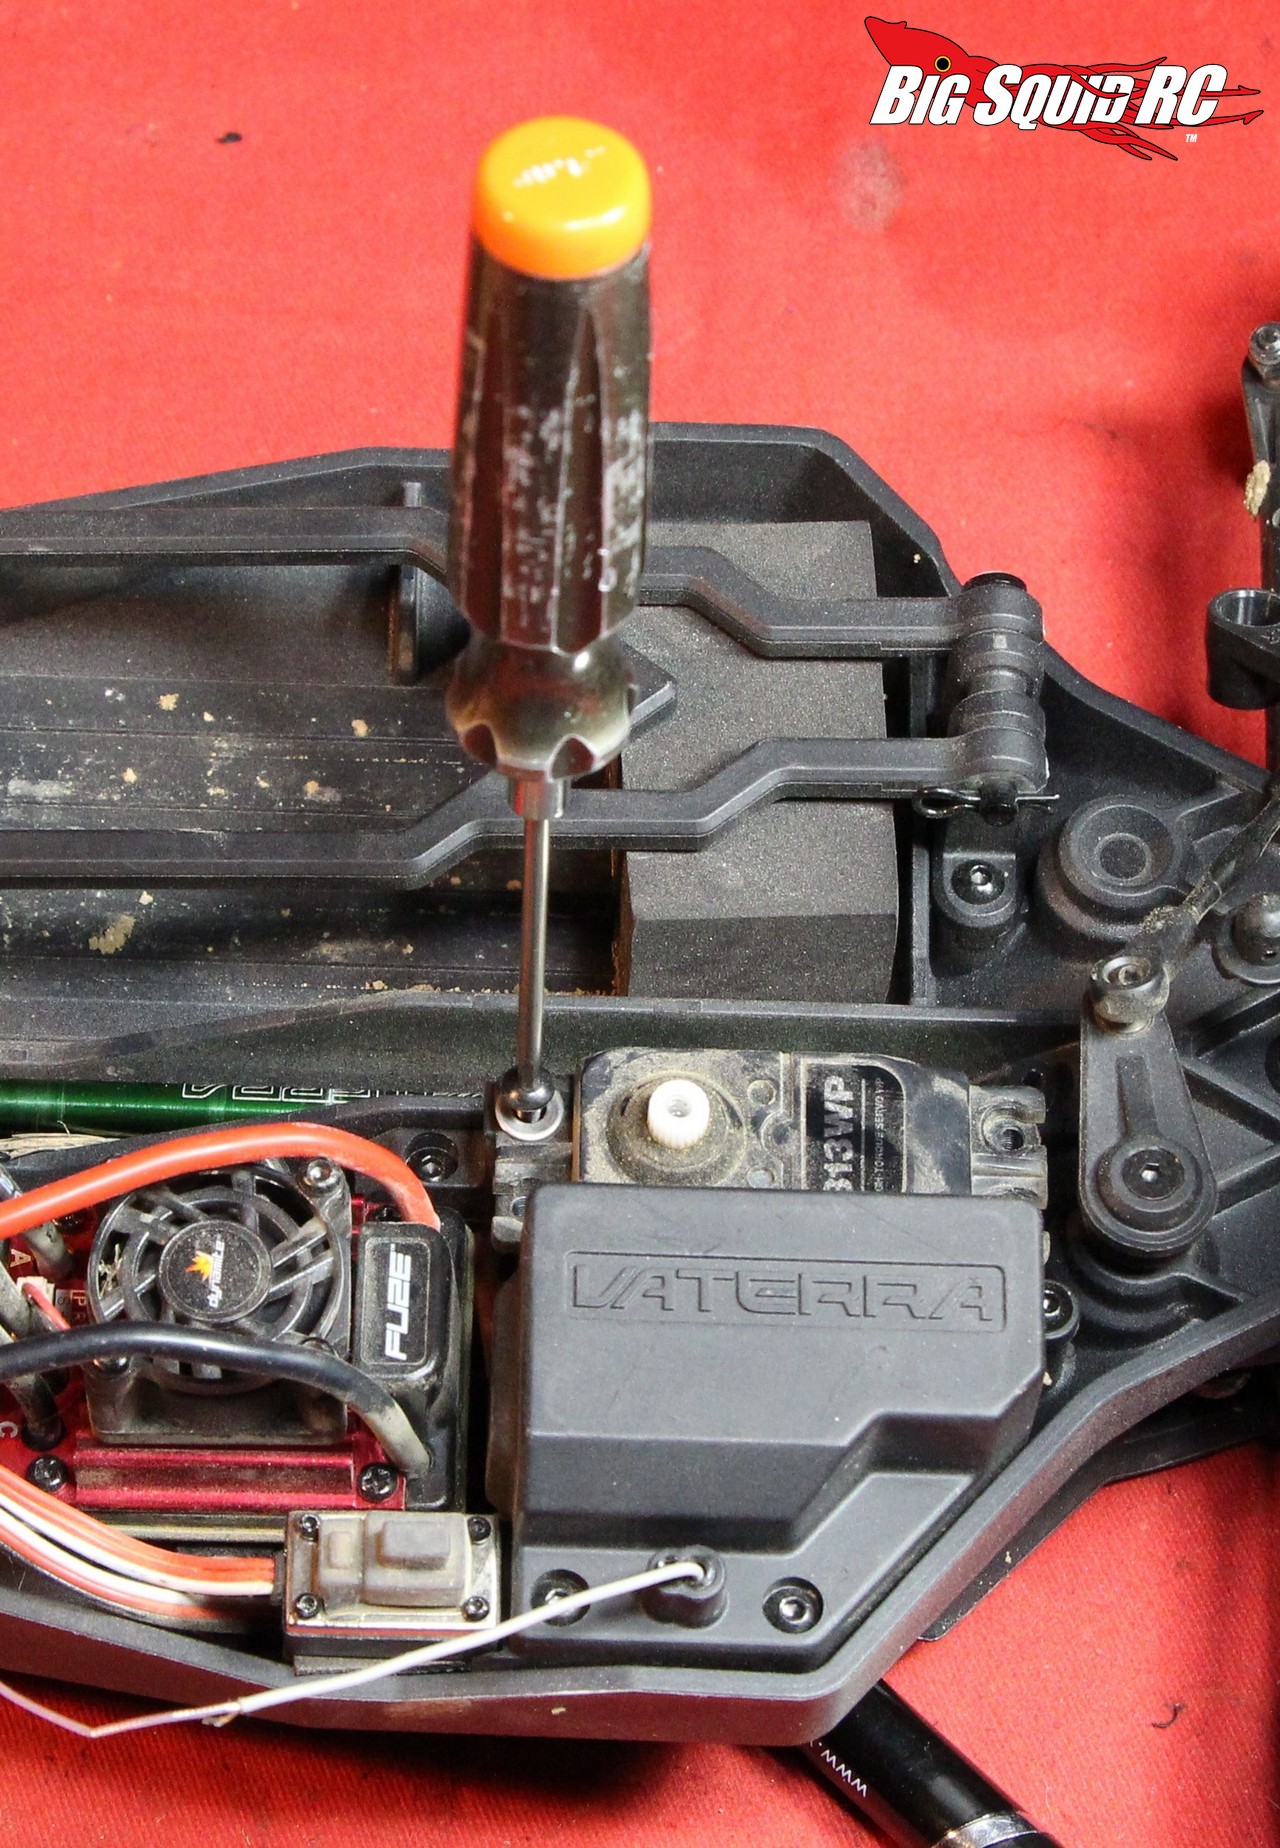
2. Use a 2mm hex to remove the 4 bolts holding in the servo.
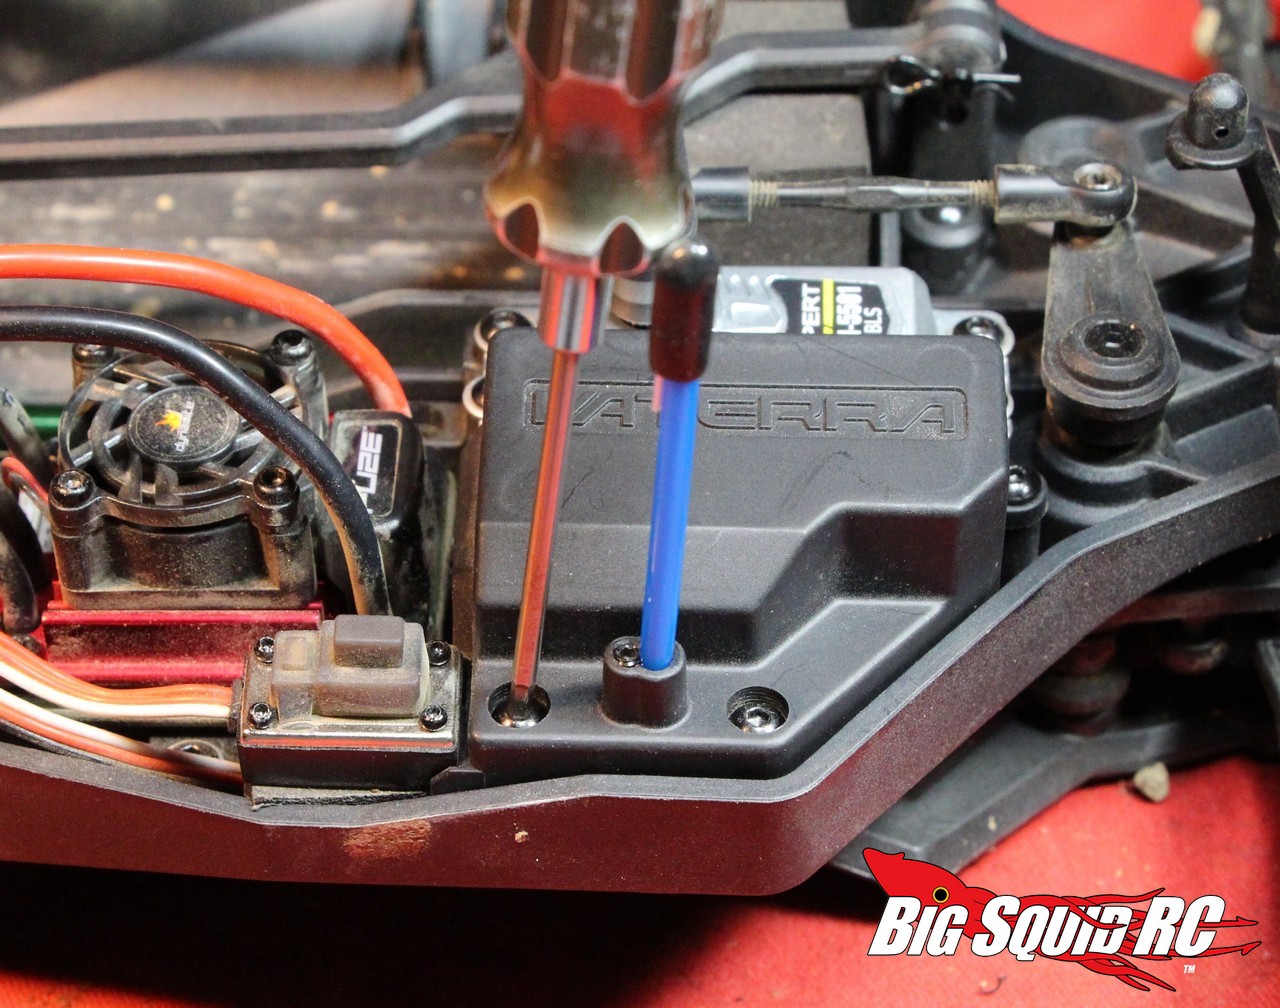
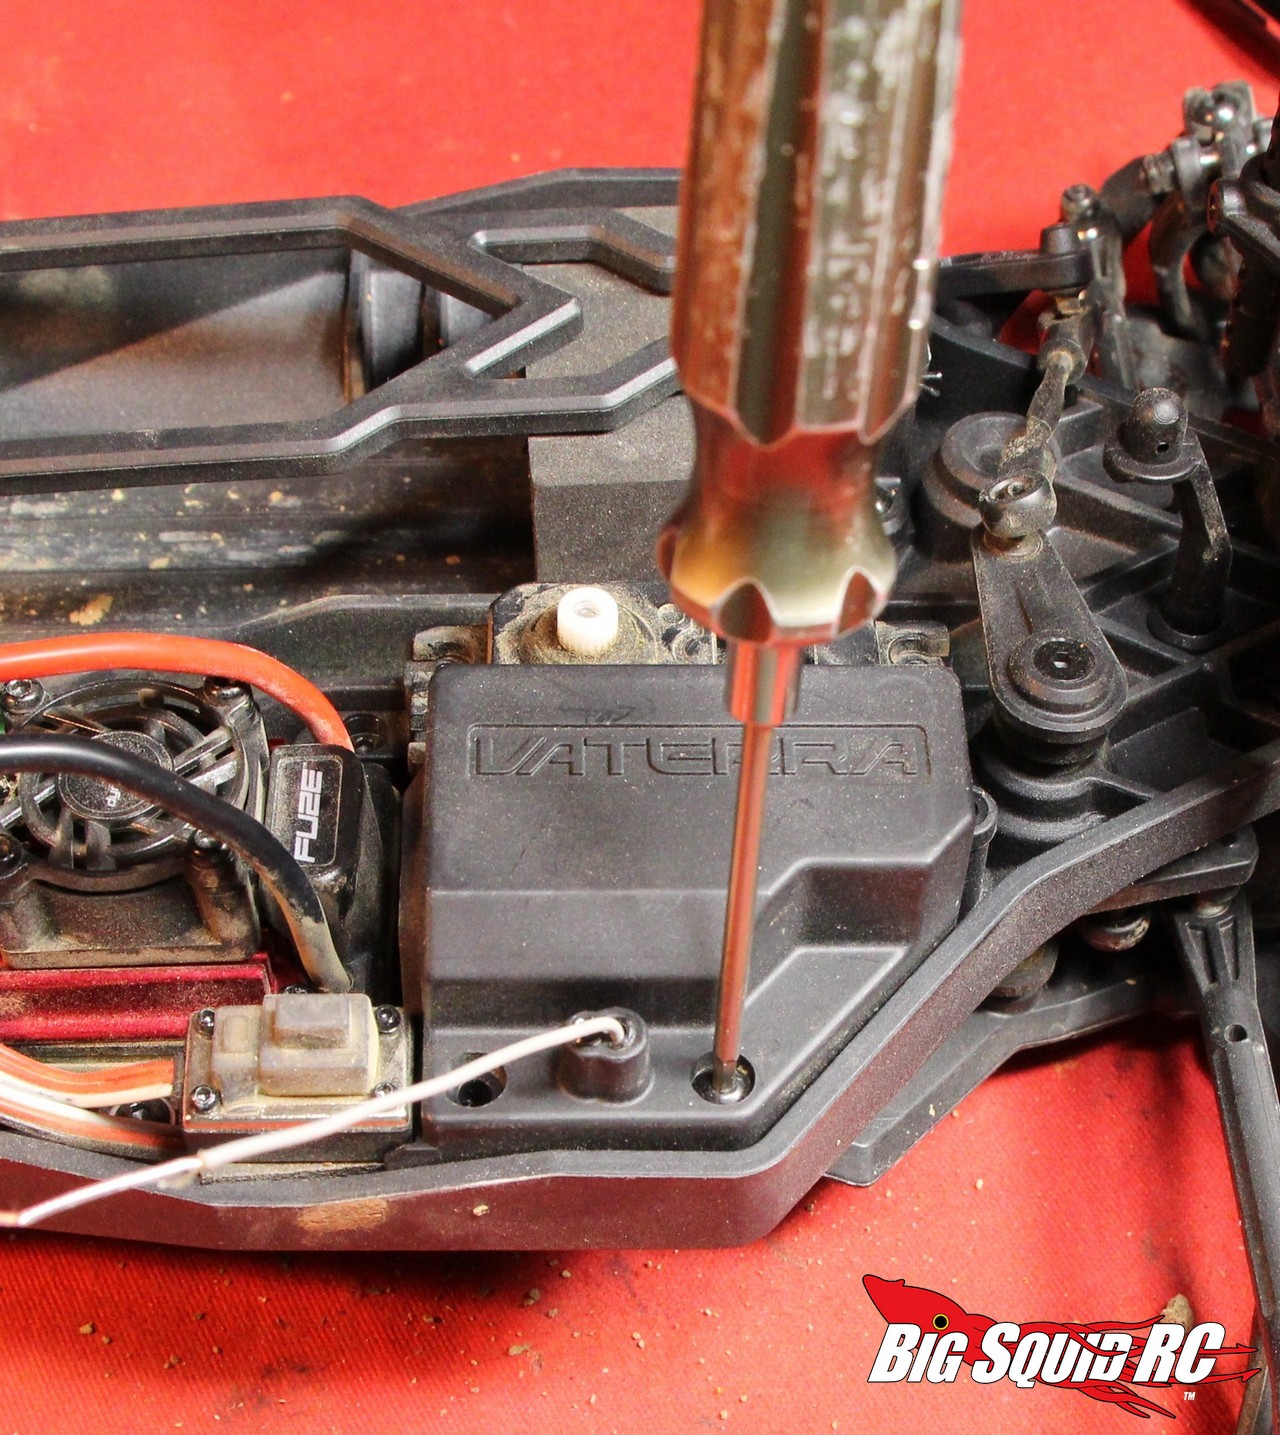
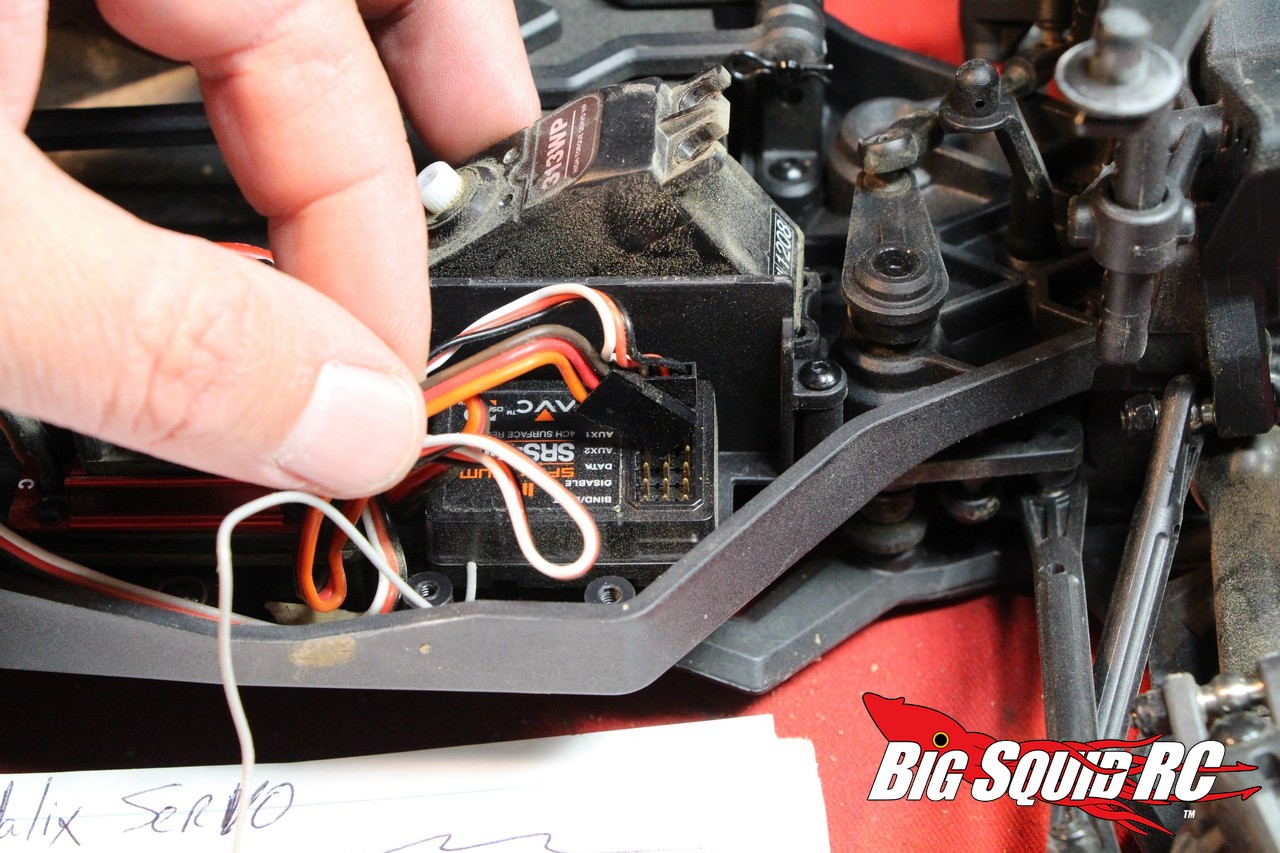
3. Use a 2mm hex to remove 2 screws securing the receiver box lid.
4. Unplug the servo wire from the receiver and cut the zip-ties that hold the wire down.
Hit the “Read More” button to check out all the rest of the installation steps.
5. At this point the stock receiver is free and ready to be pulled from the truck.
6. Place the new servo in the truck and route its wire over to the receiver.
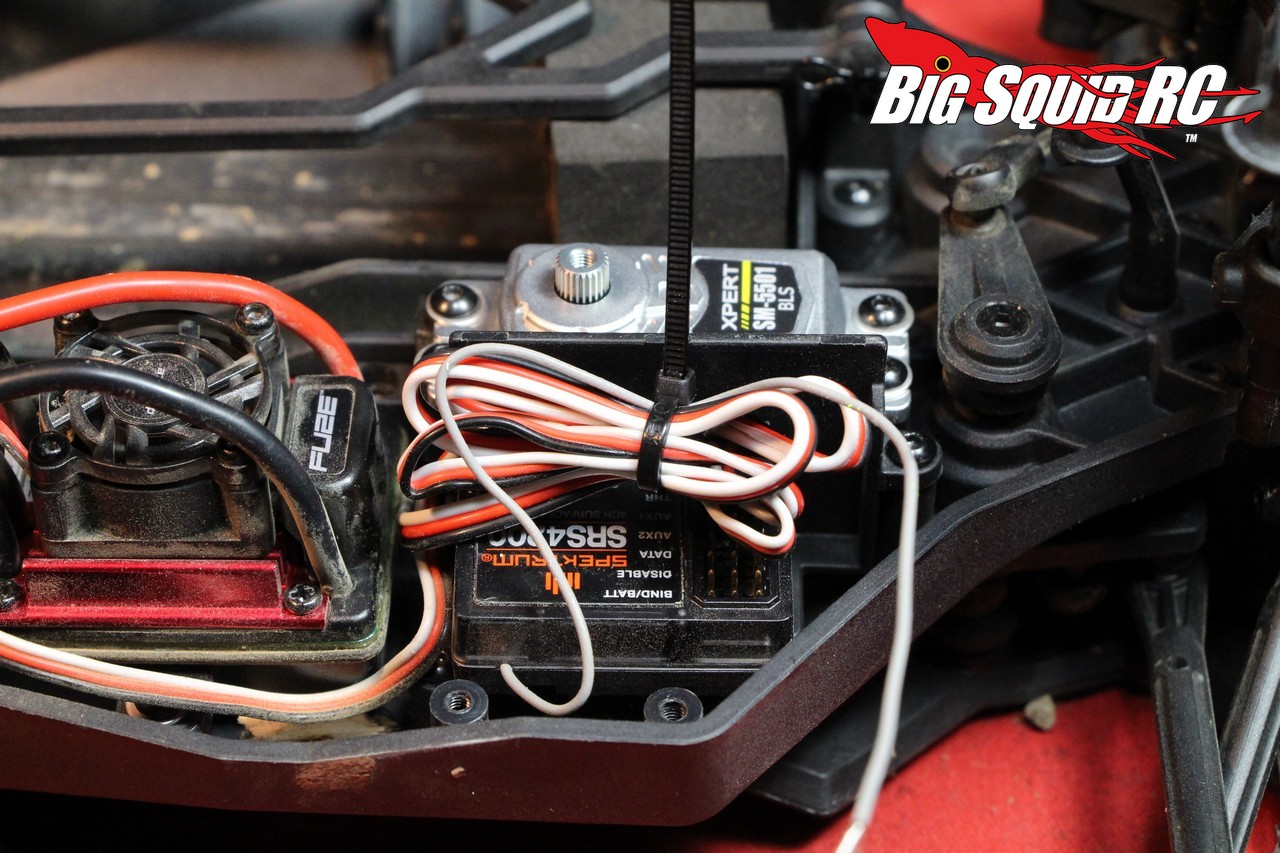
7. Plug the wire into the servo port on the receiver, making sure its black (or sometimes brown) negative wire is facing the outside of the receiver case. You don’t want to plug the servo wire in backwards or into the wrong port.
8. Neatly secure the servo wire with zip-ties to keep it out of harms way.
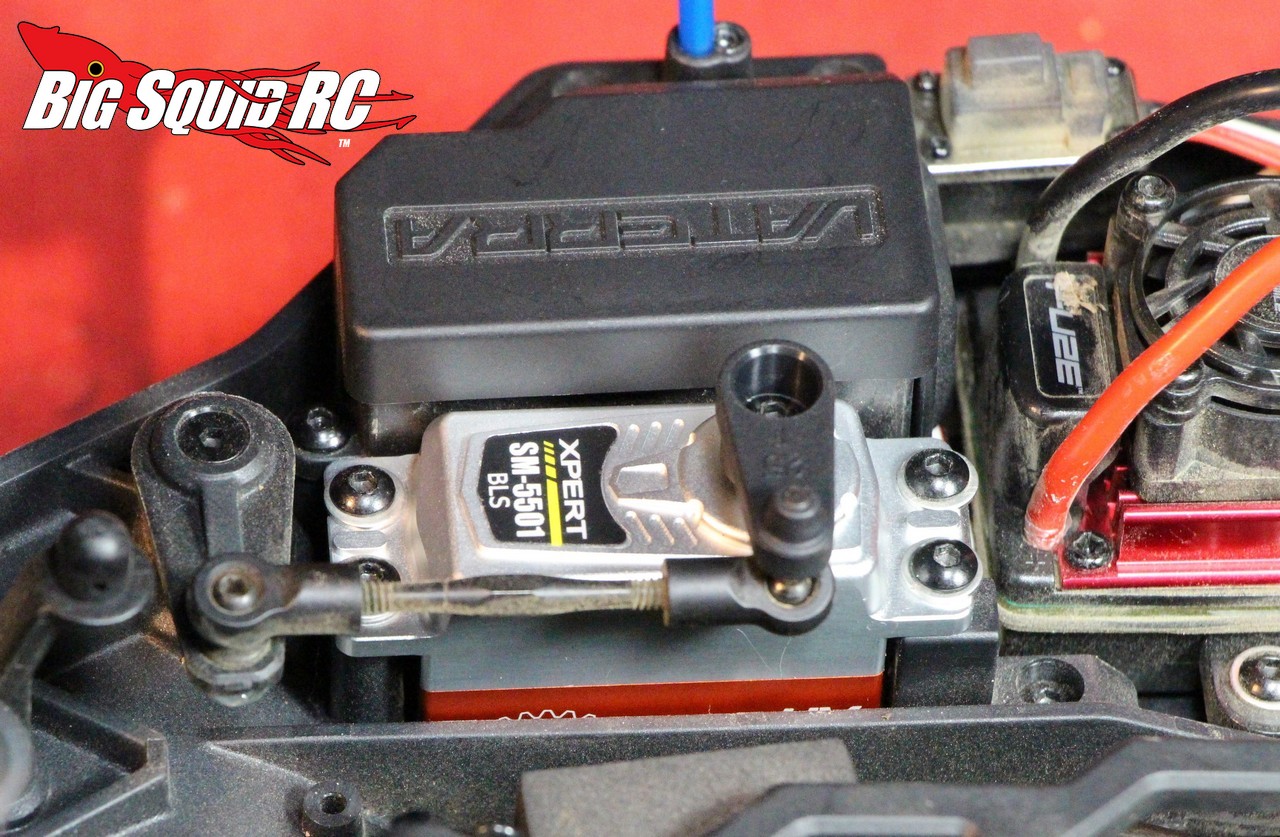
9. Secure the servo down with the four bolts you removed earlier.
10. Turn on the transmitter, center its steering trim adjustment, then turn on the truck. Place the appropriate servo horn on the new servo, making sure the servo horn is centered with the front wheels. If your new servo uses a different number of splines from stock, different sized servo horns were included in the box with your Halix. Once centered use the bolt that came with the servo to tighten down the servo horn.


11. The AVC system on the Halix will need to be recalibrated after the installation of a new servo. Calibration is quite easy and well explained in the manual. The process requires that you install a bind plug into the bind port on the receiver, rebind the receiver to the transmitter, then go from full throttle to full brake, then from full right to full left on the steering. Once bound the receiver will blink once and be ready to go.
12. Re-install the 2 screws that hold down the receiver box lid, then set the steering trim and endpoints on the radio.
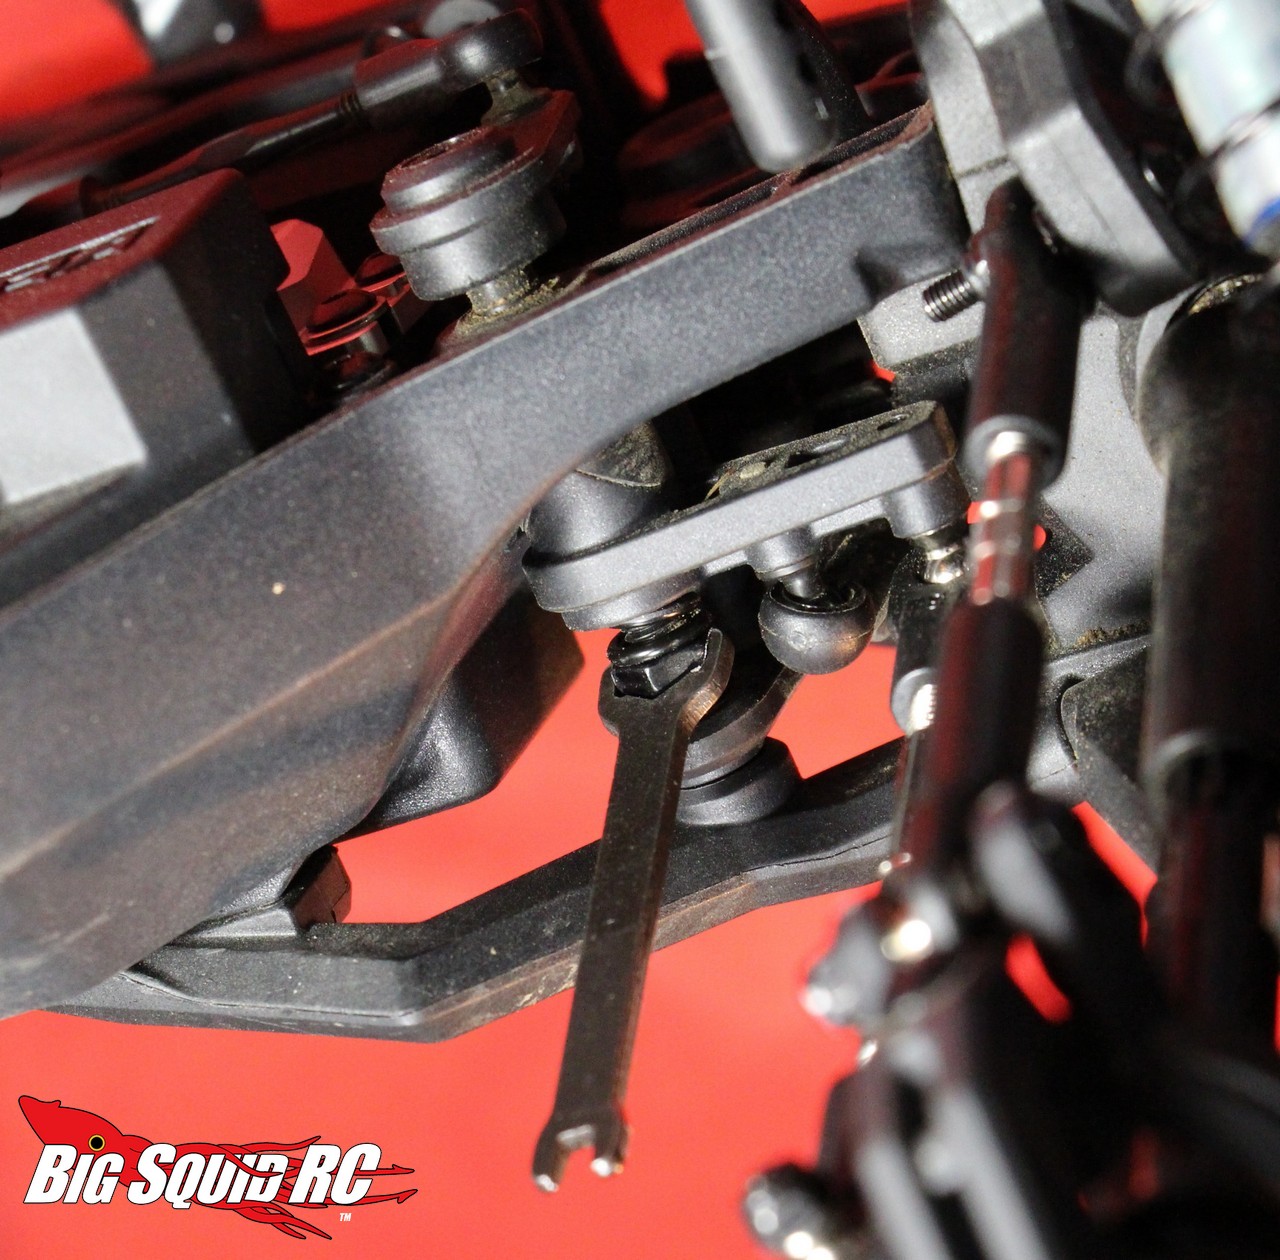
13. Adjust the servo saver. The servo saver on the Halix is on the underneath side of the truck and is easily adjusted with a small wrench. If the servo saver is too loose you lose the advantage of using a high speed/torque servo. If you adjust the servo saver too tight you can destroy the gears in the servo, if it is too loose steering accuracy will suffer. We tightened ours up 3 full turns, much tighter than stock, but it still flexes during a bit hit.
14. That’s it, the whole process takes about 30 minutes and now your new servo is ready for some serious bashing. We found that the extra speed and torque of the Xpert servo made a huge difference in the steering of our Halix. At a dead stop the Xpert easily turned the tires on a medium grip surface, and during high speed cornering it kept the wheels dead on where we wanted them. The Xpert also worked well with the stock electronics, we didn’t suffer any glitching or “brown outs” while using the Xpert in our Halix.
The next installment of upgrading the Halix will be coming up in a couple of weeks, until then you can Click Here to check out previous upgrades.