Helion DOMINUS 10 SC/TR HOP UPS Review.. BLING! BLING!

Have I mentioned to yall how much I love the Aluminum Bling? Well I was tickled a bit when Brian asked me to toss on all the Hop Ups just released for the Dominus 10SC and the soon to be released sibling the 10TR. As a relatively new name in the RC World I was anxious to see what benefit these hop ups would offer the entry level market this truck is geared towards. Keep reading to find out…
From: Helion RC
Direct Link: Dominus Hop Up Parts
Review By: Manny
Pics By: Manny
PART NUMBERS:
HLNA0177 Slipper Clutch = $19.99
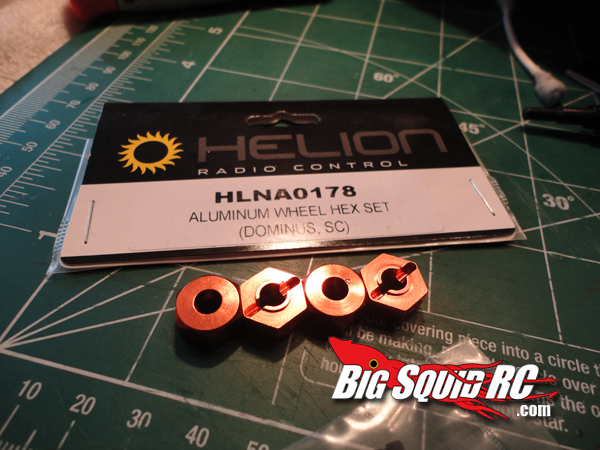
HLNA0178 Aluminum Wheel Hex Set = $14.99
HLNA0180 Aluminum Battery Mounts = $15.99
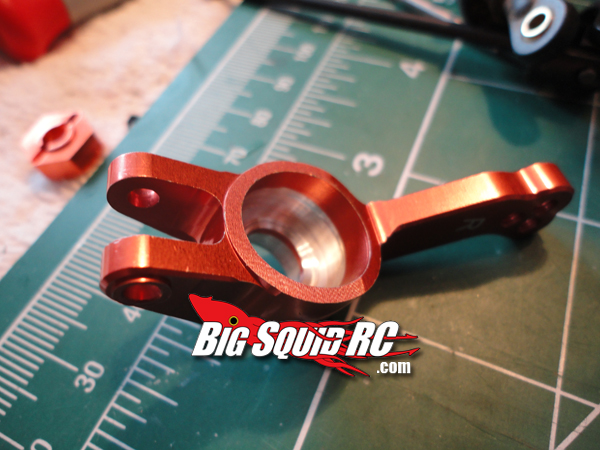
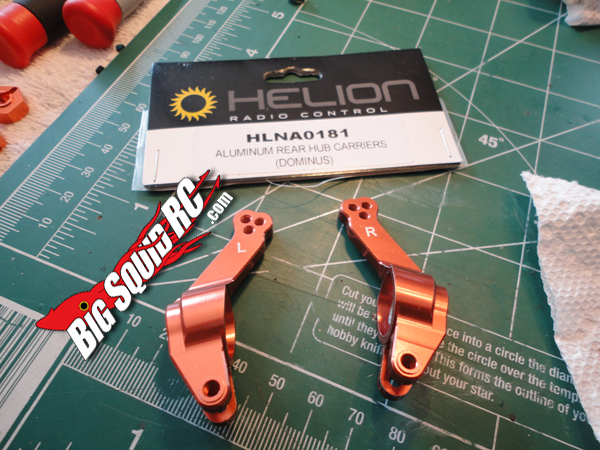
HLNA0181 Aluminum Rear Hub Carriers = $24.99
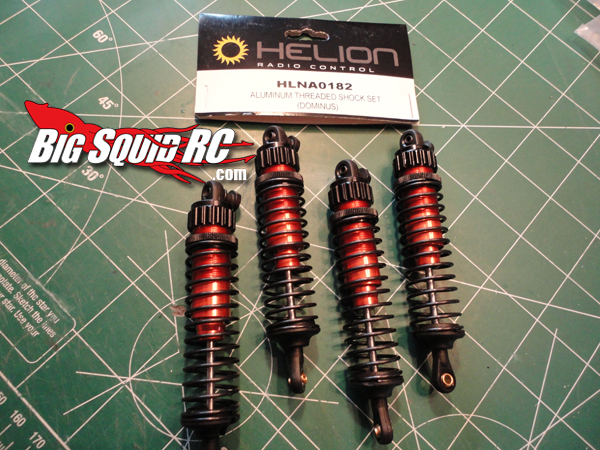
HLNA0182 Aluminum Shock Set = $49.99
HLNA0183 Universal Drive Shaft Set = $24.99
Test Venues: Street in front of the Crib, Yard, Dirt Lot
Installation & Build Quality: If you are used to adding fiddly bits you will not be surprised on most of this, but I did have a couple of stumpers. The only color so far is a nice orange for the Aluminum and on the black, honestly that would be my first choice. Overall the parts have a great fit and finish with only a slight variation in color, you would need the magical eye to tell any noticeable difference.

Durability: Honestly I broke other stuff on the truck (don’t tell Brian) but not a single one of these upgrades even batted an eye.
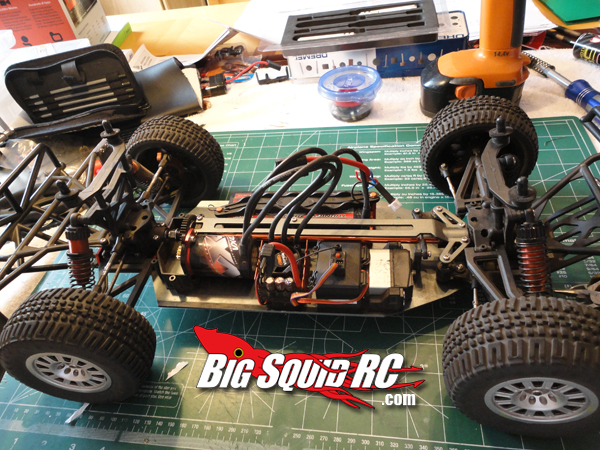
Misc Notes: To be brutally honest I have not had much wheel time on the Dominus and with my first outing rolling with the Viper VX4.39 Brushless System, I was pleasantly surprised. With its Aluminum LOW CG Chassis and 4wd to put the power down this thing is a blast! I am way more of a basher than a track fiend, but I have to tell you… I was having visions of a podium finishes with this truck after the upgrades…. Hmmmm maybe the guys won’t notice if I hang on to this truck for a while?
Rear Hub Carriers, Wheel Hex and Drive Shafts: All basically just swapped out with ease and taking each component to the next level in either Aluminum or what seems to be a hefty hardened steel Drive Shaft Set.
Battery Mount: This little number will make a snug Lipo on the plastic pieces almost require a touch of butter to get in between the mounts. The other thing that Helion seems to keep missing the boat on is the height that the battery brace can lock in. The posts that you push your e-clips into are not happy unless you are running the thinnest 3000ish mah packs. My work around to this since the posts now screw into the mount is to leave them a little loose, put the fatty battery of your choice in, place the brace on and install your e-clips and use said e-clips to help screw down the posts. Now this is really not the way it should be but it ends up working really well, and after some good bashing the battery was still solid.
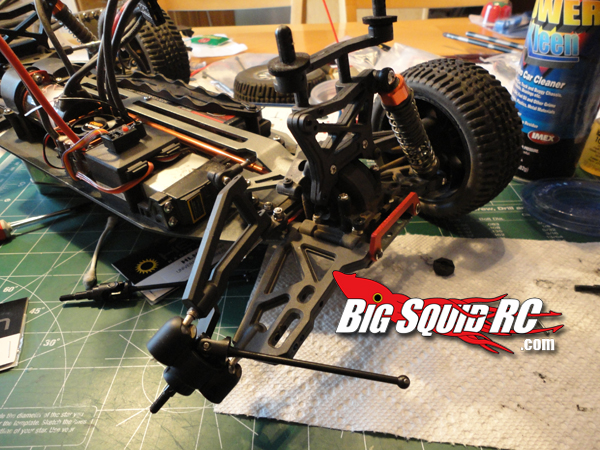
Shock Set: If you are a tinkerer you won’t have anything less than a threaded shock body. These little numbers take the shocks from a 12mm to 14.5mm and the girth is noticed and appreciated when taking big air and over tight bumpy terrain as well. One small dig is the top retainer to mount the shocks will not work without swapping out screws. (think these were designed for an 1/8th scale buggy???) There were no included screws or other hardware to make them work so I moved the stock plastic bits over and swapped them all out… Problem solved!
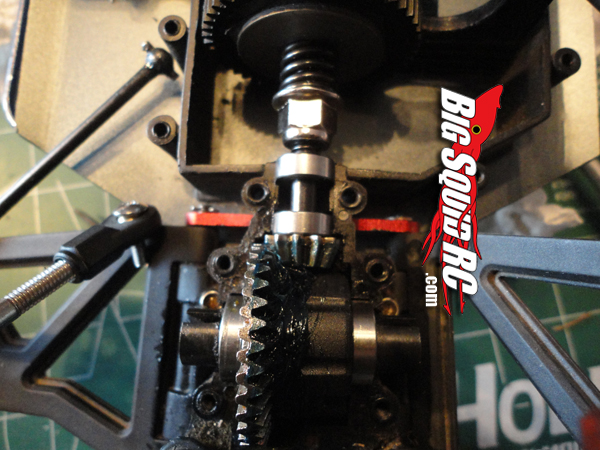
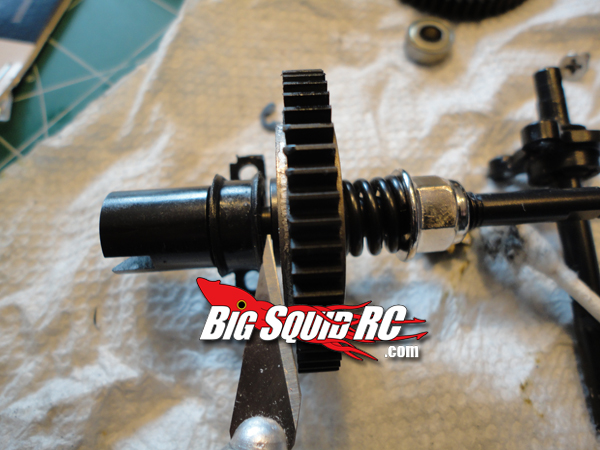
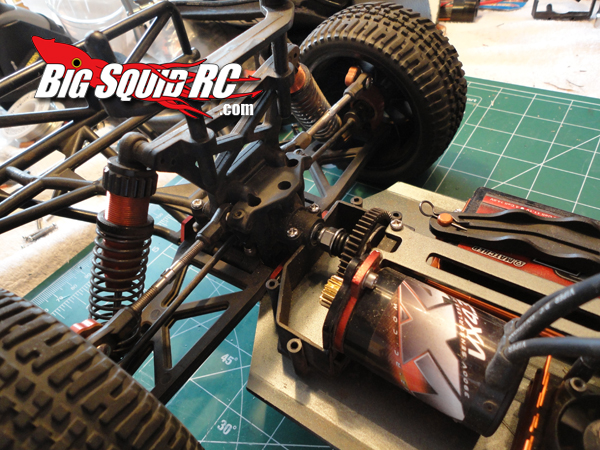
Slipper Clutch: Ohh that slipper clutch…. Now let me start off by saying anytime you have more control of the power you put to the ground the better… BASHERS this means you too! But let me just say this is no small task and probably not for the noob just getting in. First taking 8 screws off just to get to the spur is a bit overkill… then you basically have to remove the rear diff, then the pesky chassis brace is still kind of in the way so you might as well ditch that too. You must move over the Spider gear and it HAS AN E-CLIP (sorry was I yelling). Make sure you use the smaller SILVER E-Clip or you will get a weird binding in your drive train…. grrrr. Did I mention I think this was wrong from the factory binding up the entire rear diff? Back to business OK Slipper is all in… Good… well everyone that has ever ran any slipper knows it needs to be set/adjusted.. A) Once it breaks in and B) setting up for driving/track conditions. Then did I mention you need a 10mm open ended wrench to adjust the slipper… we all have one of those in our RC Kits right?…. its right next to the flux capacitor!
SUMMARY
Time to Bash – 7.0/10 – You read the kinks, but otherwise as expected.
Car Show Rating – 9.0/10 – Me Likes the Orange Bling!
Bash-A-Bility – 9/10 – No issues I pushed it hard with nary an issue.
Fun Factor – 9/10 – Who wouldn’t want the first fully tricked out Dominus?
Value – 8/10 – Spending this many pesos on an unknown piece of hardware may be a stretch for some younglings in this game. Overall everything here will take the Dominus to the next level.
Big Squid Rating – 8.4/10 – Bashers, like I said in the beginning I like the fiddly bits especially ones that will take my ride to a bigger and better place with more tuning options as well as the ability to take the abuse we belt out so often. Helion is on the move and these parts say they are serious about the product, even though they have some growing pains just like everyone else. All things considered you can replace/upgrade as you break or go all in.. either way you won’t be disappointed.
For other great Dominus tasty bites… CHEW HERE!
P.S. If you are going this deep into this or any other build… take the time to CLEAN or Replace your BEARINGS! Otherwise you may be wondering why you made any upgrades at all!
