Hop-Up Series Part #2 – Thunder Tiger MT-4 G3, Installing a New Radio System

The radio that comes stock with the Thunder Tiger MT-4 G3 works fairly well. It has good range and a decent feel. However, if you are looking to make your MT-4 G3 the best it can be you’ll need to install a higher performance radio system. A better radio will not only make you feel more connected to your truck, but it allows you to pick one that perfectly suits the features and ergonomics you are looking for. We highly recommend you try them in person to ensure the best fit for your personal tastes.
Any experienced hobbyist can change out a radio system in their sleep, this article is aimed at drivers new to the hobby. Installing a new radio really is one of the easiest hop-ups you can do, here are the steps.
Installing Radio Gear in the MT-4 G3
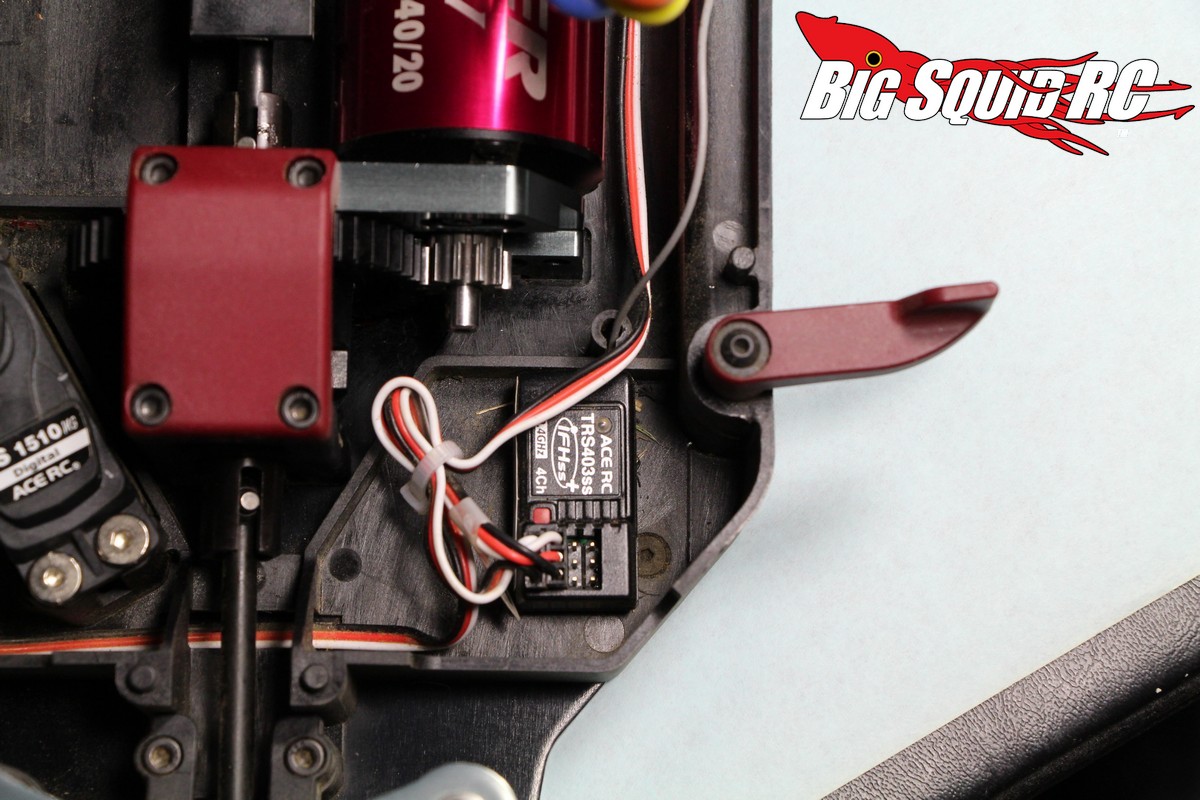
1. Unhook the servo and speed controller wires from the stock receiver.
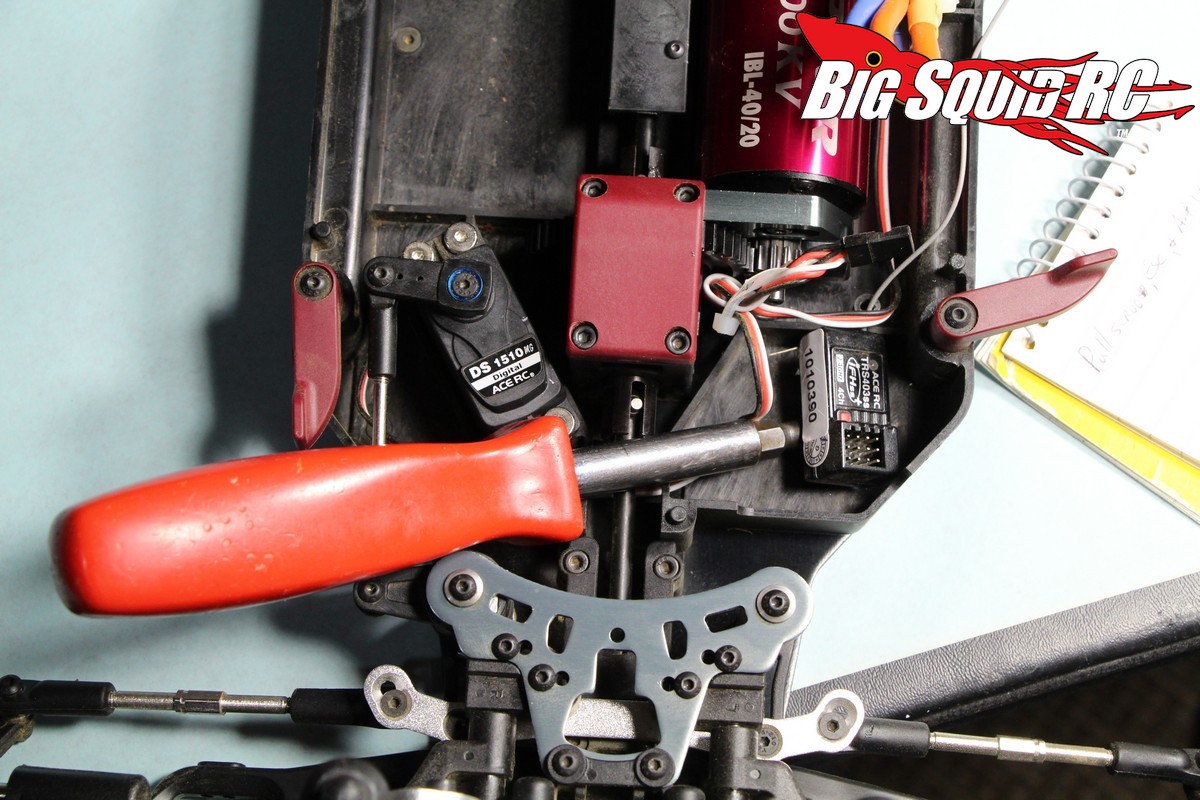
2. Pry up receiver with a large flat blade screwdriver and remove.
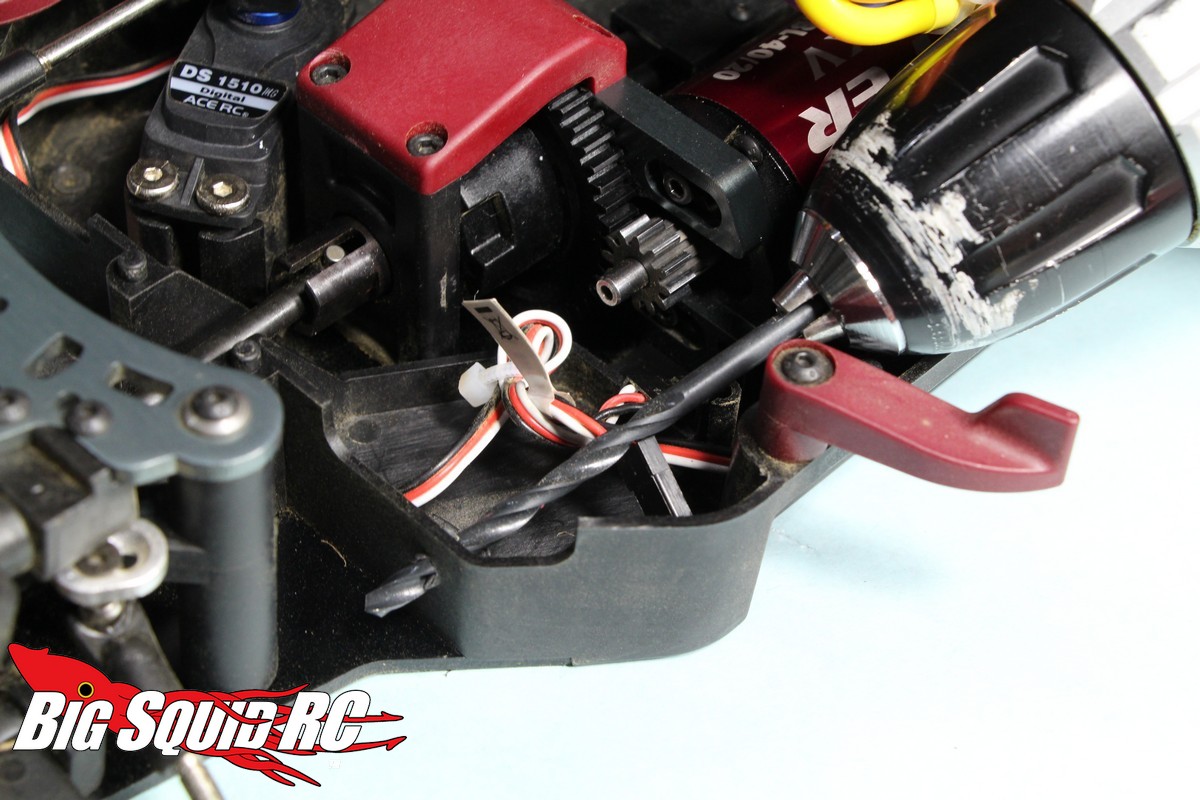
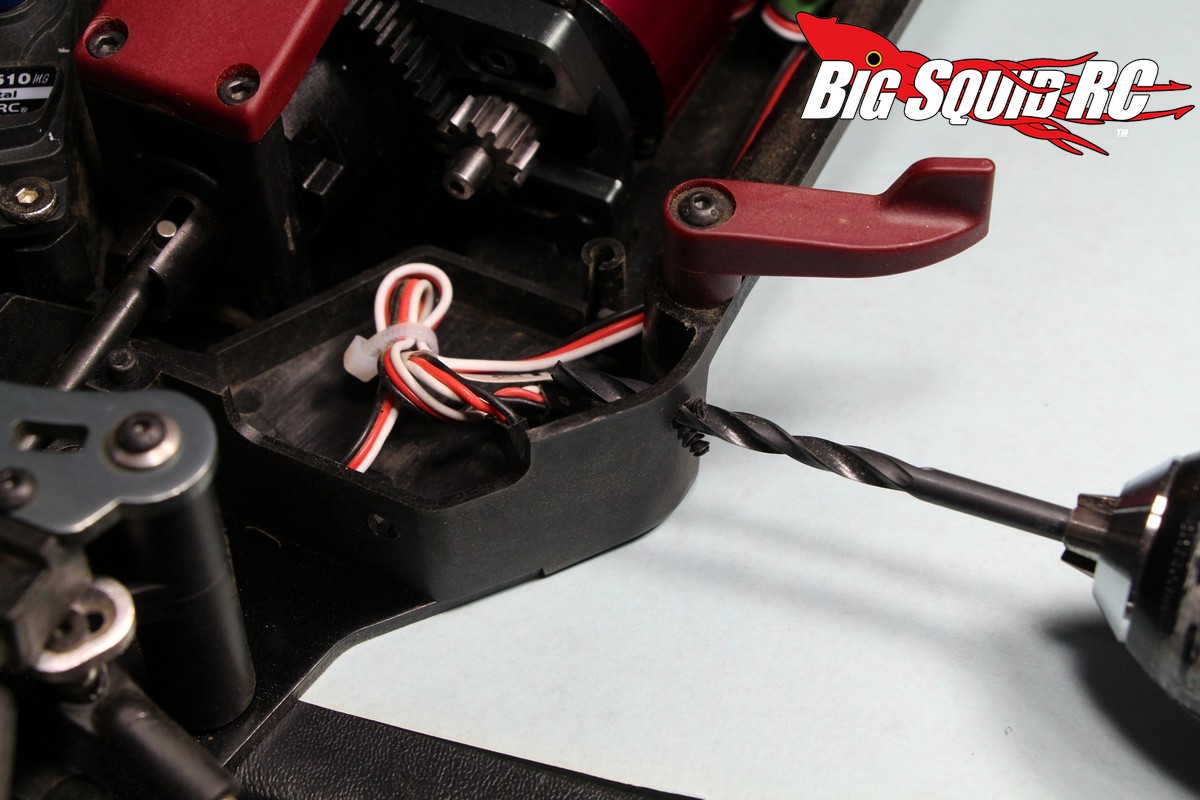
3. Drill two small holes for zip-tie mounts. More about this in step 7.
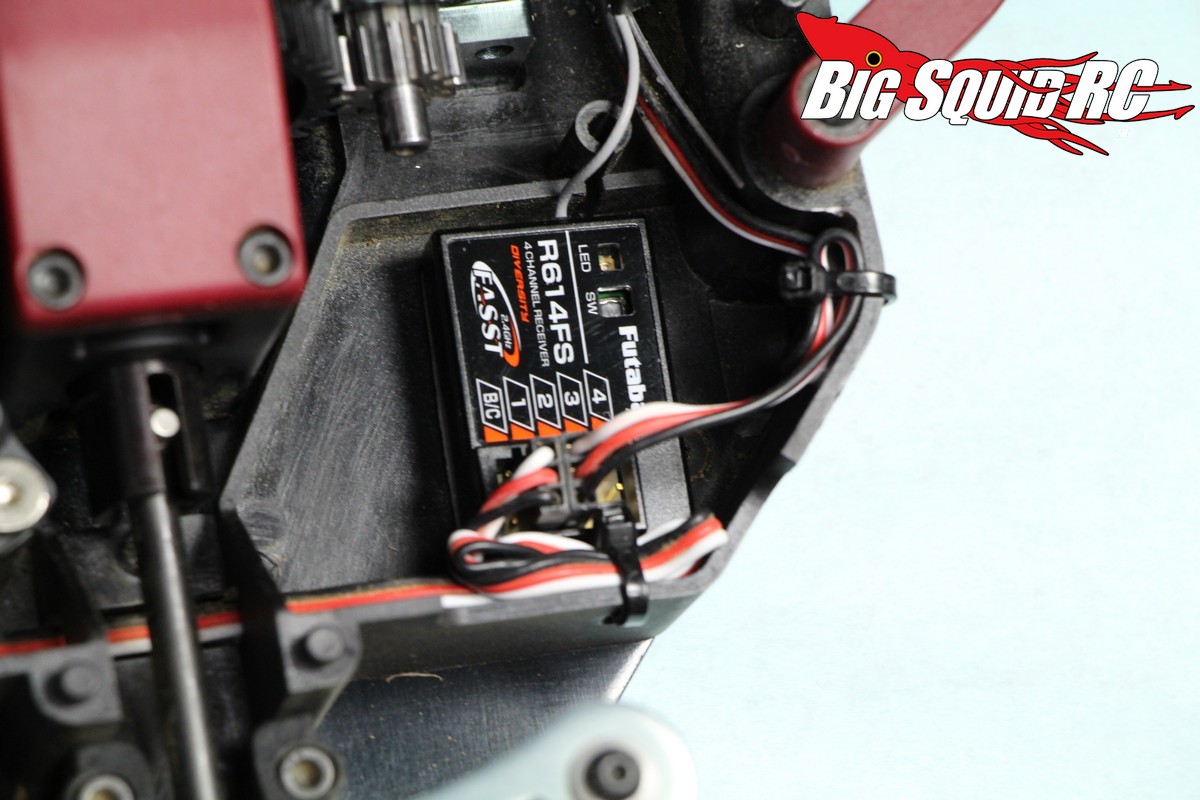
4. Plug in the servo and speed control wires, black (or brown) wire towards the outside edge, white towards the center. You don’t want to plug in the connectors backwards.
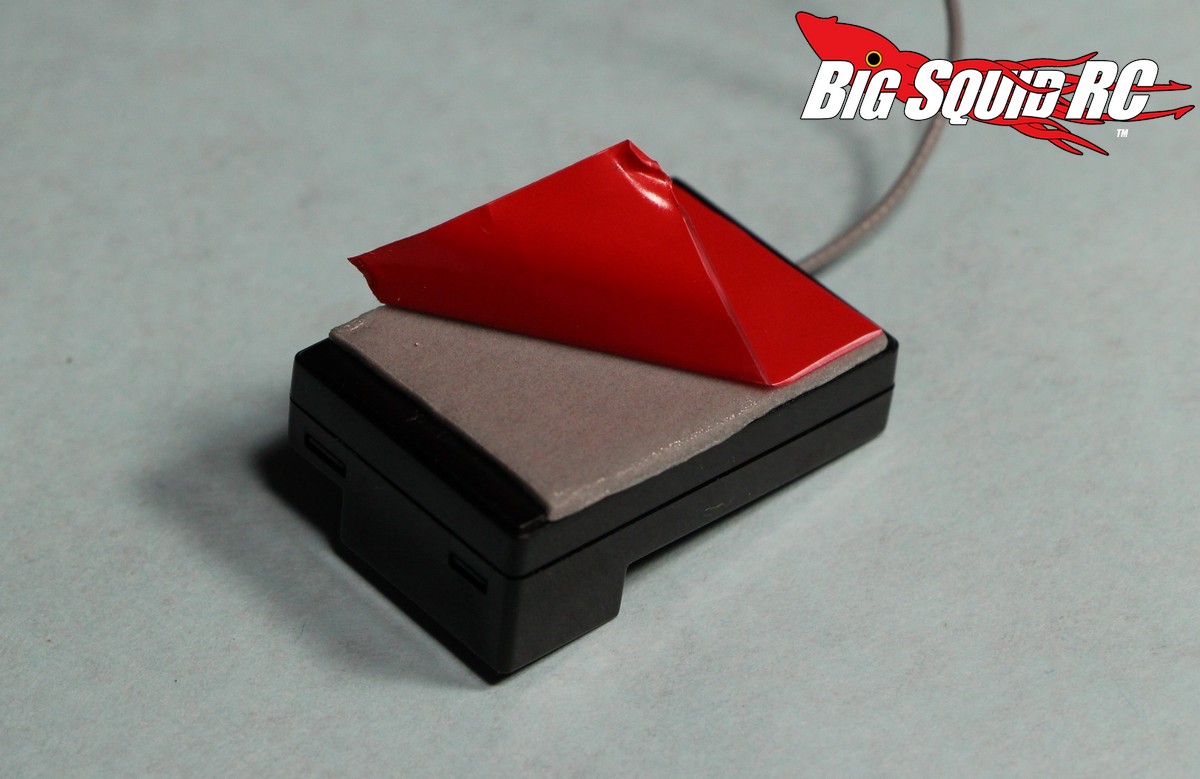
5. Apply double sided tape to the new receiver and stick down to the desired location. Use a damp cloth or alcohol wipe to make sure the spot you are mounting to is nice and clean.
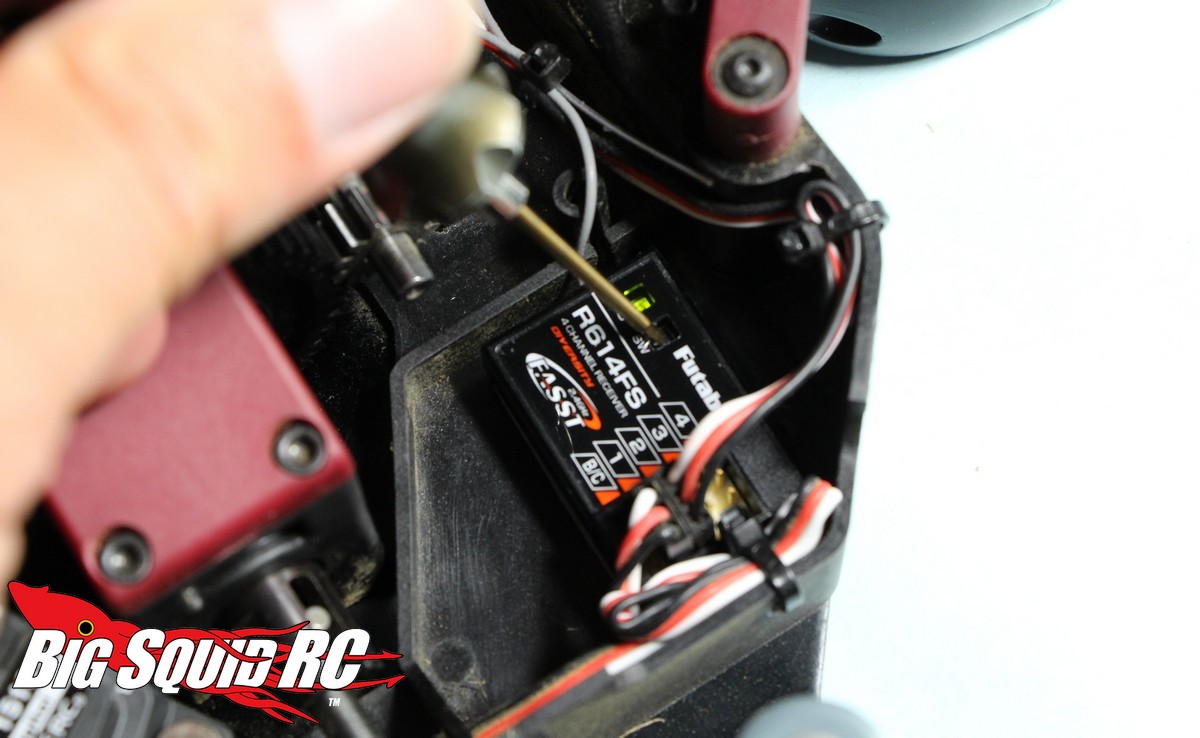
6. Route antenna. Try to stay away from motor wires with your antenna, otherwise route it so that it is as long as possible and out of the way of moving parts.
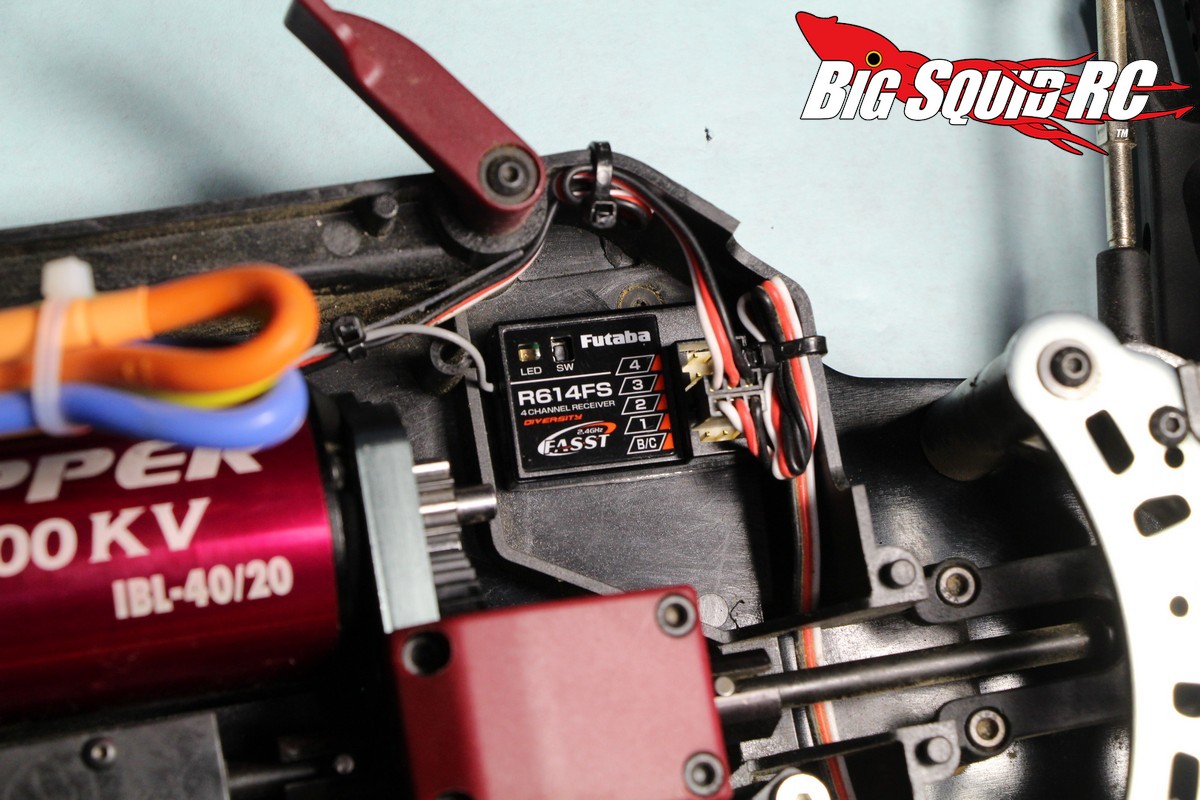
7. Use a liberal amount of zip-ties to make sure no wires are loose and make their way into the pinion/spur gear or front center drive-shaft. You would be amazed at the g-forces inside the MT-4 G3 when landing from big jumps, the wires can move around several inches if not secured. This is the reason the two holes were drilled in step 3, to give sturdy anchor points to zip-tie the wires safely out of the way.
8. If needed, bind the new receiver to your transmitter. This requires cracking open the owners manual of your transmitter and typically requires turning on the transmitter then depressing a button on the receiver.
9. Calibrate speed controler to new radio system. You’ll need to refer to your speed controllers manual to make sure you adjust this properly. Different speed controllers are calibrated in different ways.
10. Set steering direction, trim and endpoints. Your truck may be steering the opposite direction of what it is supposed to, if so you’ll need to reverse the direction of the steering on your transmitter. Next, the trim will most likely be off making the truck pull to one side or the other, this is also adjusted on the transmitter. Lastly, if you’ve chosen a radio that can limit steering travel, you’ll want to adjust the transmitter so that it stops turning just as the MT-4 G3 hits its physical steering stops. If the steering travel is not set far enough the truck won’t turn very tightly, if it is set for too far you are just torturing the servo without getting any more steering. We installed a Futaba 4PK Super R and R614FS receiver in our Thunder Tiger, this also required setting the transmitter to “normal servo response mode”. Check your manual to make sure no other special settings are required for the servo/speed controller you are using.
That is it, you are finished! Now you can enjoy better control and improved ergonomics while out bashing. Stayed tuned next week when we go through the process of installing upgrade wheels/tires.
Want more Thunder Tiger MT-4 G3 tips and tricks? Hit THIS LINK right here on BigSquidRC.