Monster Truck Madness – Creating a BIGFOOT #10 Diorama
Hello gang and Happy Thursday.
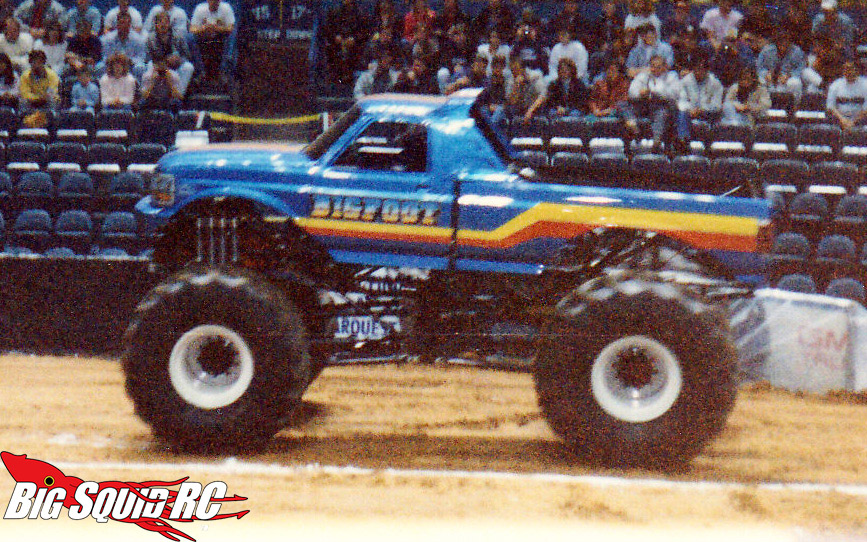
Thirty years ago last week, on January 31st, 1992, little seven year old Douglas was at the St. Louis Arena for the annual USHRA monster truck show. Being someone with a February birthday, this was always my present.
The Arena is long gone, but I’m very thankful to of grown up going to monster truck shows there. The best way to describe the old barn was that it was like going to a smoky bar where they decided to let monster trucks inside. You were basically sitting on top of them. It was the best.
BIGFOOT 4×4 headquarters was (and still is) located in St. Louis, which meant that this was a hometown show for the team. As such, they’d always bring out the good stuff.
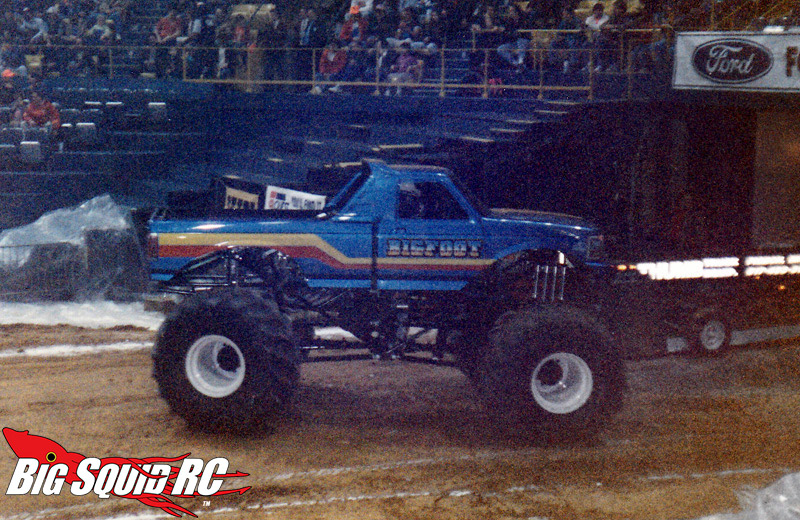
It was this night that BIGFOOT #10 would make its debut, and I was lucky enough to be there for it. This was the first rear-engined vehicle in the fleet, and it was the most technologically advanced truck in the industry at the time. I vividly remember it SCREAMING out of the entranceway onto the arena floor. This is a photo my parents took at the event (as is the top photo).
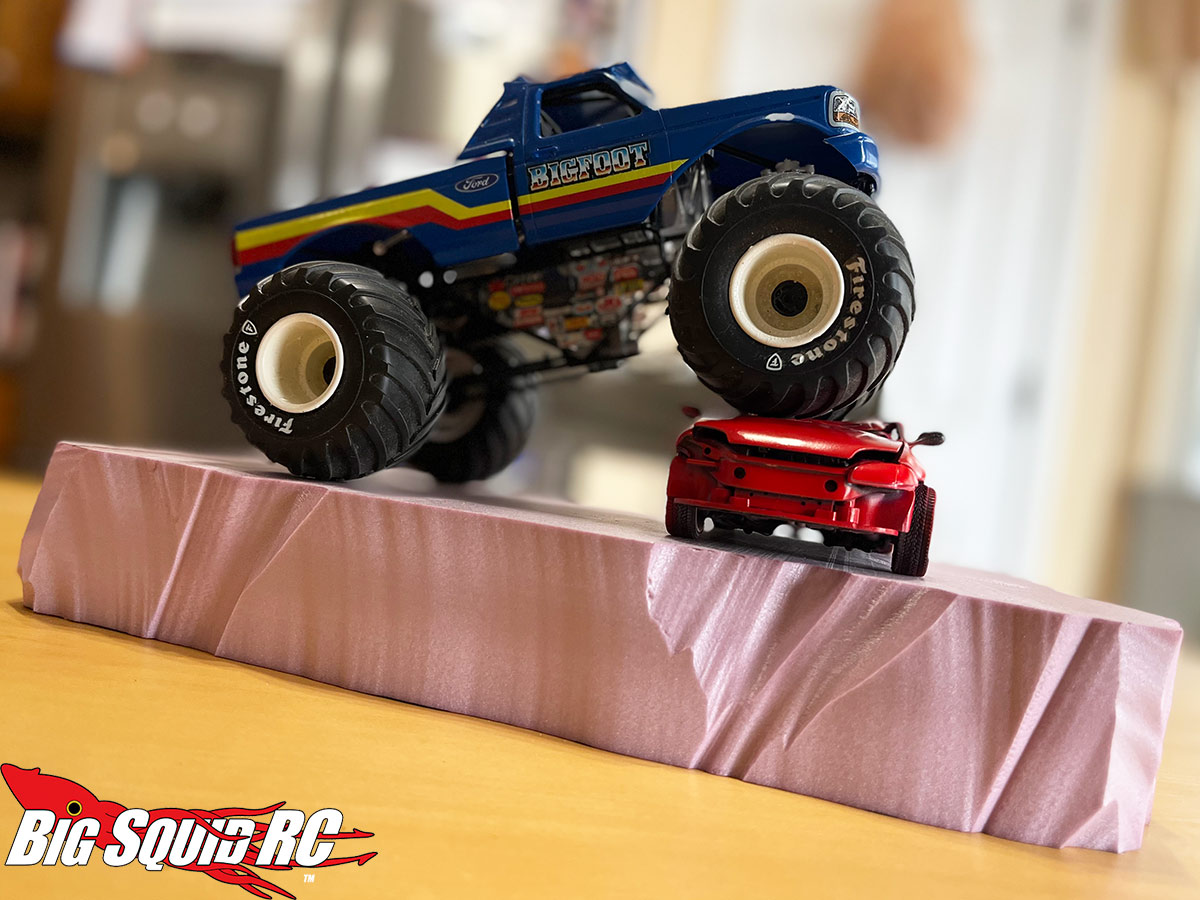
As I mentioned last week, I had just picked up an airbrush and needed a project to familiarize myself with it. As luck would have it, I had recently found my old BIGFOOT #10 model and it had been sitting around. I realized the truck had just turned 30….so boom- idea! Make a diorama/display.
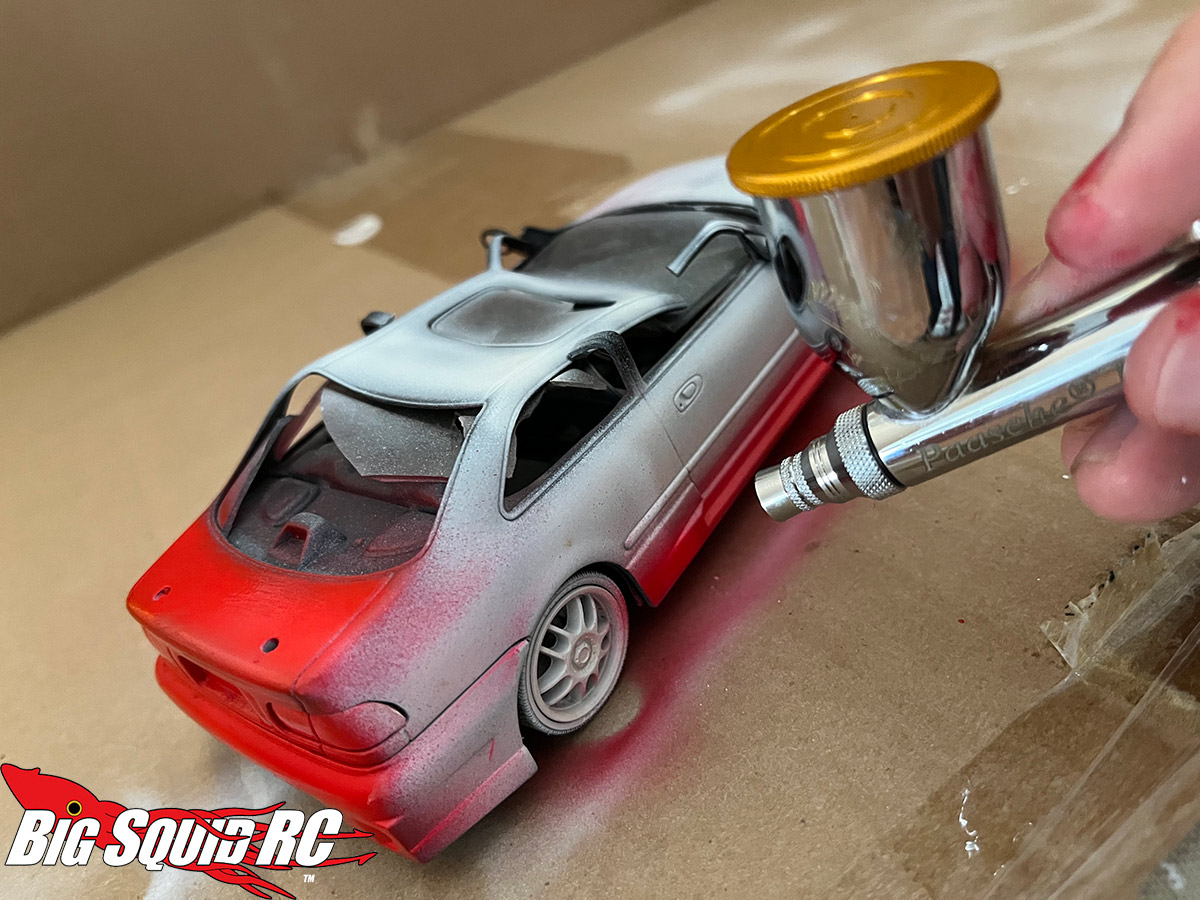
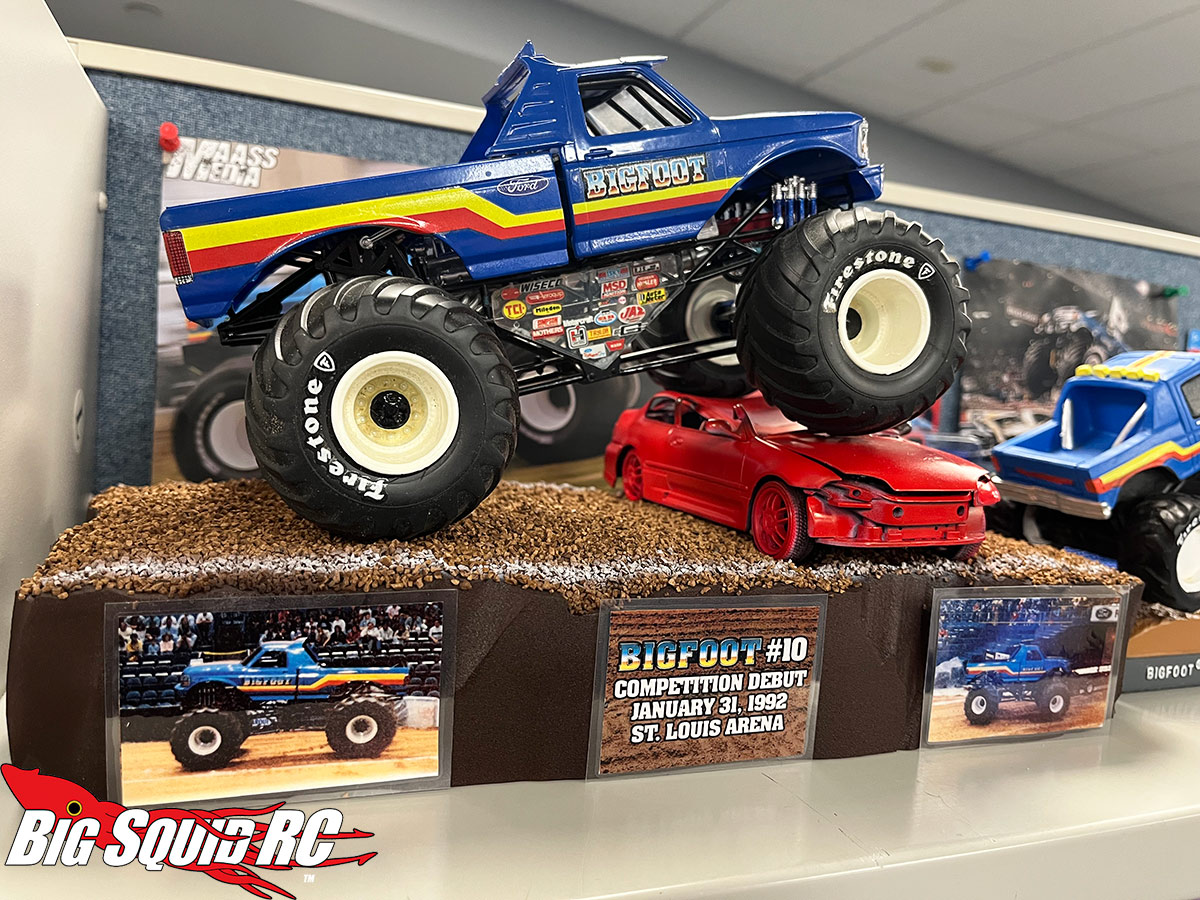
I wanted BIGFOOT to be sitting on top of a realistic looking crush car for the display so I went with an old diecast model I had. I smashed it and scraped it with a hammer to crush it, and then primed and painted it with the airbrush. I used Createx paints. It was an easy process!
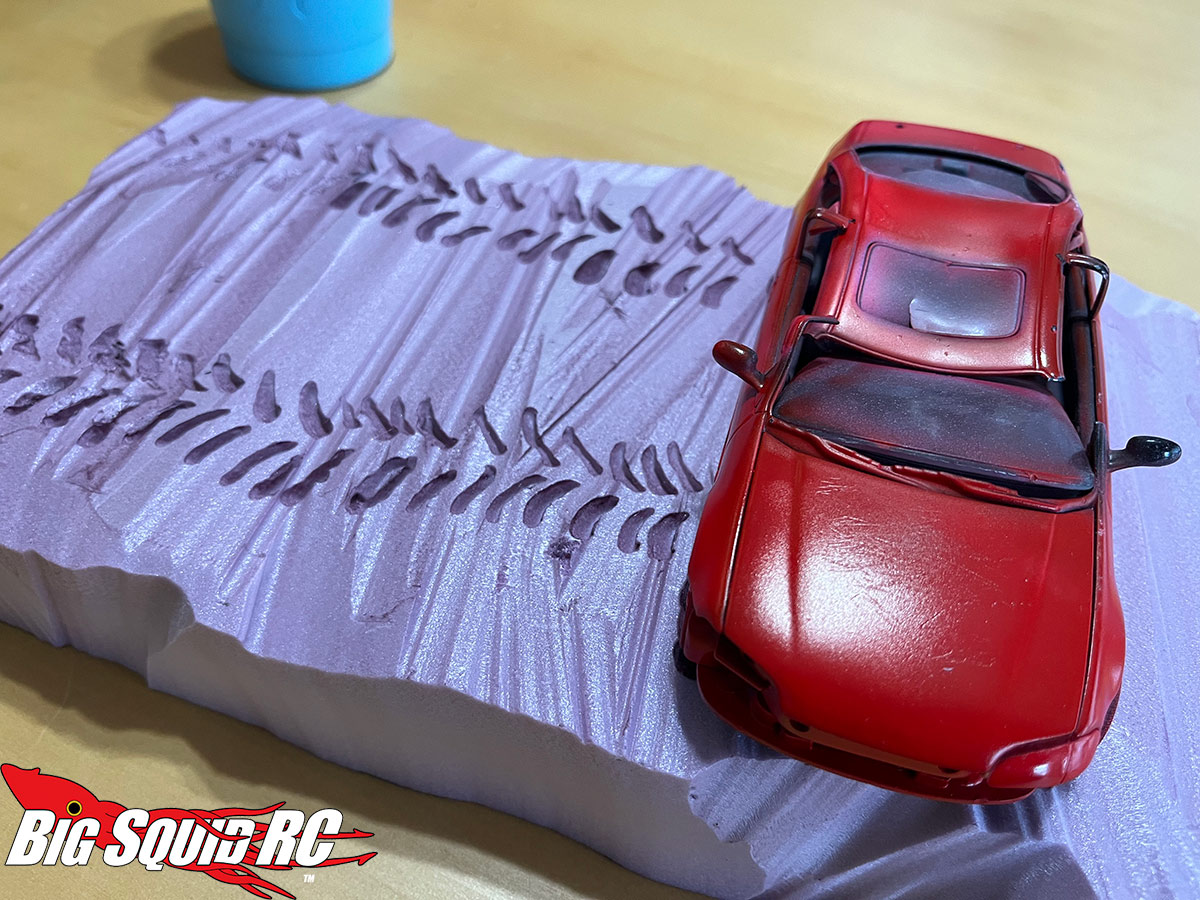
For the base, I used some insulation foam. I do some holiday village display work, and so I’ve a bit of familiarity working with this material. You can buy slabs of it at Home Depot. I use a 3 in 1 Hot Wire tool to carve it. You can find one here for cheap.

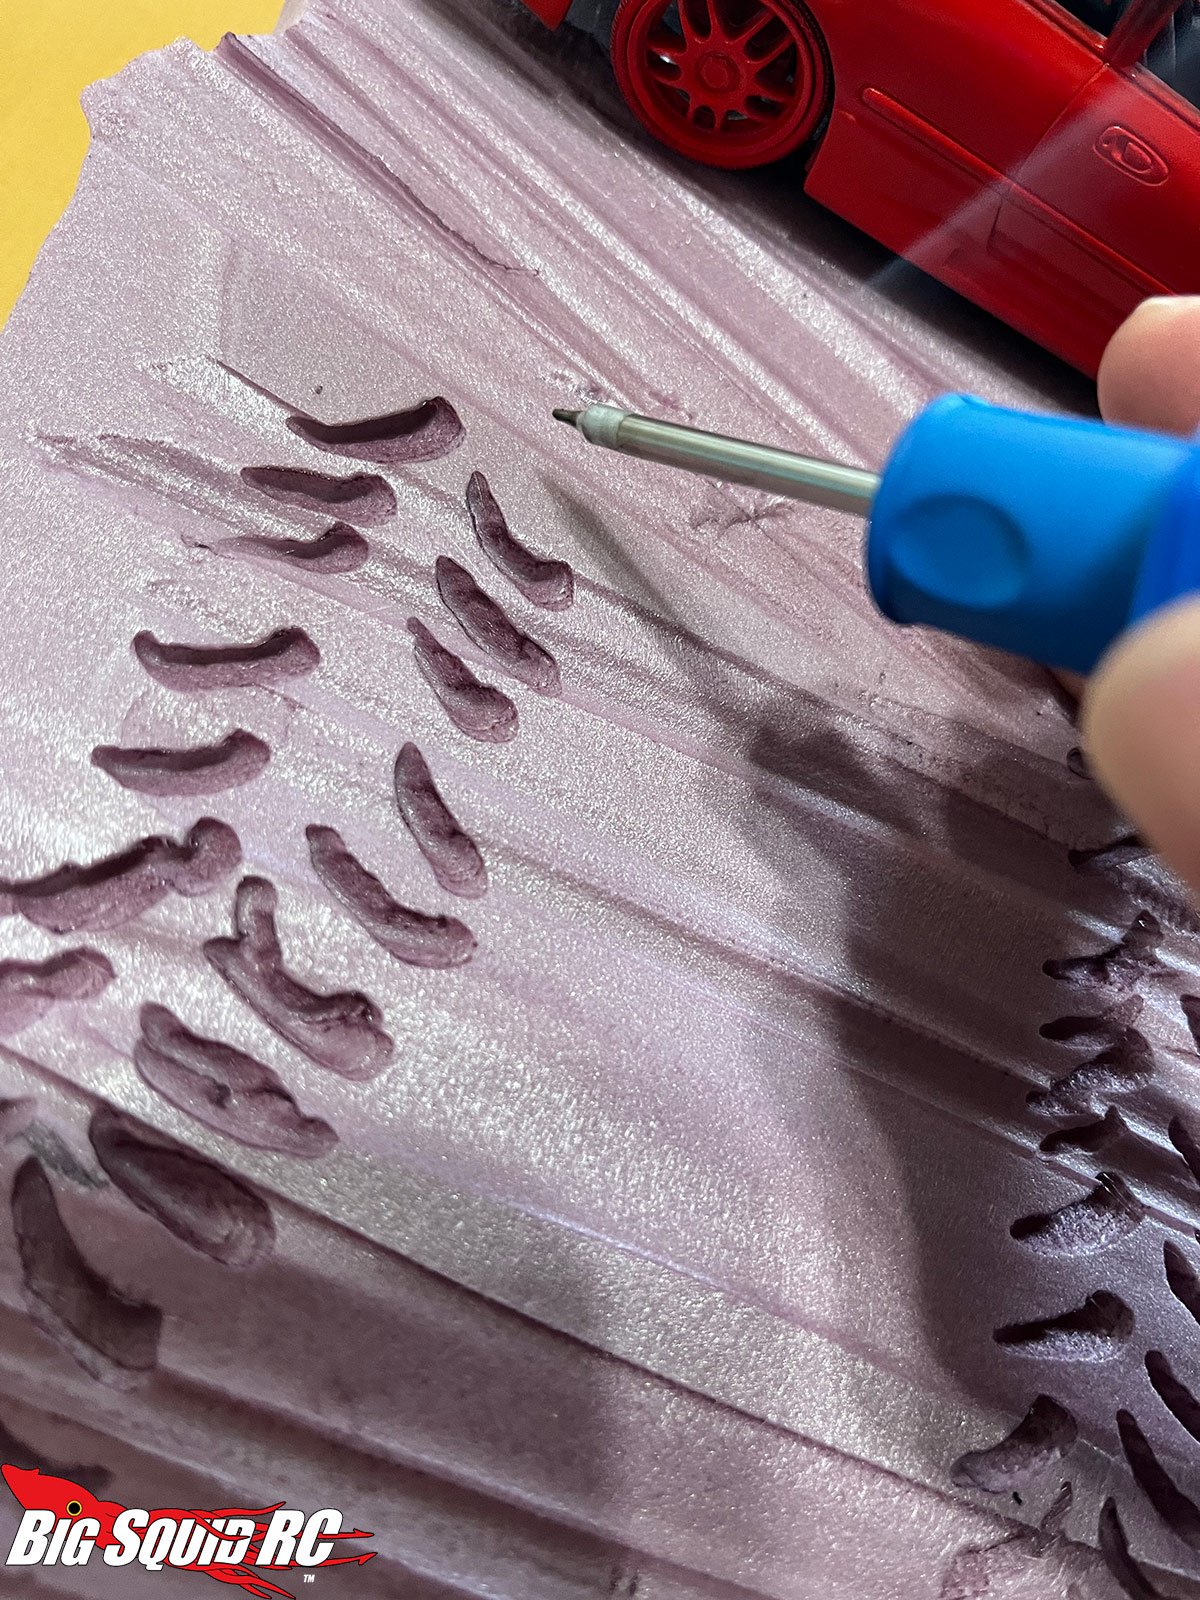
With the base now adequately carved out, I wanted to try and add some tread marks and crush car tire placement notches before paint and finish. The little foam tool burned them in easy.
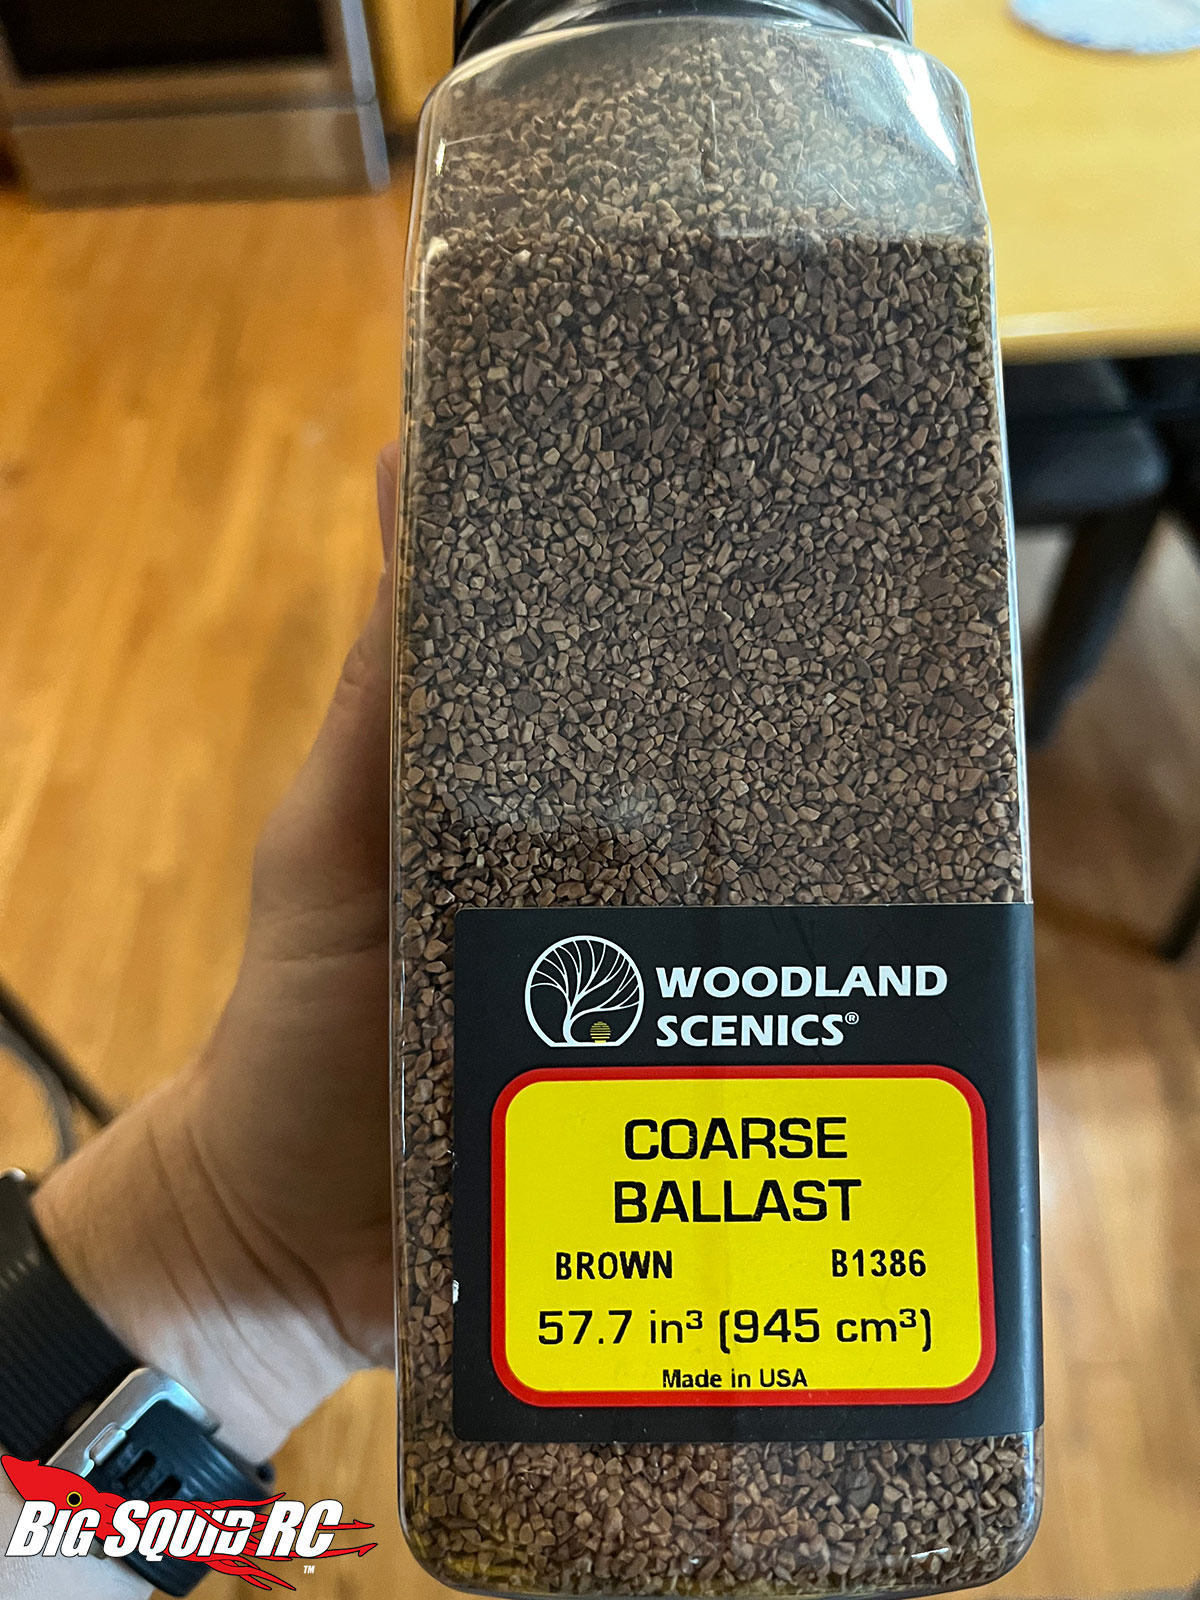
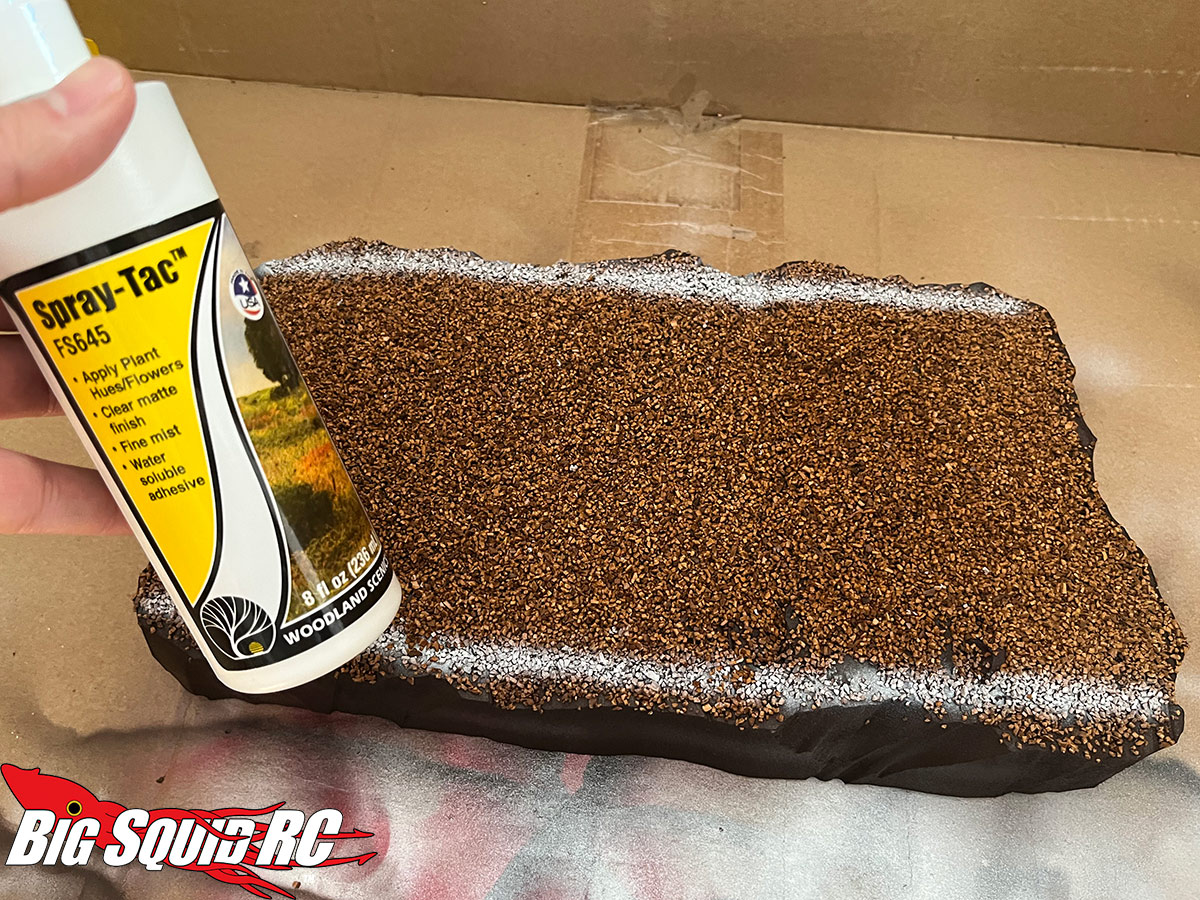
I shot the base in several coats of brown. Again- the airbrush was very nice to use! Once painted, it was time to add the “dirt”. I used some Woodland Scenics Coarse Ballast. This is used primarily for model railroad scenery.
I used Woodland Scenics Spray Tac to coat the base in adhesive, and I then poured on the Ballast before adding a second coat of the spray to seal it. I let it dry for a day before airbrushing white lane markers like you’d see on a full size monster truck track. Being slightly off and loose on the lines made it look authentic.
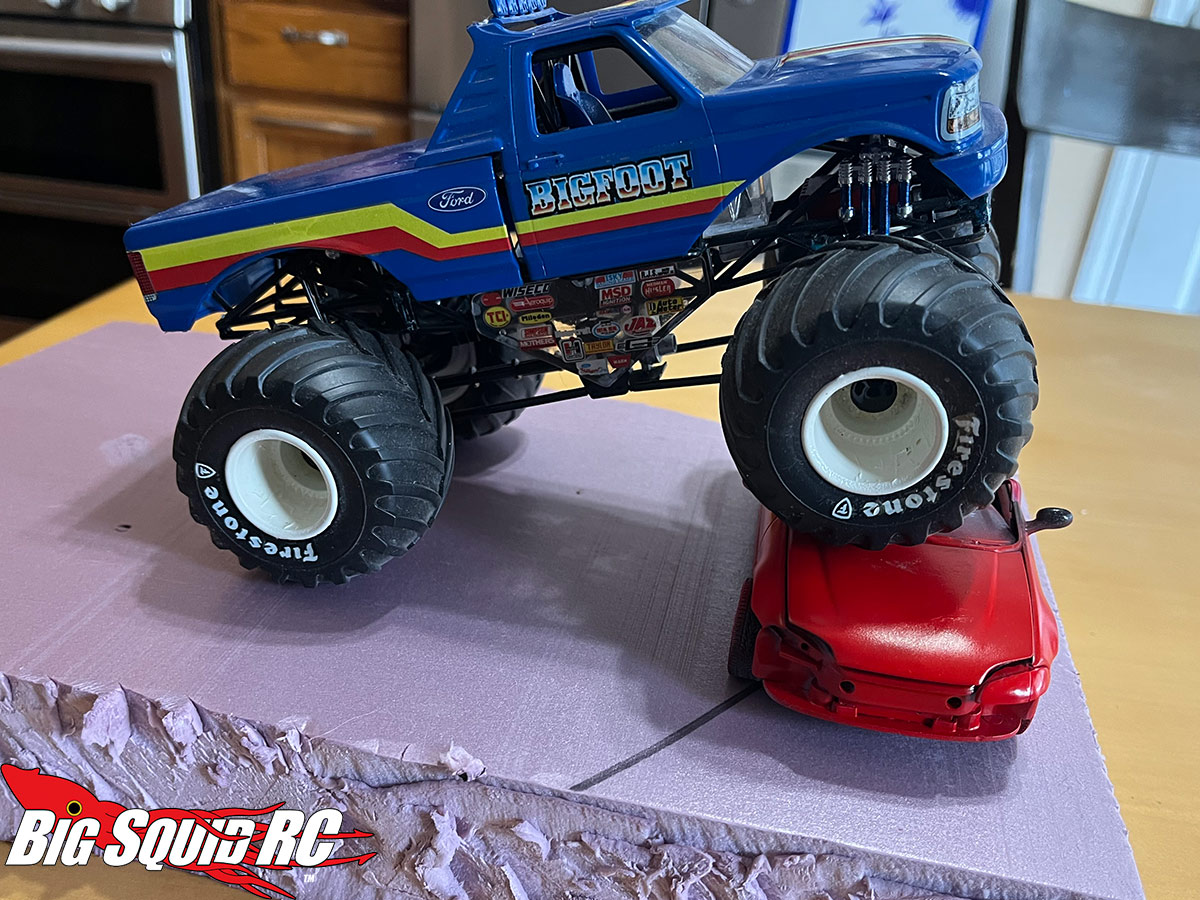
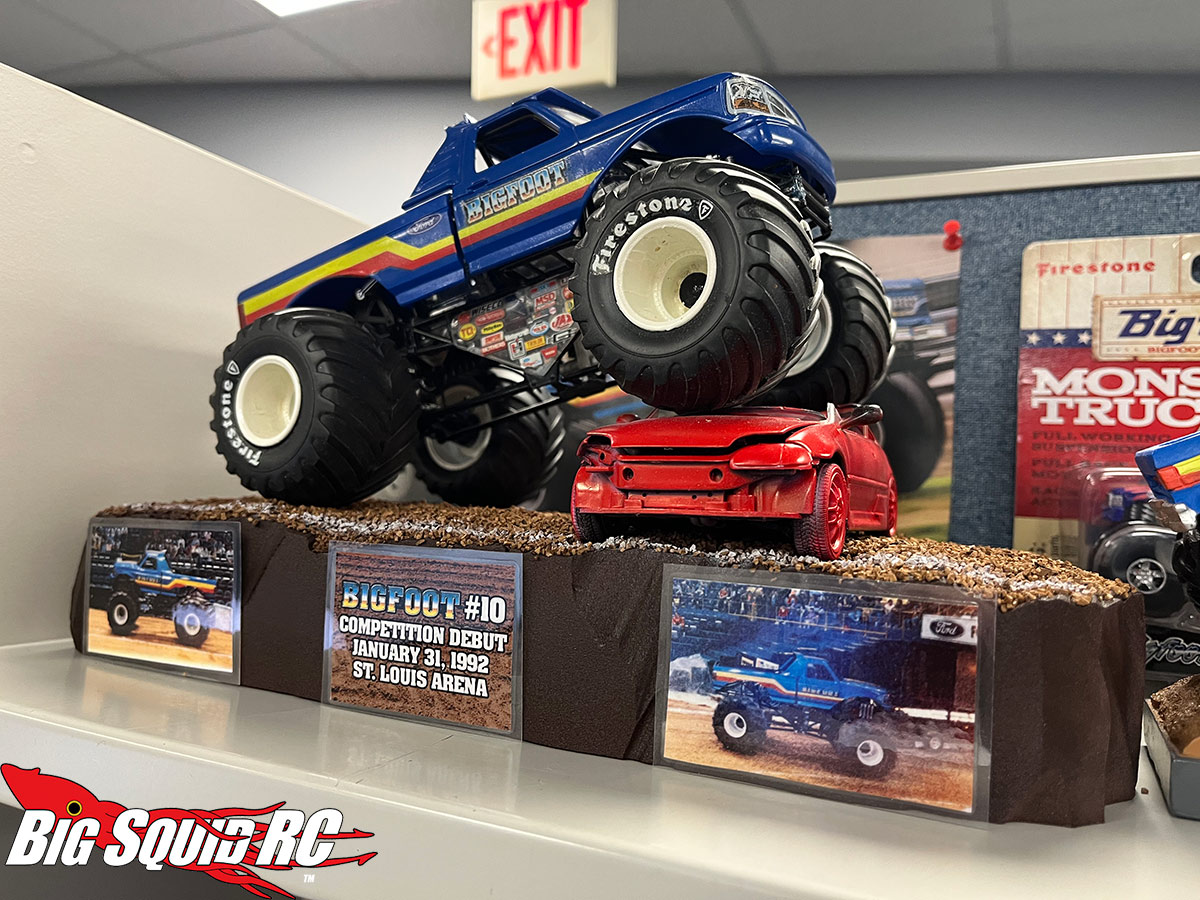
It was finally done! Well, almost. For the finisher, I printed out some of the photos my parents took as well as made a little placard before laminating and mounting them to the front.
It’s done! I put it on display in my office. I’m quite happy with how everything turned out. I suppose it would be nice if the treads showed up a bit more in the dirt so perhaps I’ll airbrush them in later, but I also think maybe I’m best leaving well-enough alone!
Well, with my first foray into airbrushing out of the way, it’s time to turn my attention to the JConcepts bodies sitting on my desk. I’ll share how that goes as soon as I finish the first one!
