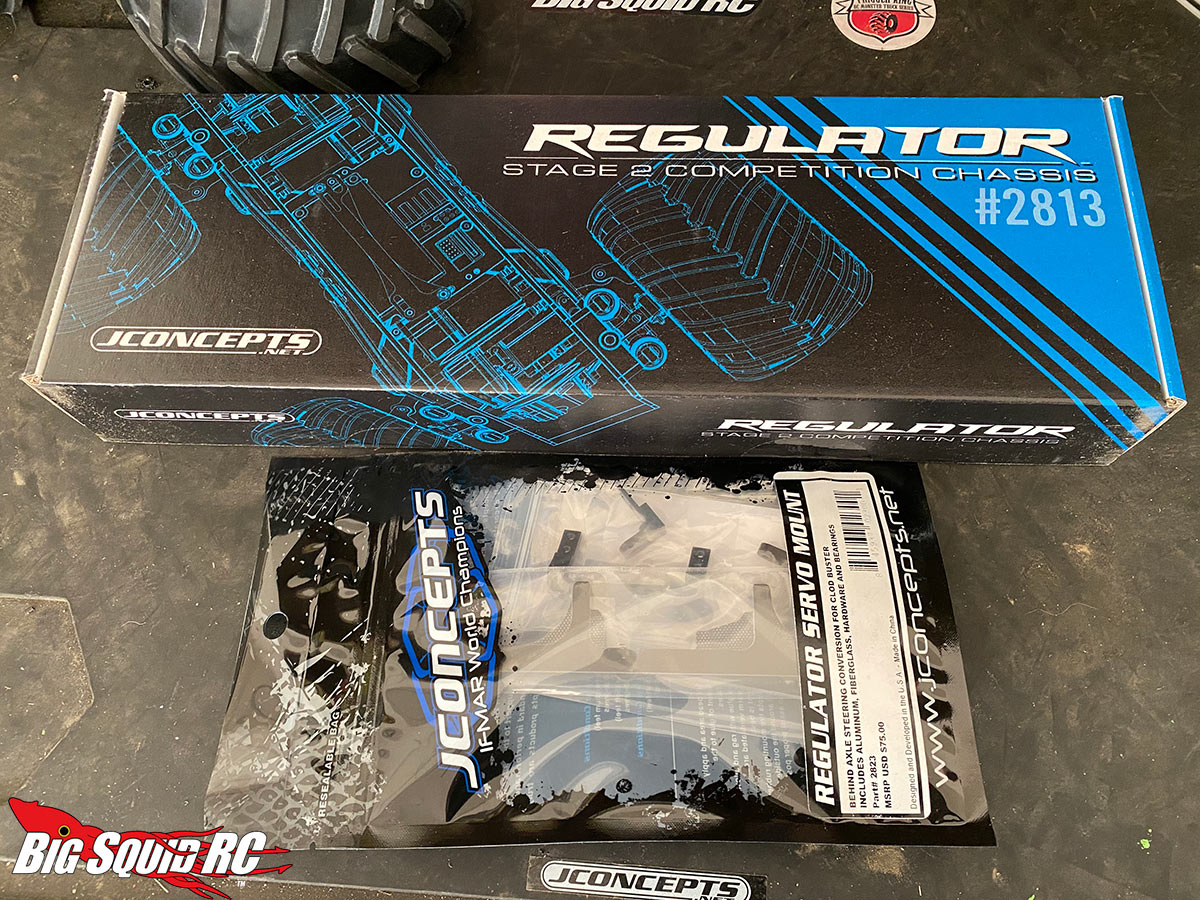
Alright folks, after several weeks of saying I was going to talk about it, I’m finally ready to discuss the JConcepts Regulator Chassis Conversion kit, designed for the Tamiya Clod Buster.
To the solid axle r/c monster truck fan, this release is a really big deal. Sure, the Clod chassis aftermarket has always been active with various modified chassis and performance oriented parts to build the Clod of your dreams, but it’s usually been via small batch builders where info isn’t exactly readily available without probing the darkest recesses of message boards.
The Regulator, along with the accompanying Servo Mount Kit (BSA), are designed to let you take a stock Tamiya Clod Buster and have great performing old-school style rig quick, with minimal hassle.
The JConcepts crew does a great job breaking down the genesis of this kit and how/why it was developed right here.
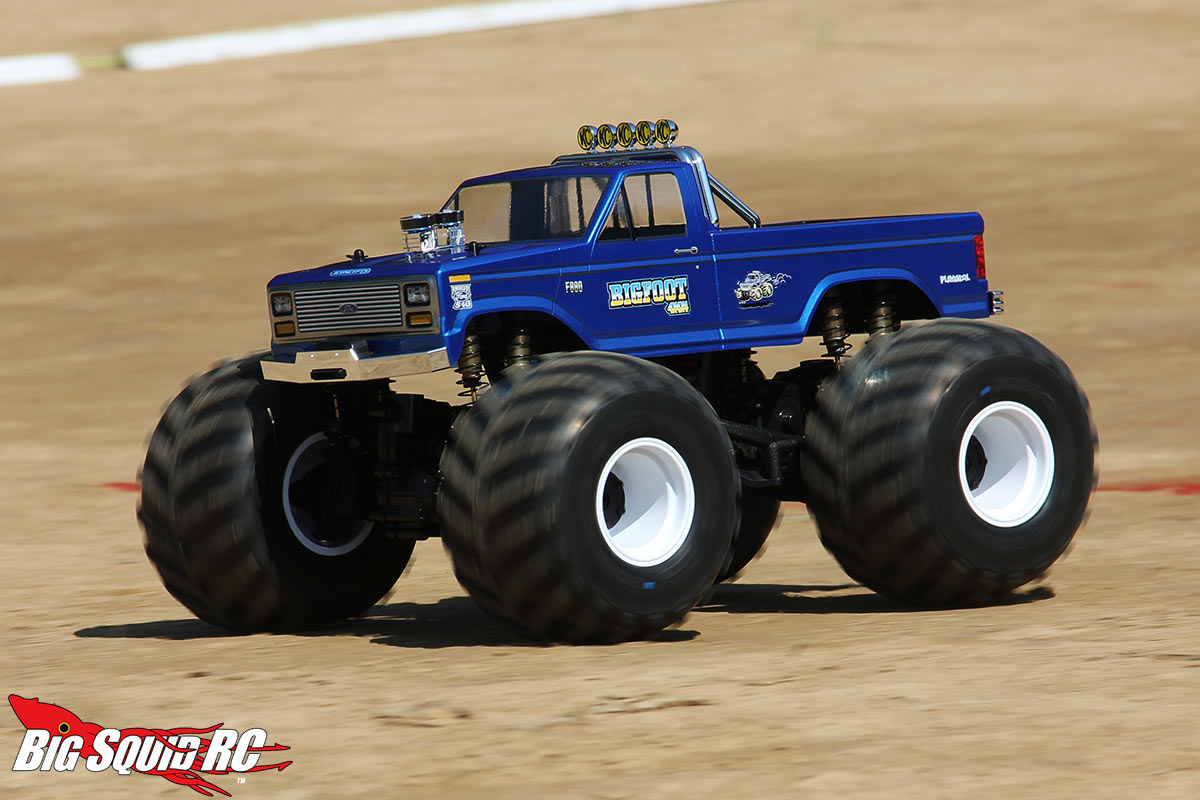
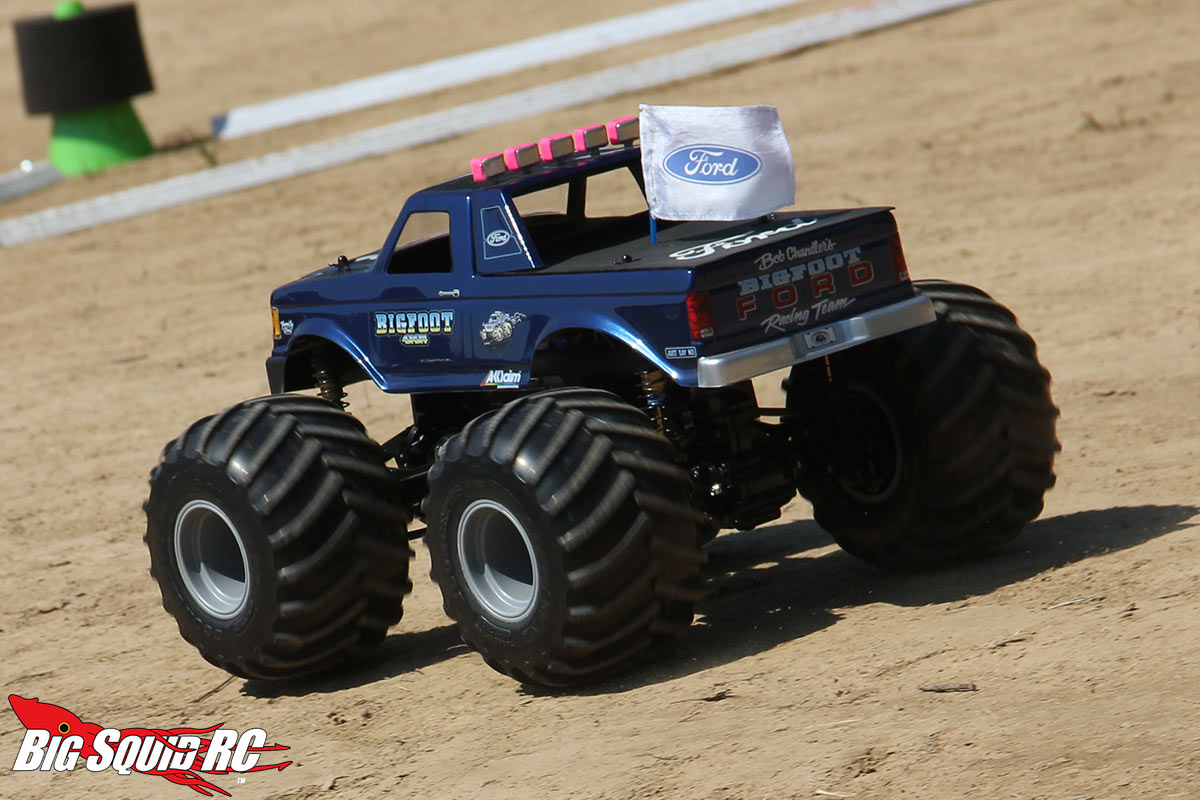
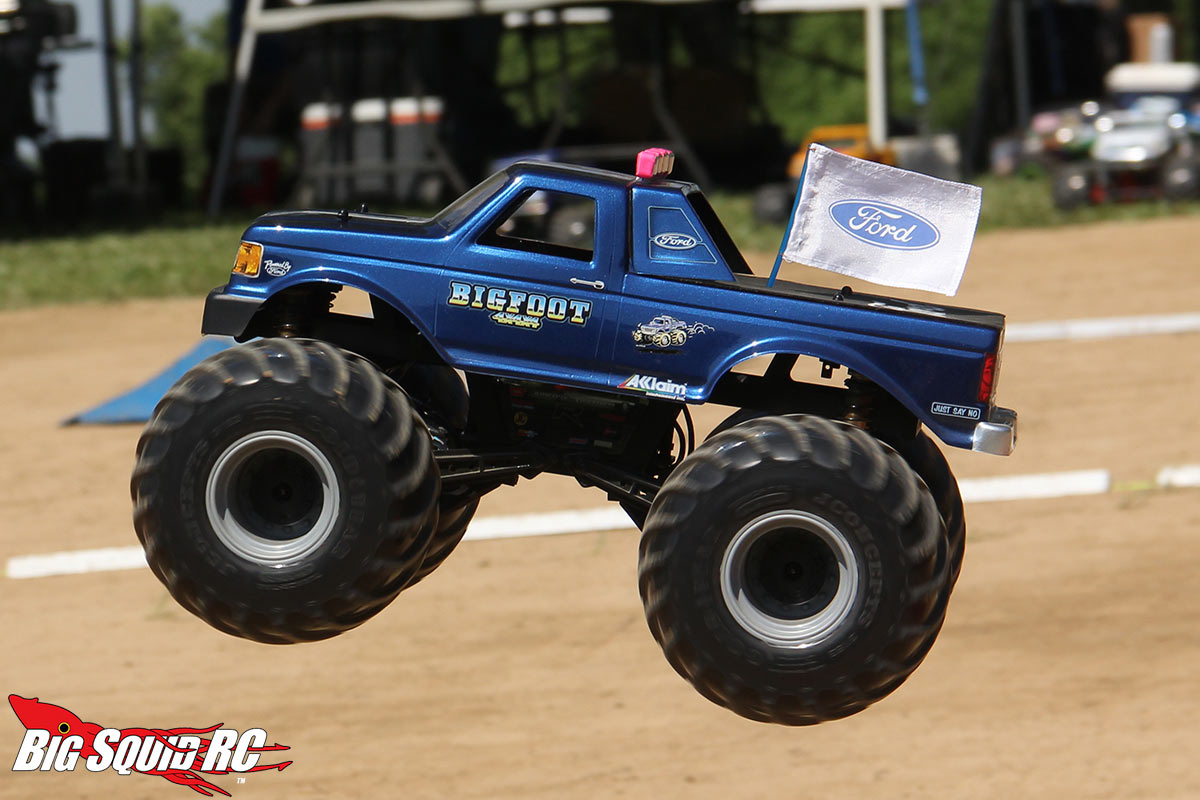
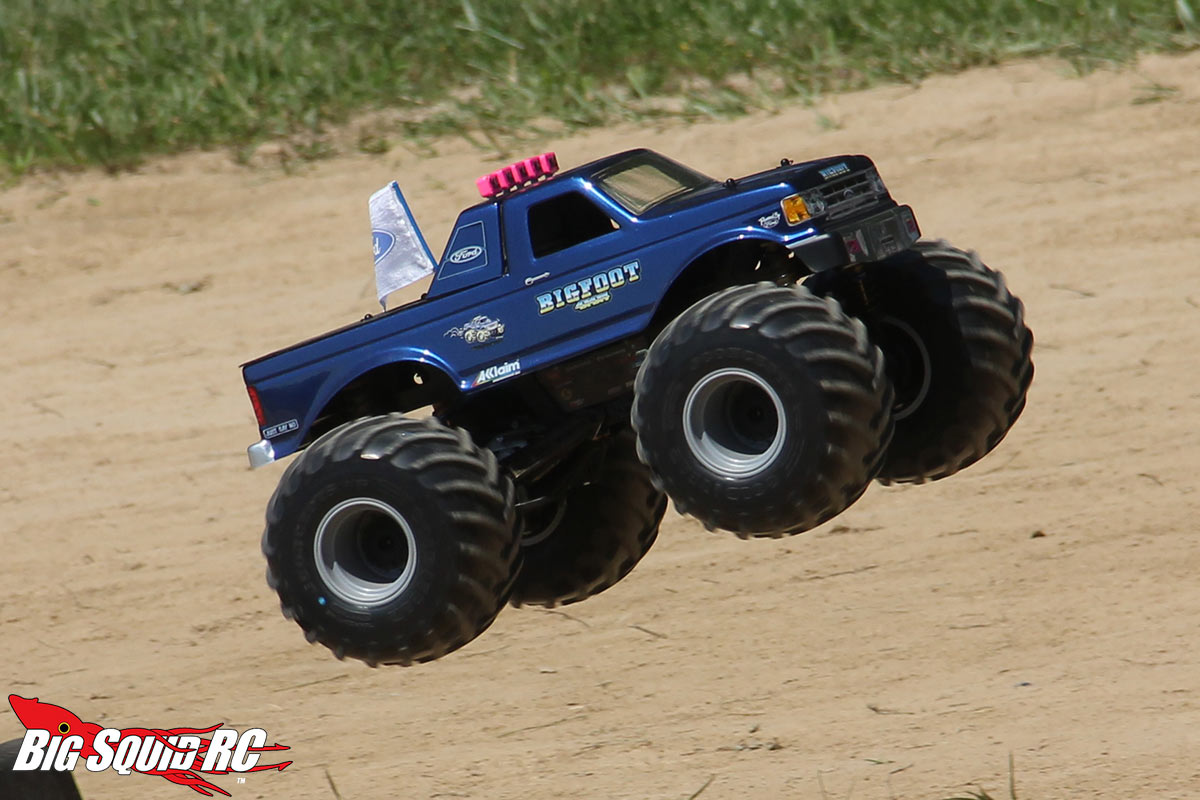
In mid-June I also got to see the two first production Regulators in action. Needless to say, watching those trucks whip around the track made me very excited to get one in my hands. These two BIGFOOT 4 replicas (interesting body on one of ’em, isn’t it?) were the JConcepts team trucks.
OK, with that intro out of the way let’s finally talk about mine.
You see here what you’ll get when you open the box. The various components are nicely laid out in several sealed baggies. The machine work is top notch, particularly on those nice looking chassis braces.
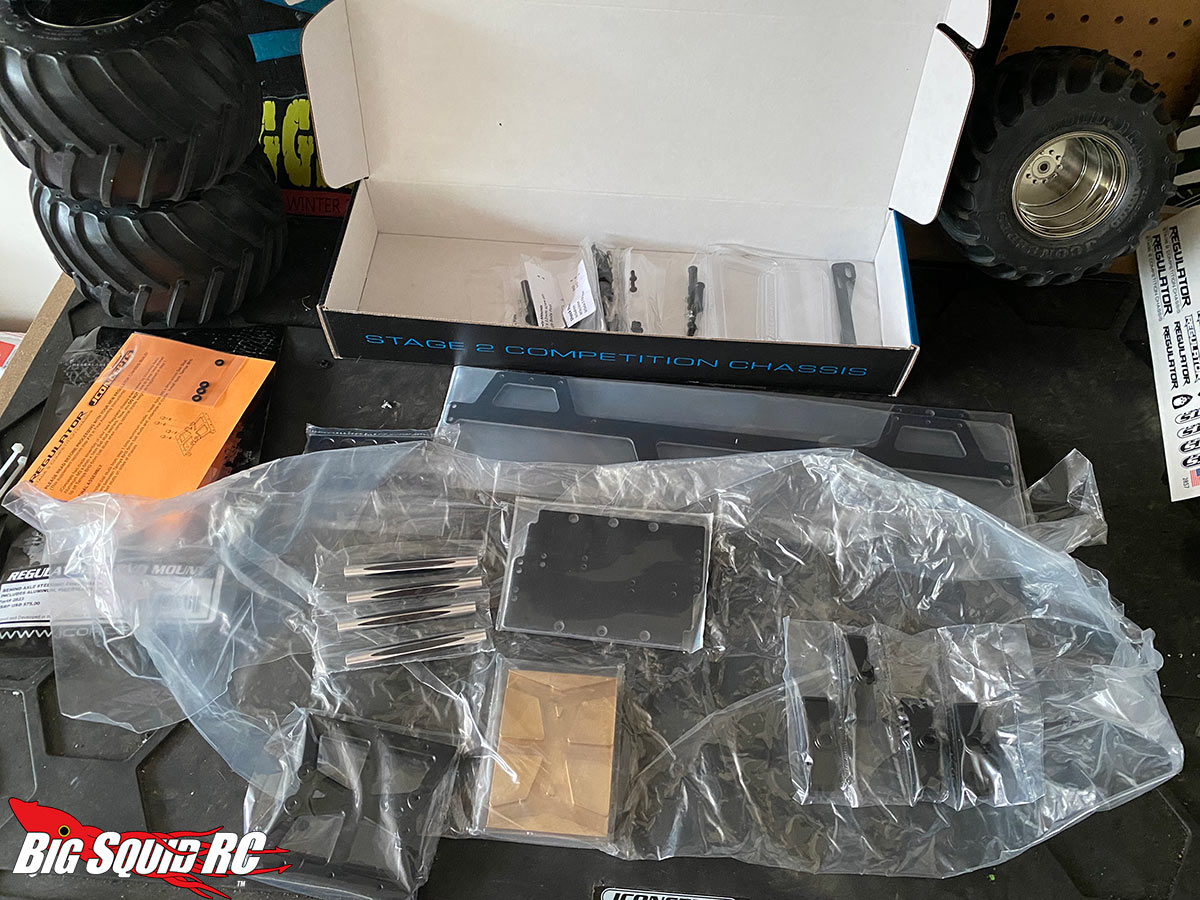
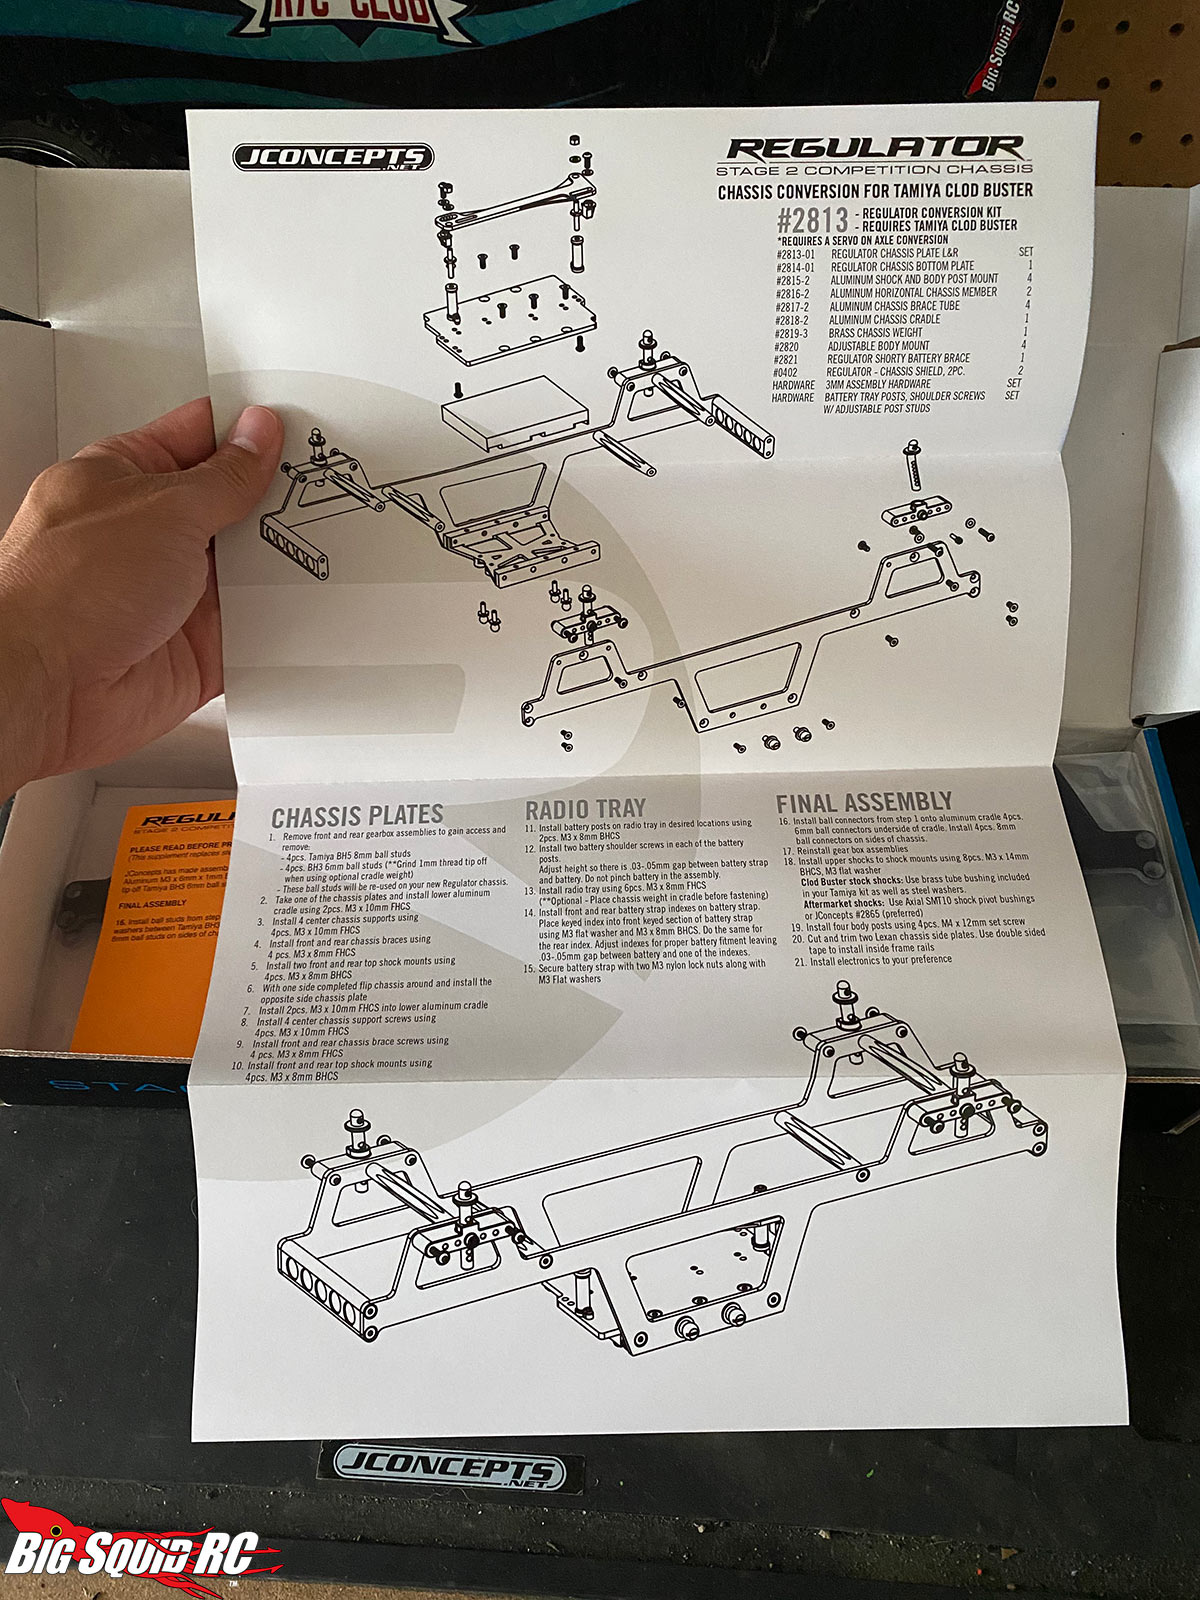
The instruction manual and exploded parts view were laid out nicely and putting the chassis together was a pretty simple endeavor. It’s designed to bolt up to Stock Clod running gear with no modifications needed.
Please note here that if you are looking to purchase Clod axles to mate with a Regulator, you need ALL of the axle/chassis mounting components i.e. the chassis ball studs, suspension arms and hardware.
While some of you may say “well duh!”, the reason I call this out as a lot of folks who don’t know Clods may think they can just hop on eBay and grab a couple naked Clod axles to make a Regulator out of. If you do that, you are still going to need other components that many of those online chop shops do not include with your purchase. I would recommend to a noob that you pair your chassis with a full kit from Tamiya to ensure you have everything.
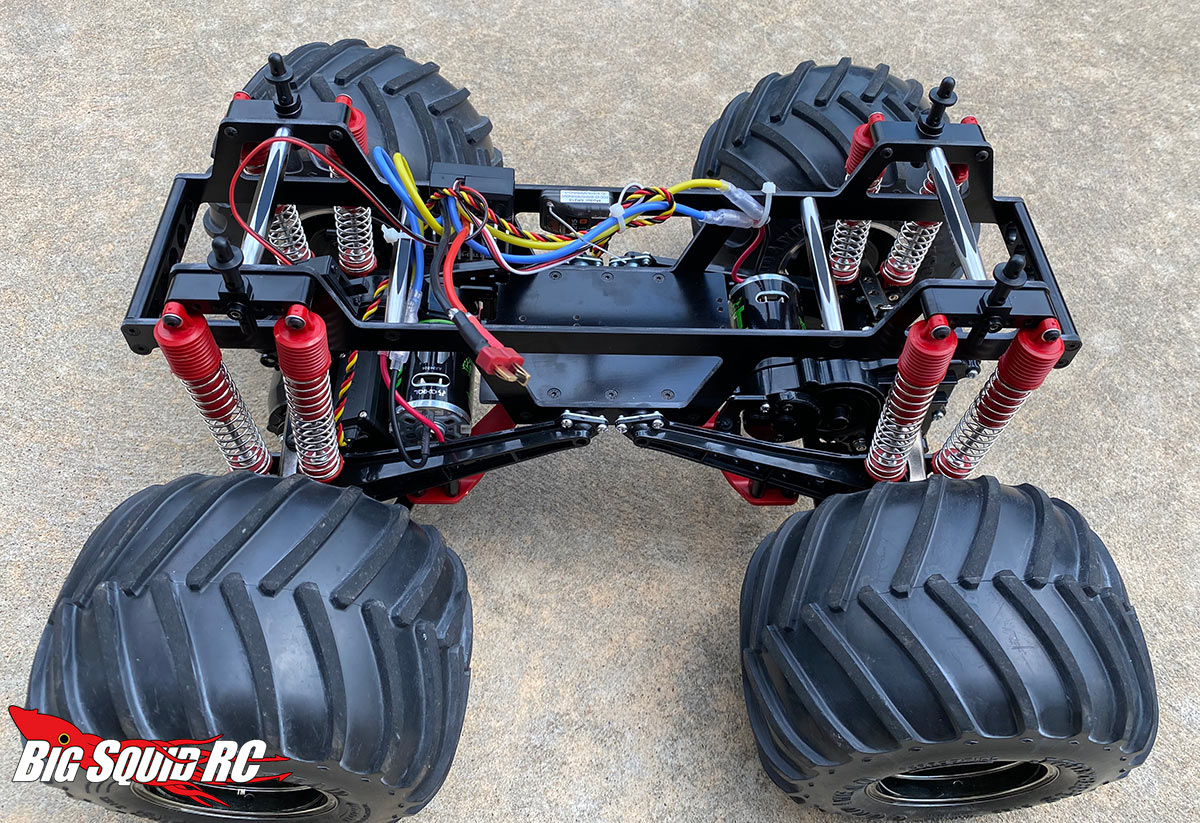
That warning aside, this is an extremely easy conversion to make due to how it all bolts together. In this build I opted to use the stock friction shocks just as a starting point to see how it all went together stock, but know that you can run other types of oil shocks no problem. You’ll see me swap some in soon, in fact.
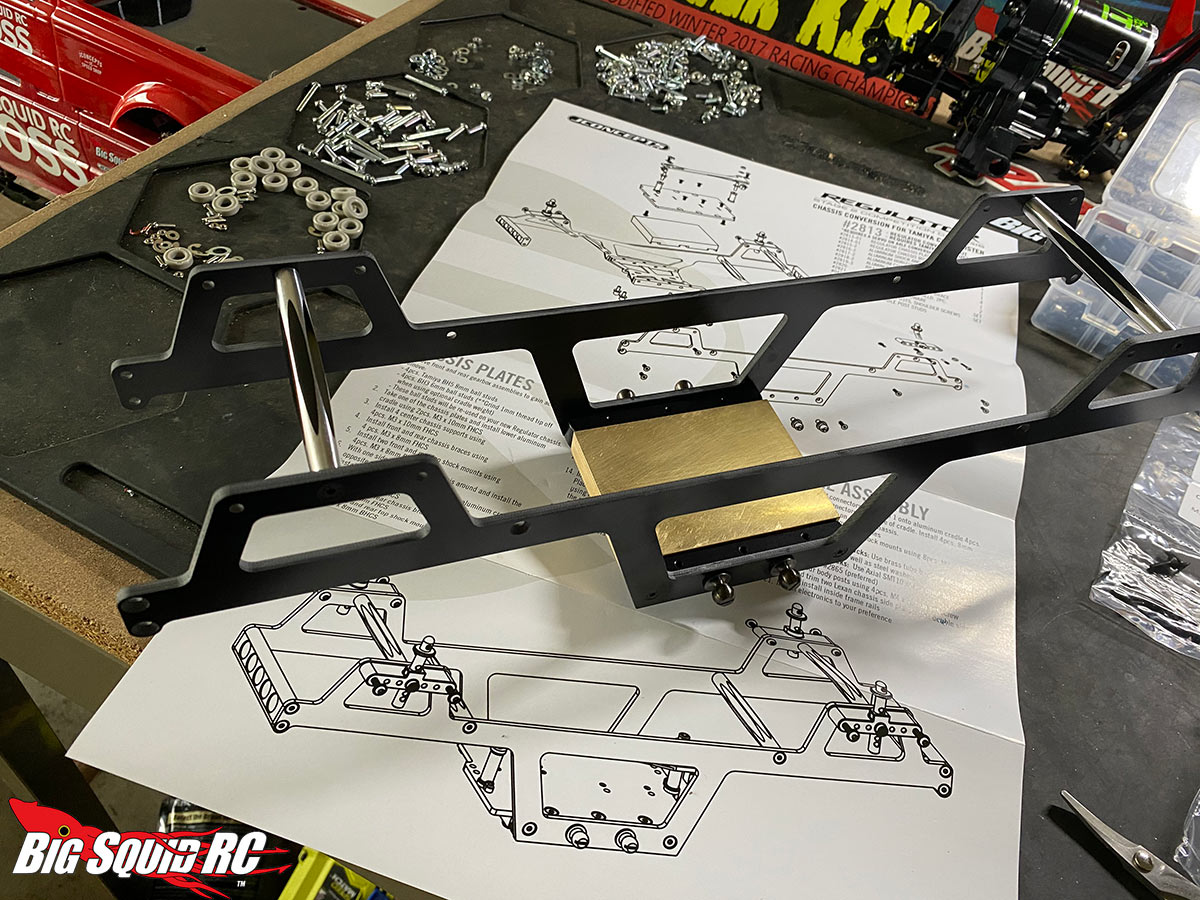
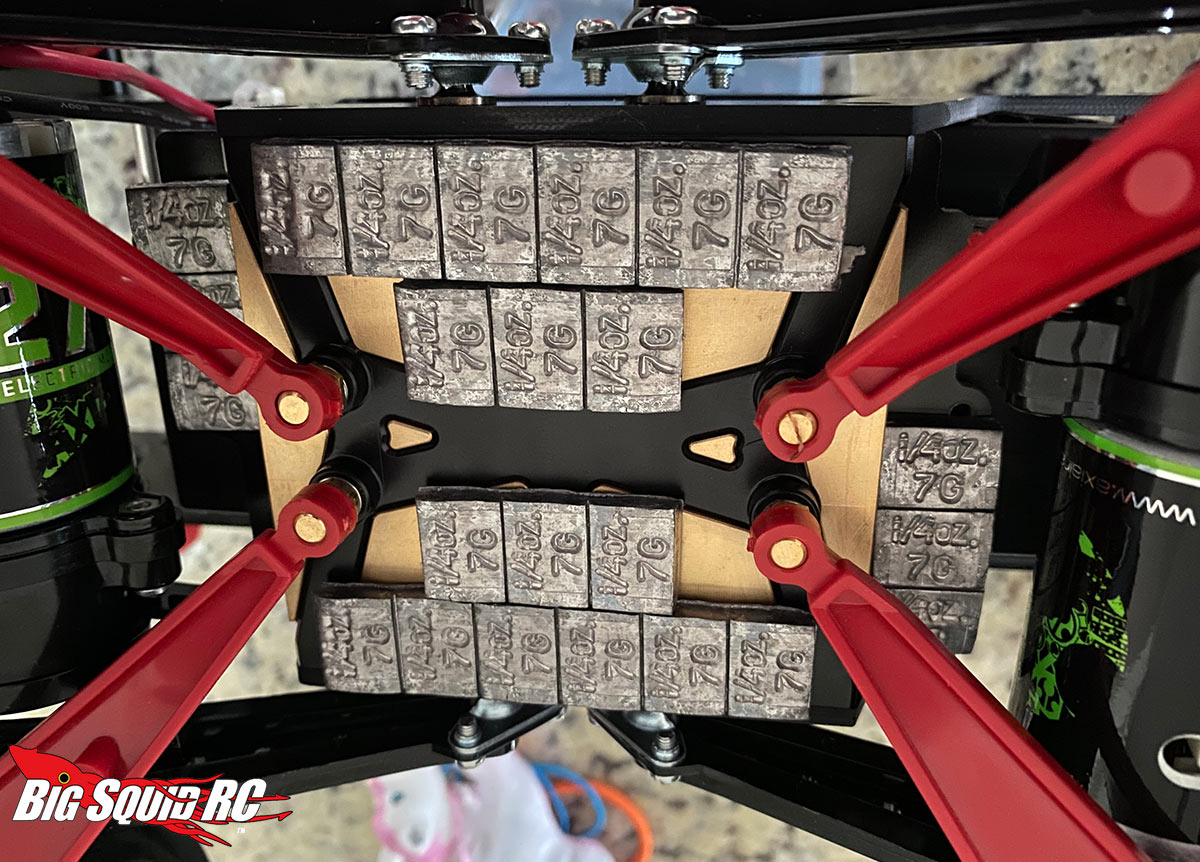
The “special sauce” for the Regulator is the optional brass chassis weight. This was developed because our club, Trigger King R/C, requires Retro Clod racers to meet a minimum 9 lbs weight limit. We’ve had various lightweight trucks come to race with us, only to have major issue making weight. The Regulator was designed with this in mind and has a big plate you can put in to get you right around the mark. It’s really, really nice.
This brass weight is awesome as regardless of what rules your club runs or whether you even intend to race at all, I think you’re crazy if you don’t use it. It keeps all that weight super low in the chassis belly and makes for a balanced rig with a low CG.
Note that they include a battery tray, but for preference I opted to not run it as I am using a heavy double sided tape for the battery (shorty packs are to be used, fyi)
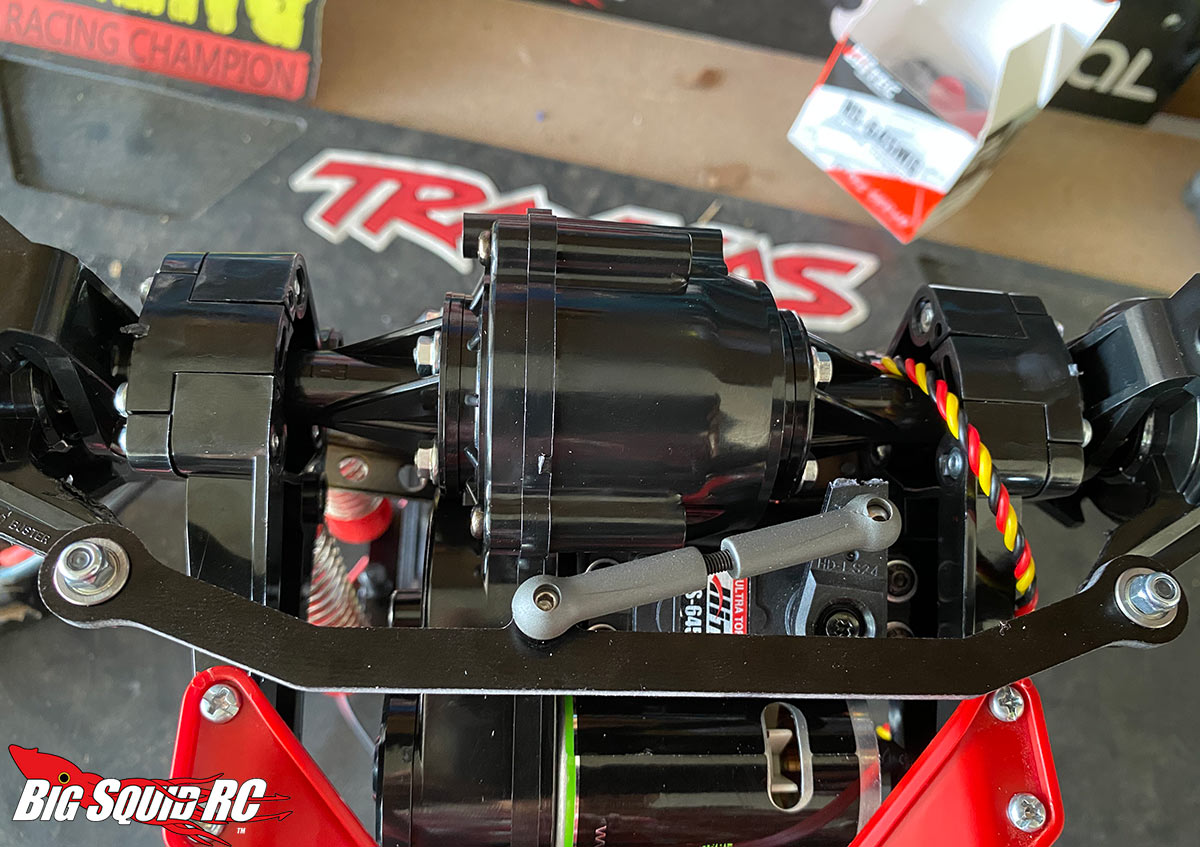
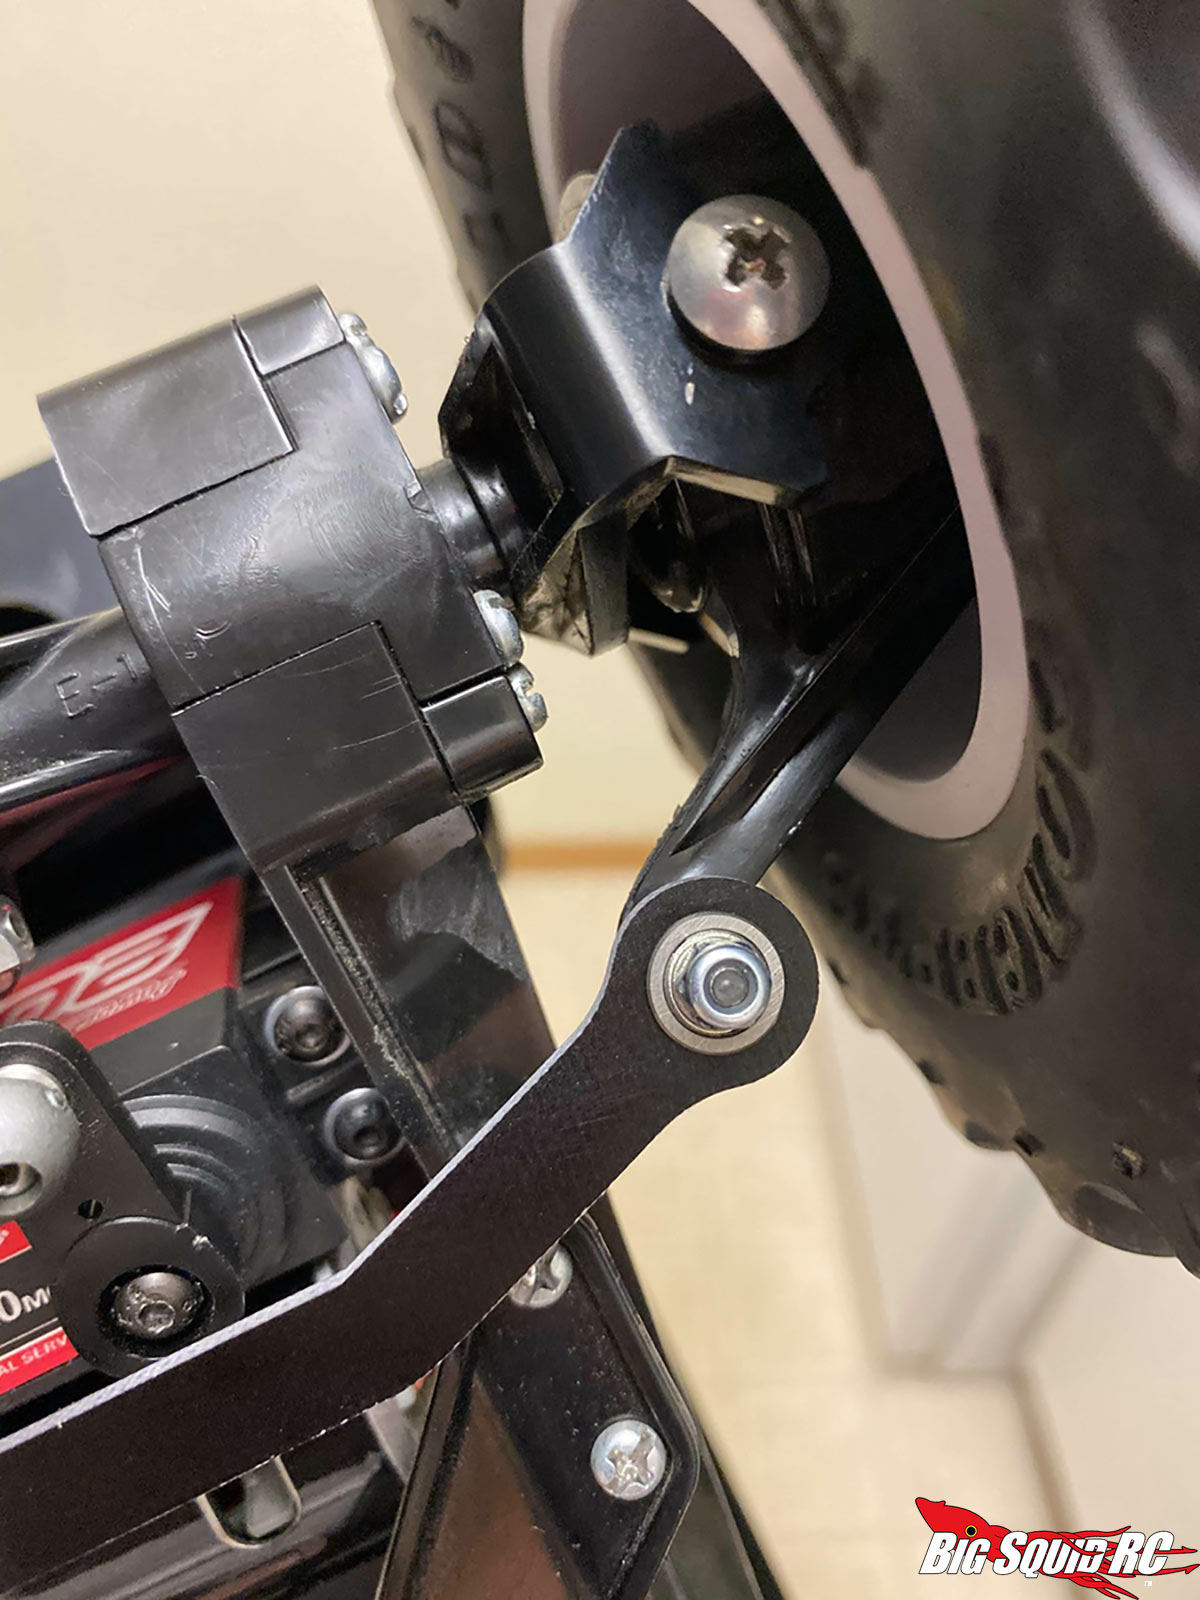
We need to now talk about the steering kit, because it does a VERY important job- eliminates the garbage center four wheel steer Tamiya factory set-up and creates a high performance behind-the-axle 2WS load-out.
The rear is locked out via this piece that closely follows the curves of the Clod axle. Like the steering in the front, it’s also behind the axle.
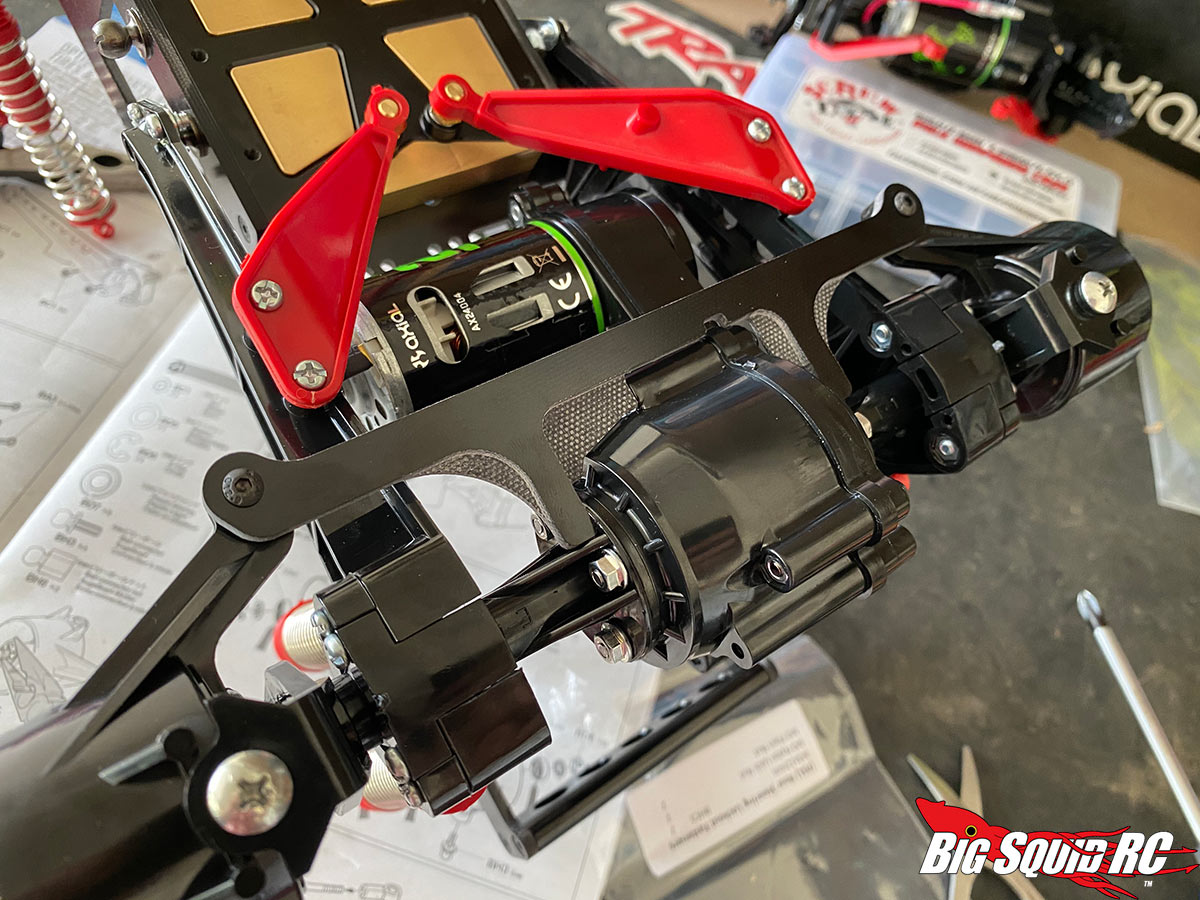
The front is really trick. It puts the servo safely tucked away on the backside of the axle, and still allows use of the old school style ladder bars. That’s the real difference between this and other BTA kits that have existed before- none to my knowledge would fit with those ladder bars effectively, rendering them useless for a Retro-style Clod. You had to have a modern four link suspension.
That’s it- the steering kit is installed. However, I did make one modification that’s highly recommended. You will want to trim your front knuckle arms down and cut off the bumpers so as to increase steering throw. Here’s an example of a before/after (excuse the rough job, my dremel went kaput).
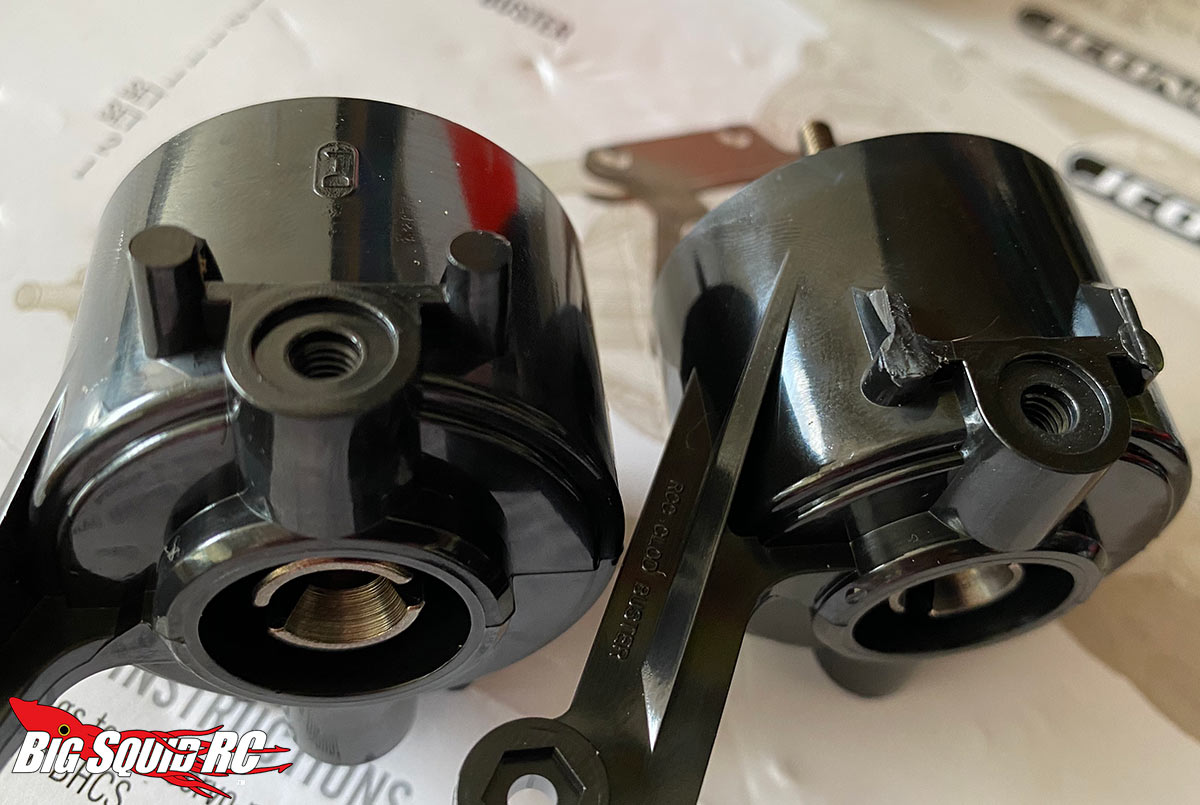
You need that extra throw because the stock knuckles don’t allow for a lot of turning radius. That’s preferable when you have the rear wheels turning, not so much when it’s just the front two. If you don’t make this mod, your Clod will take forever to turn around. It’s amazing how juuuuust that much taken off can improve your turning.
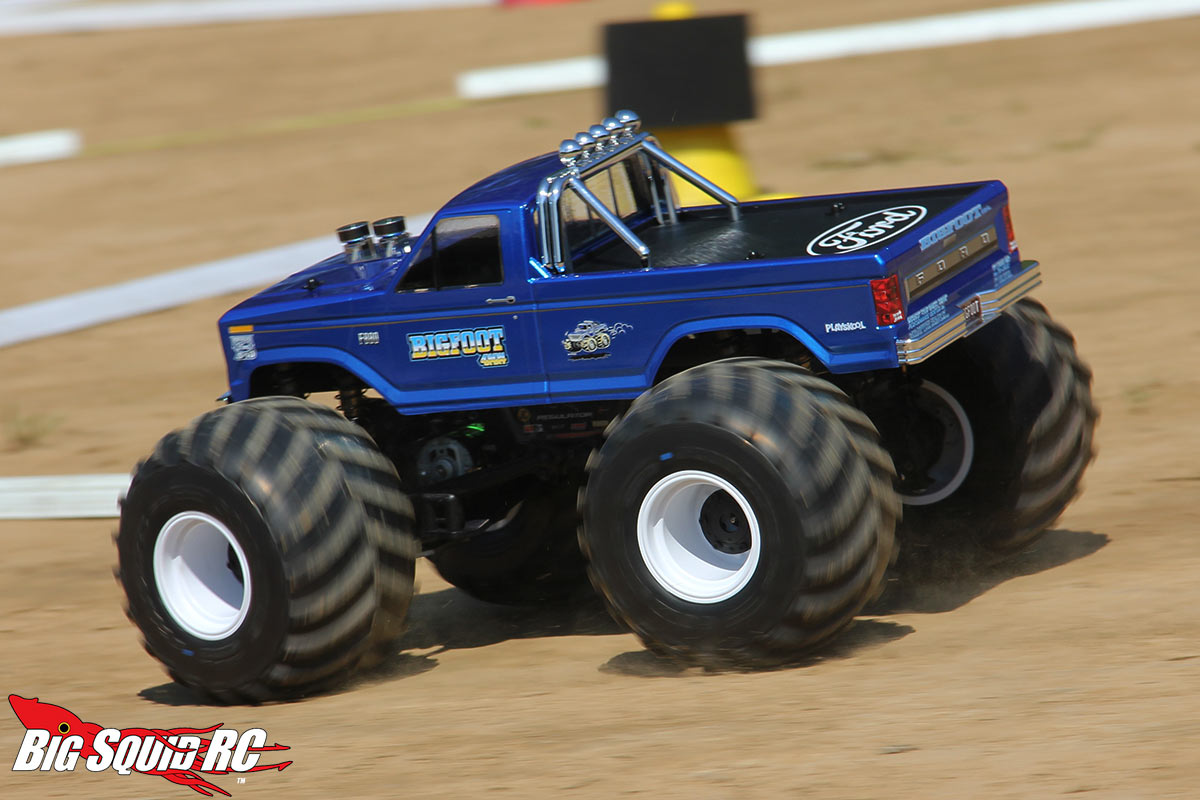
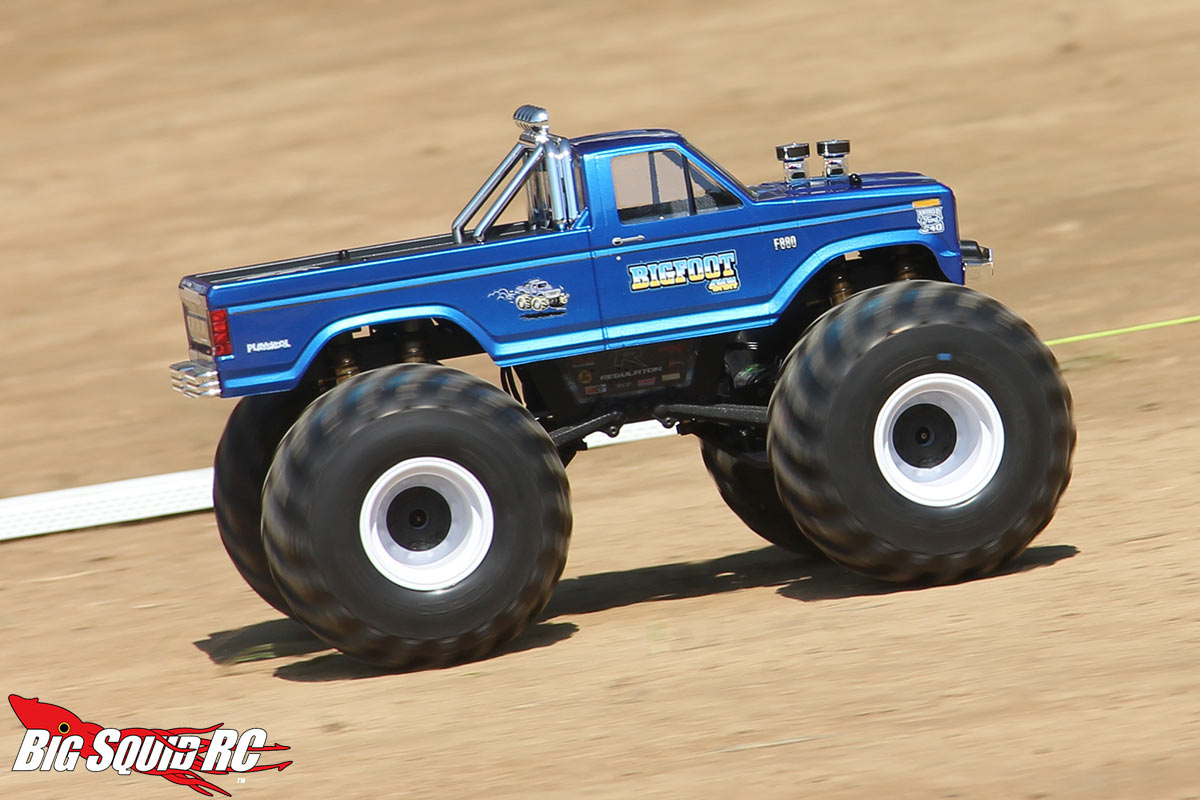
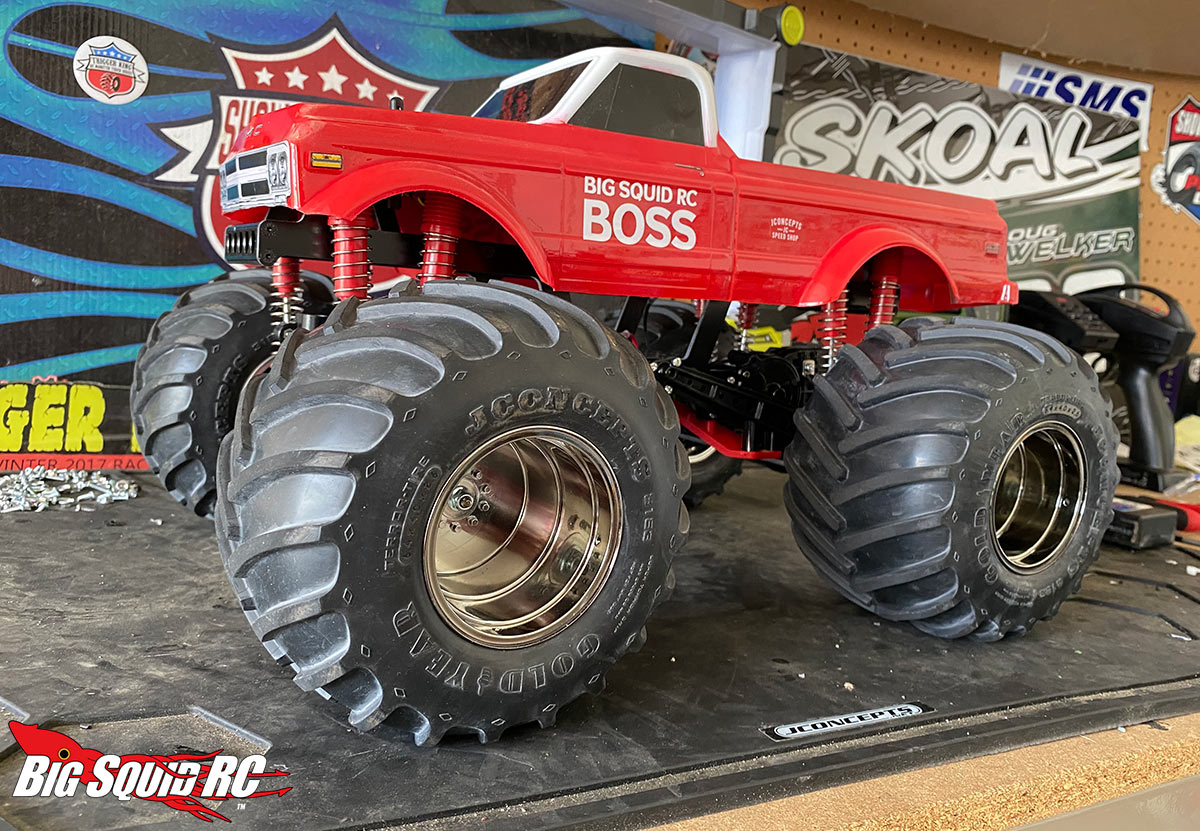
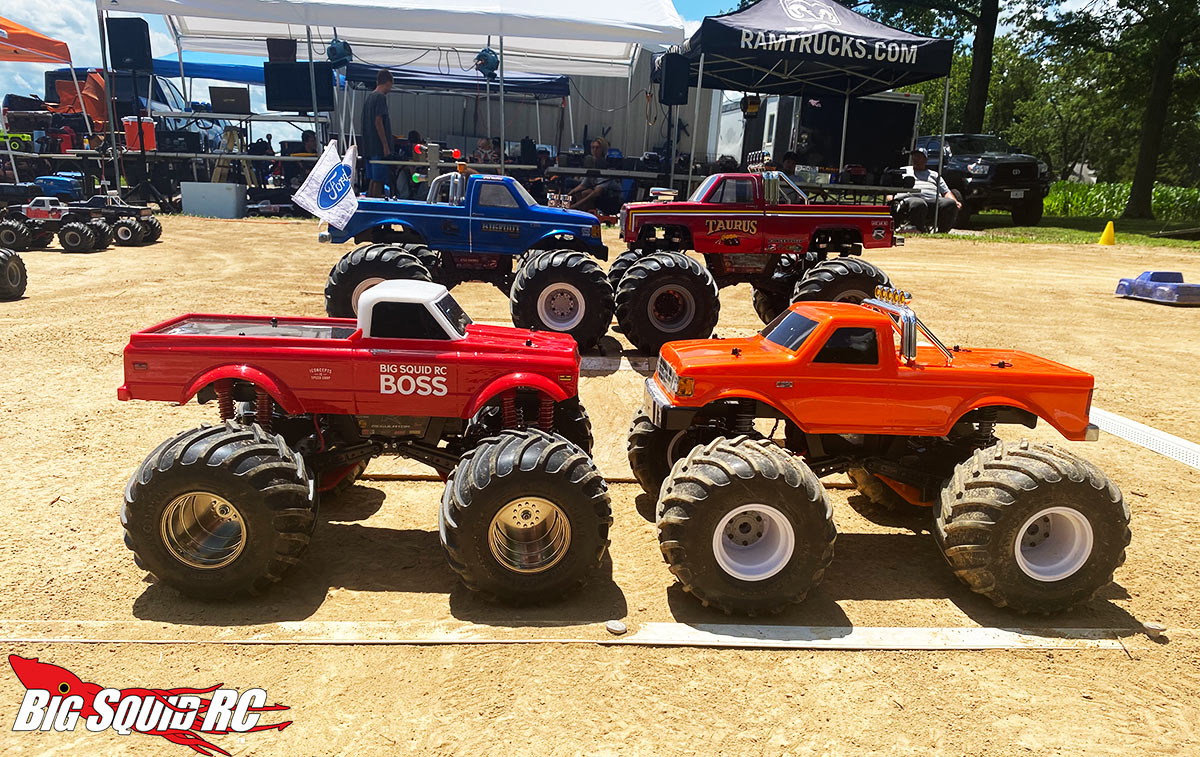
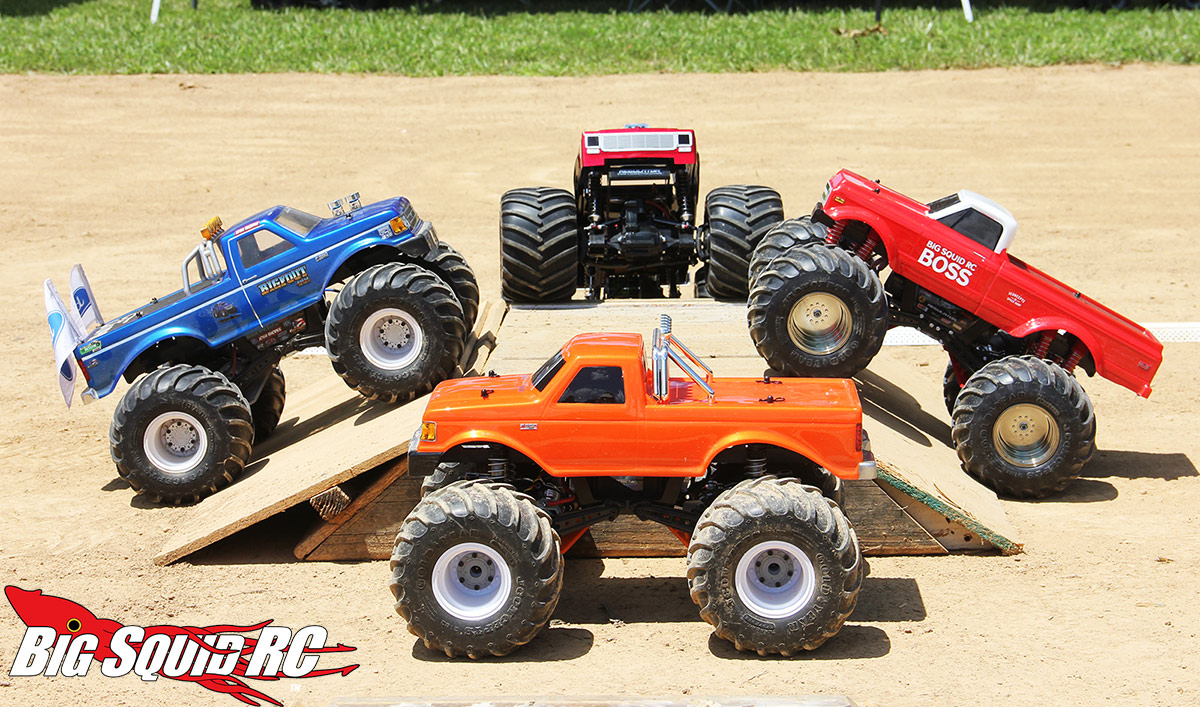
Here she is. The new-and-improved BigSquidRC Boss!
So an important part of my setup is that I am running JConcepts Golden Year Tires with no foams. Because of the lack of foams, the truck sat just shy of the 9 lbs to be legal for me to race. I added a bunch of sticky weights to bring it up to snuff and it was good. Even more weight down below!
It was finally race day.
Three of my buddies showed up with Regulators so we had four of them in the competition. Here they are-
Look for detailed post-run impressions next week!
