Monster Truck Madness – New Rotten Apple
Hey folks and Happy Thursday!
Last week I wrote about updating my Rotten Apple paint scheme and it’s now finished so I wanted to share it here!
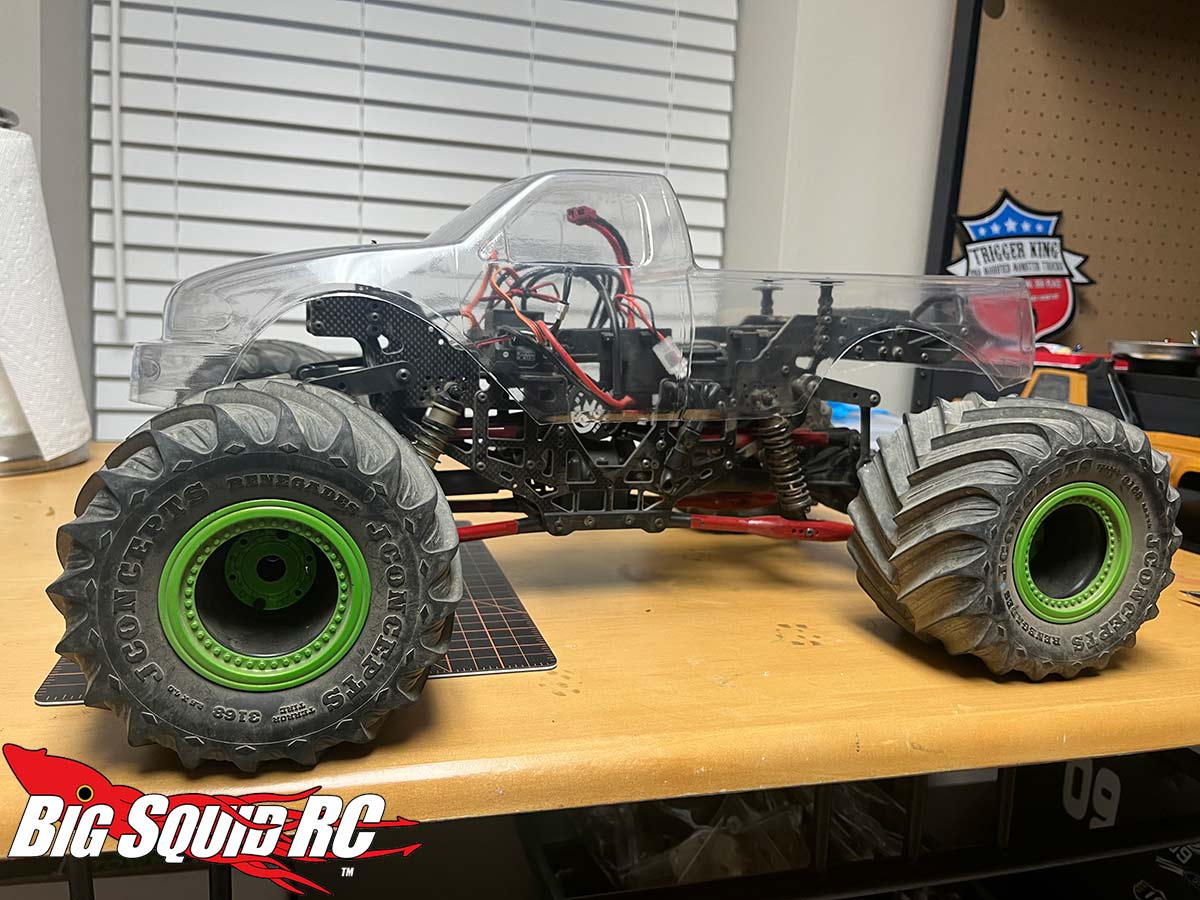
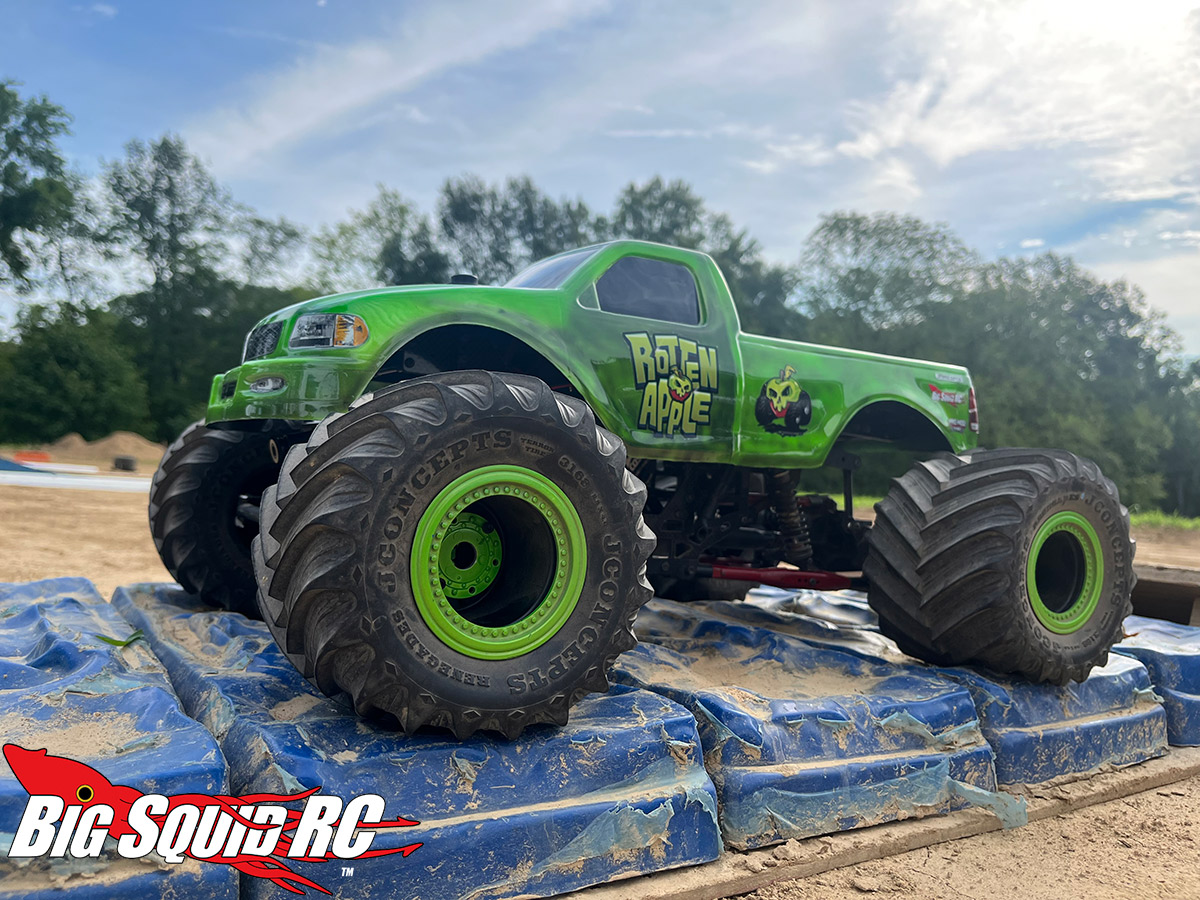
The body I’m using is a JConcepts ’97 F-150, which works with the looooooong wheelbase of the TLR LMT. I trimmed a little extra out of the fenders and rounded the front by the bumper to insure it wouldn’t rub when turning sharply with full suspension compression.
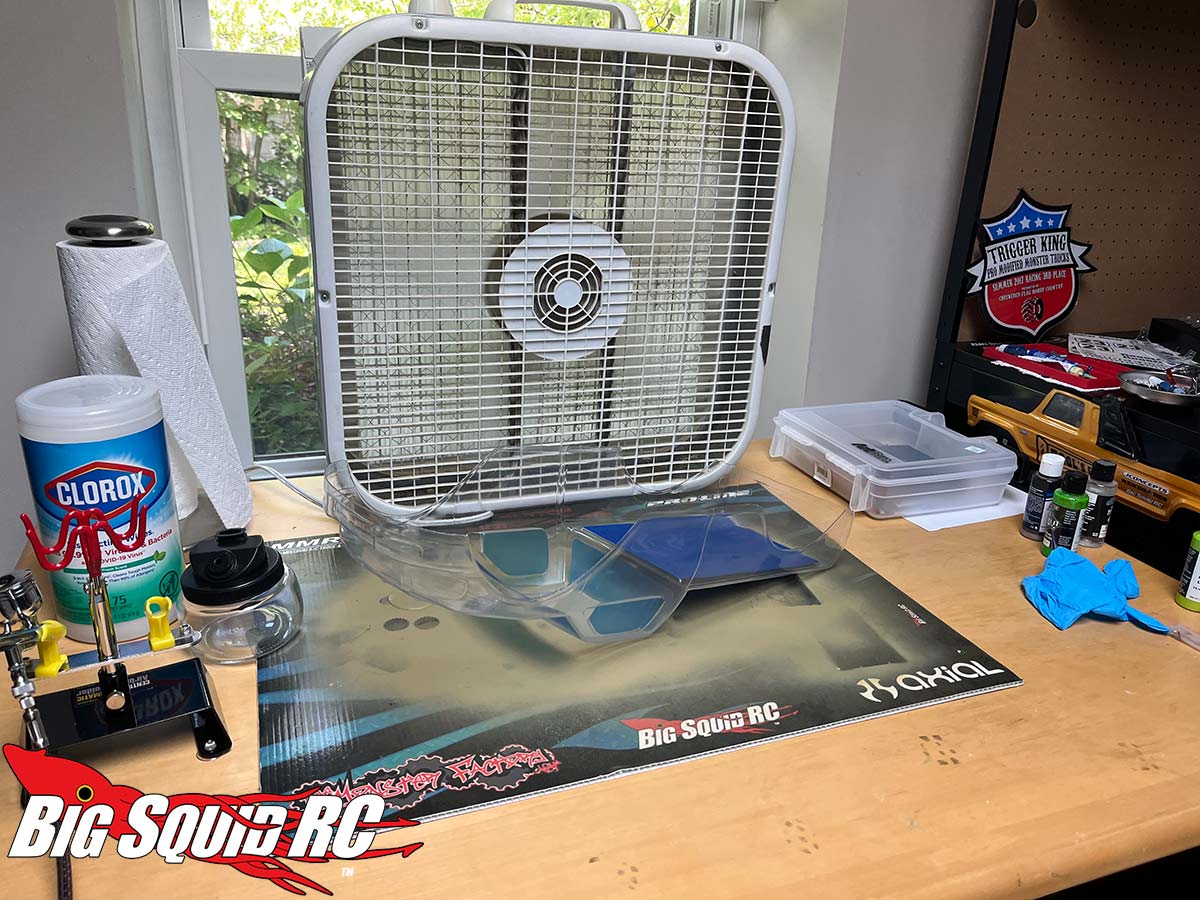
Ok, so time to airbrush. In my new house I built a little airbrush booth utilizing a box fan with a furnace air filter and a window. A good friend taught me this setup. Simple but effective! FYI, it’s off camera but I wear a respirator too.
A year ago when learning to airbrush I totally messed up a Paasche that I purchased by not thinning paint properly, not cleaning it properly, and then messing up the dissassembly/reasssembly. A cavalcade of errors. I never could get it to shoot correctly after doing my first body with it. I was so frustrated that I figured I’d go back to rattle can paint jobs only.
Well, eventually I started coming around to the fact that the only way I could accomplish the paint jobs I was wanting to do would be fixing my errors and learning to properly airbrush. It couldn’t be that difficult could it? As it turns out, it’s not. It was just A LOT of user error the first time around.
This time, I watched a bunch of YouTube videos on airbrush instruction, and they taught the error of my ways and how it’s actually simple to clean the brush, thin paint, and the importance of shooting at a proper air pressure. I’d recommend that if you are interested in airbrushing, that you do a YouTube dive on it! There are a ton of great how-to’s out there!
I wound up going with a cheap Harbor Freight brush to use with my Paasche compressor. After following said YouTube instructions, it was very smooth! I’ll probably upgrade to a nicer brush soon, but that’s for another article at a later time! On to the paint!
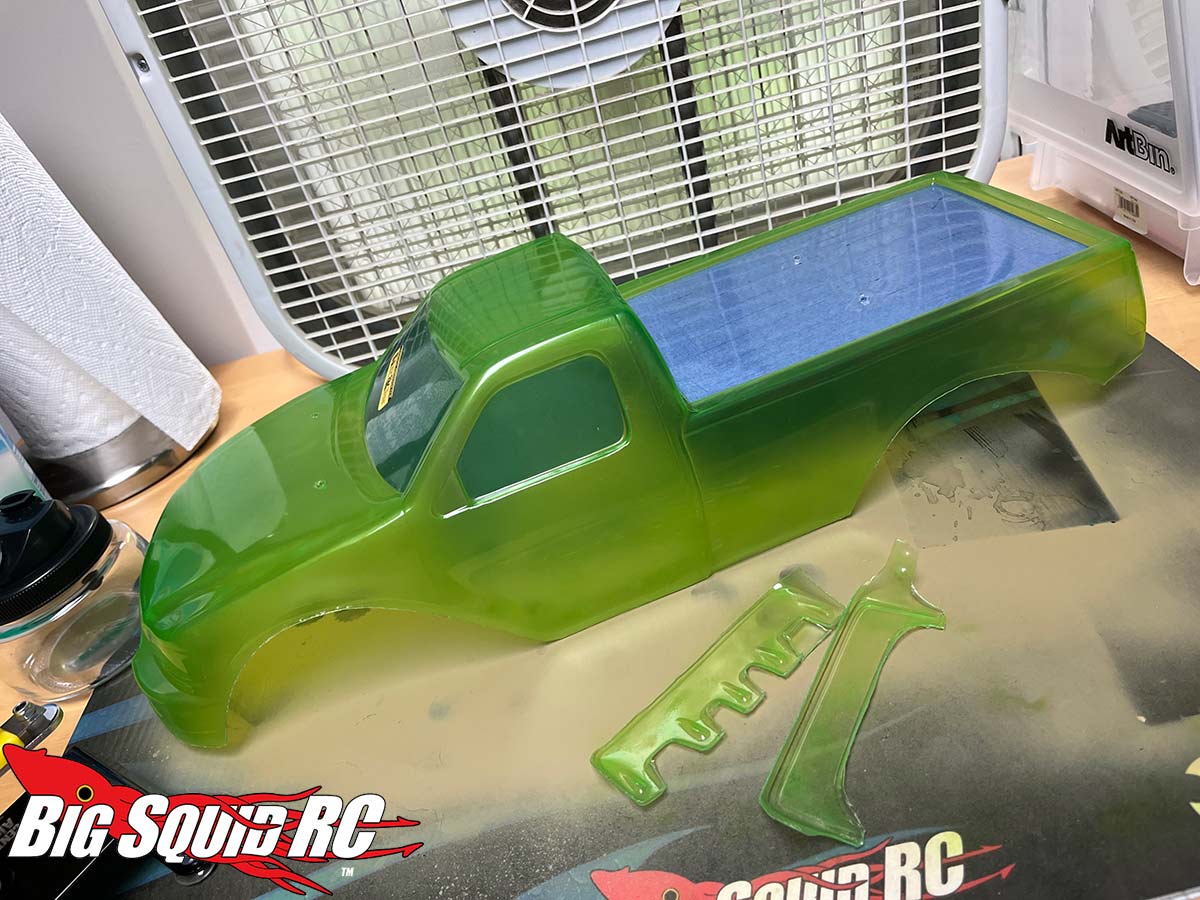
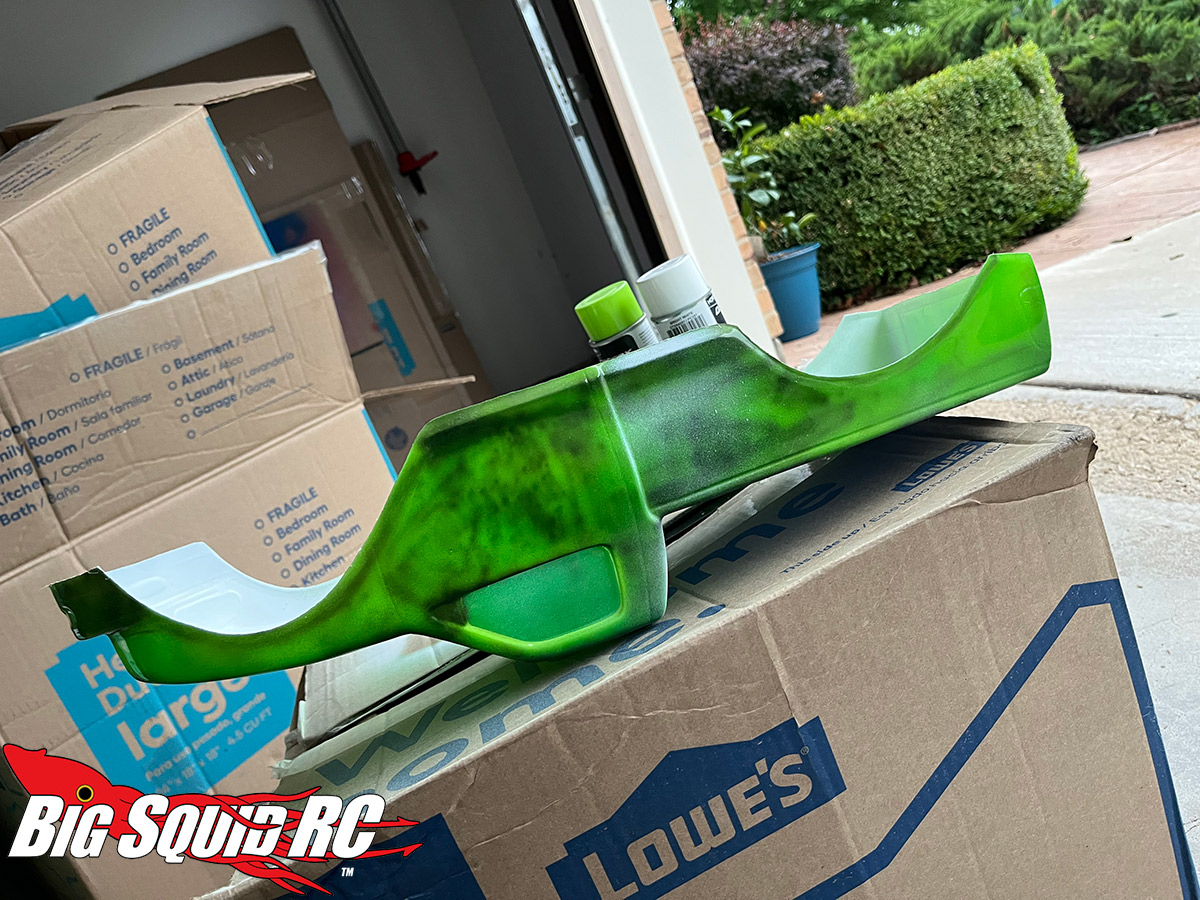
OK, so with the body ready, I shot it with a first coat of Createx Wicked Apple Green. This goes on very transparent. I next used a Pro-Line Metallic Pewter to shade some of the body lines, and then put a bunch of squiggle lines in areas to give it a “rotten” look.
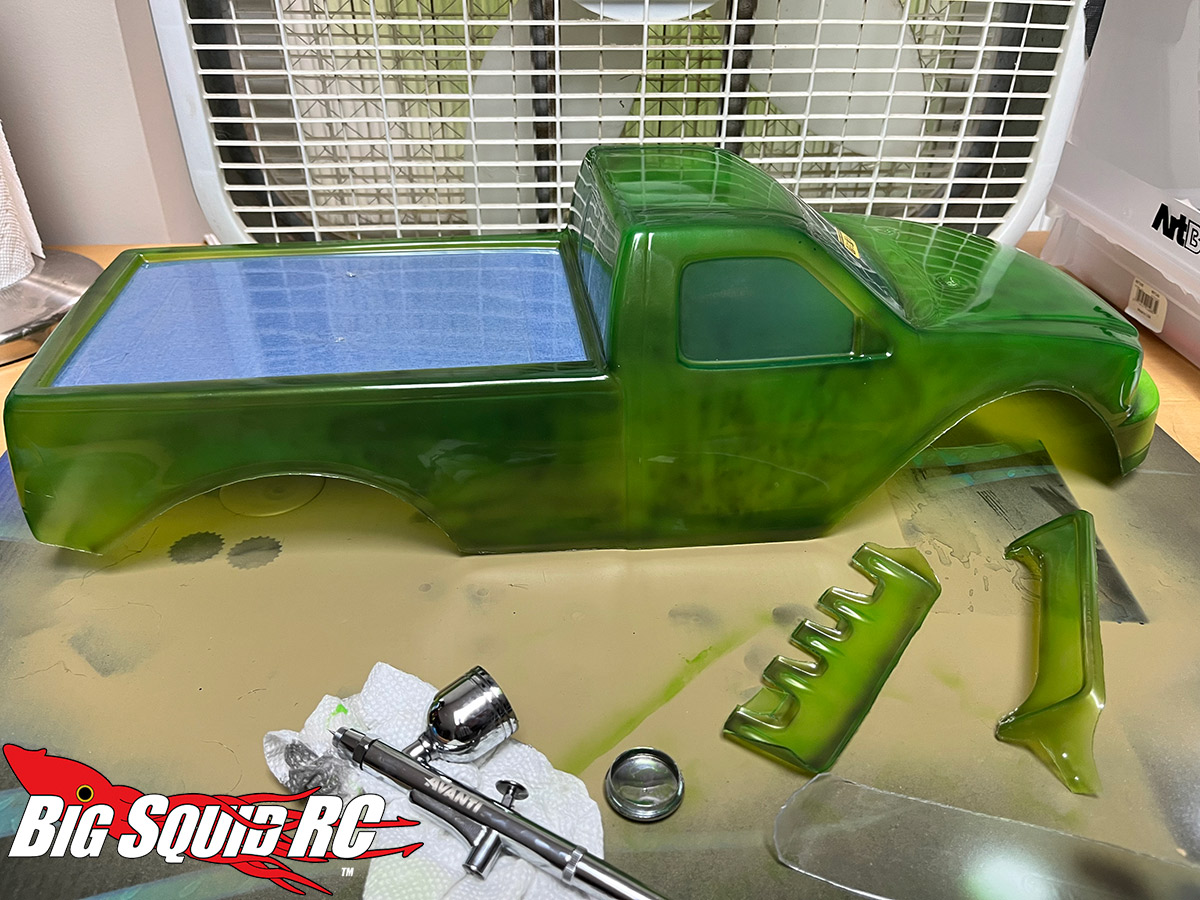
It was then time to back that with a Duratrax Lime Pearl rattle can, and finally a Duratrax White rattle can to pop the color. I painted the windows and bed with a Duratrax Black rattle can, and it was ready for decals.
My good friend Michael Arndt did the new Rotten Apple logo and lettering, and they turned out awesome. I then tapped JB Scale Graphics to create decal sheets, and they knocked ’em out of the park. Here is the “new” TLR Rotten Apple.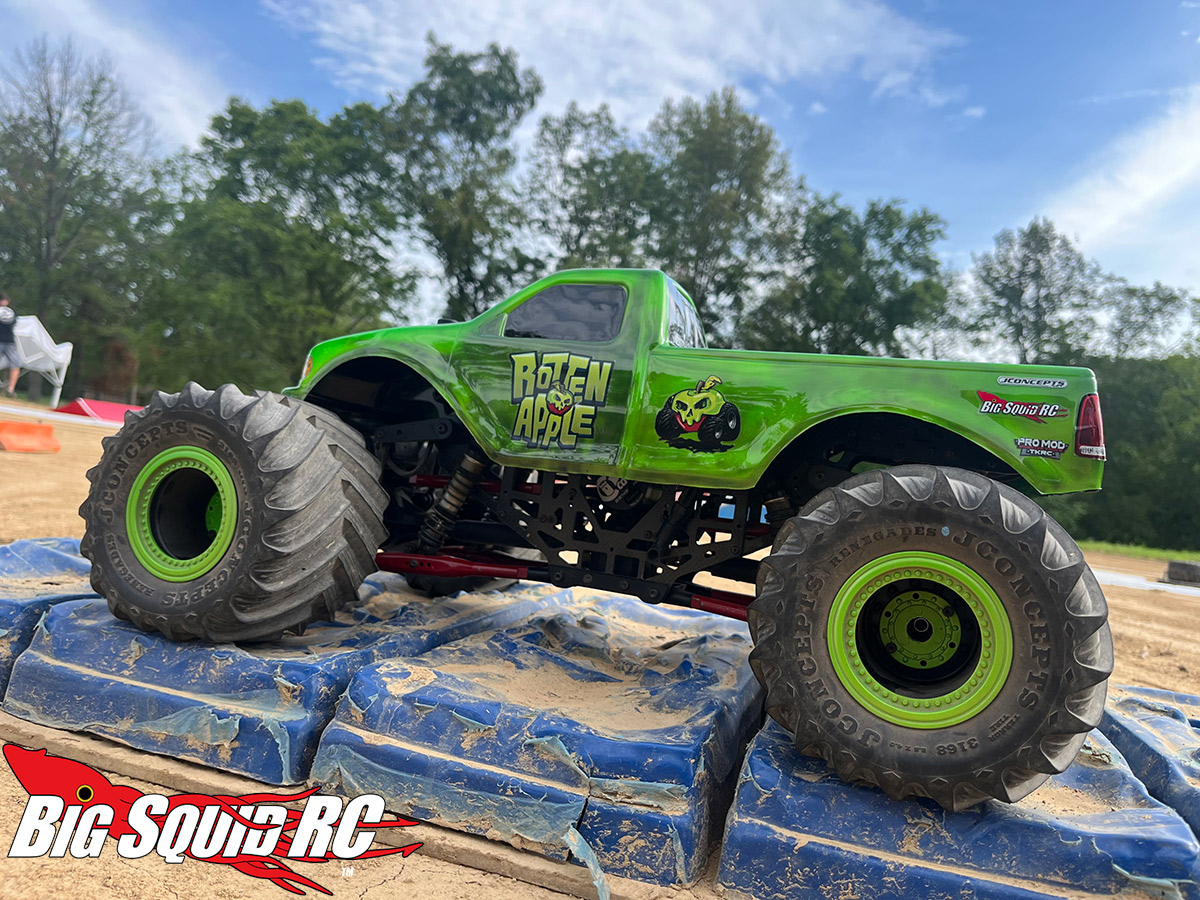
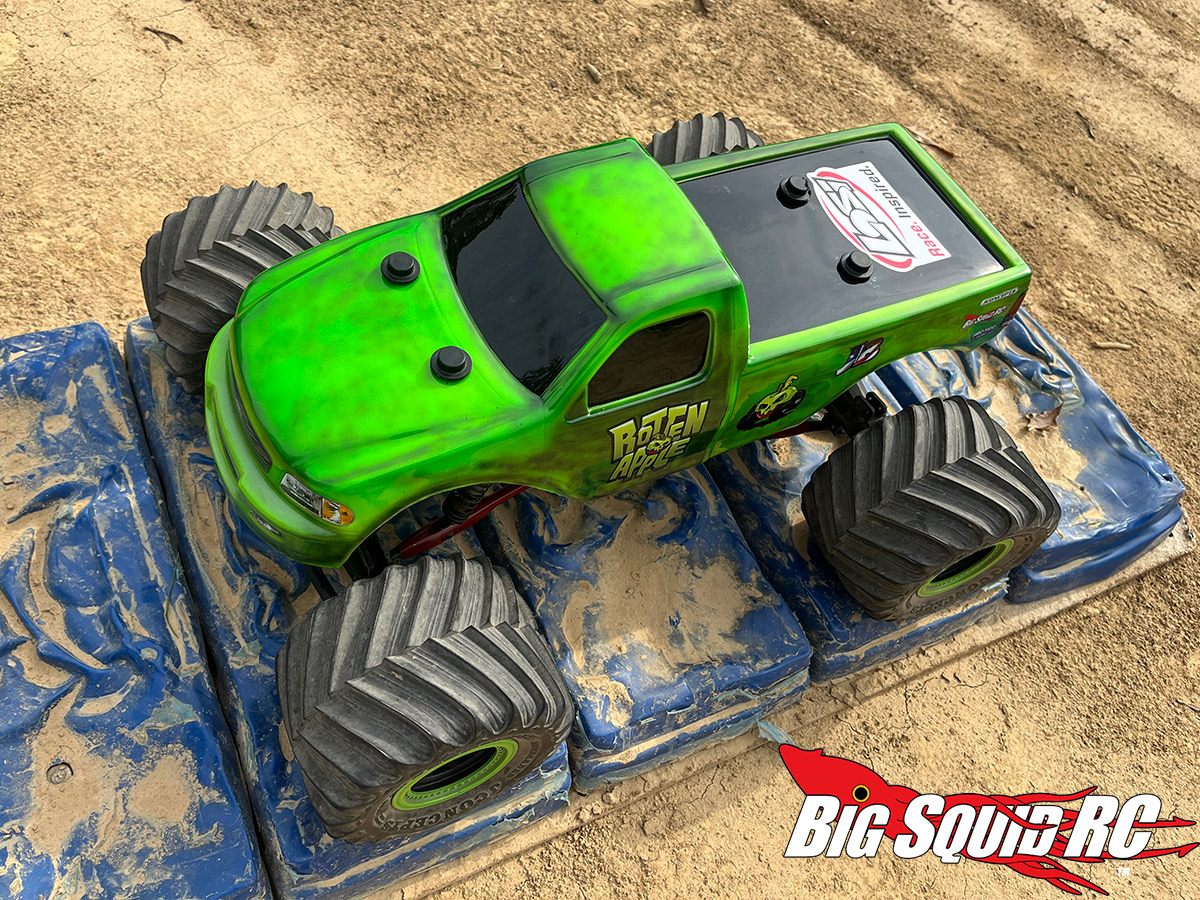 I was pretty hesitant of my airbrushing skills and my ability to read what colors to mix, but somehow the end result turned out perfect. I look forward to slowly updating my fleet of trucks with this new look over the years to come!
Alright, that’s it for me this week. Until next time, keep it on all 4’s!
