Raging Rotors SPECIAL: A Build More Fun than the Lego Movie, Part 1: Framing the Foundation
 Now these past few weeks I’ve been promising a build here on Raging Rotors, and yes I may be a bit overdue. Yet I will not give you one, not two, but THREE build projects in one series. I have gone so crazy to the point where I picked up enough gear to discuss three builds at the same time! Madness you say? I think not! For these builds I did decide on working with two V-Tail quadcopter frames, after all the buzz I generated with an earlier article, and the third frame will be a quadcopter. Later in the series we will discuss electronics, gyros, and more.
What makes a good multirotor frame? Honestly it depends on your overall purpose, whether it is for casual flying, FPV or other photography, or aerobatic stunt flying (though Multicontroller helps with that, too…but that’s for later). Here are a few things to consider:
Check out your options after the ‘Read More’…
- Frame Materials: Obviously the tougher the better, but there are advantages and disadvantages to everything. Obviously aluminum is stronger than fiberglass, which is stronger than plastic, which is stronger than wood. The other way around is accurate when looking at cost (wood is cheaper than plastic which is cheaper than fiberglass, etc). With that being said, look at yourself and you piloting skills and ask, ‘How often will I crash when using this aircraft for _(insert your purpose)_ ?’
- Size: There are a lot of size options for your multirotor aircraft. In the consumer RTFs alone you can start with the Estes ProtoX and go as big as a DJI Phantom just to provide an idea. The same applies towards frame kits. Most kits are measured in millimeters from one end of an arm to the end of the other diagonal from it (i.e the Blade 350QX is approximately 350mm from end to end diagonally). Most who are going towards FPV/Photography usually are drawn towards 350mm and larger. For all other purposes one looks at size of their flying area, general looks of frame, and cost.
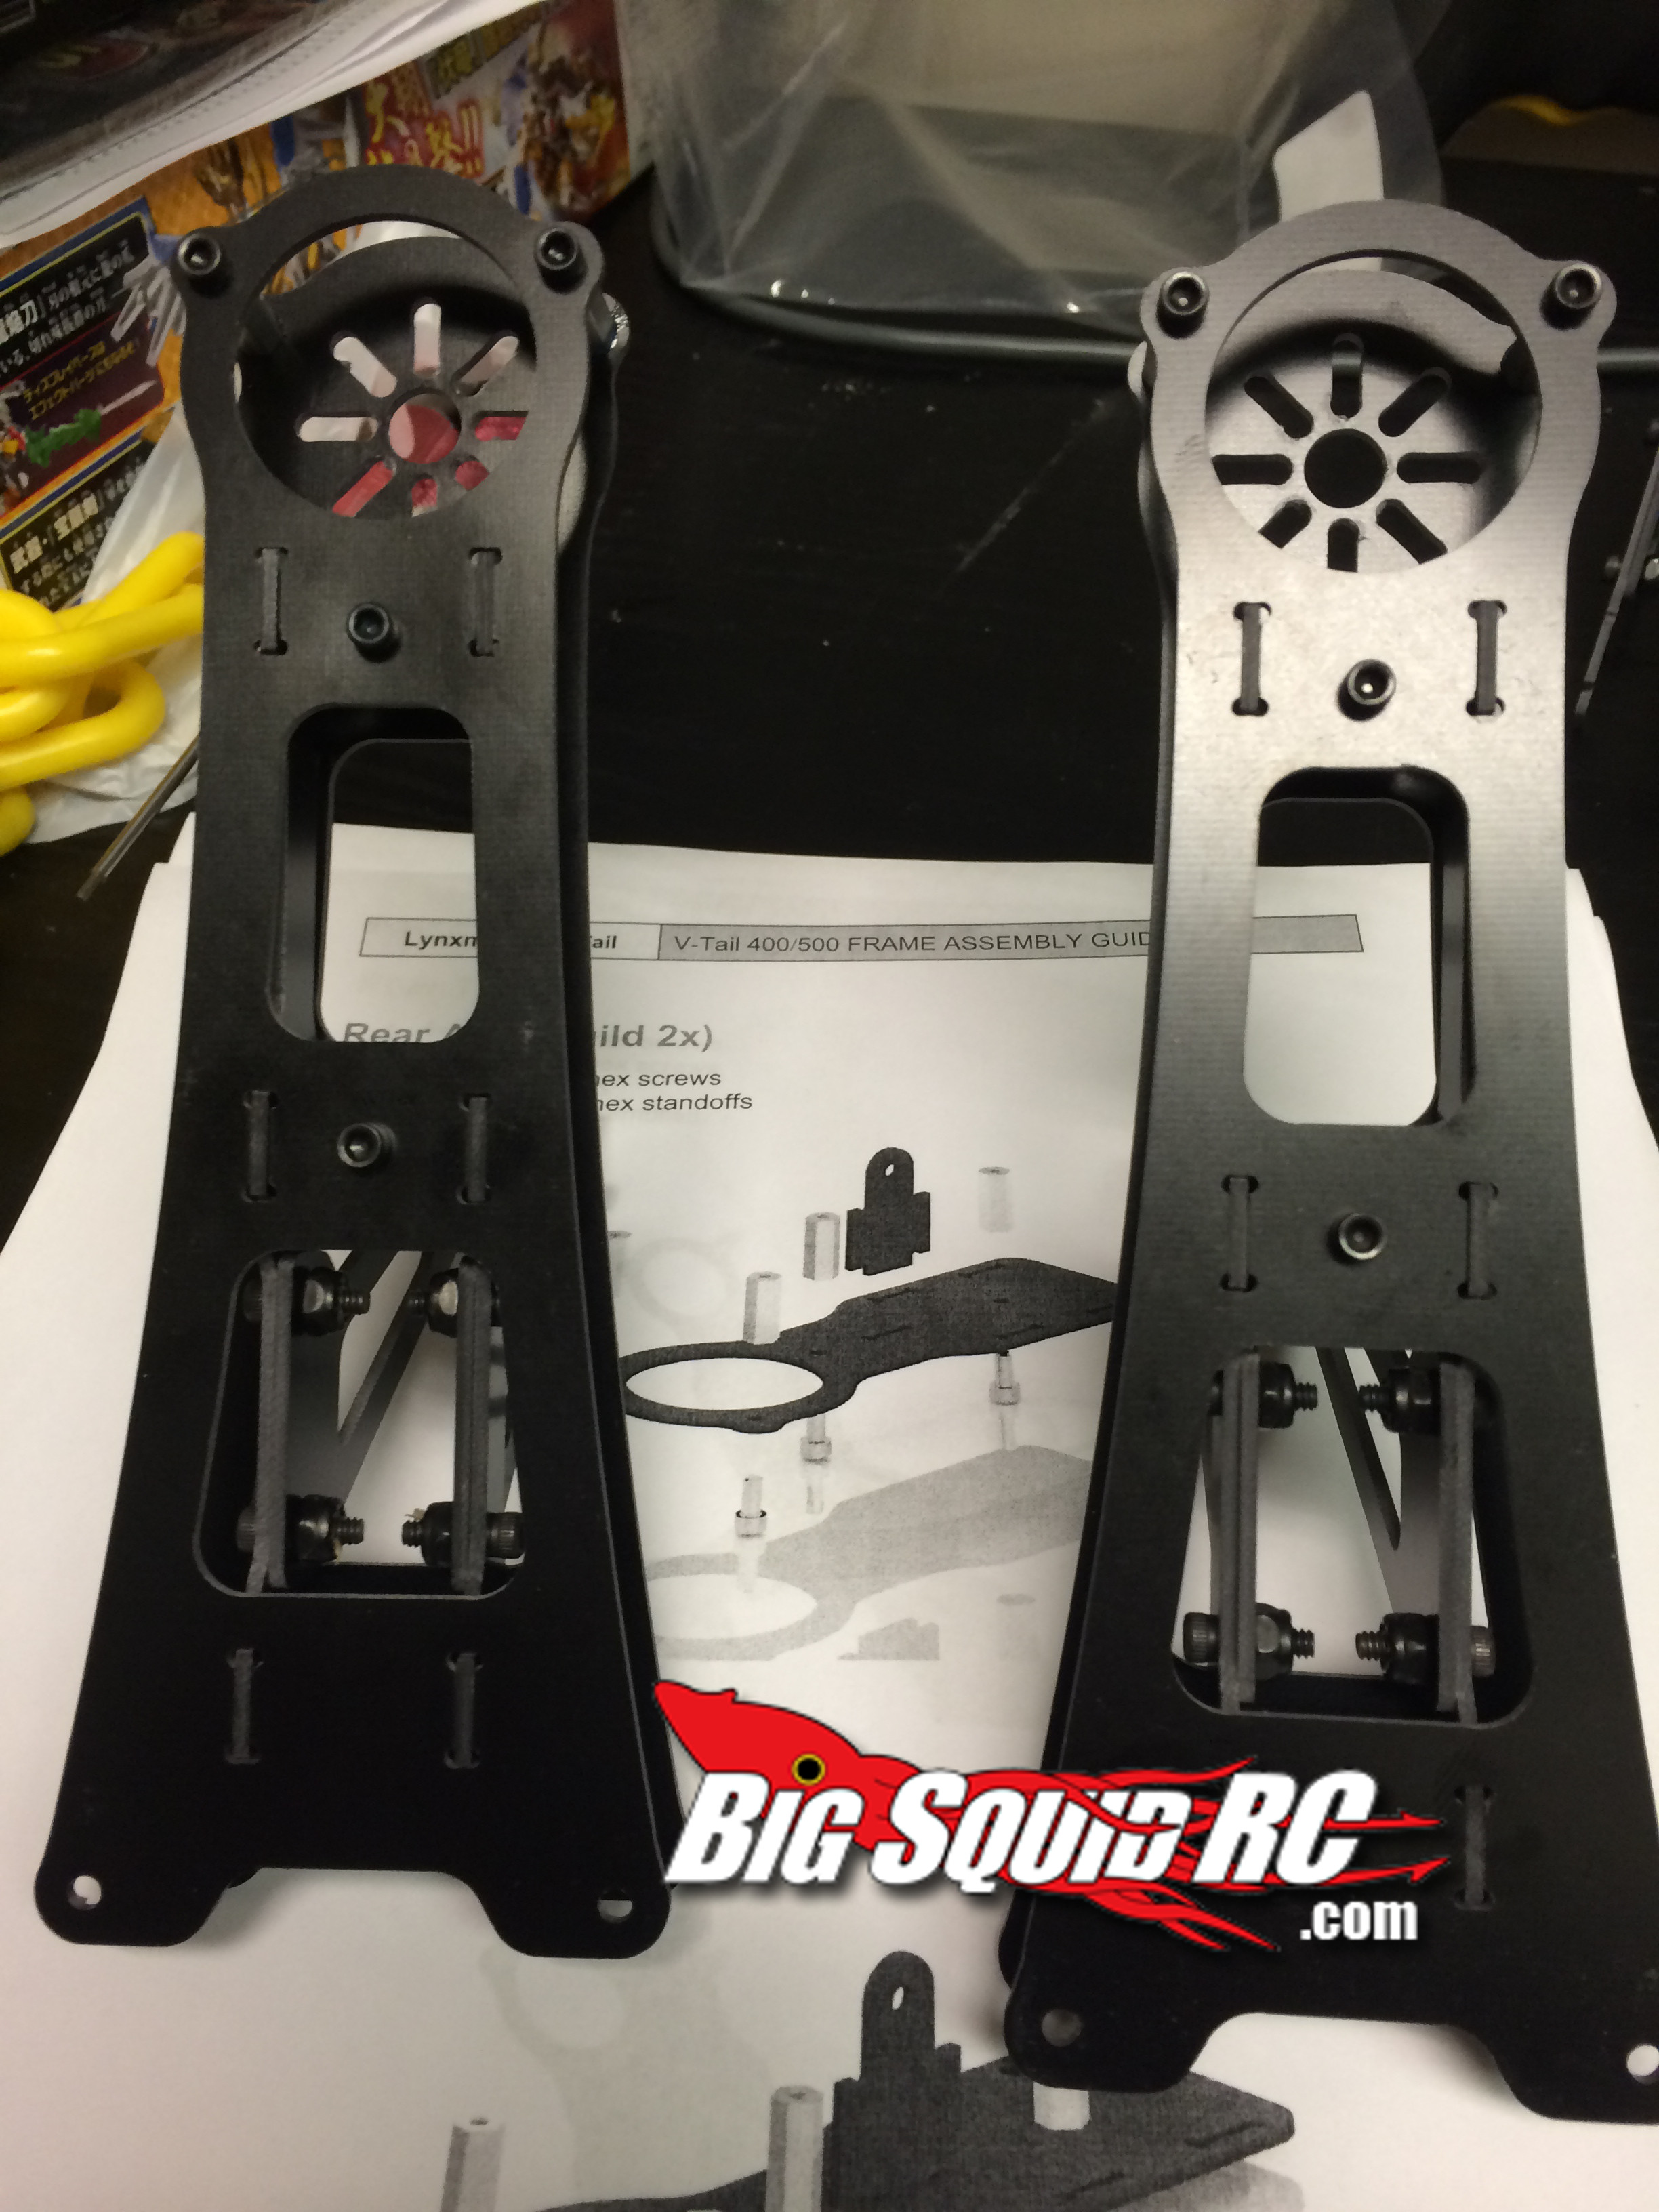
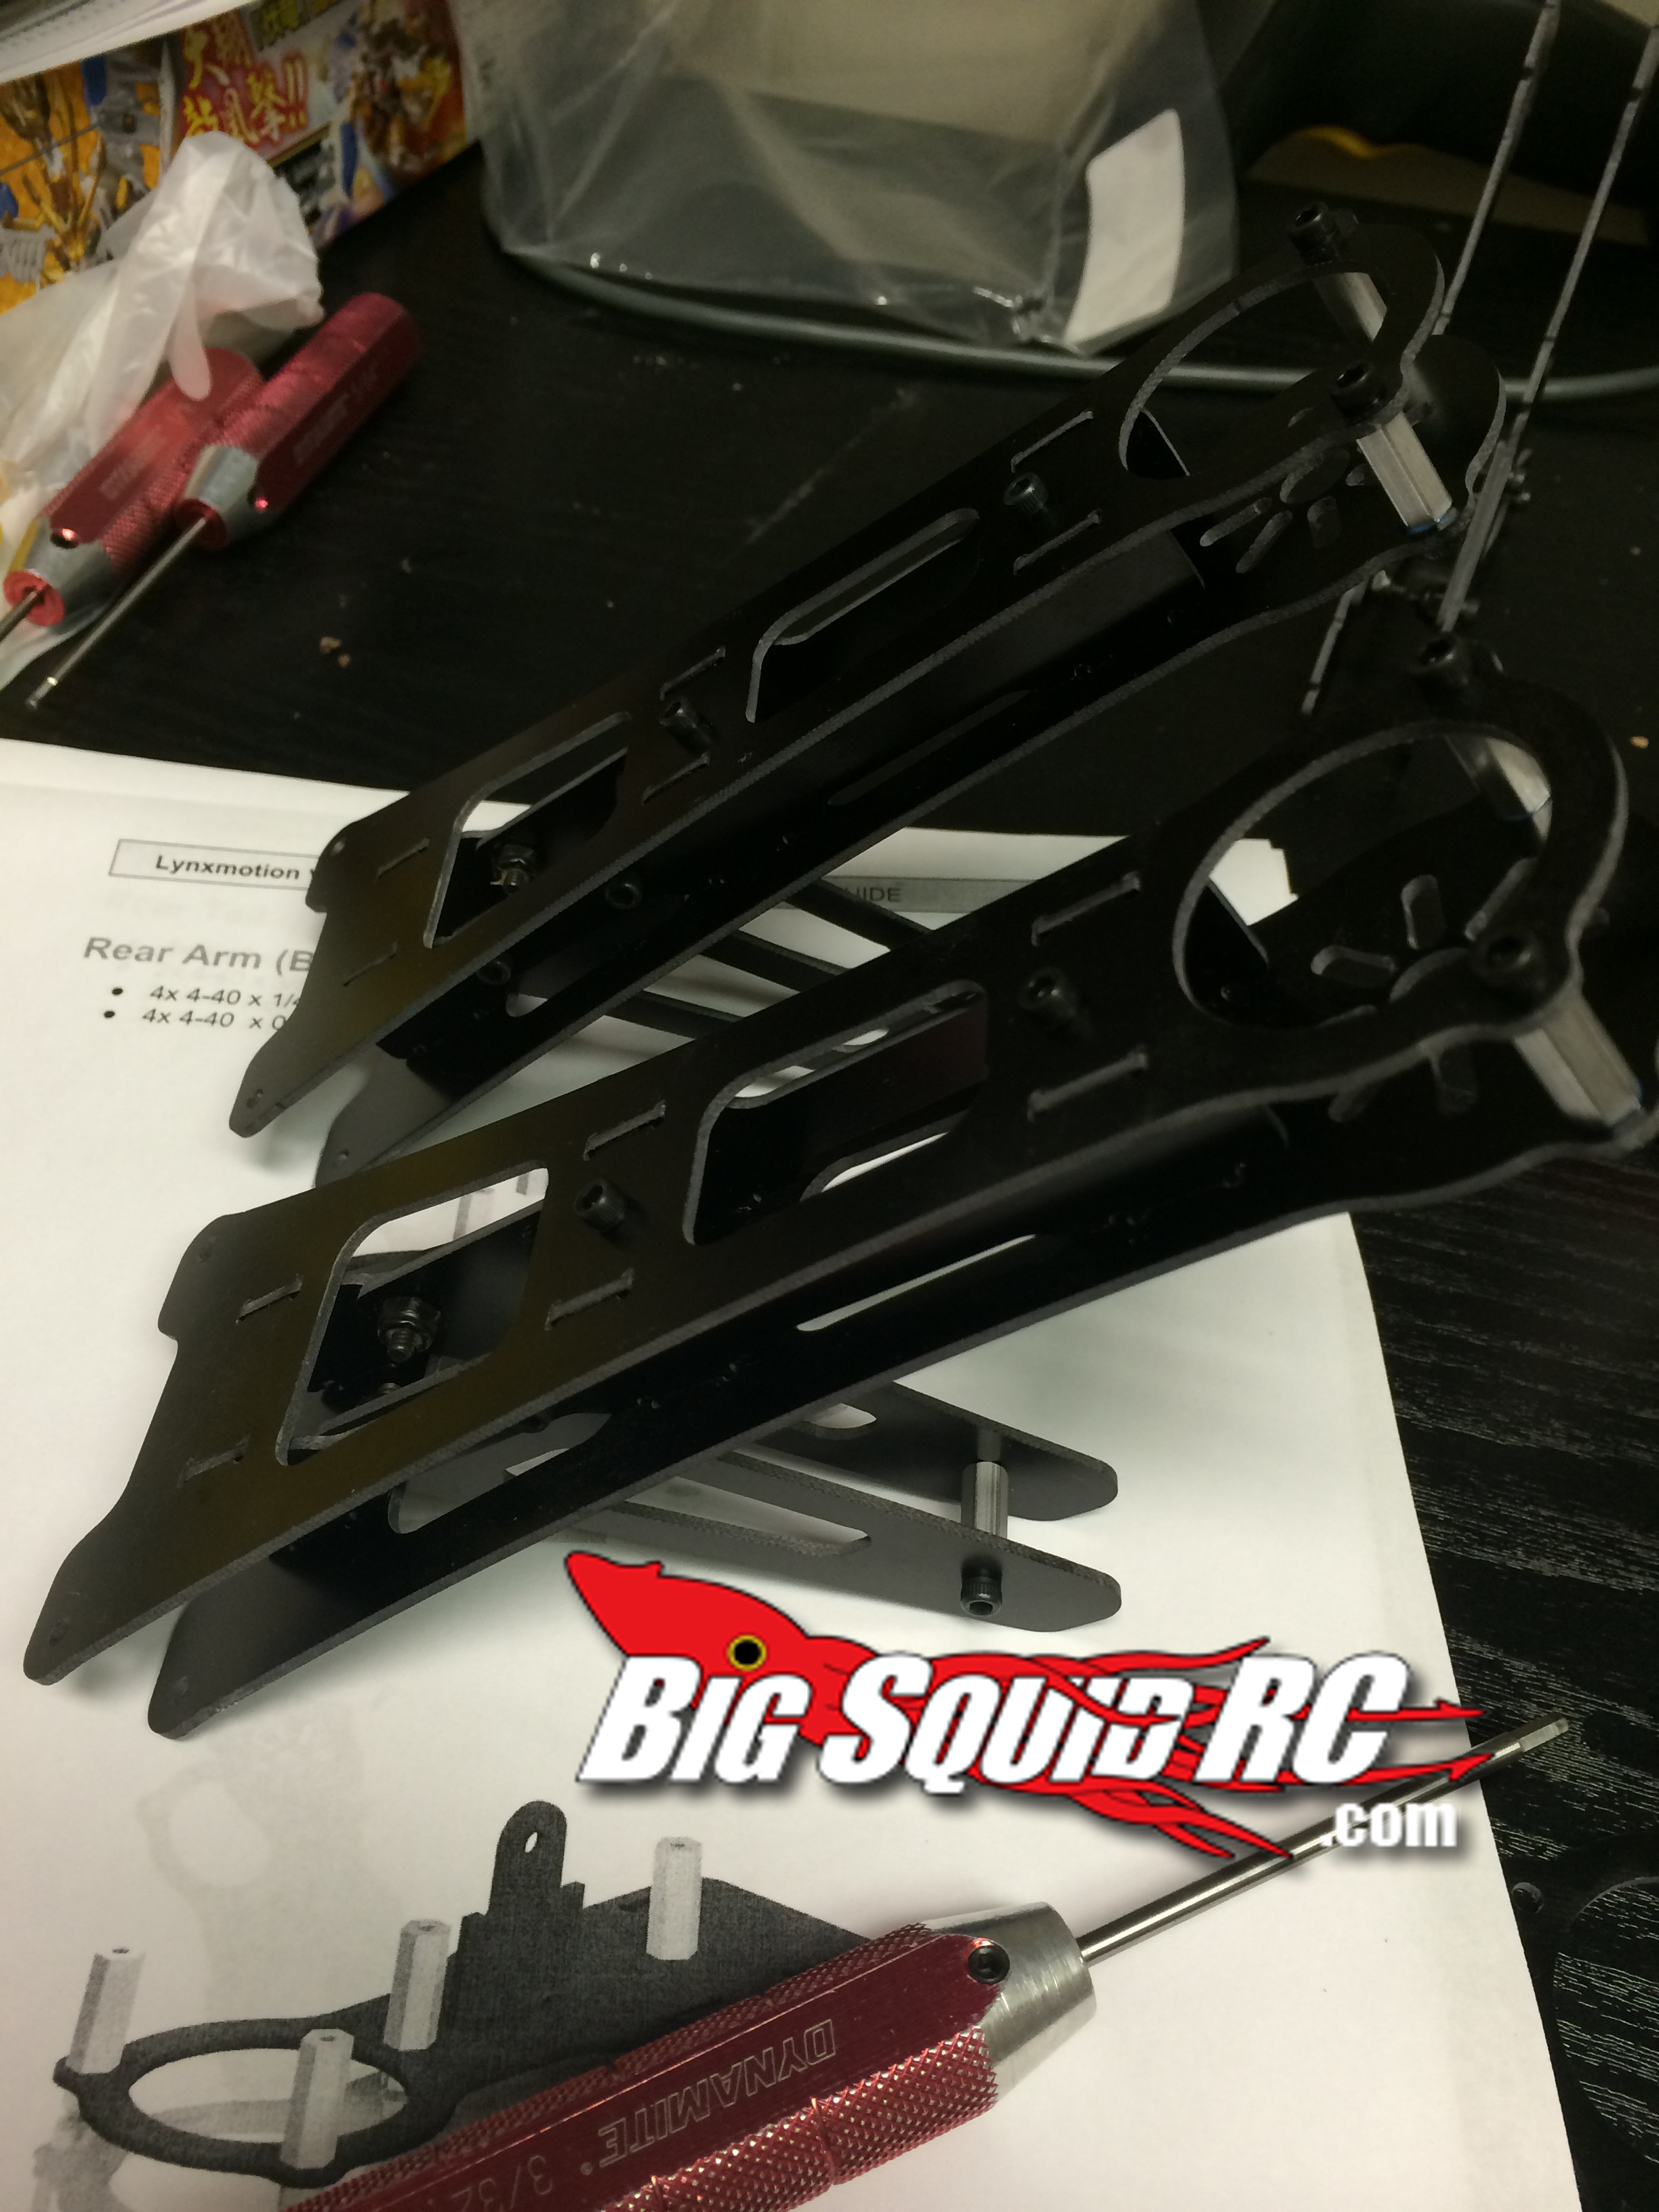
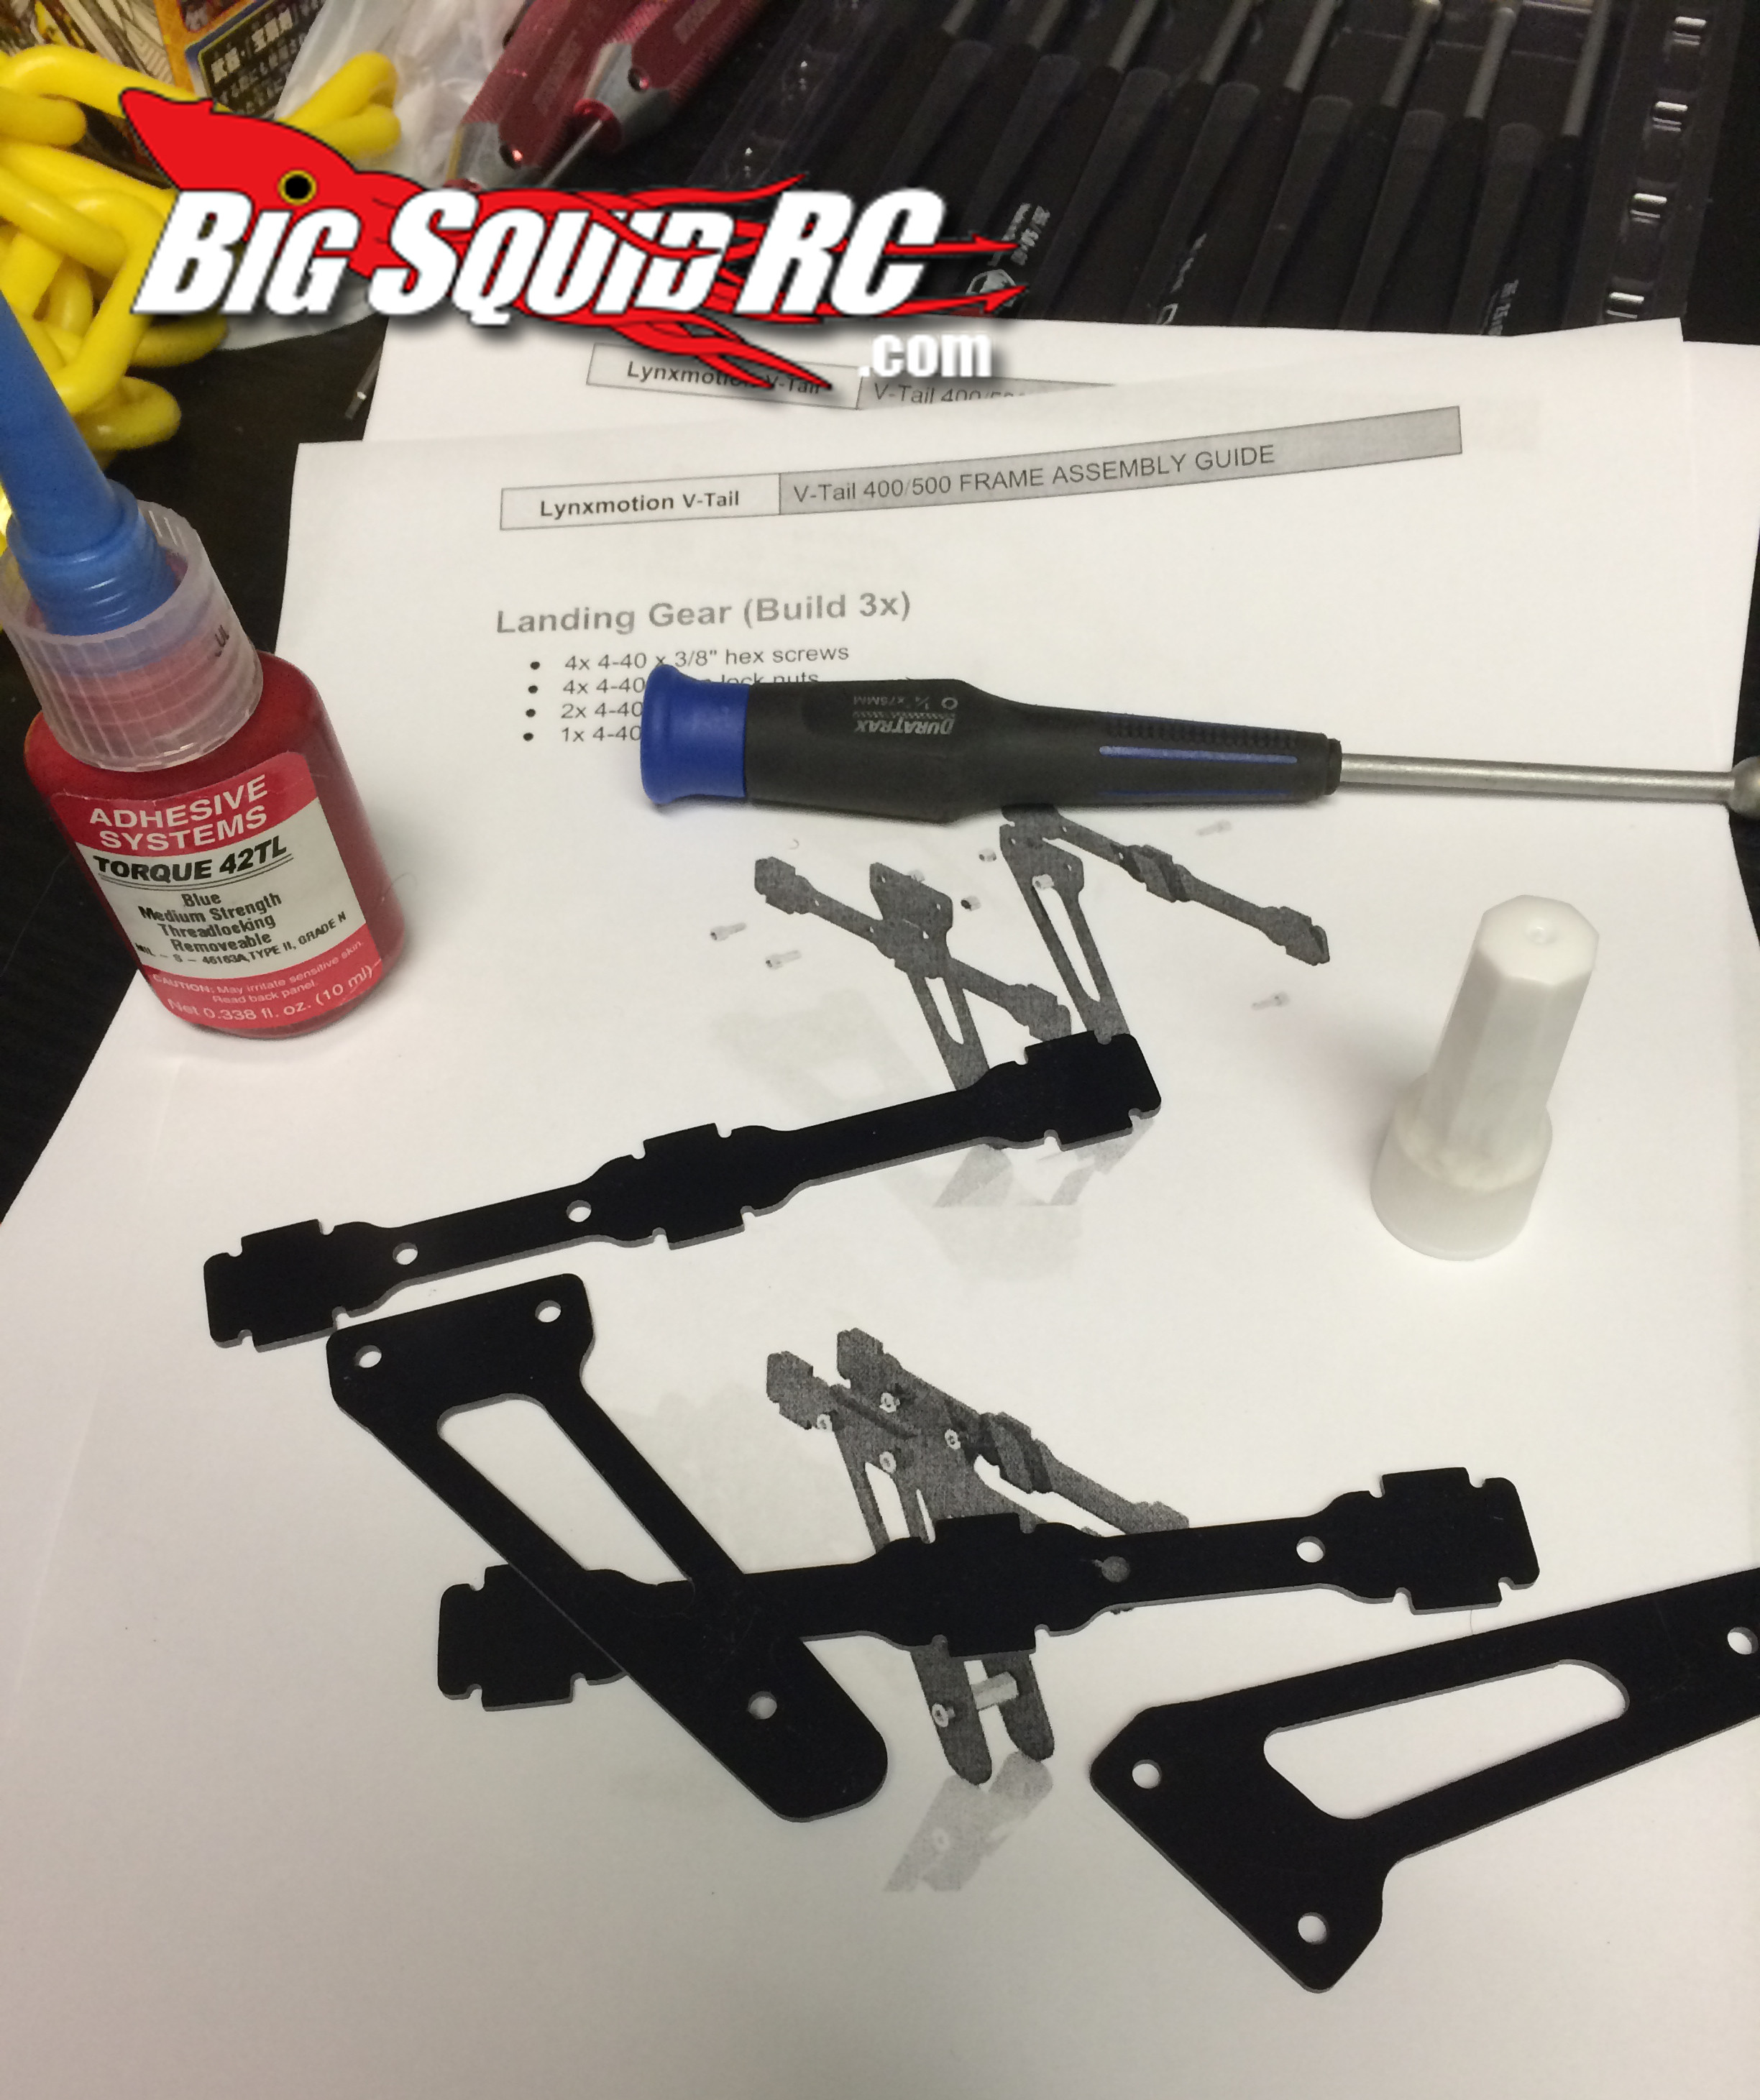
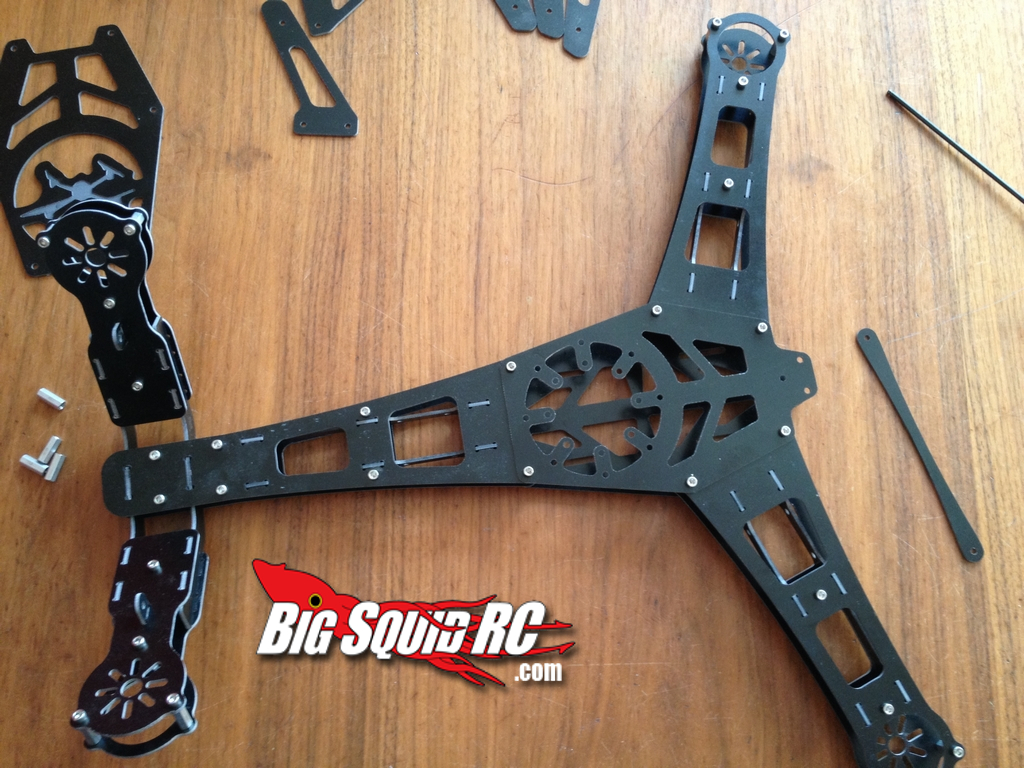
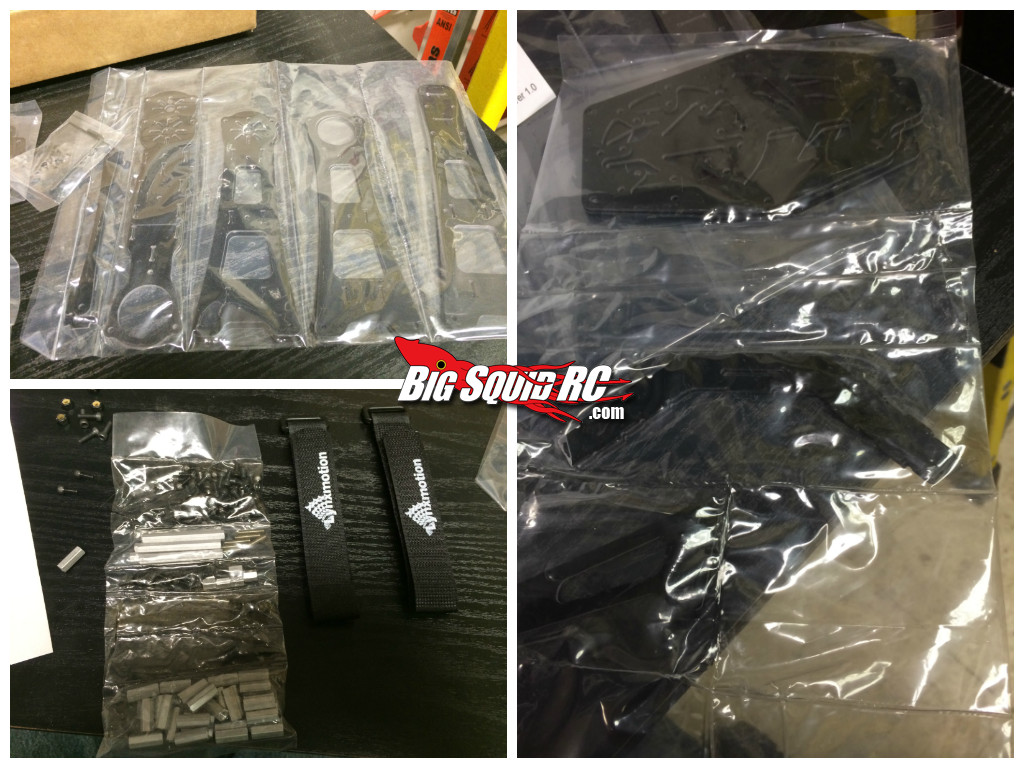
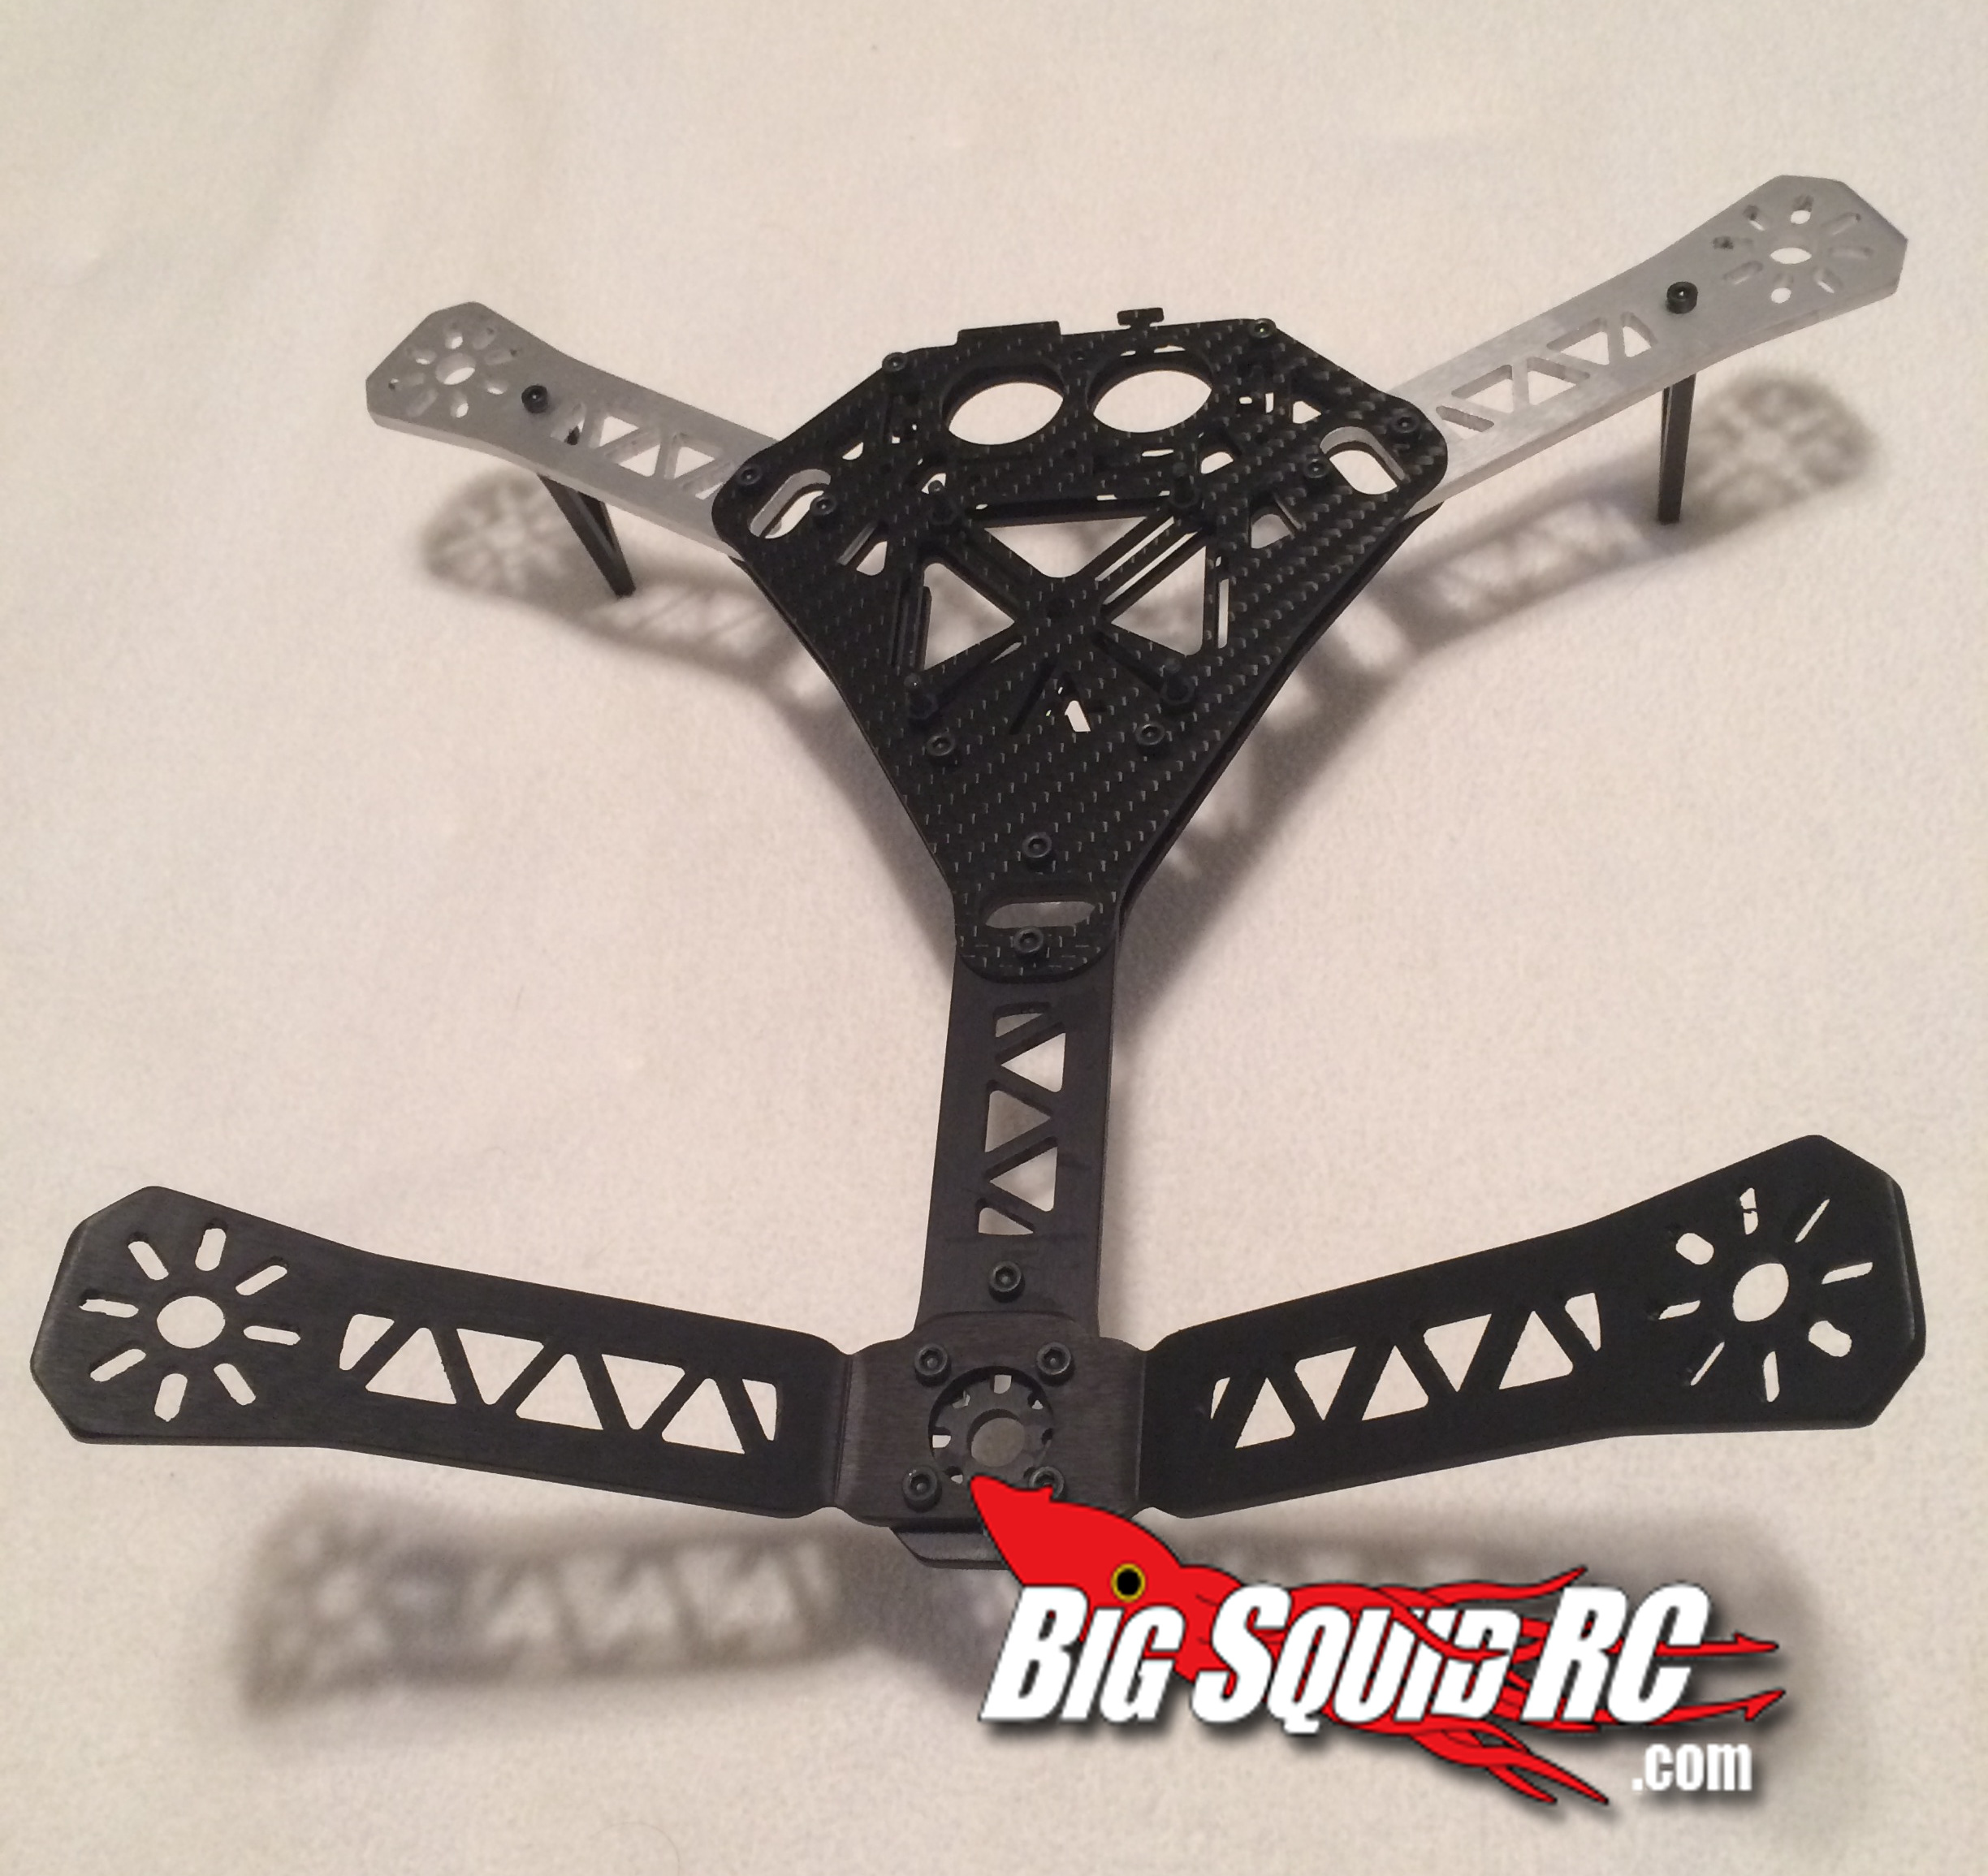
As I mentioned, two of these builds will focus on the V-Tail style of quadcopter. The first frame I picked up was from a company called Lynxmotion, called the Hunter VTail 400. Made from a composite G10 fiberglass, this frame is lightweight and built using 4-40 sized screws, lock nuts, and standoffs. The overall build time depends on the handiness of the person, but this one took me about an hour and a half total over the course of a day. This frame can be picked up for $85 and can be found over at the Lynxmotion website, as well as other frames, Right Here.
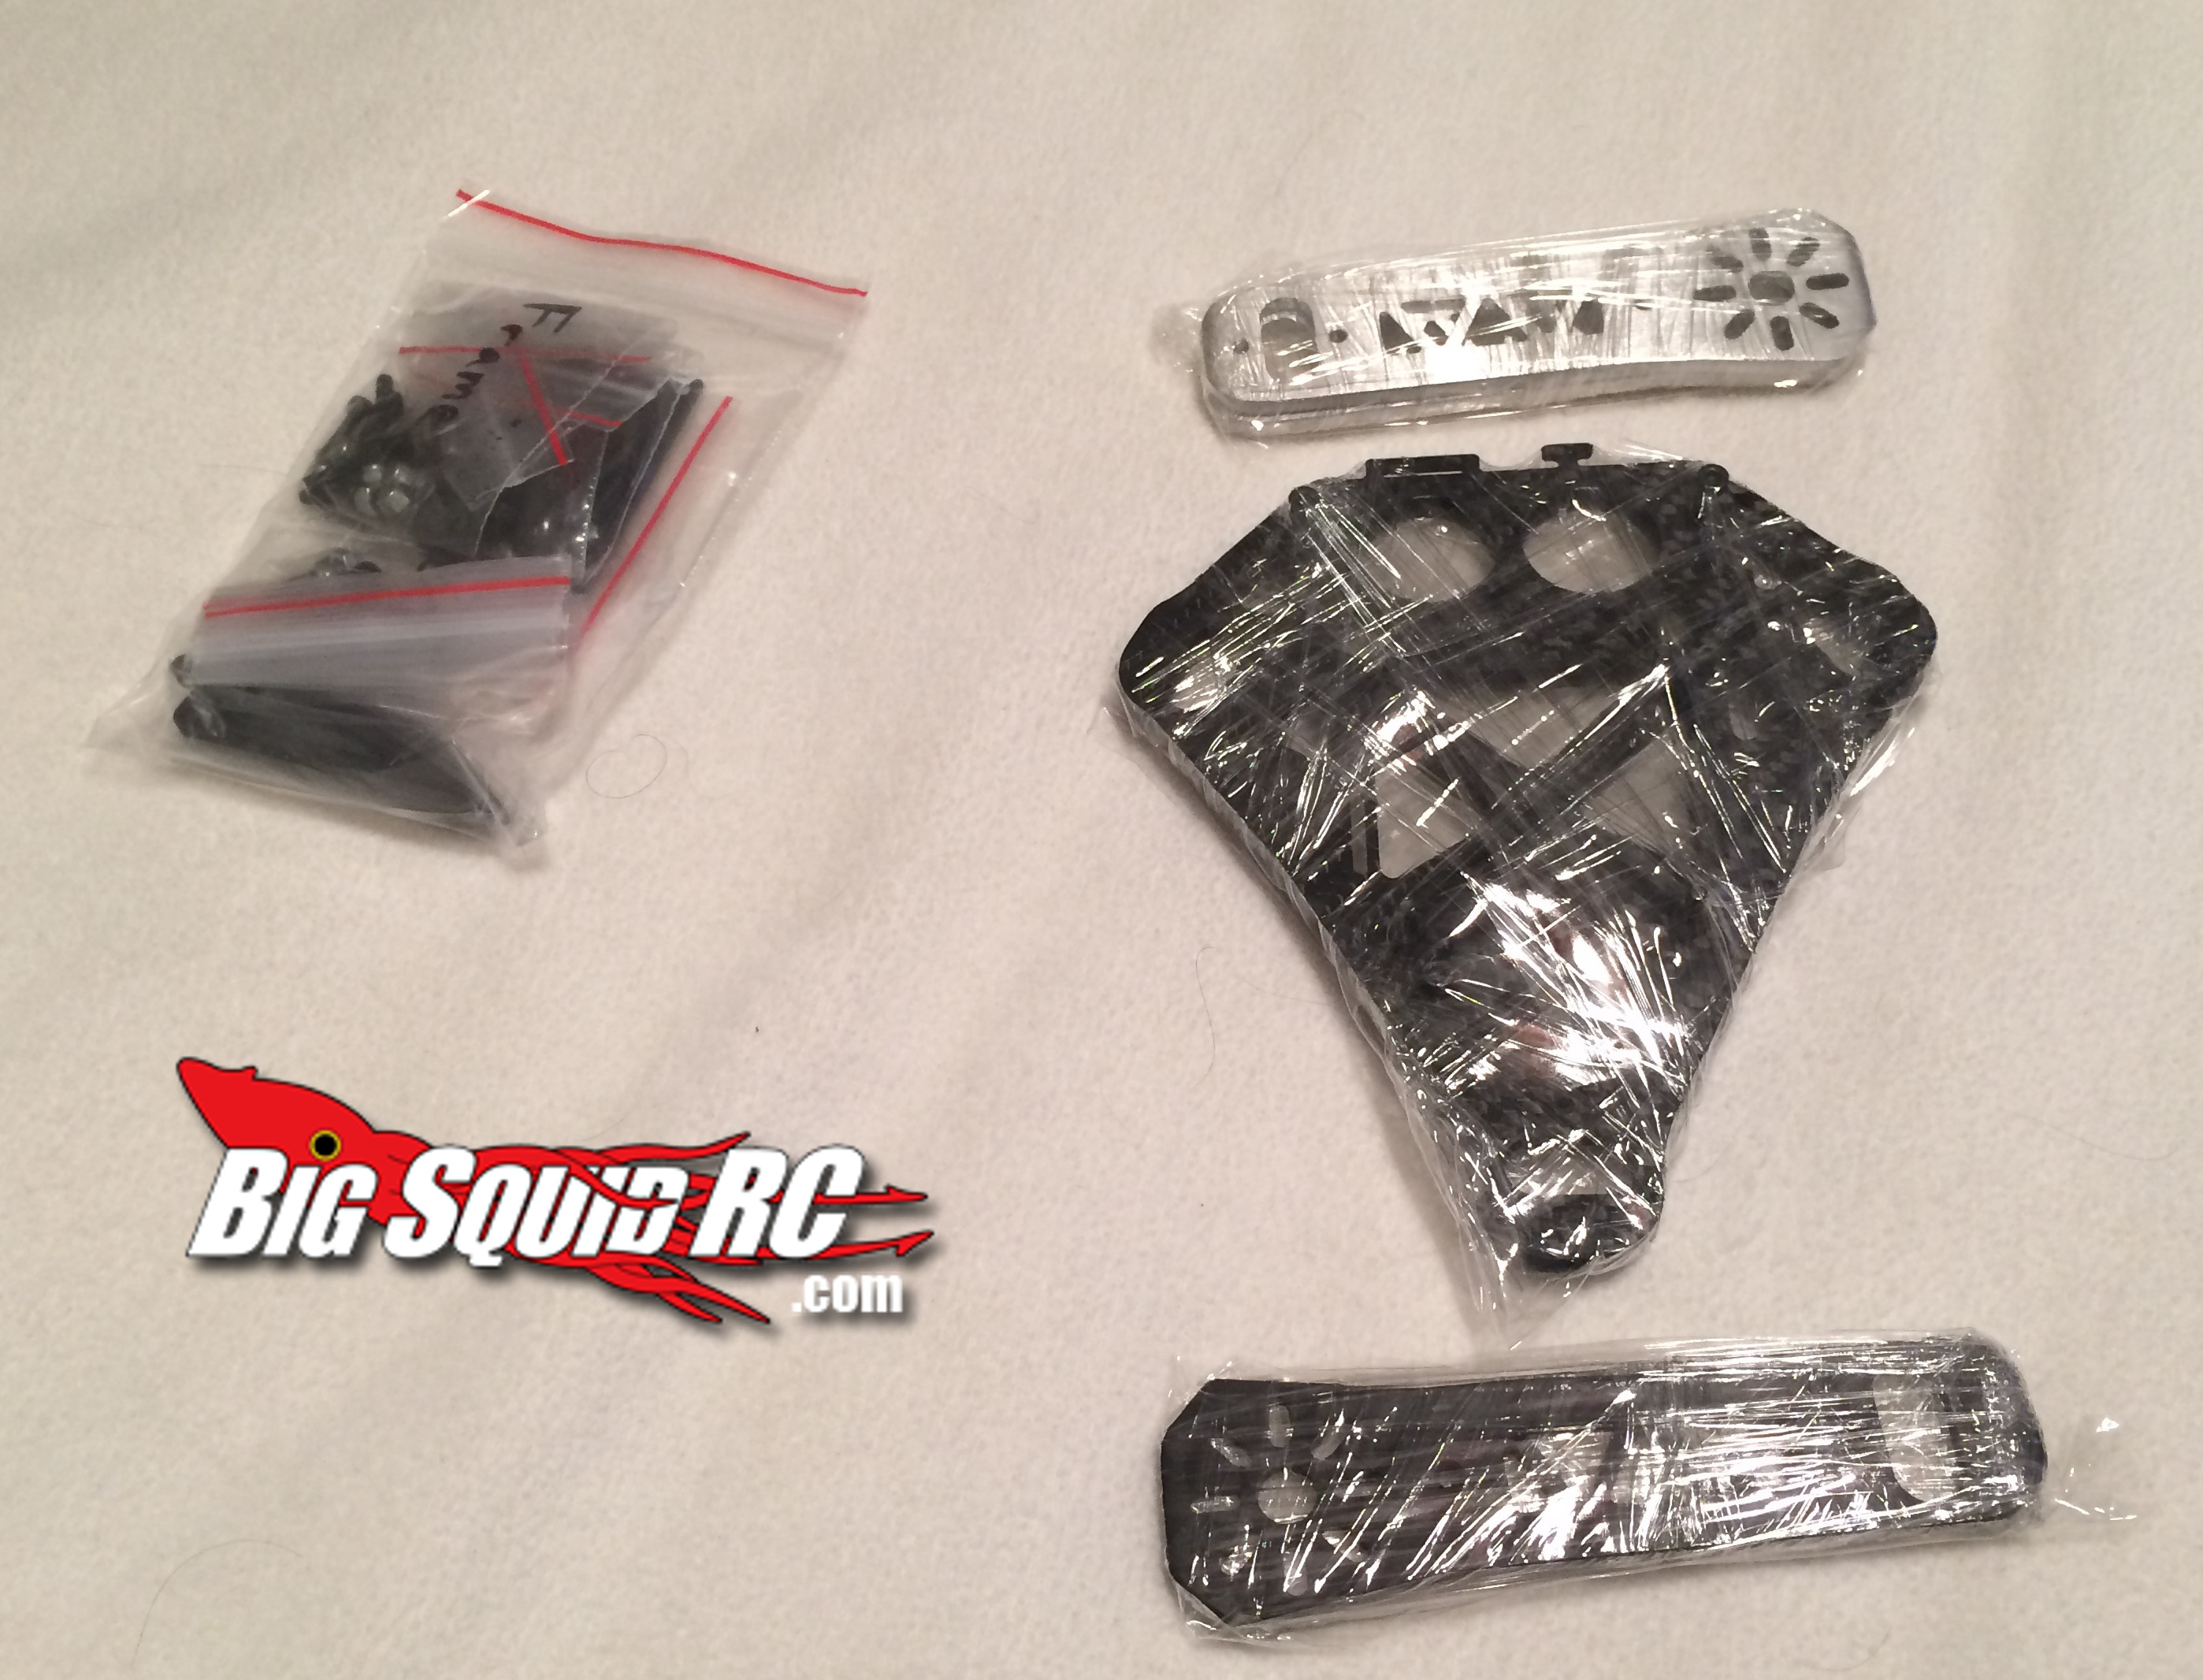
The second frame comes from Armattan, called the CNC 258 Vtail. Comprised of Aluminum and Carbon fiber, this quadcopter is a much heavier than the other two frames, but also has a higher durability factor due to the touch nature of the components. Build time was less than 20 minutes. This quad is also the smallest frame with diagonal size of 258mm. Price for the Vtail starts around $125 and more details can be found on Armattan’s website Right Here.
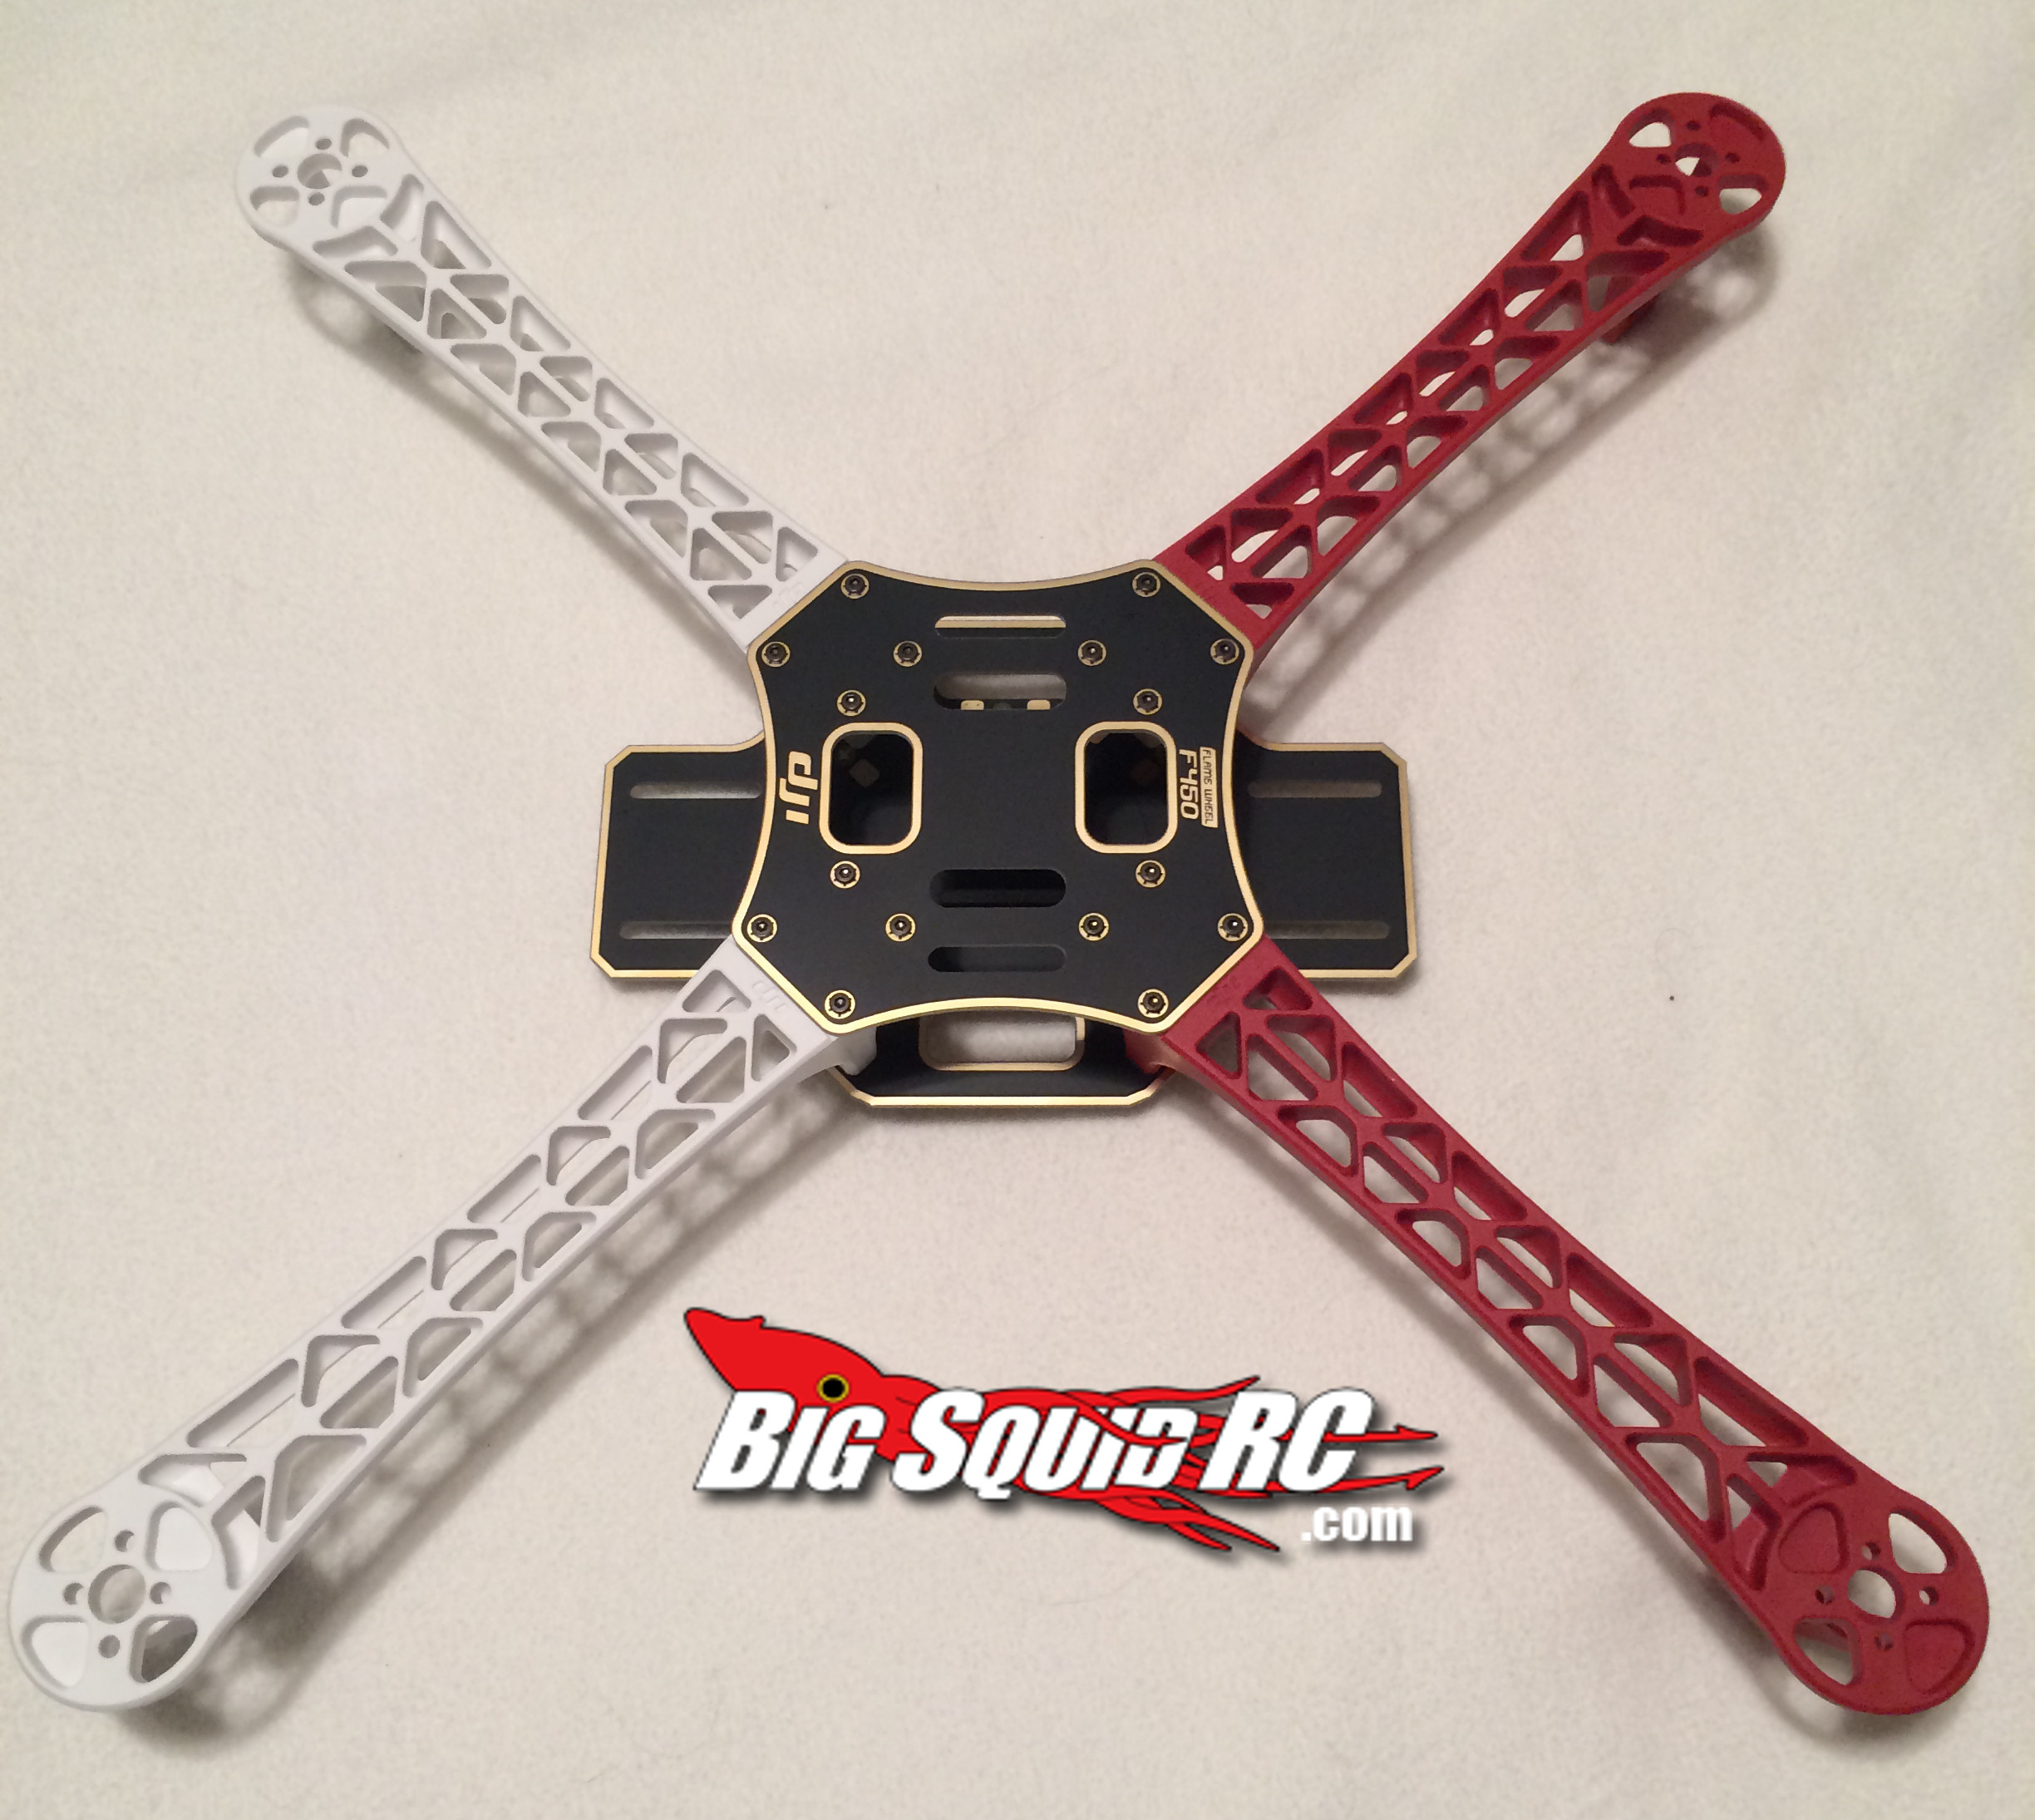
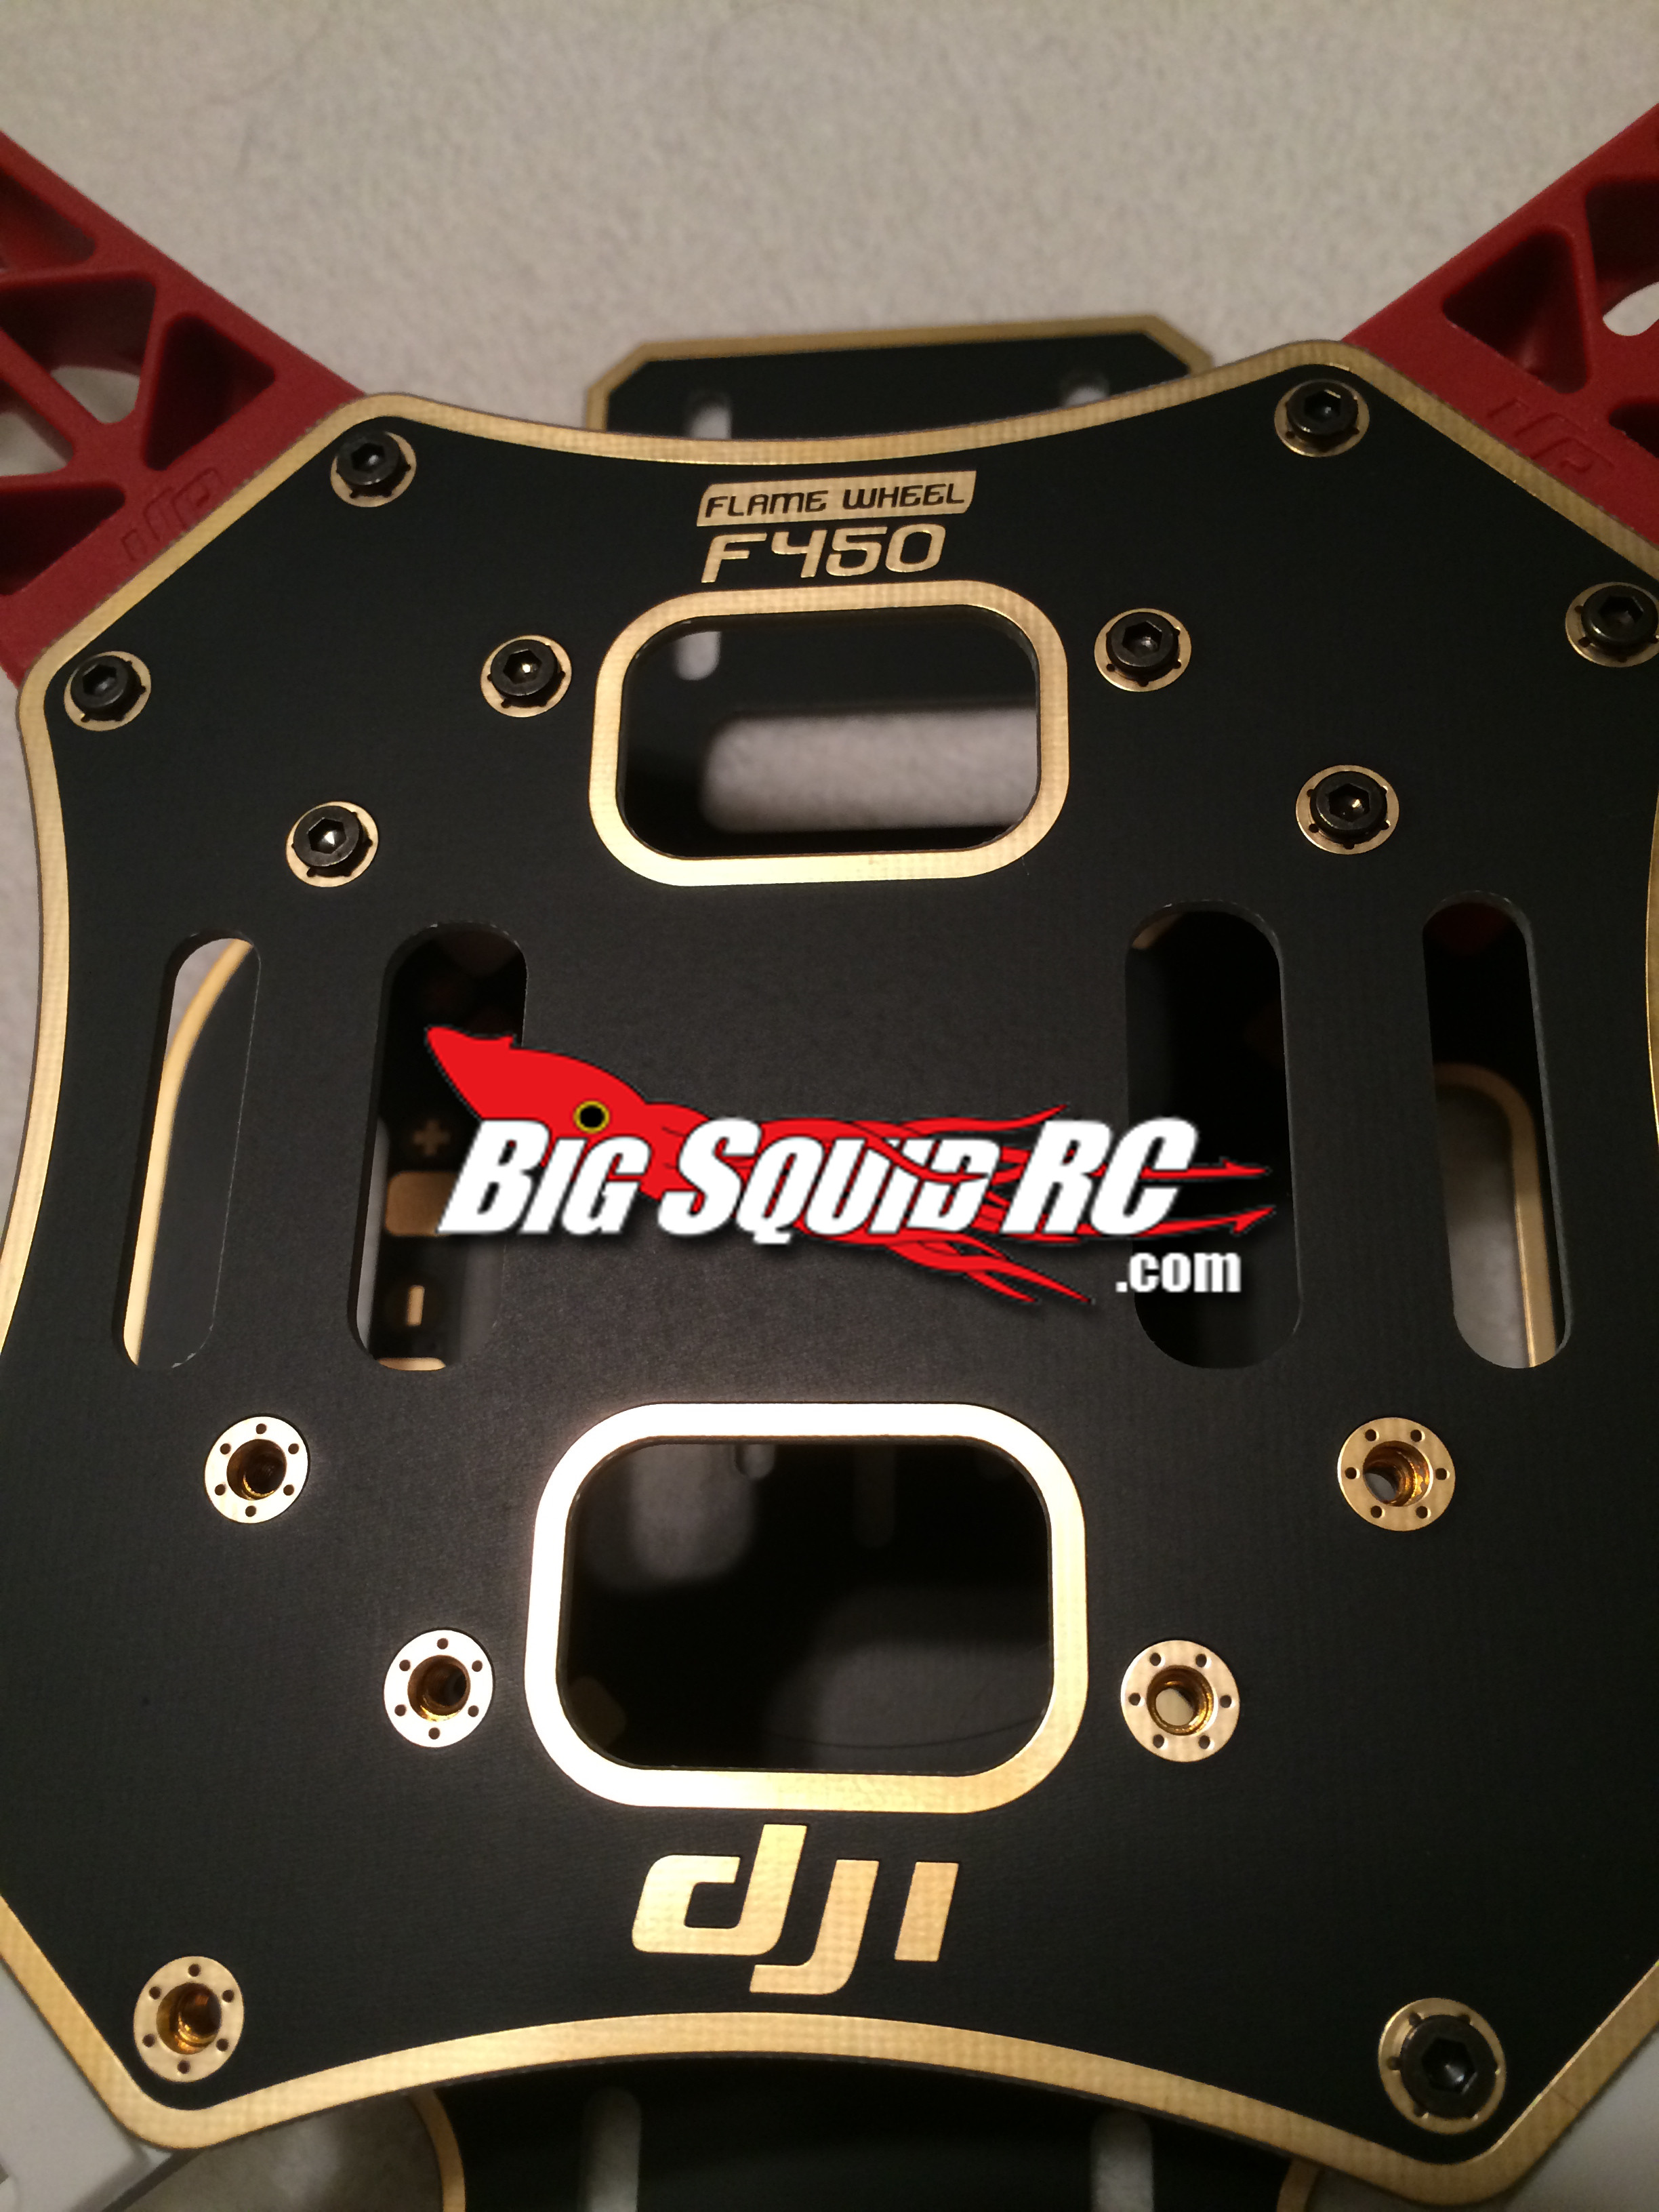
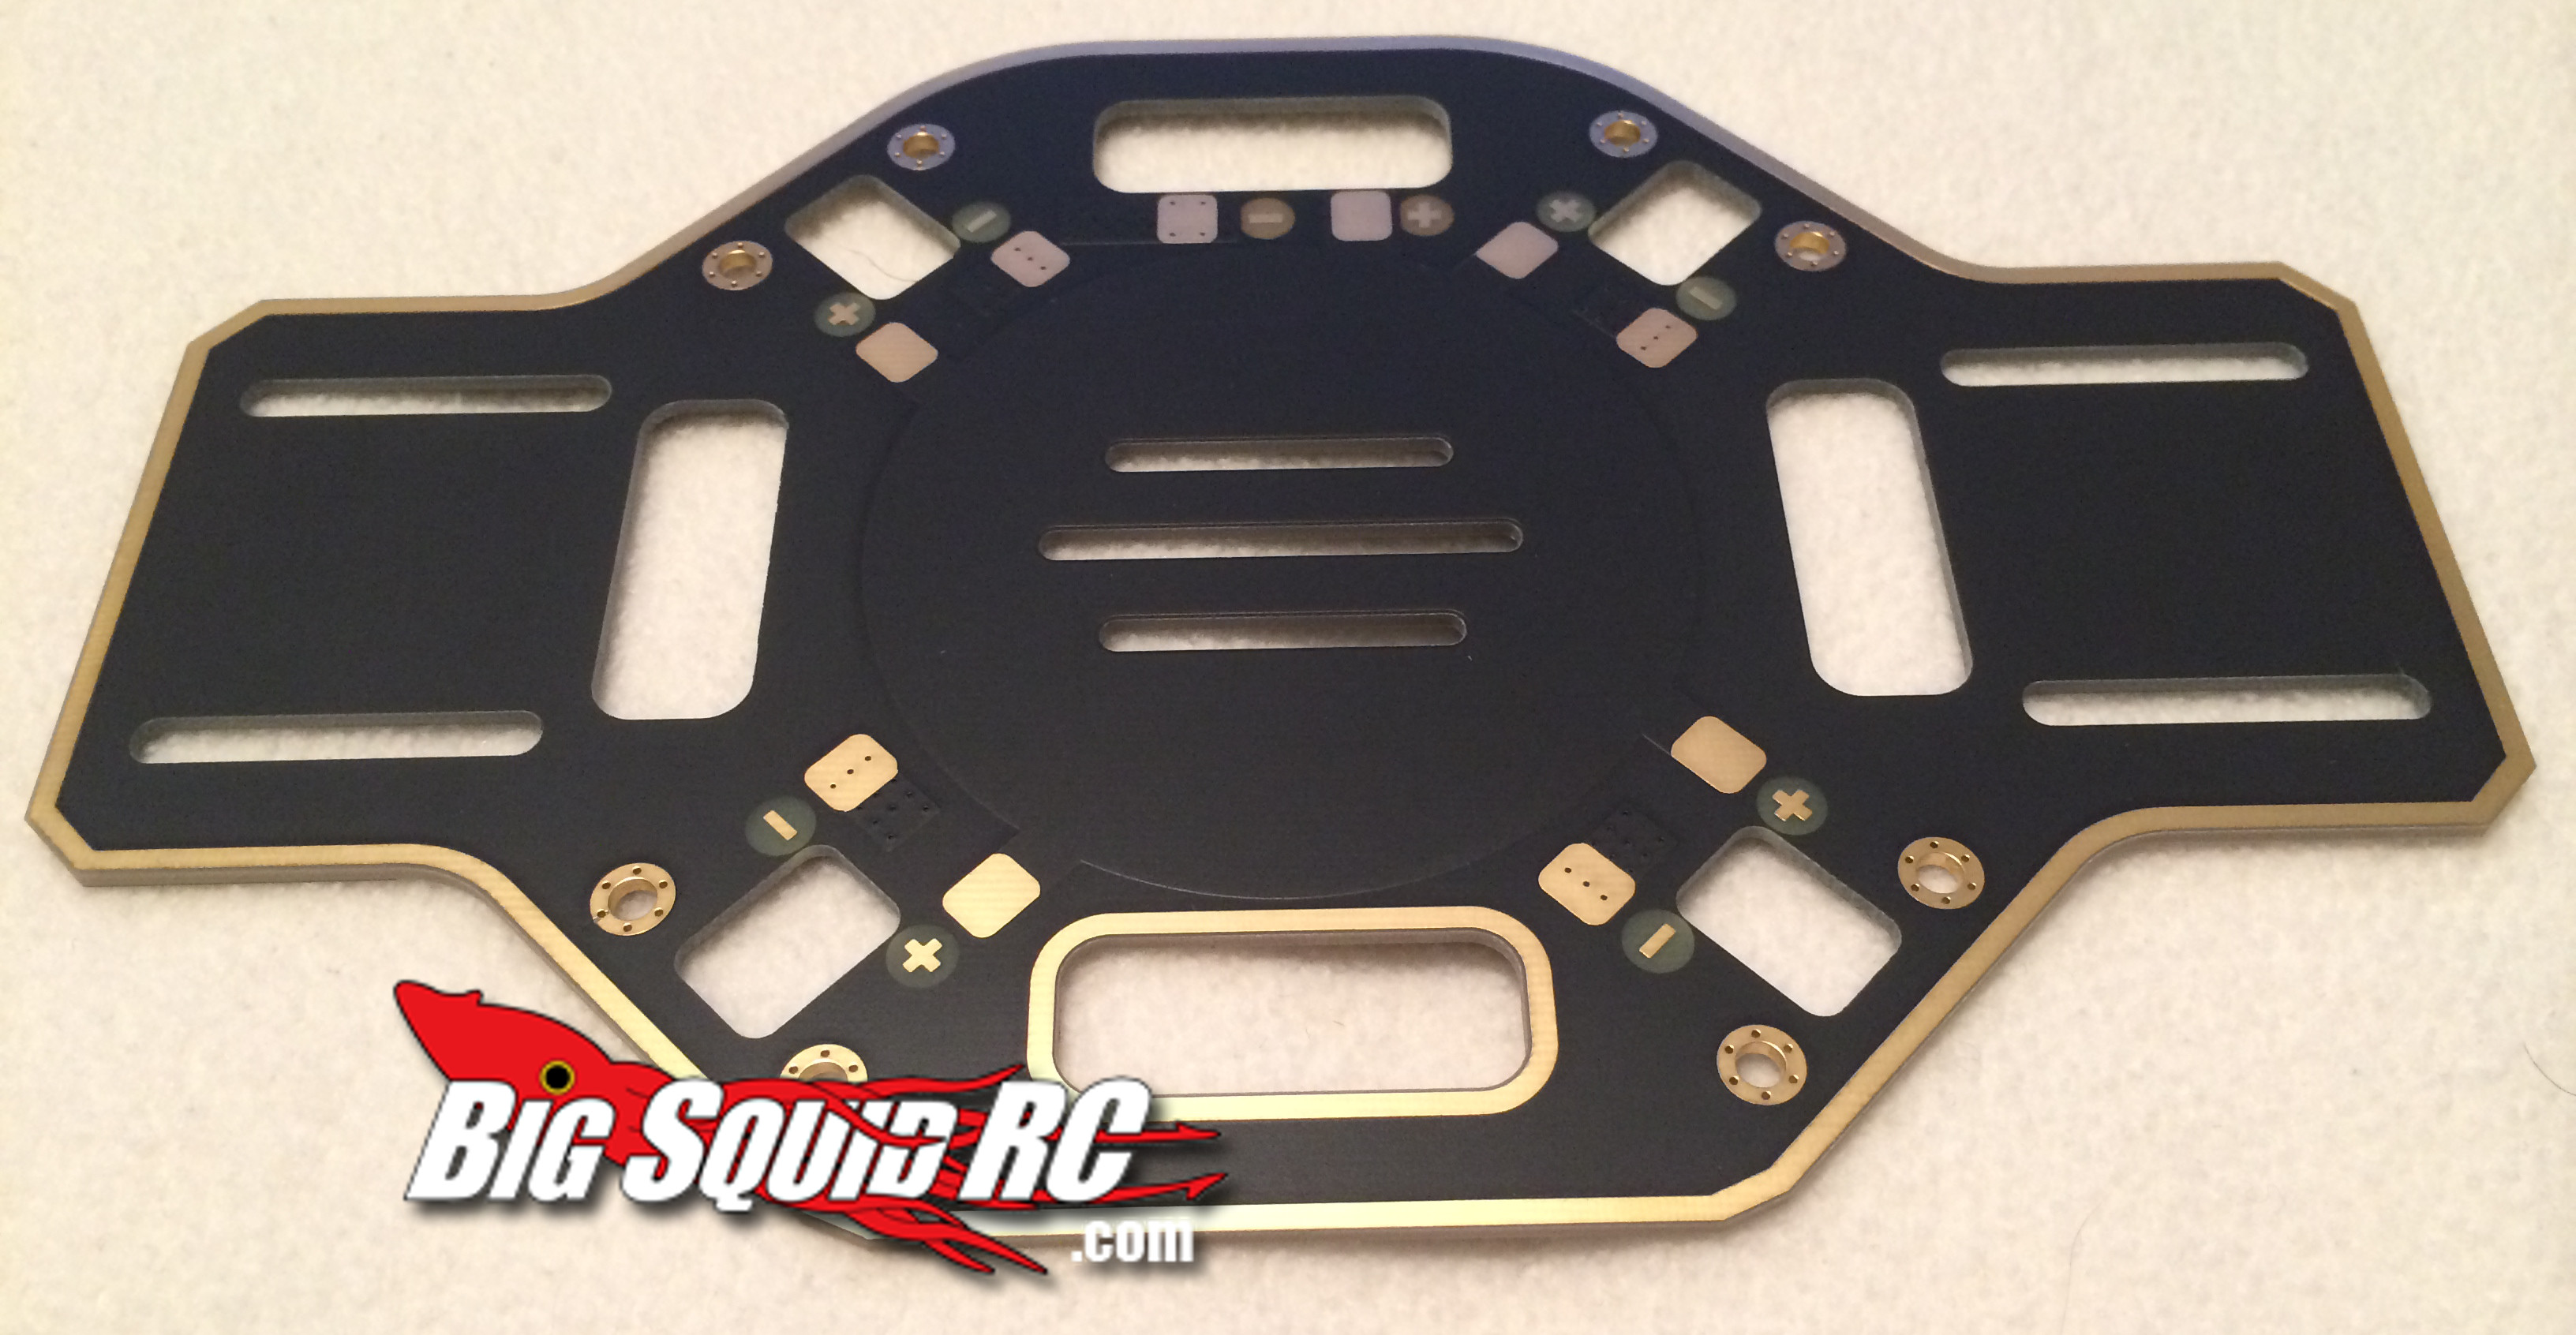
The last frame is a standard quadcopter frame kit from DJI Innovations, called the Flame Wheel 450. Like the other two frames, the number in the name is the diagonal length, for 450mm. The neat feature of this quad is that the power distribution/solder points for the ESCs are on the frame itself. Build time was under a half hour, and a frame like this sells for around $32, and more details on the kit can be found Here.


Next time we will start discussing quadcopter guts. We will start with the ESCs and Motors, and work our way into the heart of the quadcopter. Until then, Stay Shiny and Keep Flyin’!
