
The Backyard – A Primer on Primer
Greetings all and Happy Friday! Welcome to The Backyard!
This week, we’re going to talk about something that probably doesn’t get the blood pumping for most RC enthusiasts. Primer!
Yes, primer. That stuff you spray on before you get to the fun part of painting.
I’ve been painting RC hard bodies and plastic models for decades now, and while I certainly wouldn’t consider myself an expert painter, I’ve done enough of it to be comfortable with a spray can. However, I’ve recently learned a few things about primer that have made me rethink how I approach certain projects.
For years, my approach to priming was pretty straightforward. If I was painting an ABS hard body, I’d grab a can of regular primer, lay down a few coats, and get on with it. Eventually, I started using hobby-specific surface primers, which generally gave me better results on smaller, more detailed parts.
And for a long time, I figured that was about all there was to it.
Well, not quite!
More recently, I’ve started experimenting with fine surface primers, and I’ve been surprised at just how much of a difference they can make. When you’re working with a detailed scale truck body, grille, interior, or other small components, the last thing you want to do is bury all that nice molded detail under a thick layer of primer.
A good fine surface primer can provide a smooth foundation for paint while preserving those little details that make scale RC projects look so good. That’s not to say traditional hobby primer is bad, because it certainly isn’t. Different products have different purposes, and some primers are specifically designed to help fill small imperfections.
The trick is knowing what you’re trying to accomplish.


I’ve even primed entire RC chassis before, and for those jobs I’ve used traditional hardware-store spray-can primer with good results. If I’m working on a big metal chassis or something that doesn’t have a bunch of intricate molded details, I don’t necessarily need to break out an expensive can of hobby-specific fine surface primer.
In the photo above, I used a rust primer (so when nicked, the the chassis would look rusted) with a heavy agricultural tractor paint on top, and said tractor paint is so heavy that priming didn’t matter as much there as to affect the final color. (FYI this kind of paint is something I would not normally use on a typical rc project)
But for a highly detailed ABS body? That’s a different story.
And then there’s another aspect of priming that I’ve only recently started paying much closer attention to.
The Color
For years, I think I fell into the same trap that a lot of hobbyists probably do. When you think of primer, you think of gray. It’s neutral, it’s readily available, and it works well for a whole lot of applications.
But gray isn’t necessarily the best choice for every paint job.
White primer, for example, can make a significant difference when you’re working with certain bright colors or paints that don’t have a lot of hiding power. Depending on the paint, putting a bright yellow or red over gray instead of white can leave you with a noticeably different result, even after several coats.
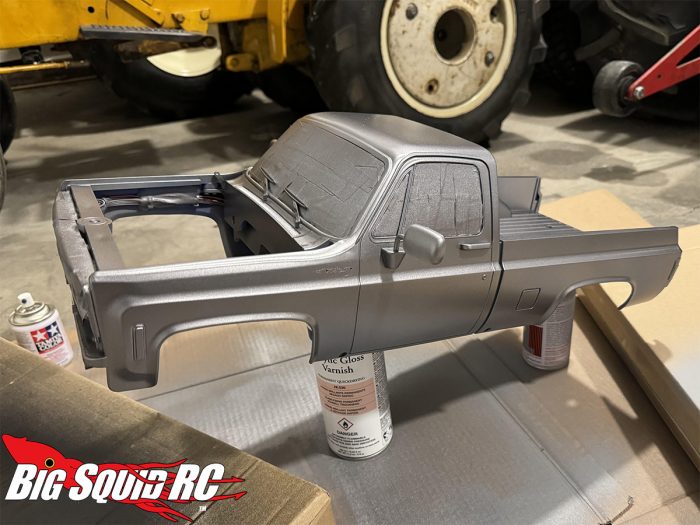
And it isn’t always just a matter of white versus gray versus black. Sometimes even a subtle difference in the shade of gray underneath can influence the final appearance, particularly when you’re using thinner or more translucent paints.
Metallic and candy finishes can take this to another level.
With certain specialty paints, the primer is only the beginning. You may need to apply a particular solid-color basecoat, or perhaps a silver, gold, or other metallic base, before applying the final color. Candy paints in particular are often designed to be translucent, allowing the underlying finish to influence the final appearance.
If you skip that step, or use the wrong color underneath, you might wind up with something completely different from what you were expecting!
The lesson here is to pay attention to the paint manufacturer’s recommendations, especially when working with specialty finishes. Just because a surface has been primed doesn’t necessarily mean it’s ready for the final color.
Another thing worth remembering is that more primer isn’t always better. When painting detailed RC parts, several light coats are generally preferable to one heavy application. You want good coverage and adhesion without filling in panel lines or obscuring details. And of course, always make sure the primer you’re using is compatible with the material you’re painting.
None of this is particularly groundbreaking information for experienced model painters, but it’s been a useful reminder for me that there’s always something new to learn in this hobby.
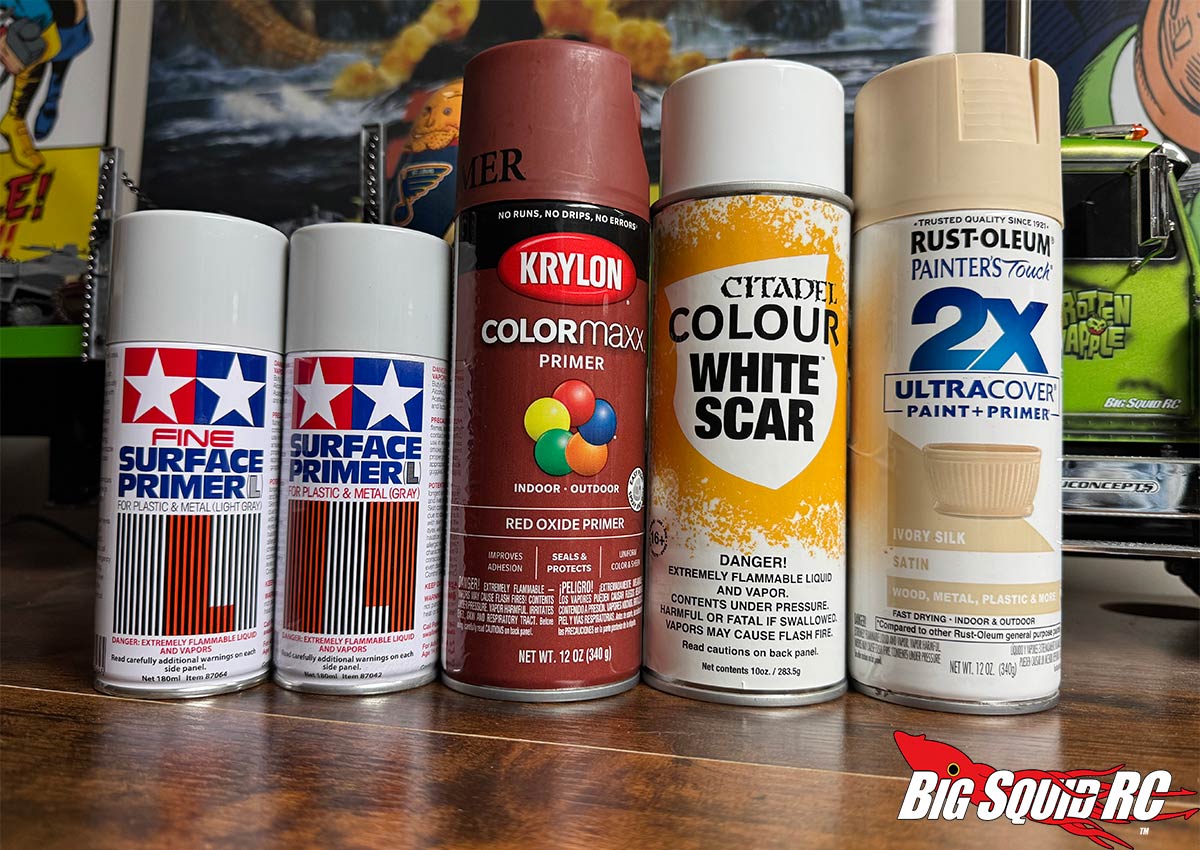
I have a cabinet full of different primers these days. Traditional spray-can primers, hobby surface primers, fine surface primers, and several different colors. The pic at the top of this page has a few examples from my stash. That’s only a few cans out of the now 15-ish that I have(!), and is a pretty good illustration of how something as simple as primer can become its own little rabbit hole.
And of course, we haven’t even touched on painting Lexan bodies, which is a whole different animal and probably deserves its own column! When you’re painting a clear polycarbonate body from the inside, you’re essentially working in reverse. The backing color you spray on LAST can make a huge difference in how the finished body looks. A green that appears a little dull or washed out can suddenly POP when backed with white or silver. And while we’re on the subject, make absolutely sure you’re using proper polycarbonate-compatible paint for BOTH your main colors and your backing coats! That’s one lesson you definitely don’t want to learn the hard way.
After more than thirty years in RC, I still find it funny that I can spend so much time painting things and then discover that I’ve been overlooking some of the finer points of the stuff that goes on before the paint!
So the next time you’re getting ready to paint an RC hard body, chassis, or scale accessory, give a little extra thought to what’s going underneath that final color. The primer might not be the most exciting part of the project, but it can have a lot to say about how the finished product turns out.
Alright, that’s it for me this week. Until next time, keep it on all 4’s!