Vaterra Halix Hop-Up Series Part #3 – Installing a New Body
The single biggest difference you can do for the looks of your truck is to change its body. Changing out the body will make your truck look different from everyone else’s at the local bash spot, and in some cases, can even improve performance. For those reasons changing the body on our Vaterra Halix was a “must do” project.
In years past, prepping, masking, painting, then trimming a new body took hours. For people with little free time it can hard, if not impossible, to find a free evening to paint up a clear body. Thankfully pre-painted bodies are becoming more and more common, most of which can take less than 15 minutes to mount up.
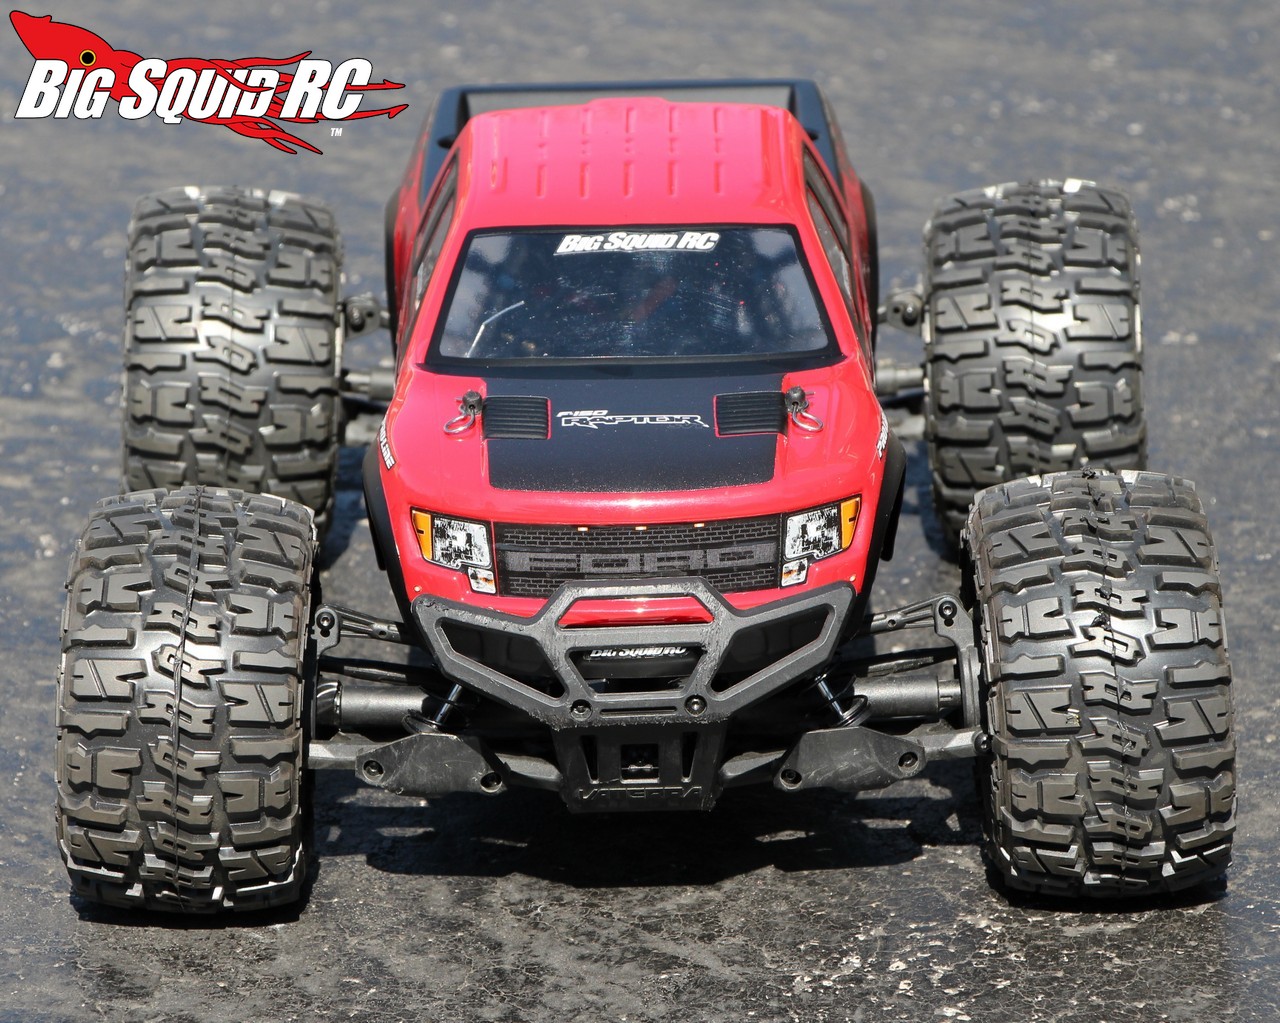
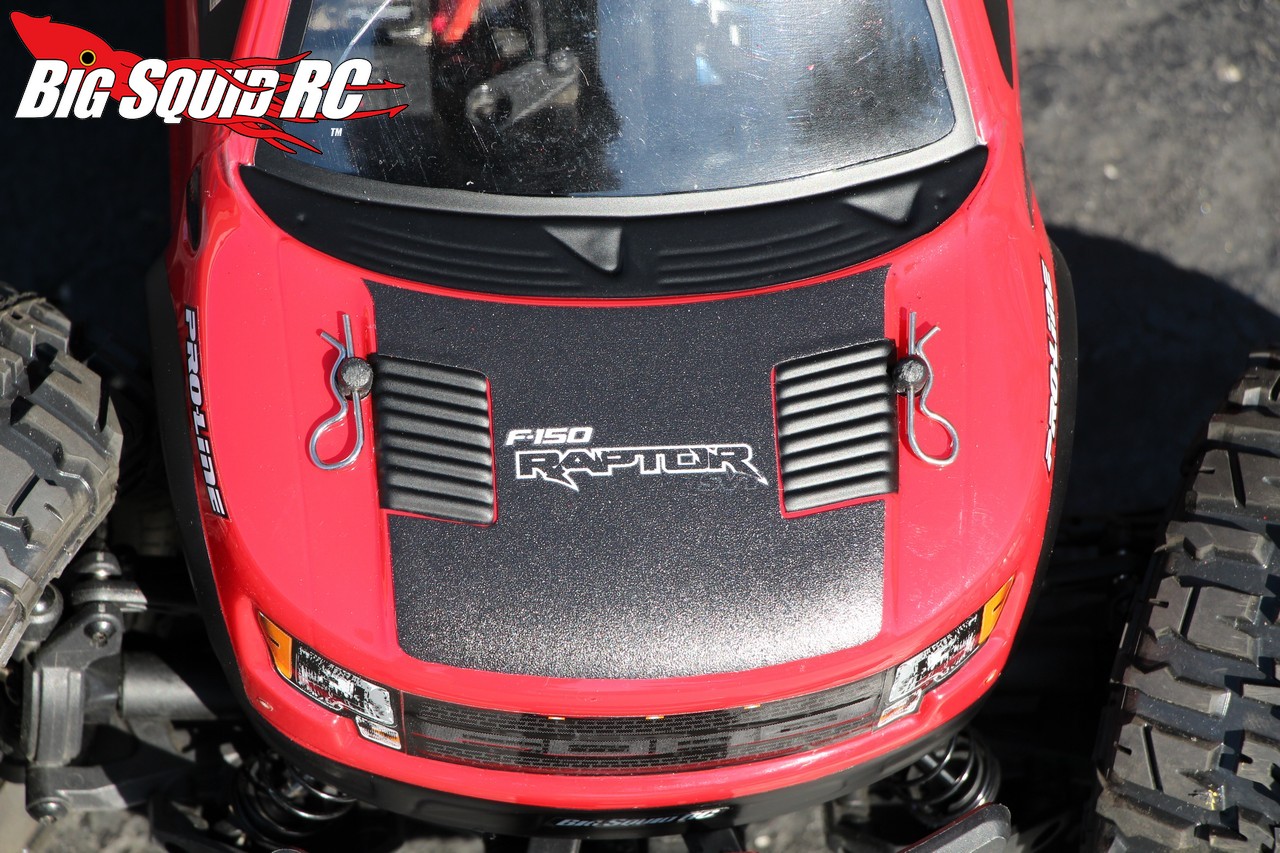
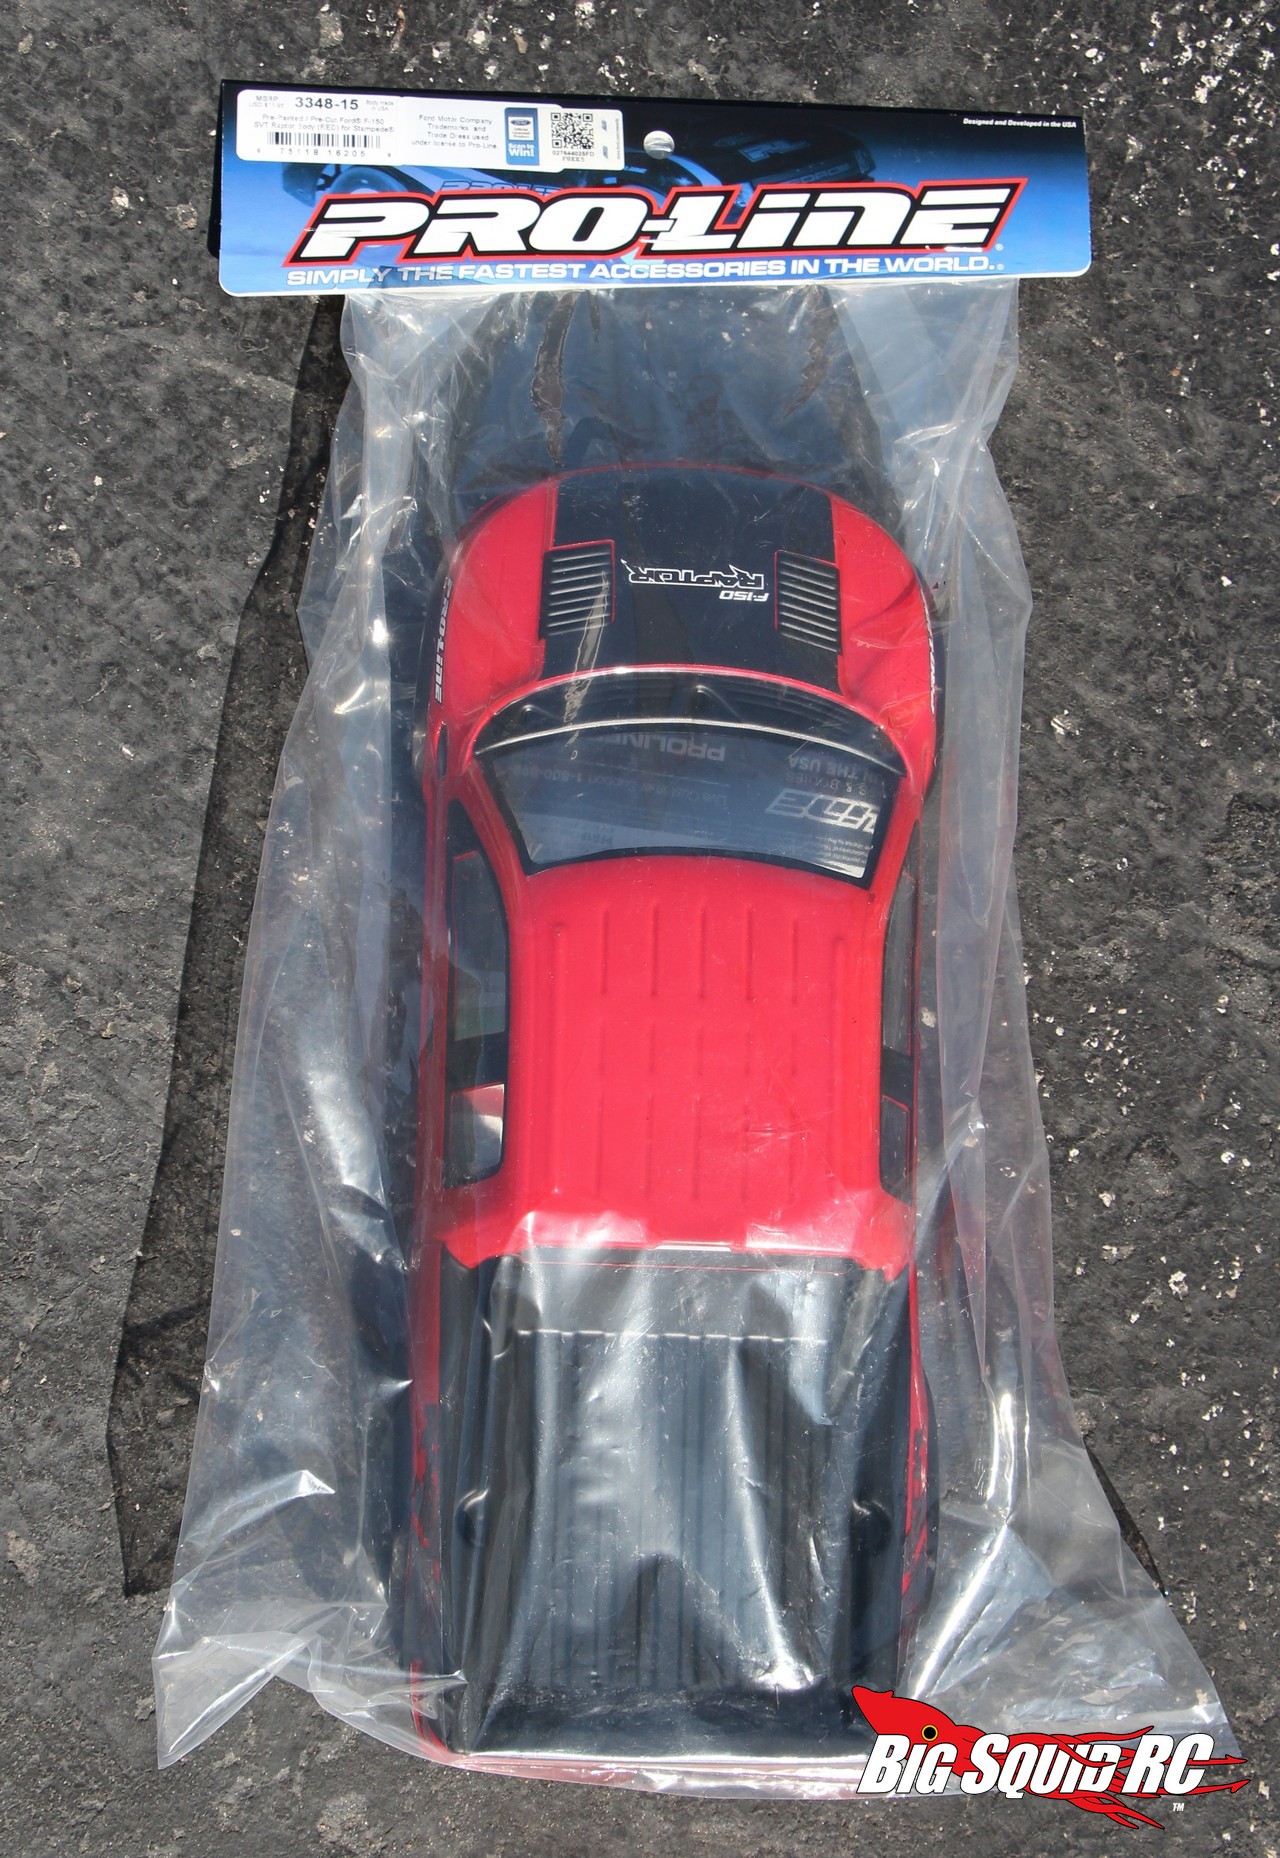
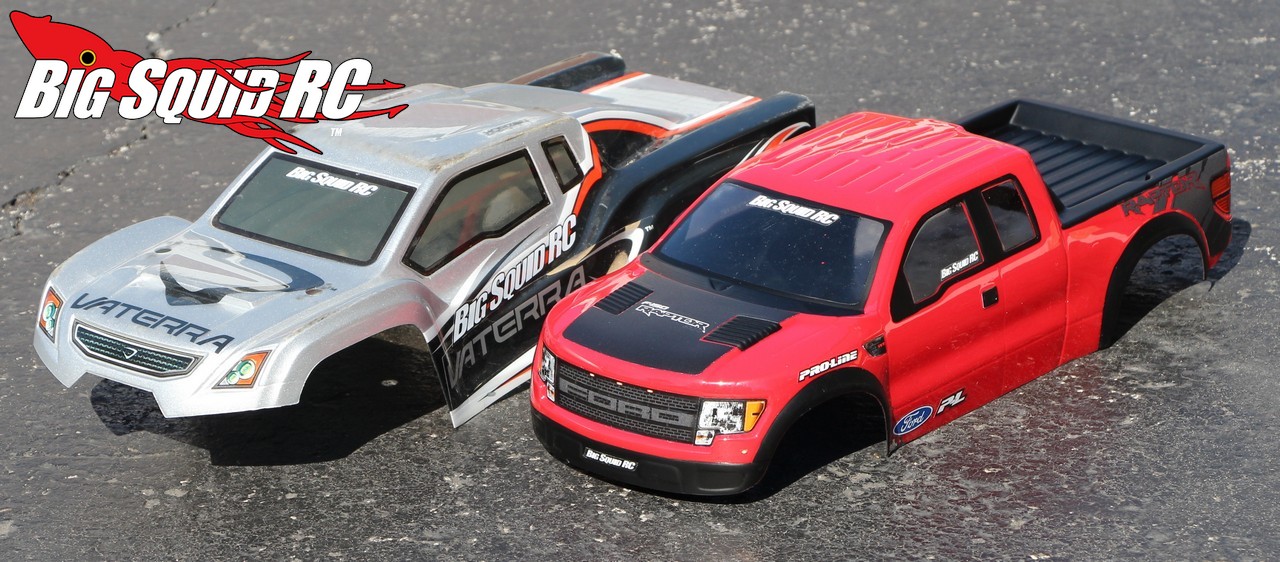
For our Halix project we were looking for a scale looking body that came pre-painted. Our friends over at Pro-Line Racing had just what we were looking for, a red pre-painted Ford F-150 SVT Raptor. The body has a gorgeous scale look and takes under a half hour to install, perfect!
Here are the steps to installing a pre-painted body on your Halix-
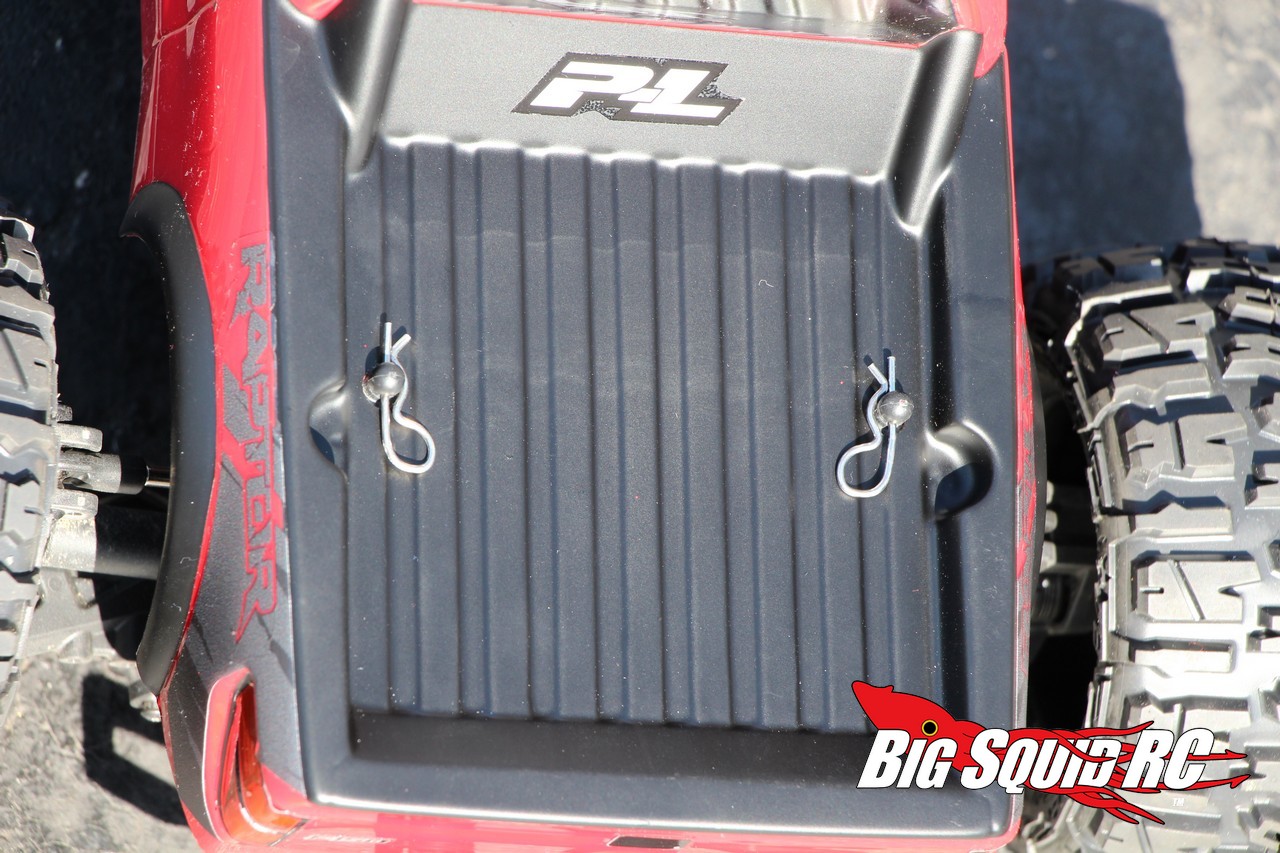
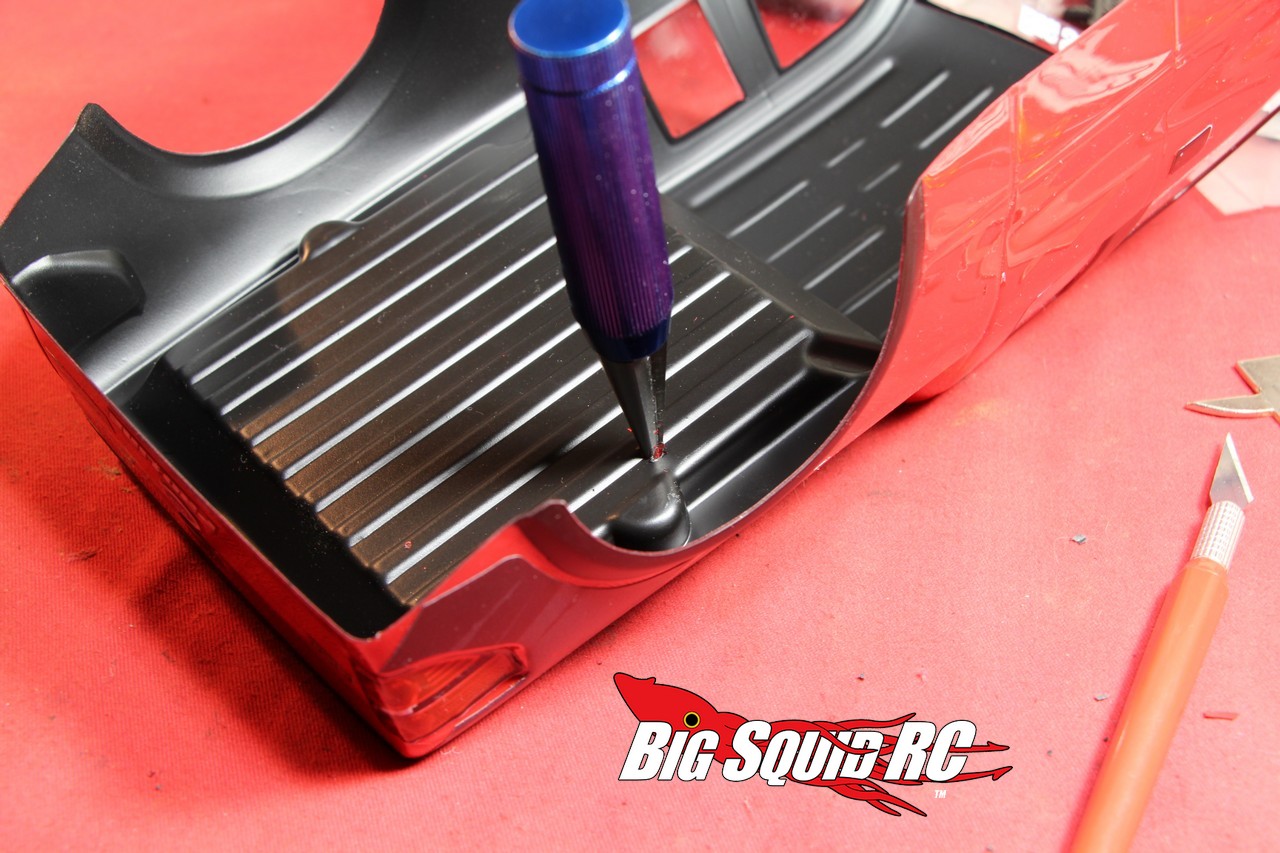
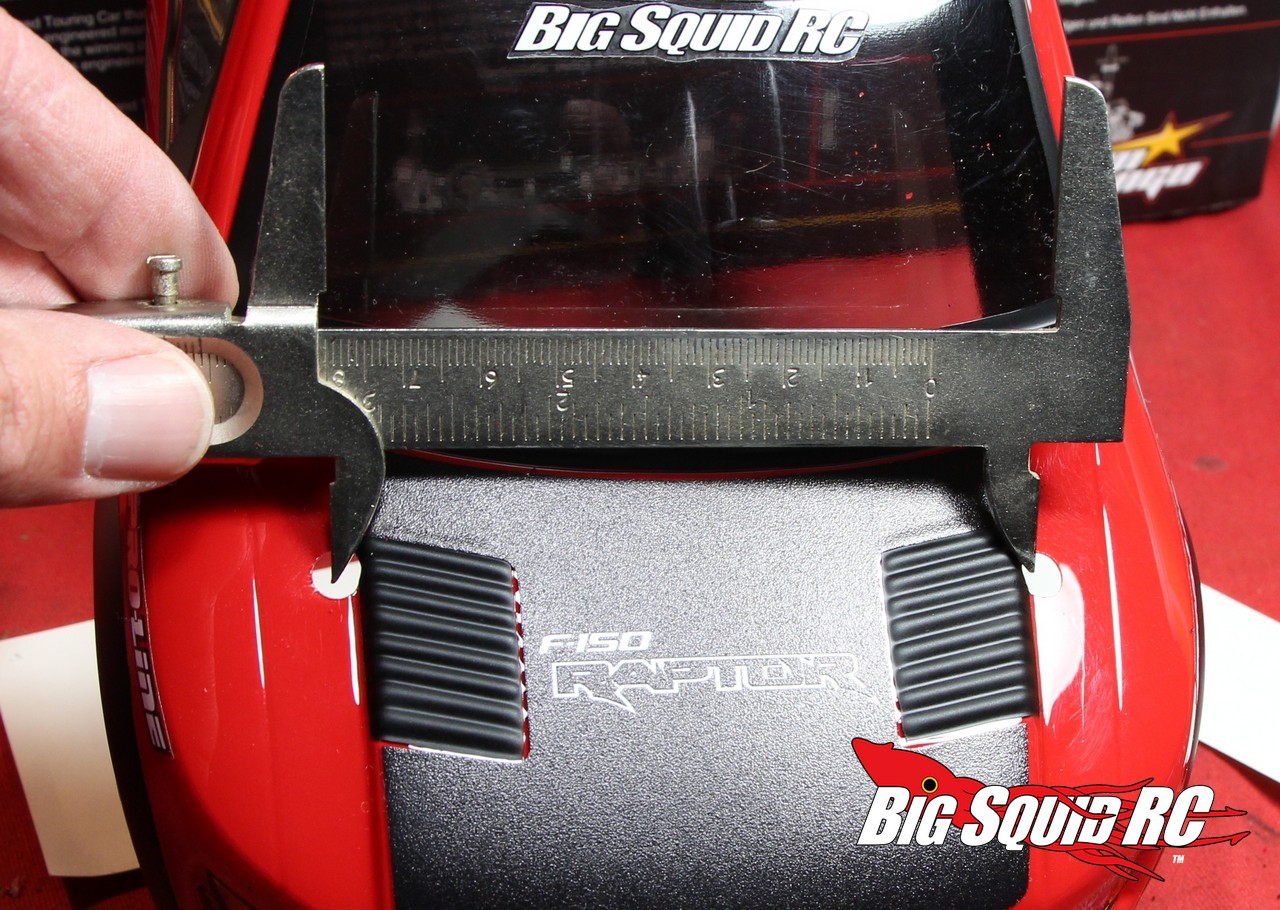
1. Drill the rear body holes. Test fit the new body on top of the truck. Use a Sharpie or hobby knife to make marks on the under side of the new body where the body posts are resting. Once you have double checked to make sure your markings are where you want them, bust out the body reamer and make the holes. Helpful hints- we used a hobby knife to mark where the holes should be front-to-back on the body, and a pair of calipers set to make sure the holes were the proper distance apart. Also, start with a very small holes just in case you are a little bit off.
2. Drill the front holes. Put the new body on and clip it down in the rear, then make two more marks on the underneath side of the body where the front body posts touch. Once again, break out a body reamer to make a pair of appropriately sized holes.
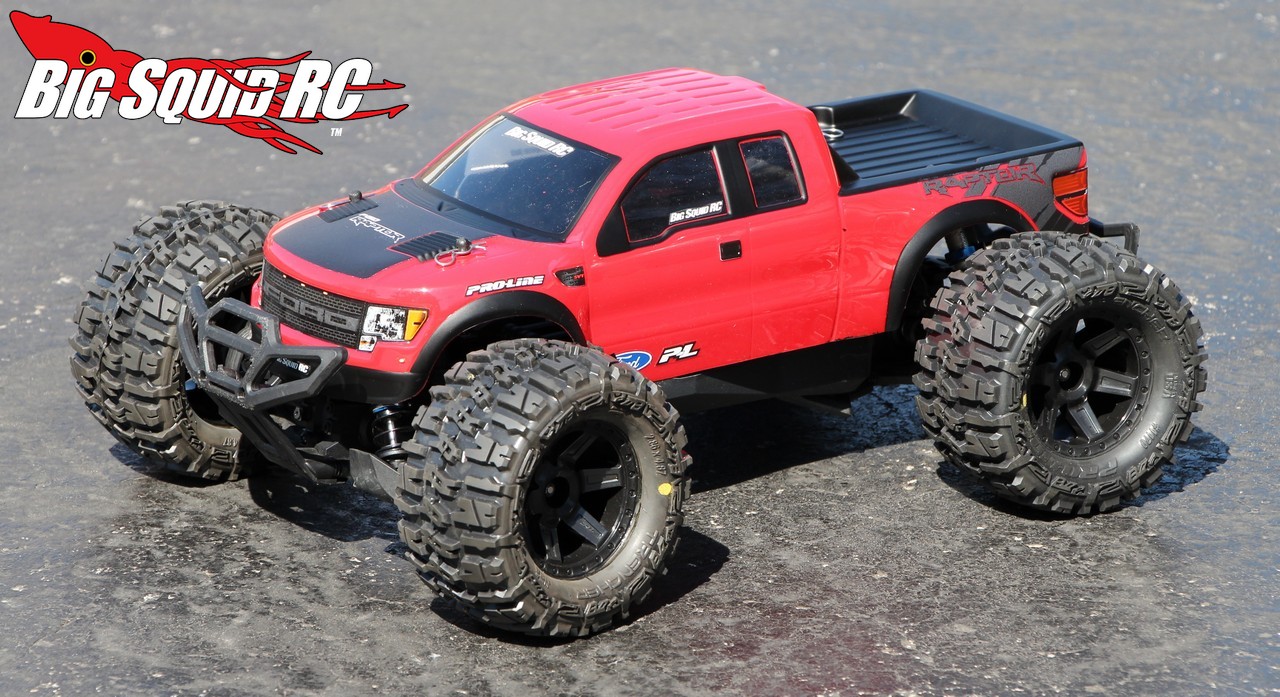
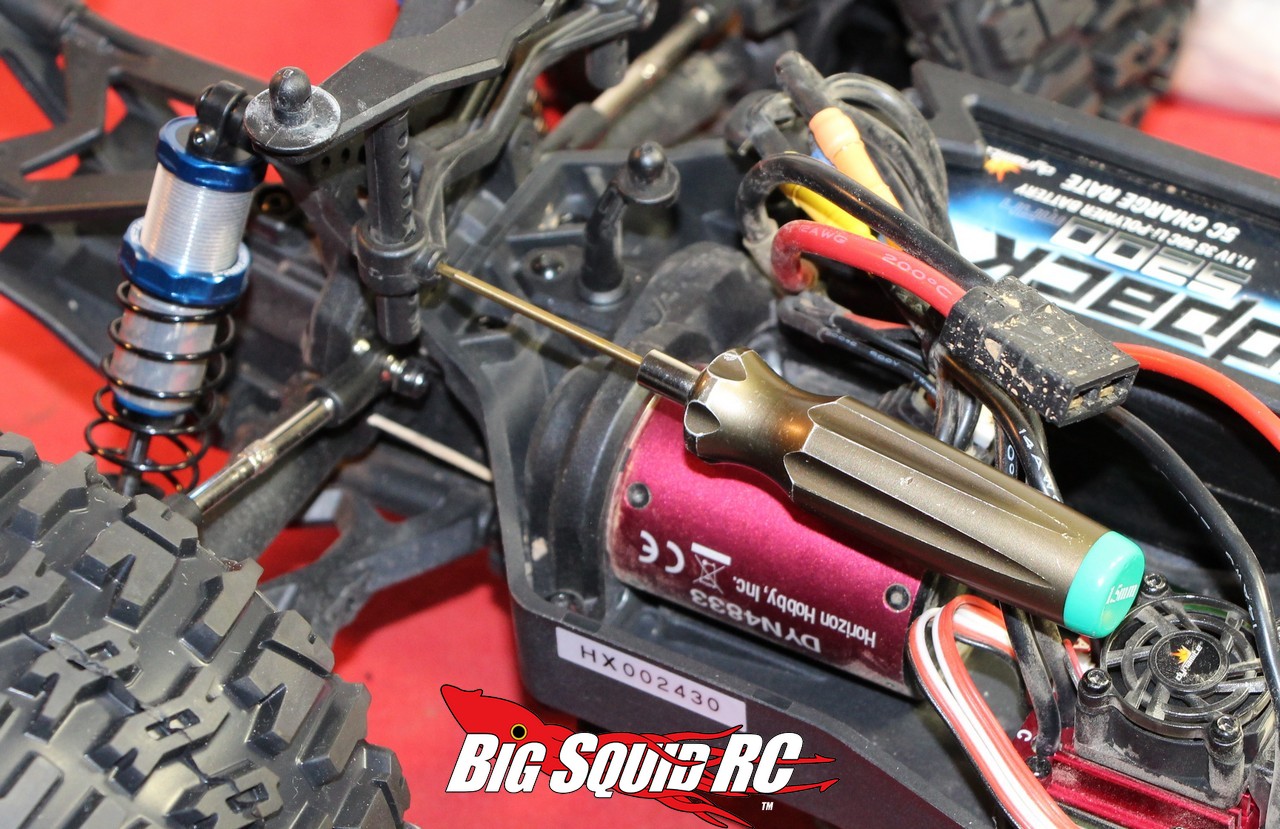
3. Set the height of the body posts. We lowered the body posts on our Halix by two holes front and rear to get the look we were after. This is quite easy, use a 1.5mm hex wrench to remove the four screws required to lower (or raise) the posts.
4. All done! Put in a freshly charged battery pack and get some bashing in! Our Halix has a trick new look and Pro-Line bodies are known for taking a good beating.
Next up in our hop-up series is how to install MIP CVDs on the Halix. Until then you can Click This Link to read more how-to articles on BigSquidRC.