Vaterra Halix Hop-Up Series Part #4 – Installing MIP CVDs
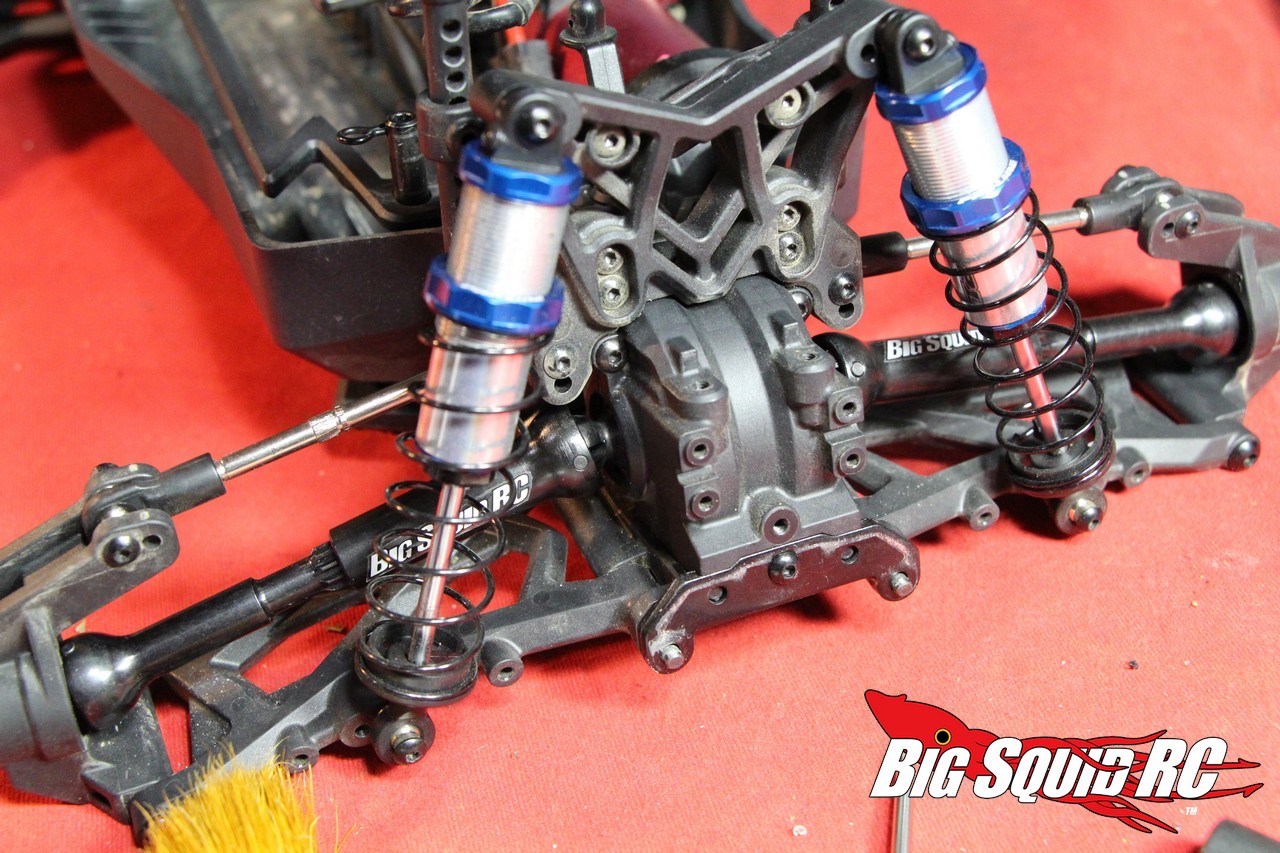
The previous hop-ups we performed on the Vaterra Halix didn’t take much elbow grease. Installing pre-mounted wheels & tires can take as little as 5 minutes, while installing a pre-painted body might take less than half an hour. On the flip side of the coin, installing MIP CVDs on the Halix might be the most time consuming hop-up to be found. While installing CVDs on most vehicles is a snap, because of the design of the Halix, both differentials must be removed and fully dissembled, meaning this job might take you well over an hour. However, the stock driveshafts have a tendency to break, so installing MIP CVDs should be considered an absolute must if you plan on bashing hard.
How to install MIP CVDs on a Vaterra Halix –
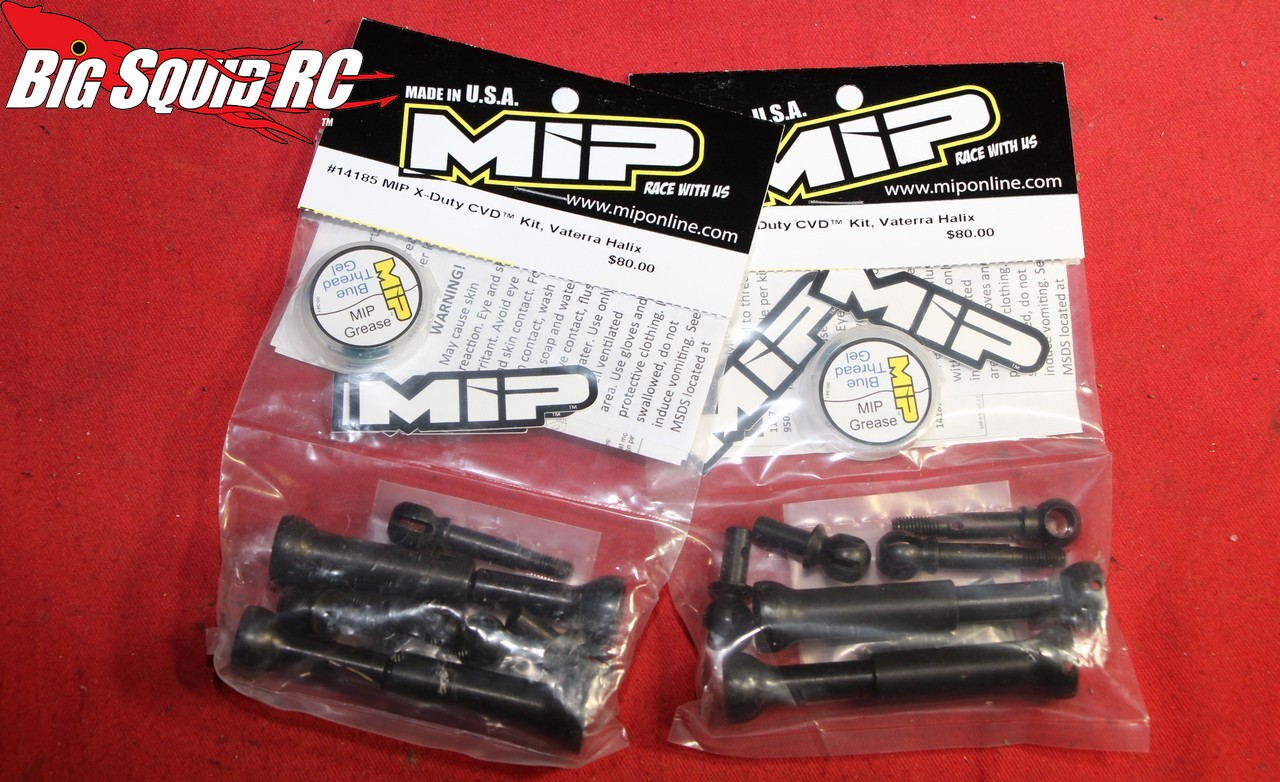
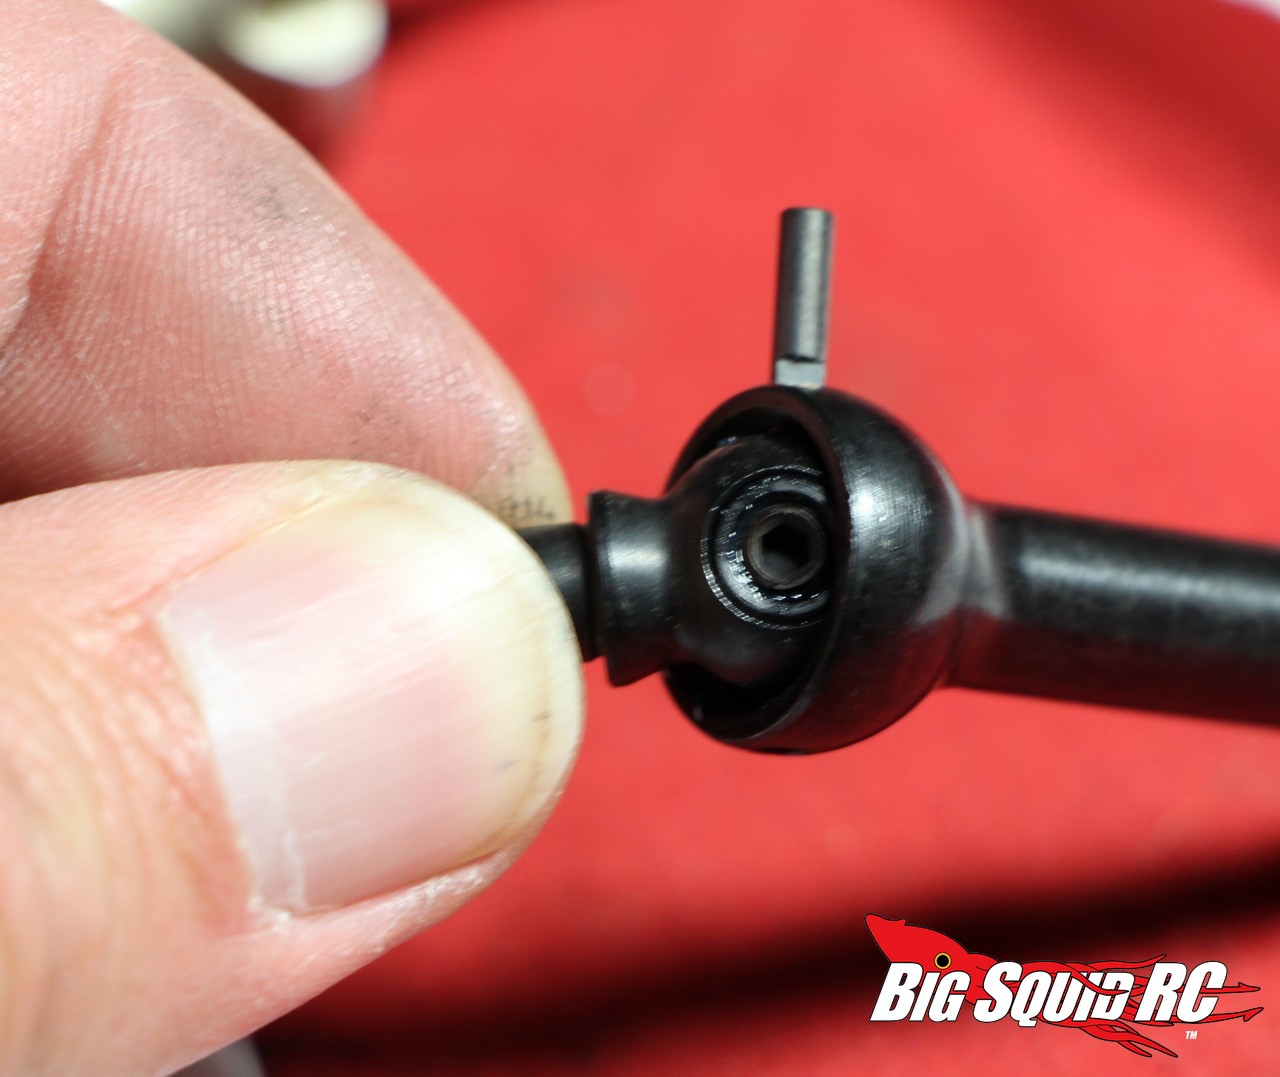
1. Bust the MIP CVDs out of their package and fully assemble them. Follow their supplied directions, taking extra note to use the supplied thread locking compound on the grub screws used to secure the CVD pins, and make sure the grub screws mate up to the flat spots on the pins. Also make sure to use the supplied grease on the mating surfaces to reduce friction.
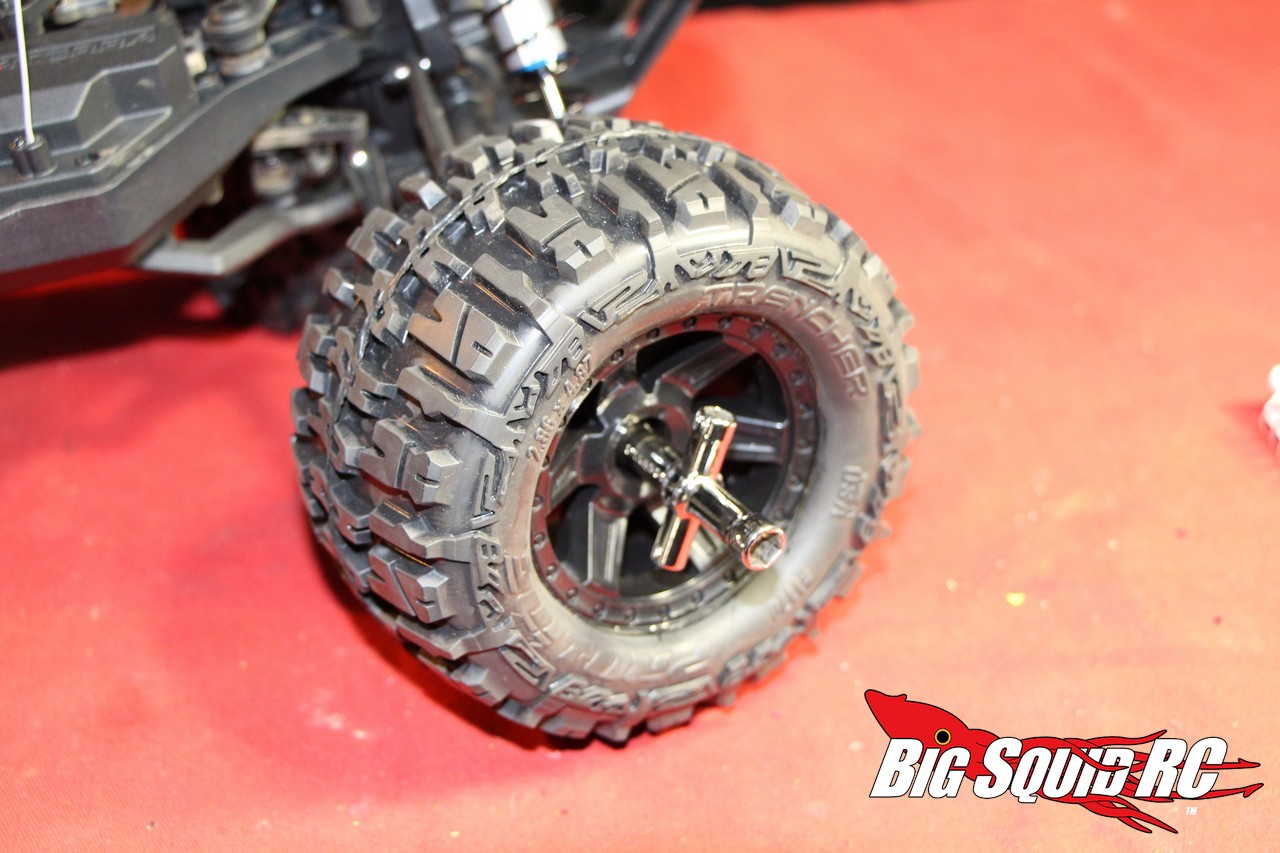
2. Use the four way wrench that came with your Halix to remove the wheels.
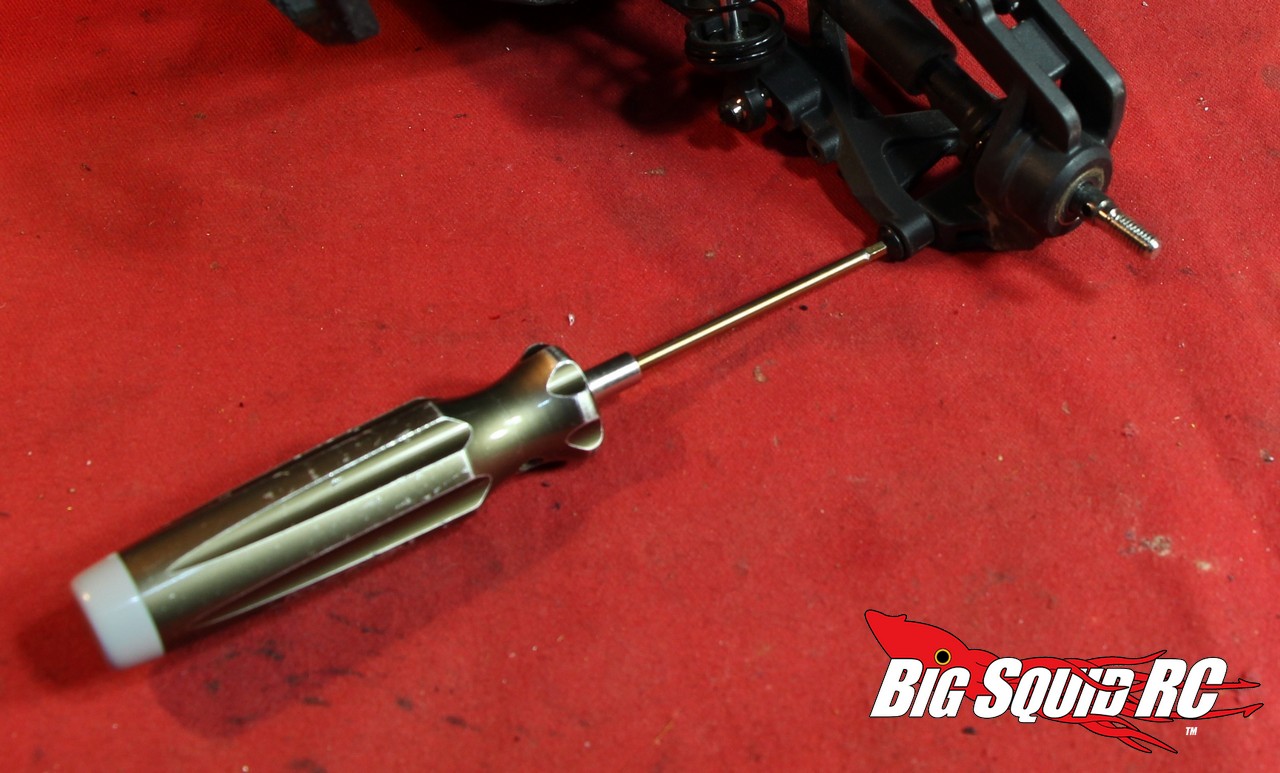
3. Use a 2mm hex wrench to remove the wheel hexes from the axles.


Hit the “Read More” button to check out the rest of the article after the jump.
4. Use a 2.5mm hex to remove the two outer hinge pins on the rear, and the four outer hinge pins on the front.
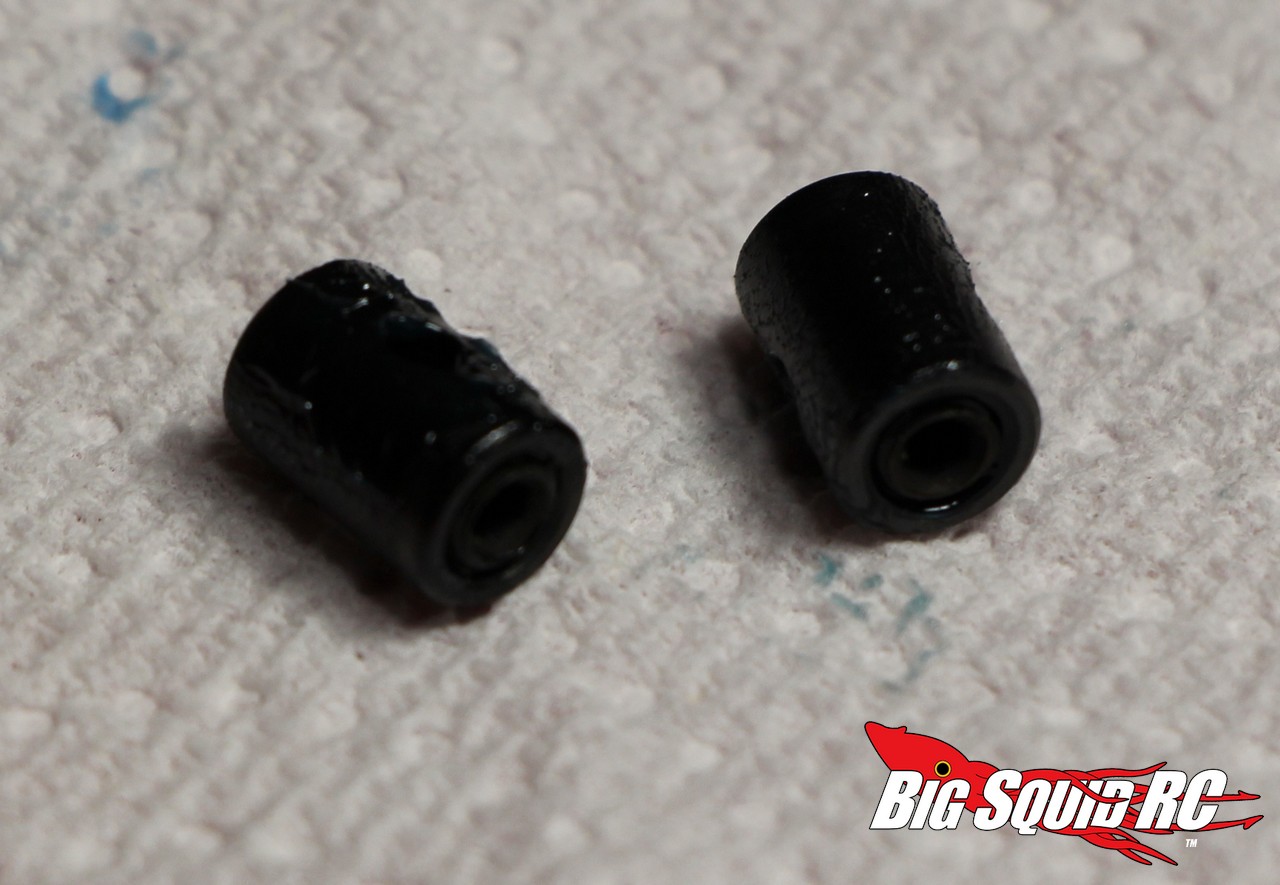
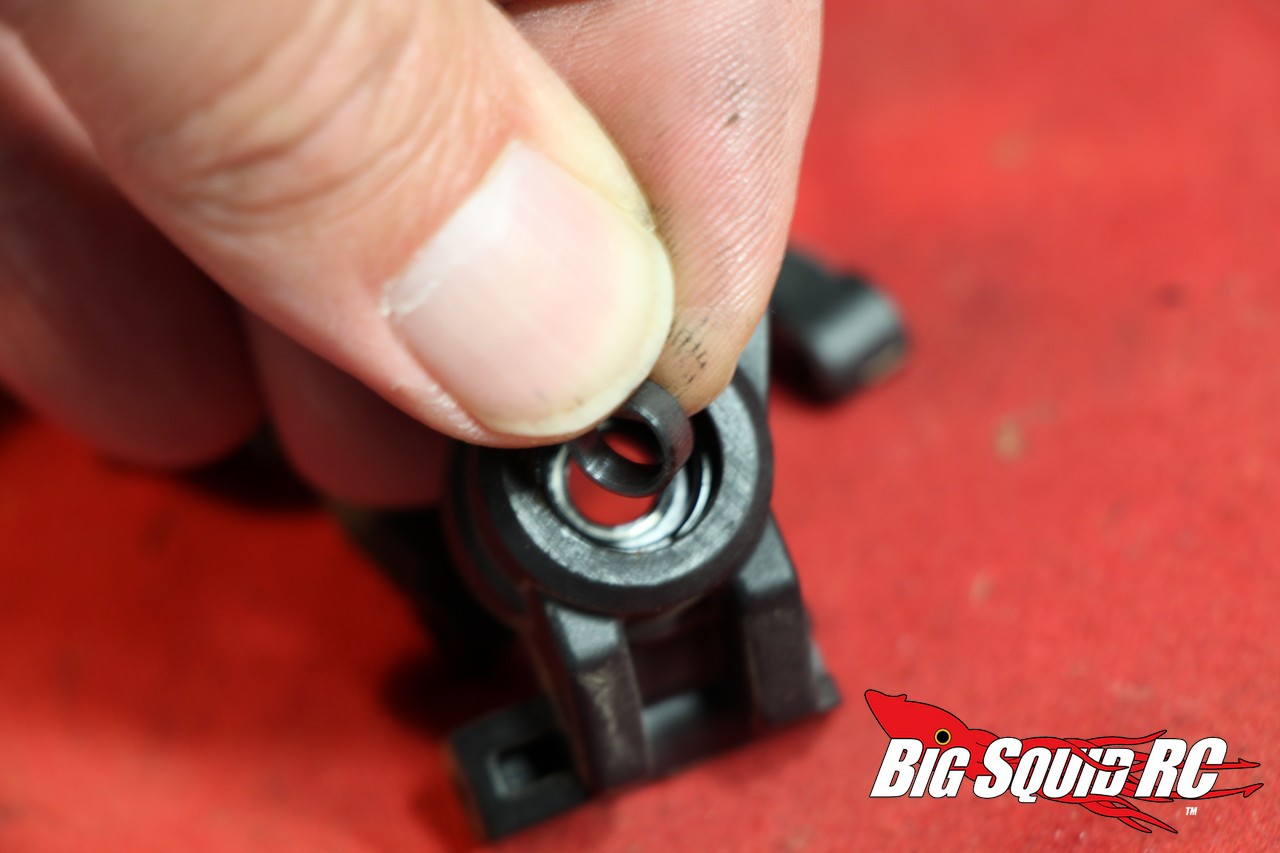
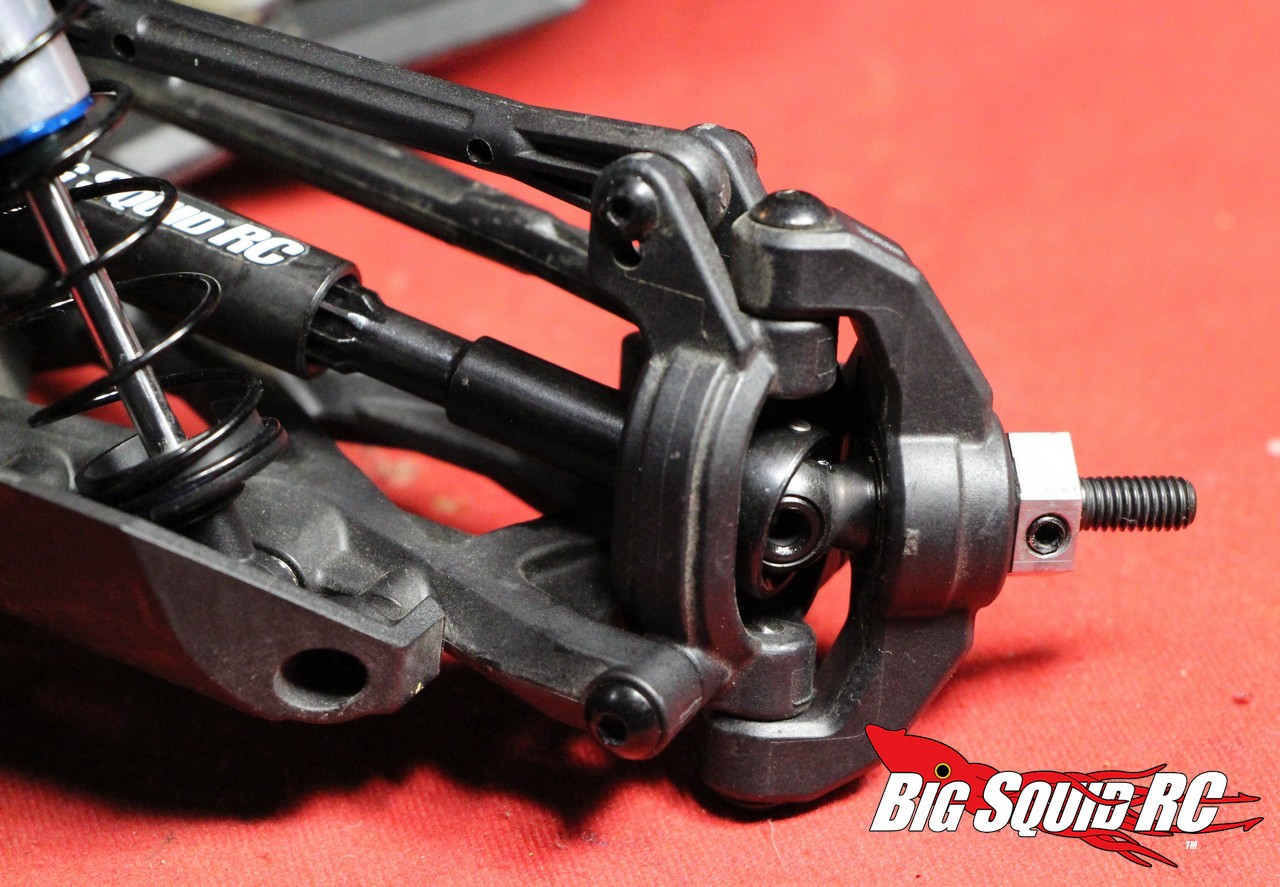
5. From here on out, the front and the rear are done the same. Remove the outer bearing from each hub and insert the MIP supplied bearing spacer, then put the bearing back in.
6. Insert the MIP outer CVD into the hub, remount the stock wheel hexes, and bolt the hubs back onto the outer a-arms. The outer portion (the easy part, LOL) of this job is now done. Time to work on the inner.

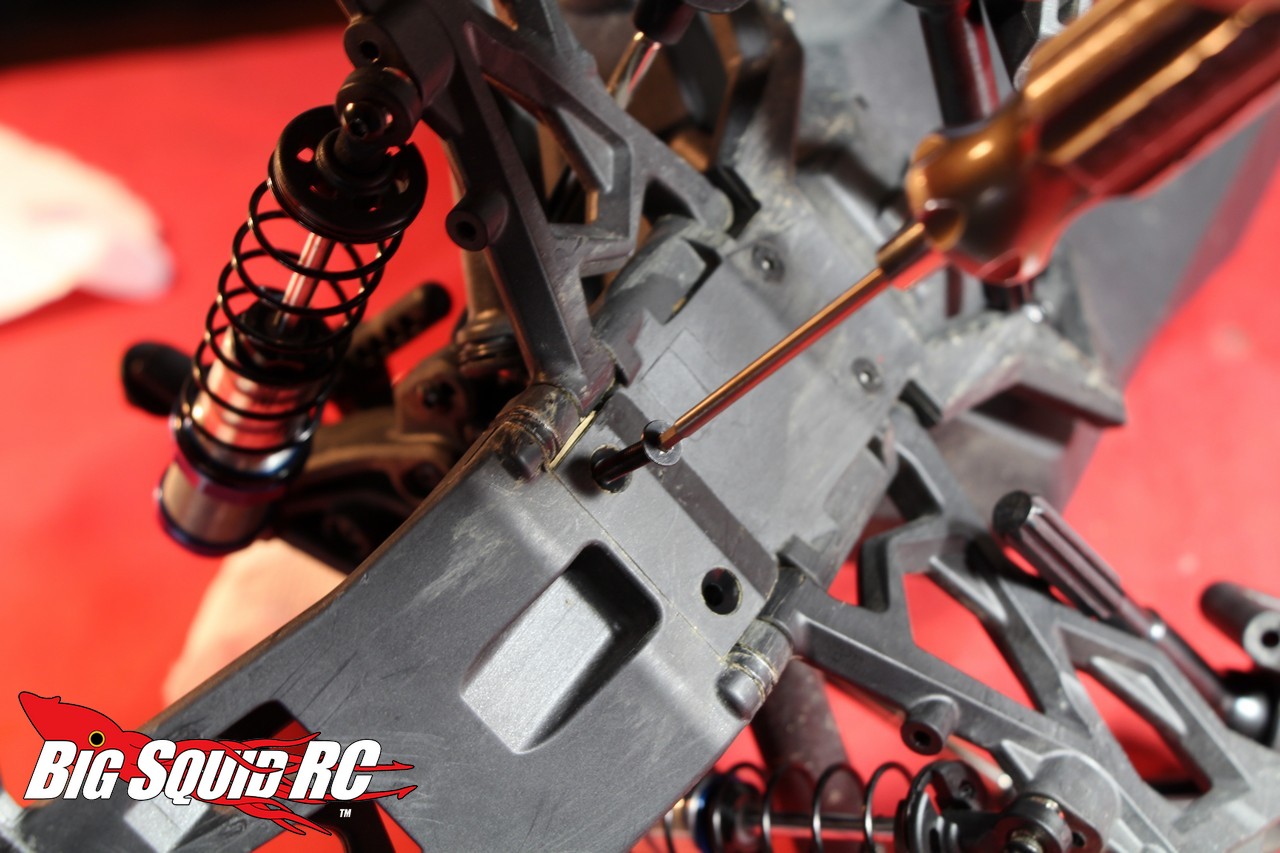
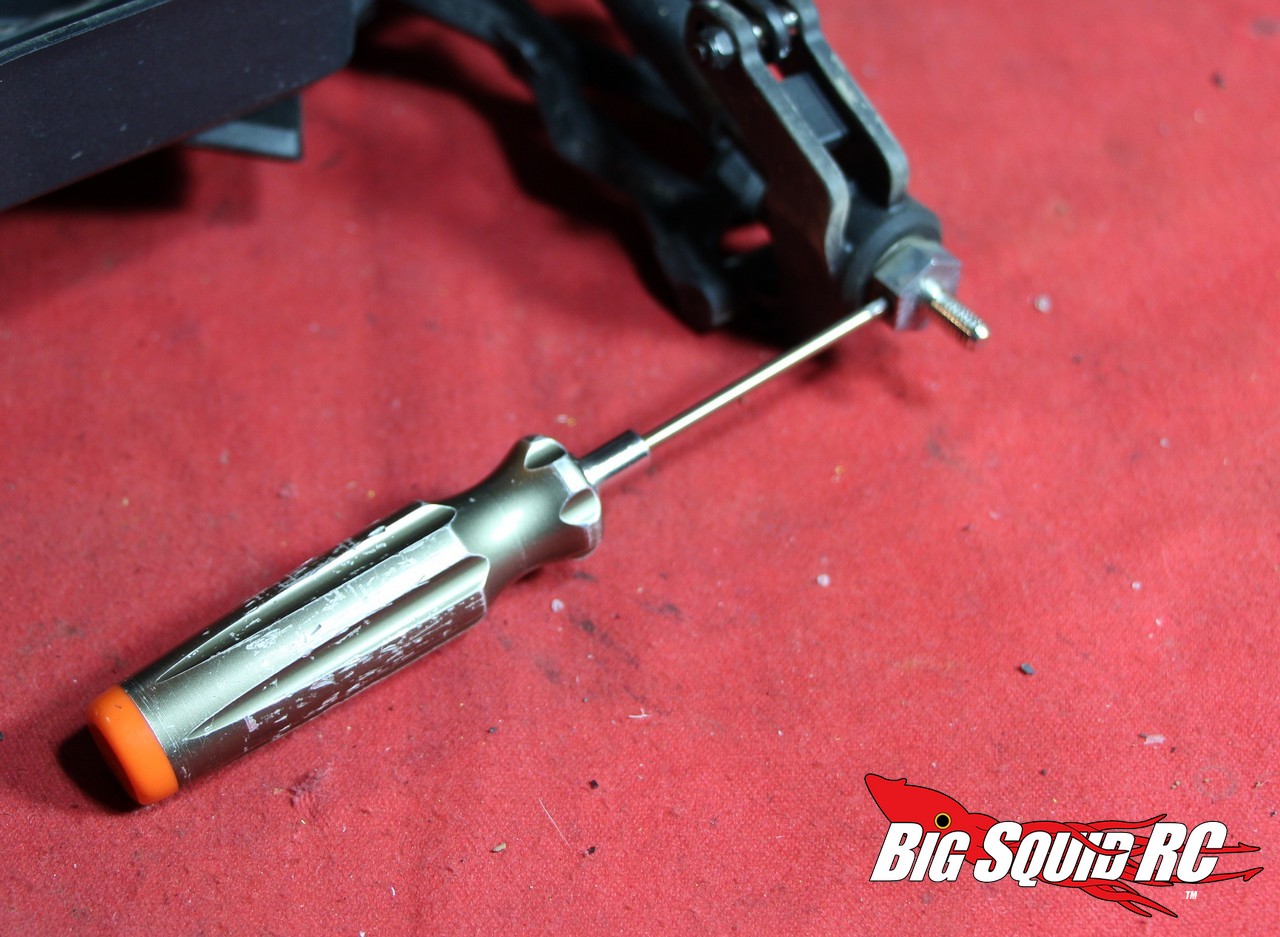
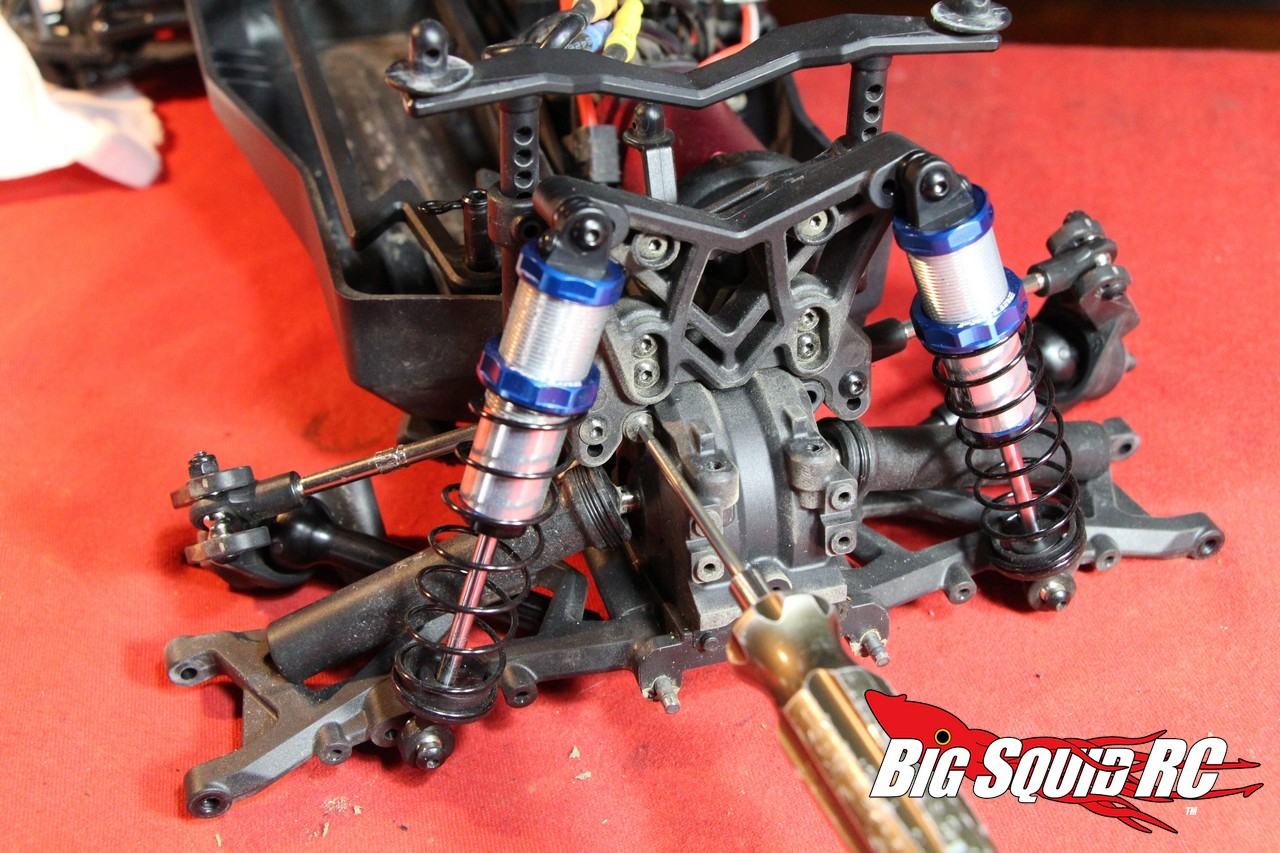
7. Use a 2mm hex to remove the two screws that go through the bottom of the bumper into the chassis.
8. Use a 2mm hex to remove the two screws that secure the top of the bumper to the diff case.
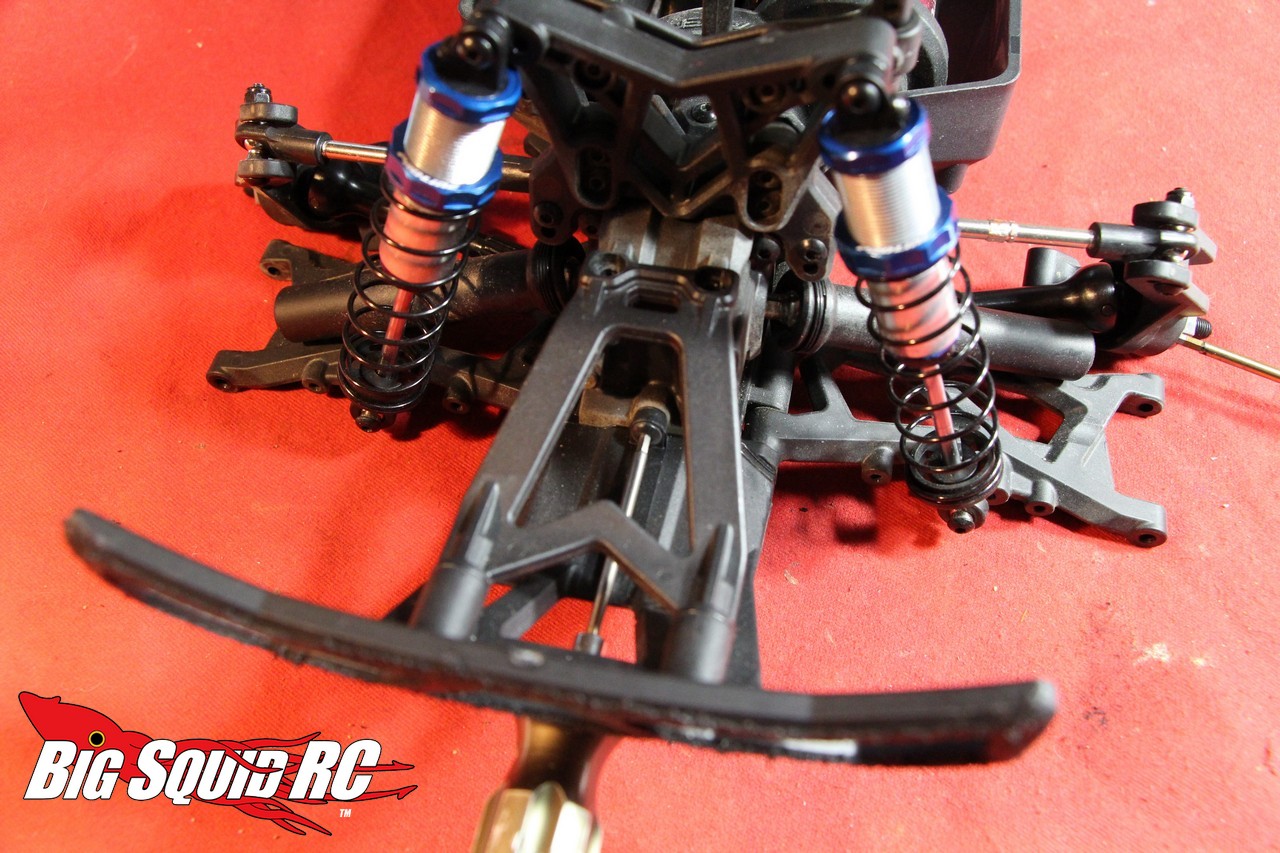
9. Use a 2mm hex to remove a single lower center bumper screw from the diff case, then remove the bumper.
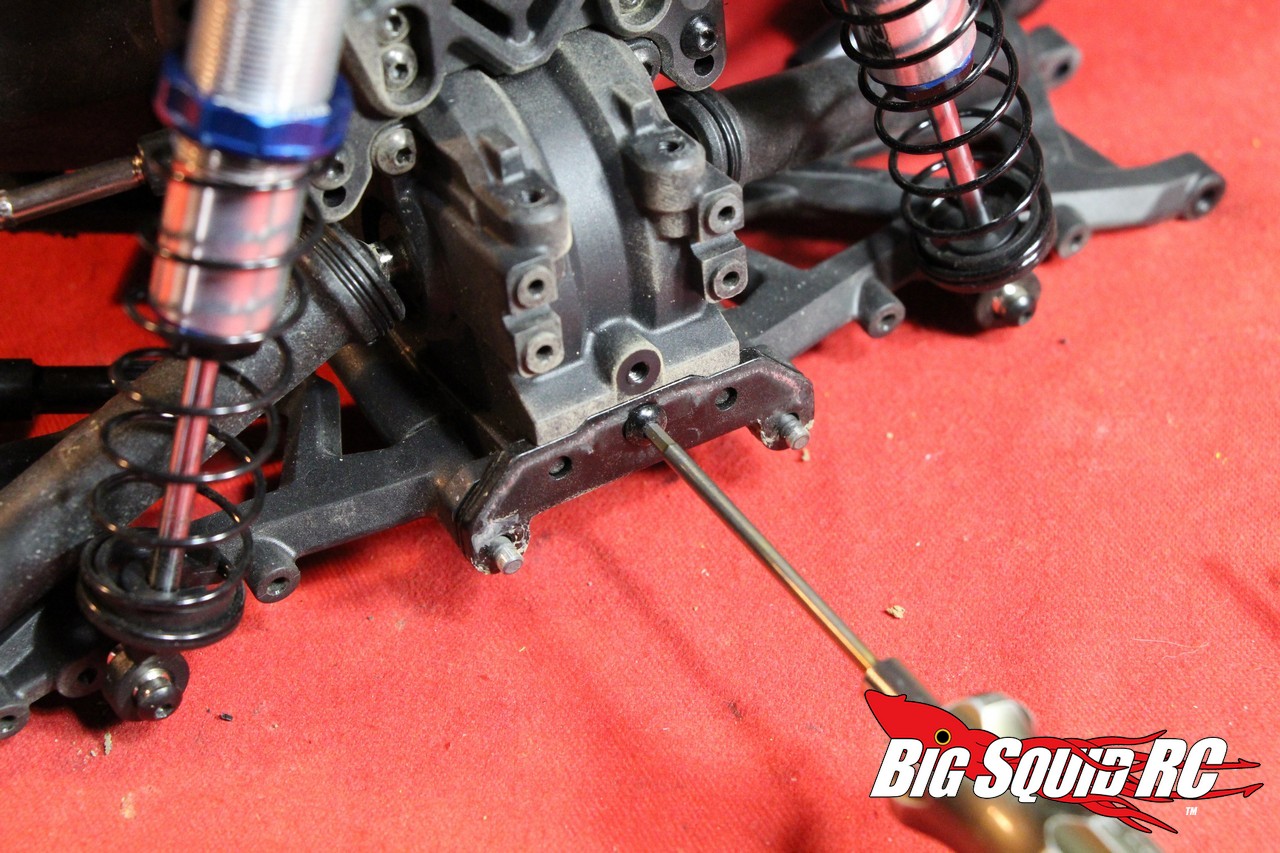
10. Use a 2mm hex to remove a single bolt that holds the hinge pin plate to the diff case.
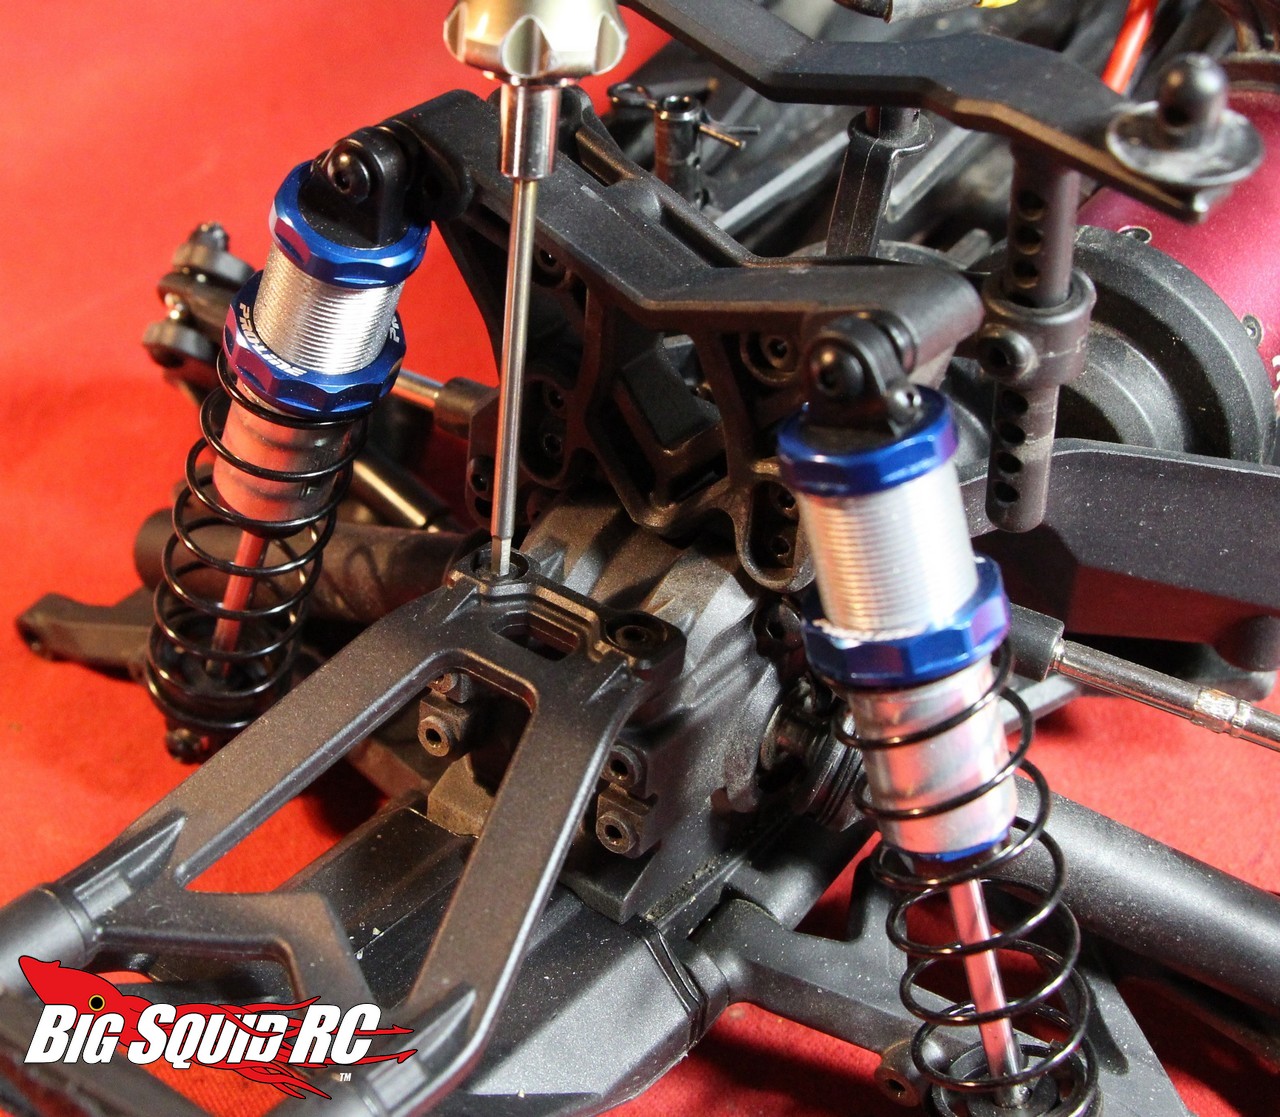
11. Use a 2mm hex to remove the 2 screws in the top of the diff case. These screws are right under the four shock tower screws.
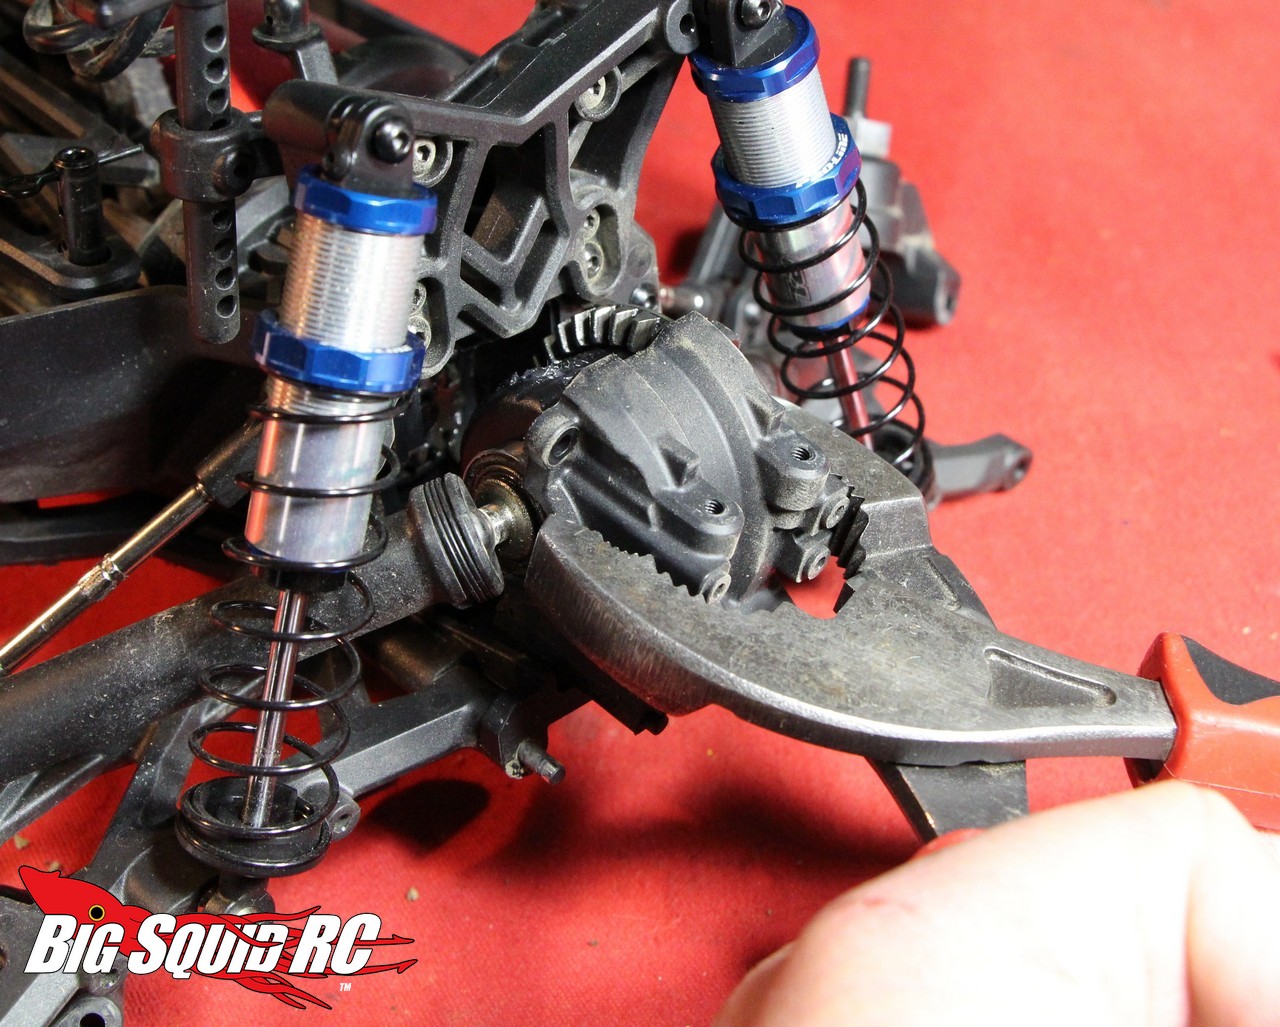
12. Use a pair of pliers to remove the outer diff case half, then pull out the actual diff.
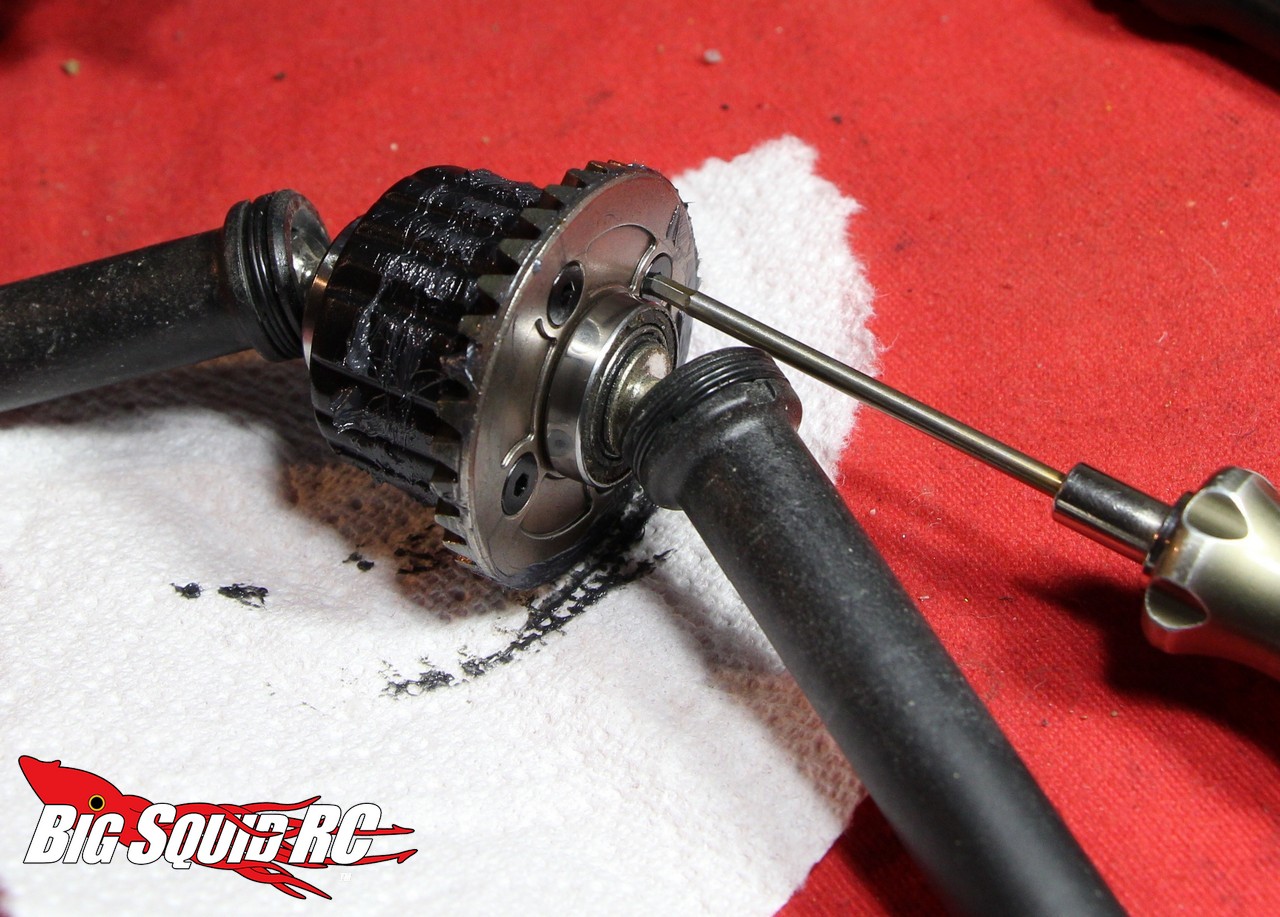
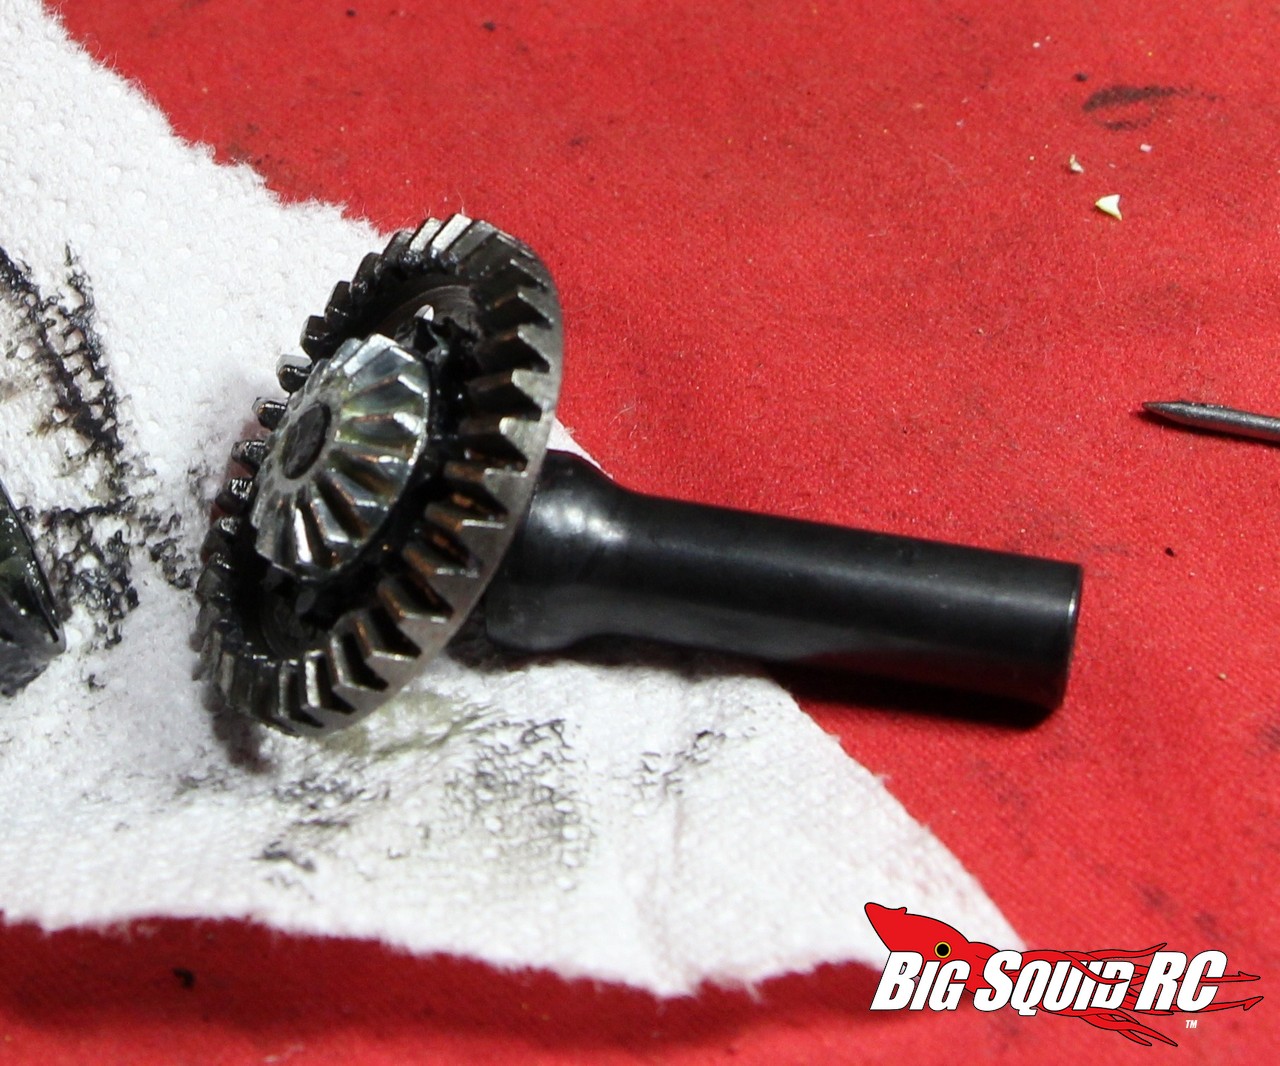
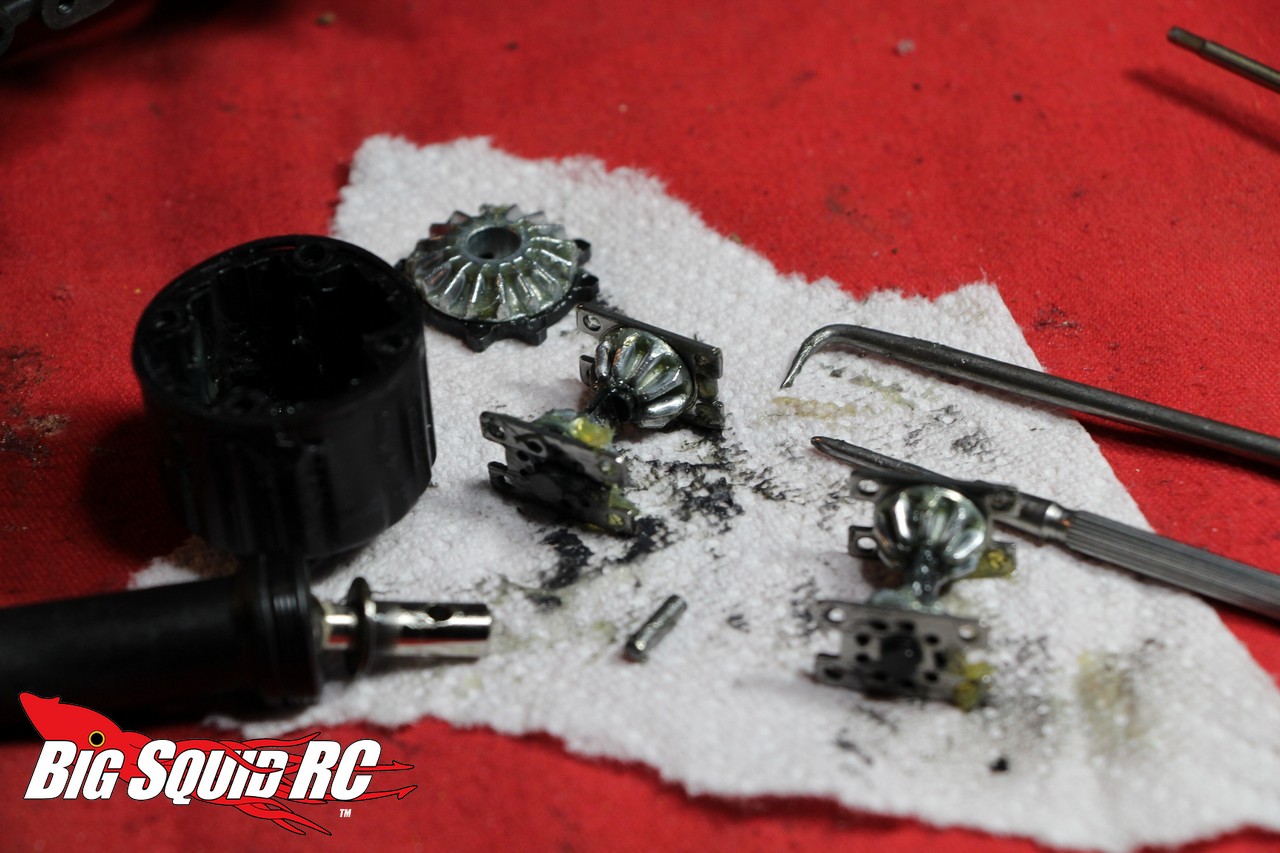
13. You now need to disassemble the diff to remove the stock outdrives. To get the diff open remove the four 2mm screws holding the diff together.
14. Take the diff fully apart. That will mean removing the spider gears and pins that hold in the stock output shafts.
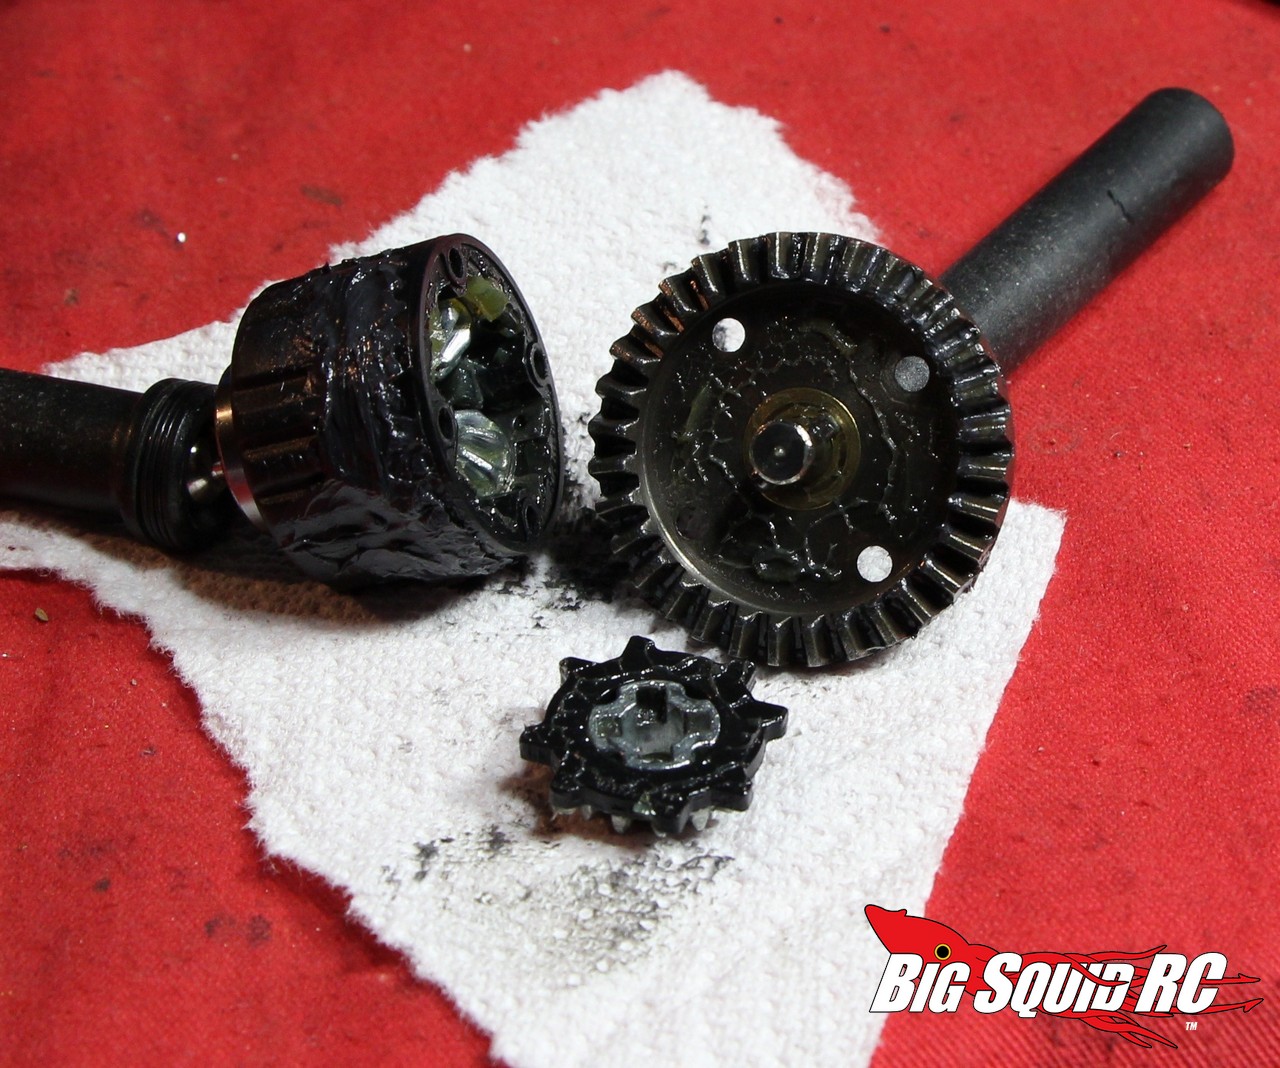
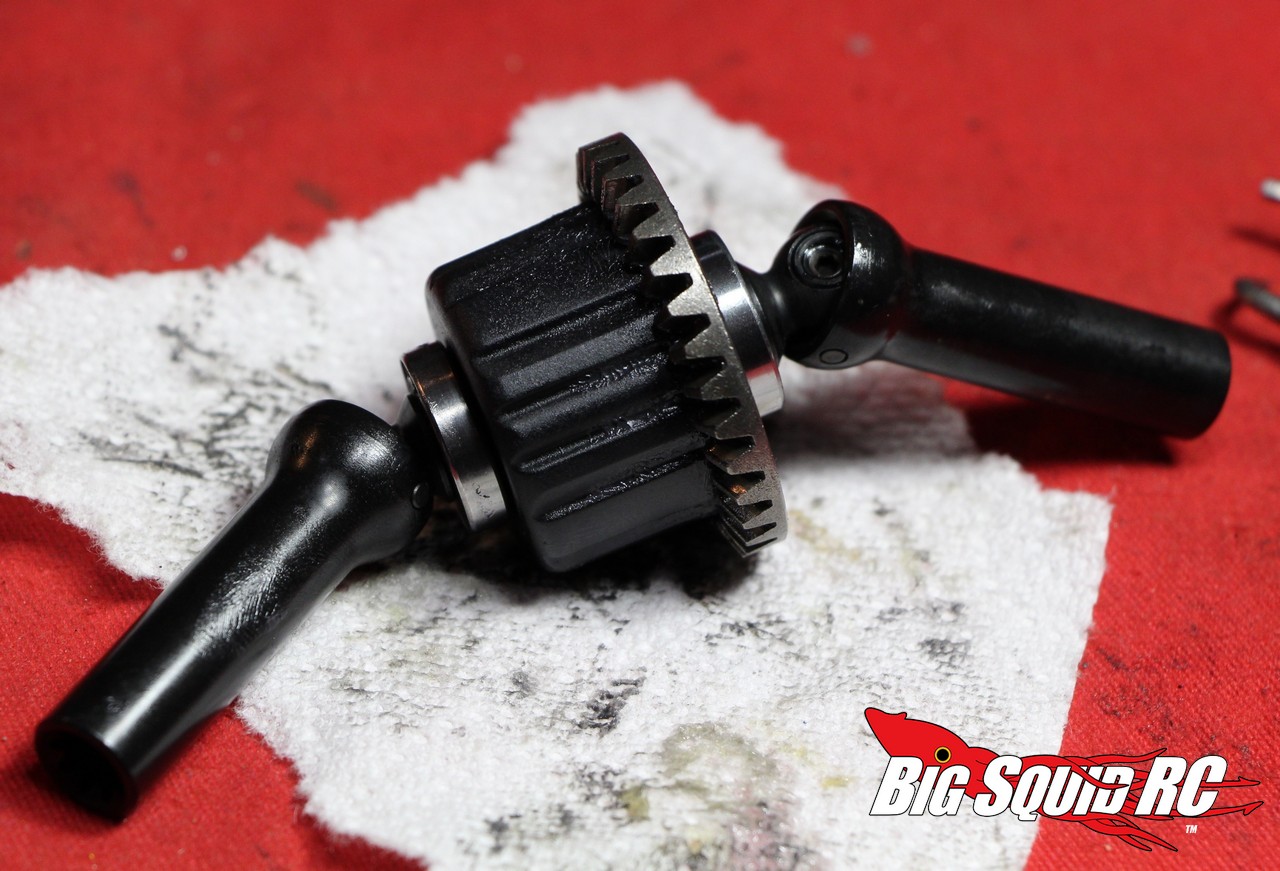
15. Slide in the MIP CVD drives and re-assemble diff. While you have the diff apart you might want to put in the some oil of the appropriate weight to improve performance. We went with Mugen 10k in the front and 5k in the rear.
16. Put the diff back in the truck, then remount the diff case and bumper. Congrats, the job is now finished!

We have been thrashing our MIP equipped Halix extra hard the last couple of weeks to make sure the CVDs can take the worst we can throw at them. So far, so good, as we have yet to have any sort of issue with them. The MIP CVDs for the Halix are tough as nails, but they do have one downside, weight. Each stock driveshaft weighs in at 28 grams, while each MIP is 58. That is quite an increase in rotating mass, but when building an uber bash machine the extra durability is more than worth it.
In the next installment of upgrading the Halix we’ll show you how to install adjustable turnbuckles, until then hit up This Link to check out previous upgrades.
